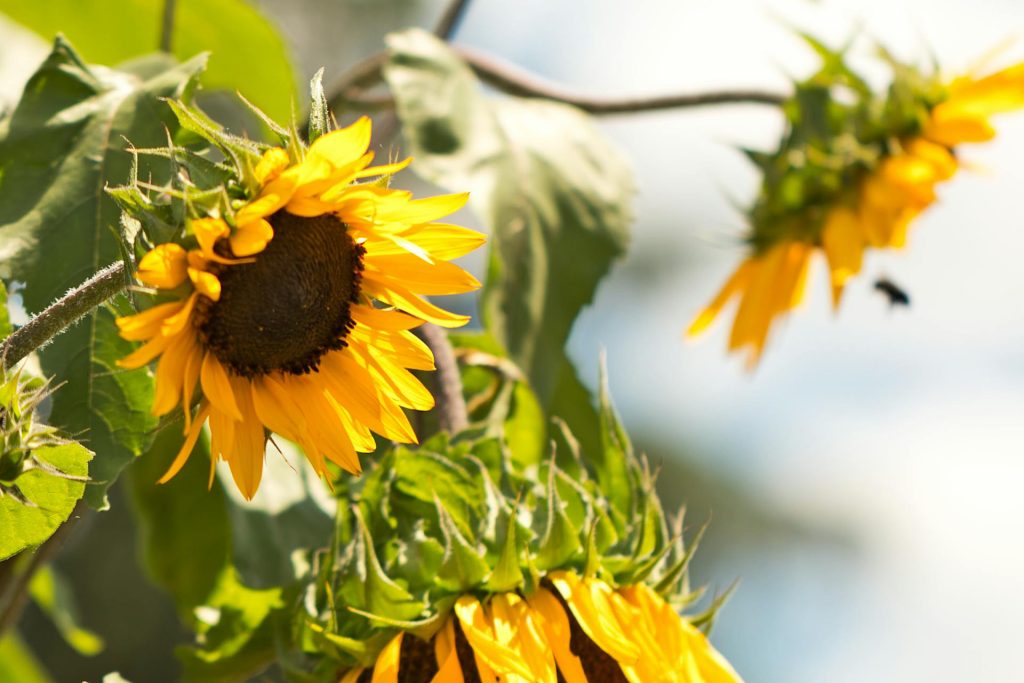
Last garden season, I purchased a packet of giant sunflower seeds and planted a row at the back of my vegetable garden. They attracted a fair number of bees and provided a lovely backdrop for the garden landscape. I will admit that although labeled “mammoth,” the seeds did not produce dinner-plate sized flowerheads, they were more dessert-plate in diameter. This suited me fine, and I was able to keep the stems upright by setting a pole at each end of the row and circling taught ropes of twine around the poles at 10–12-inch intervals. At the end of the season, I decided to save some seeds for this year’s garden adventure. I’m happy to share how to save your sunflower seeds for next year’s planting season. Come bloom with me!
Heirloom or Hybrid
I’ll begin by sharing that when you harvest and plant sunflower seeds, you can’t predict what you will get for flowers, unless you plant heirloom seeds. If you choose heirloom sunflower seeds, your blooms will be the same as last year’s. When planting hybrid seeds, however, they can cross-pollinate, becoming something new and different. For example, colors may be brighter or darker and flowerheads may be smaller or larger. Some of the seeds may not produce at all. I’m always up for an experiment or two in the garden, and this will be one of mine this year. I choose heirloom seeds for my vegetables, but cannot recall if last year’s sunflowers were an heirloom variety or not. We shall see and I’ll share my results. We can always learn from each other!
Seed Development
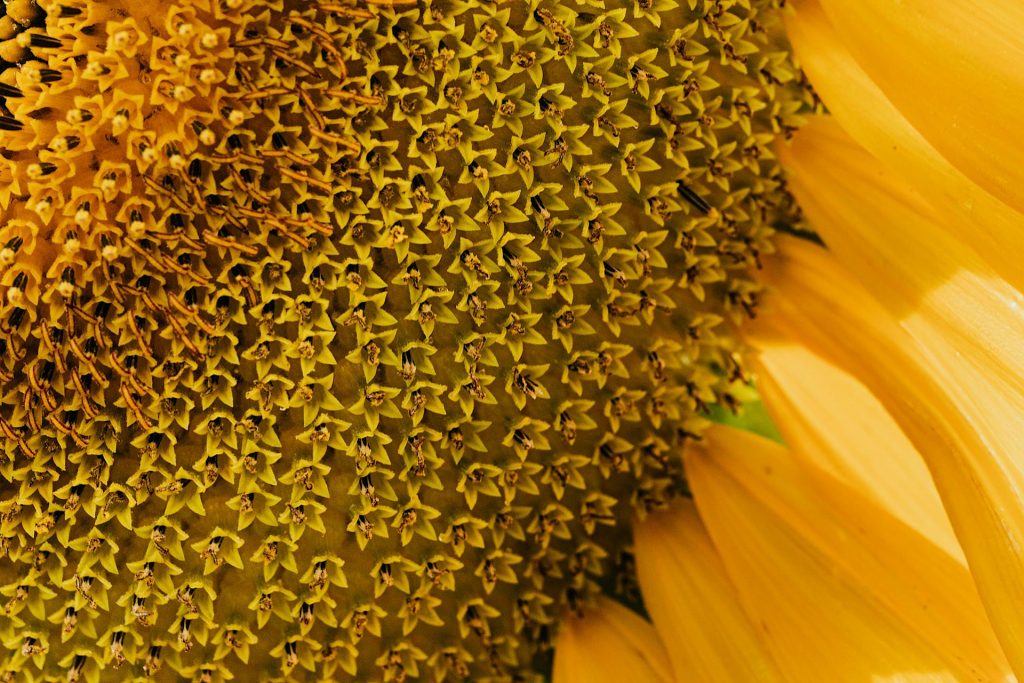
Now, on to seed saving for next year’s garden. After your sunflowers have grown and bloomed, they will start to look droopy. They lose their flowers and their heads look like they are bowing. An interesting fact about sunflowers is that we consider those large yellow petals that frame the center disk to be the “flower.” However, those petals around the outside are called “ray flowers” and are often sterile. The “flower” is actually a structure of several hundred flowers on the central disk. These flowers have tiny petals arranged in a ring and they mature from the outside inward. This is where the seeds develop.
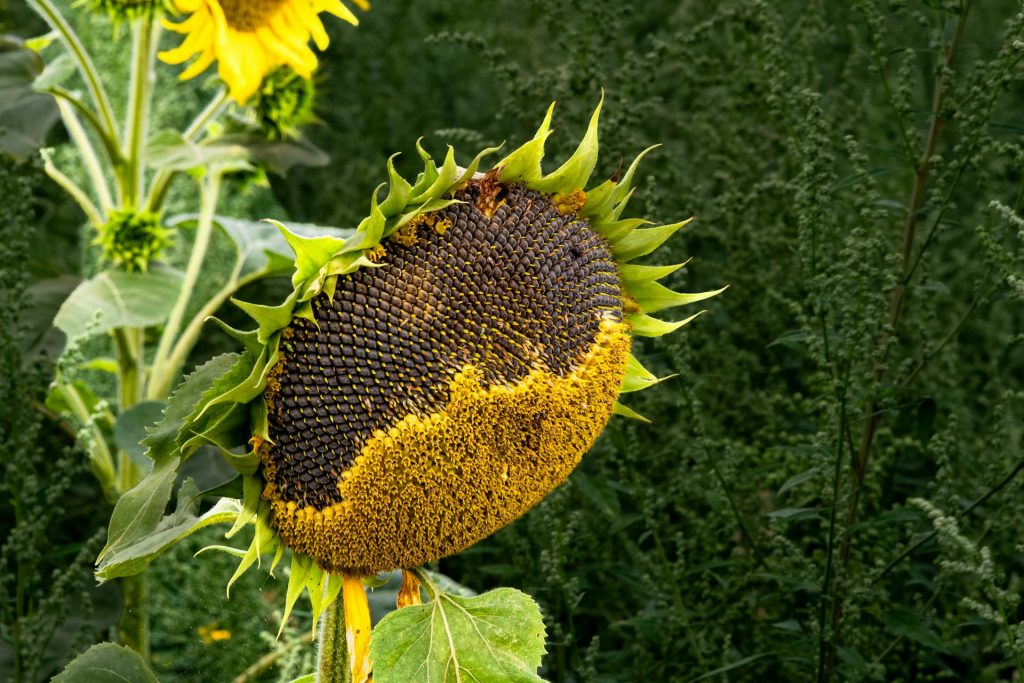
Once you see that your sunflowers have lost their “flowers” and are drooping; it is a good time to consider saving the seeds. You can leave them on the plant to continue drying, but they will be attractive to birds and insects. They may get in their harvest before you do.
Drying Sunflower Seeds
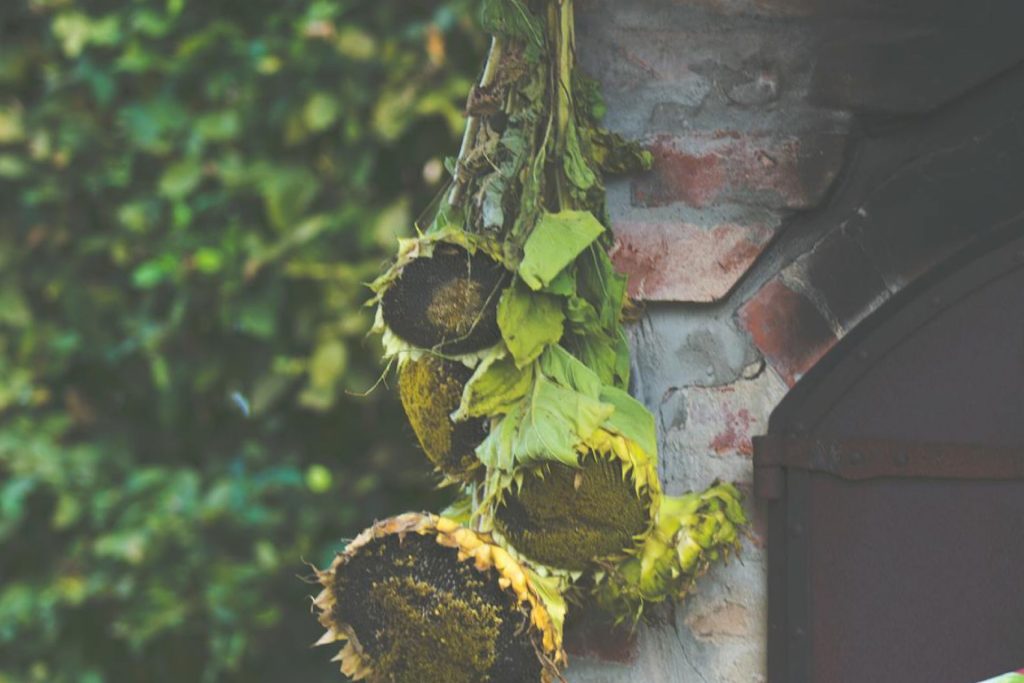
Select the sunflower heads you would like to save and use a cutting tool to cut the stalk. You’ll want to leave a length of the stalk attached so you will be able to hang them to dry later. Make sure that you can actually see seeds on the seed head. Immature seeds will not be viable and can become moldy on the disk. Brush your finger across the disk to remove any loose debris.
Wrap twine around the stalk and hang your seed heads in a cool, dry place so the seeds and seed head can dry out. Many people choose their basement, but I did not want to attract mice – I hung mine from a nail in my garage and they did just fine. I removed all leaves from the stalks as well.
Removing Stalks From Garden
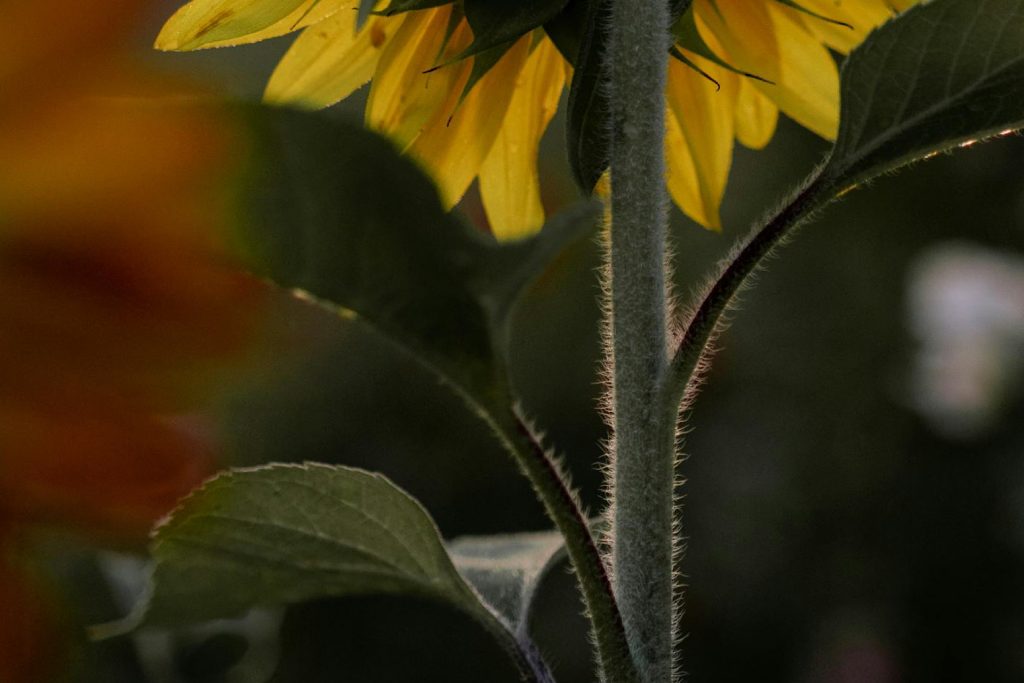
I then went to work on removing the beheaded stalks from my garden. Sunflowers are an herbaceous annual plant. Although they actually don’t produce wood, their stems feel “woody.” They are able to hold up large flowerheads with rings of vascular bundles. I used pruning shears to cut through the stem. Once closer to the ground, I pulled the stem and root out of the garden bed. Using the shears, I then cut the stalks in lengths that would fit nicely in the compost pile to rejuvenate next year’s garden.
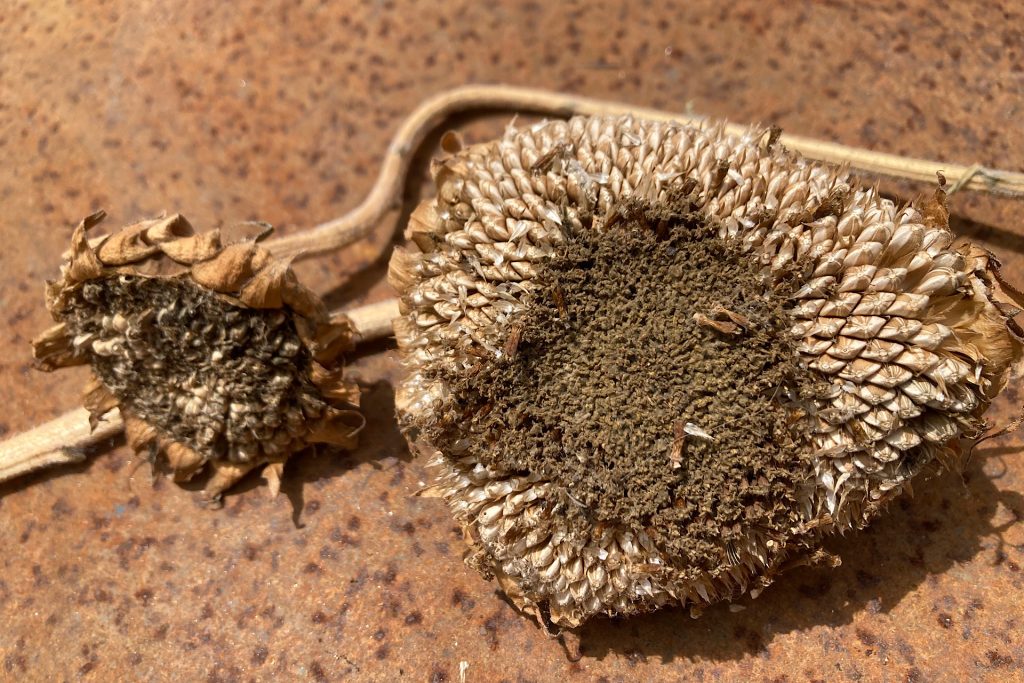
I have one mature and one immature sunflower seed head to show you. I, again, used my thumb to brush off any loose debris. The mature head has fully developed, dried seeds. Although the smaller immature seed head appeared brown and dry, the seed pods were still spongy. This is why it is important to save mature seed heads.
Harvesting Dried Seeds
You will harvest seeds when the stem and disk become dry, brown and crackly. In honesty, I left mine all autumn and winter in the garage and retrieved them early spring.
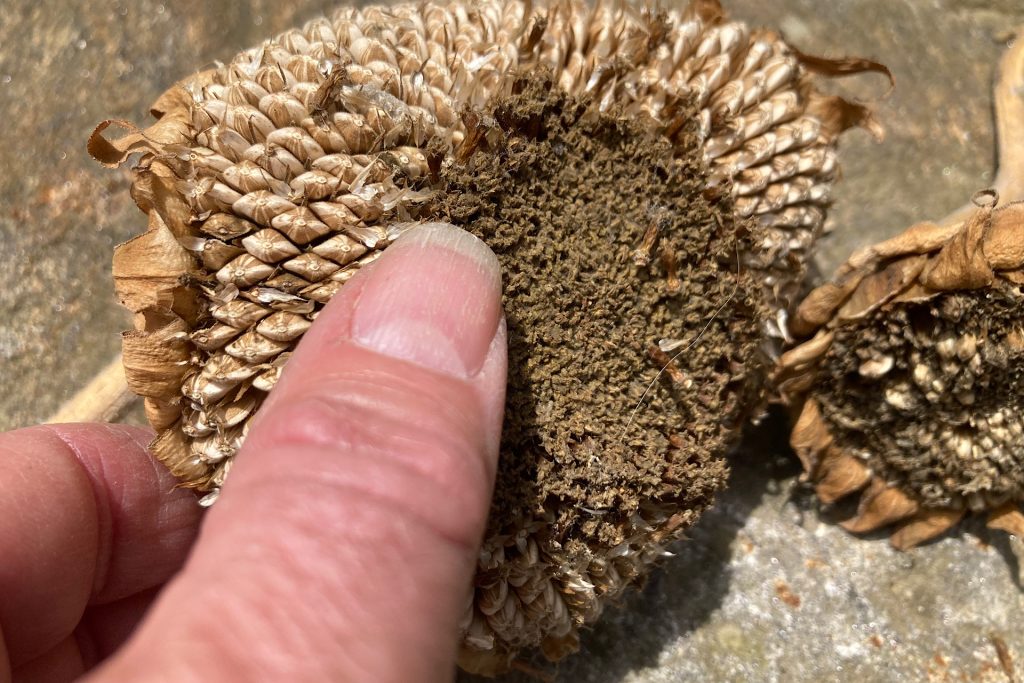
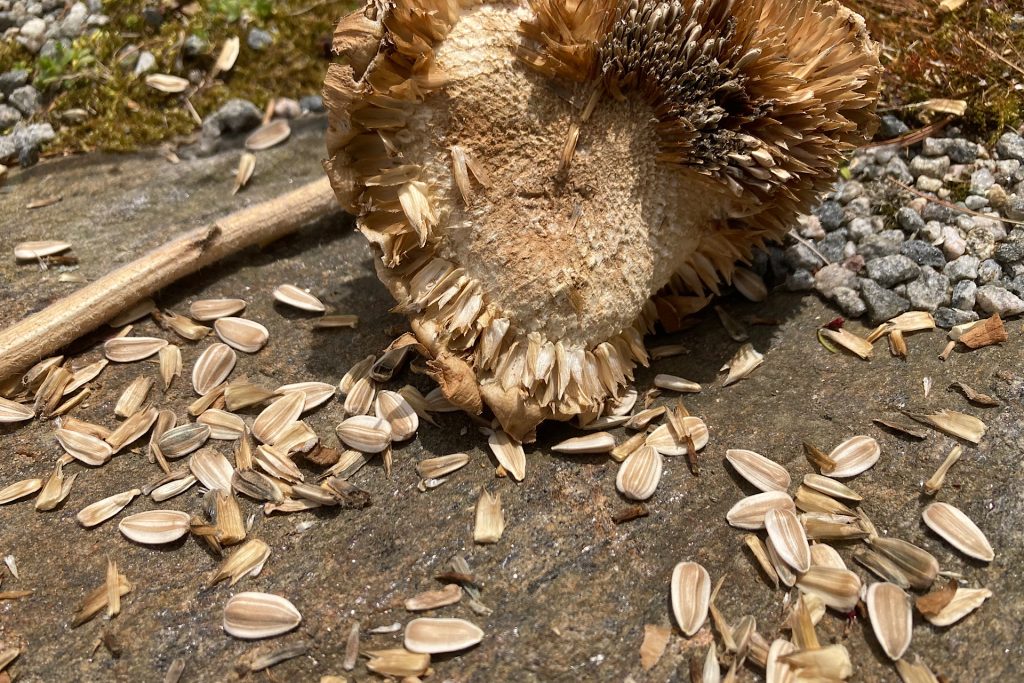
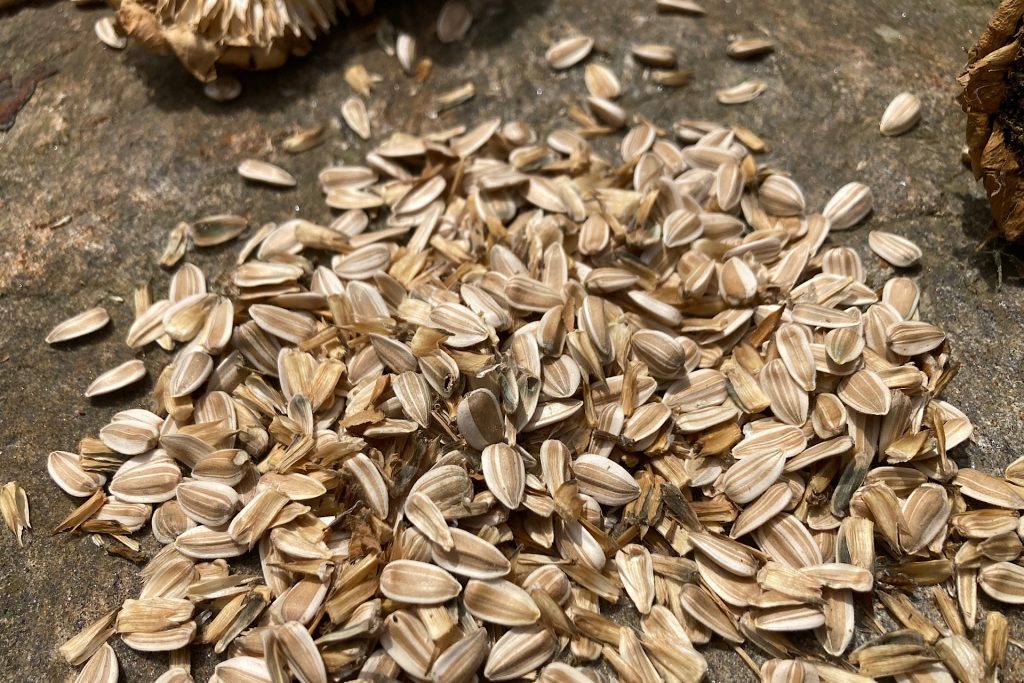
I was able to remove the seeds easily by just brushing firmly with my thumb and fingers. One seed head holds an amazing amount of seeds. There is chafe and debris around the seeds when you remove them. I considered using a sieve, but the chafe was too large. I separated out the seeds on a large rock in the backyard using my hands.
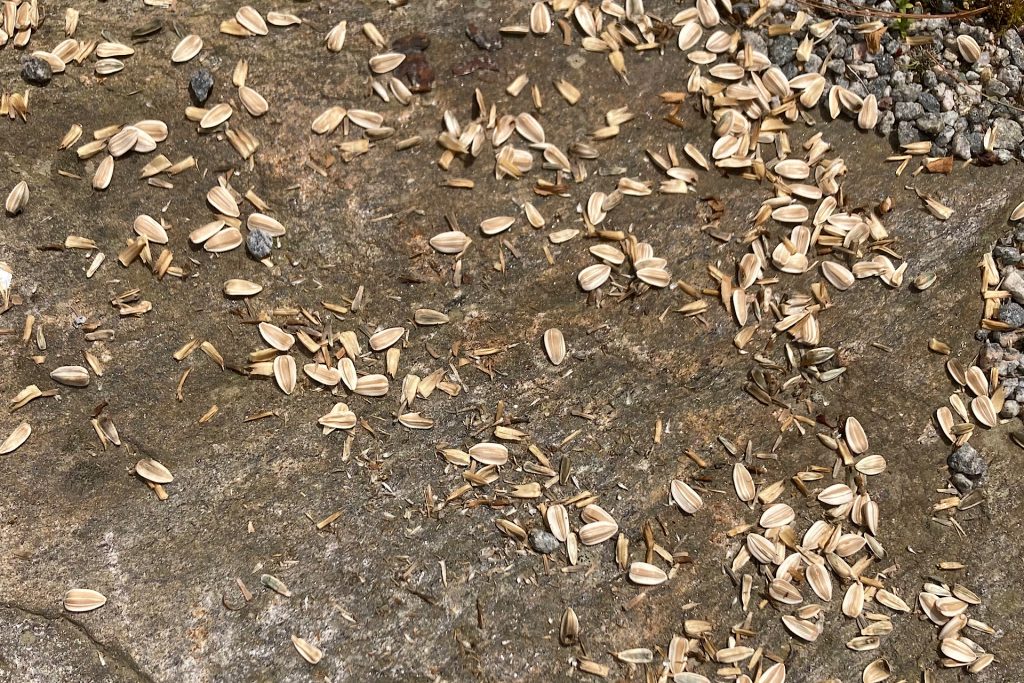
I kept enough seeds to use and share and was still able to leave a decent amount on the rock for wild birds and chipmunks.
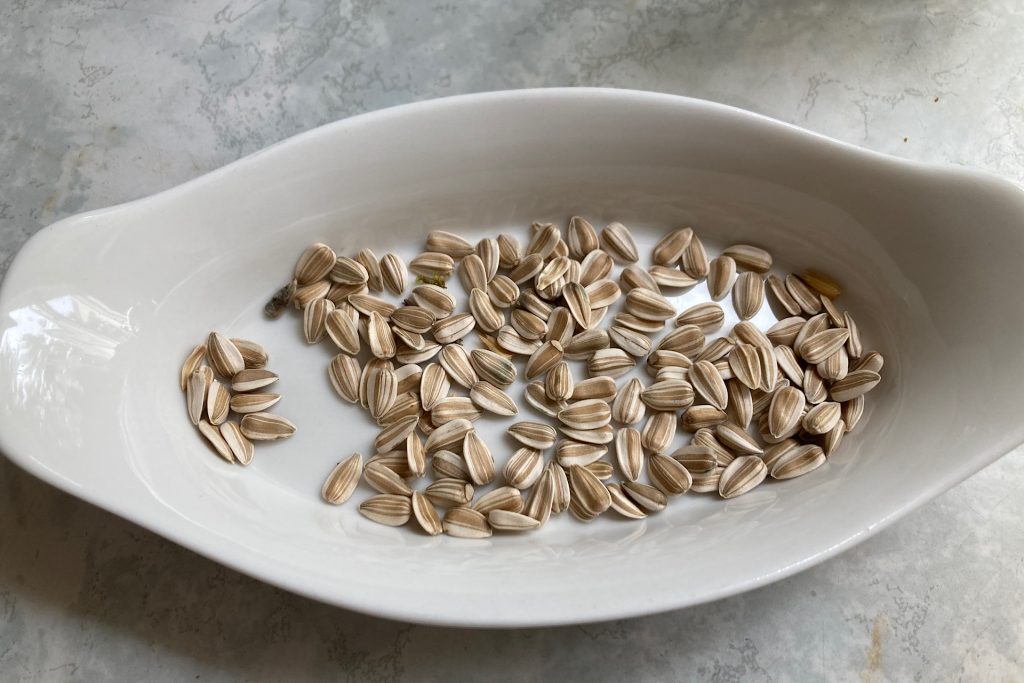
Ready for Planting
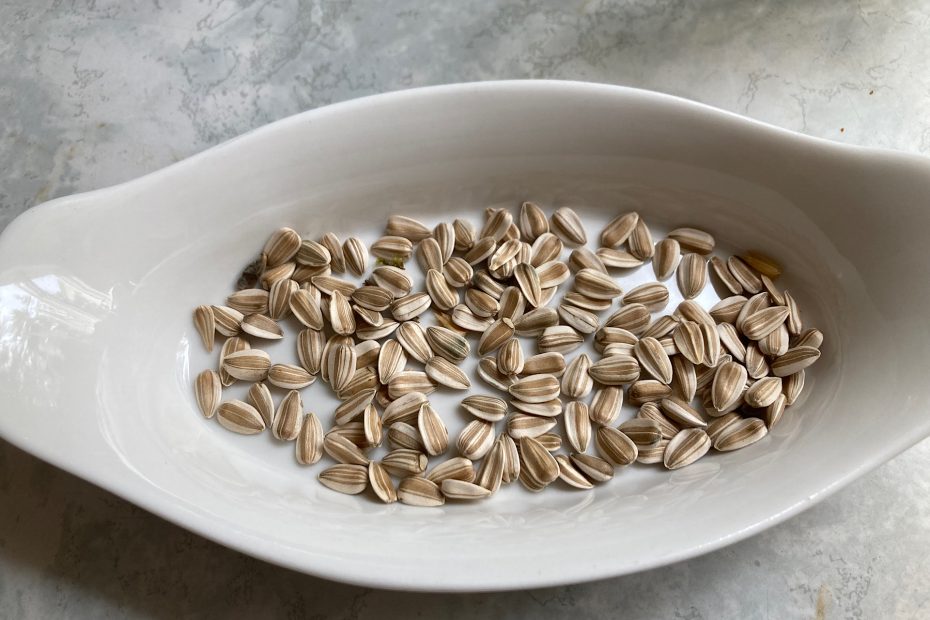
These are my cleaned seeds waiting to be planted. The bowl is small – but I did a count and there are 100 seeds in there. This was just a portion of seeds from one sunflower head.
The next morning, I checked the seeds I left on the rock the afternoon before. The wildlife had fully worked them over.
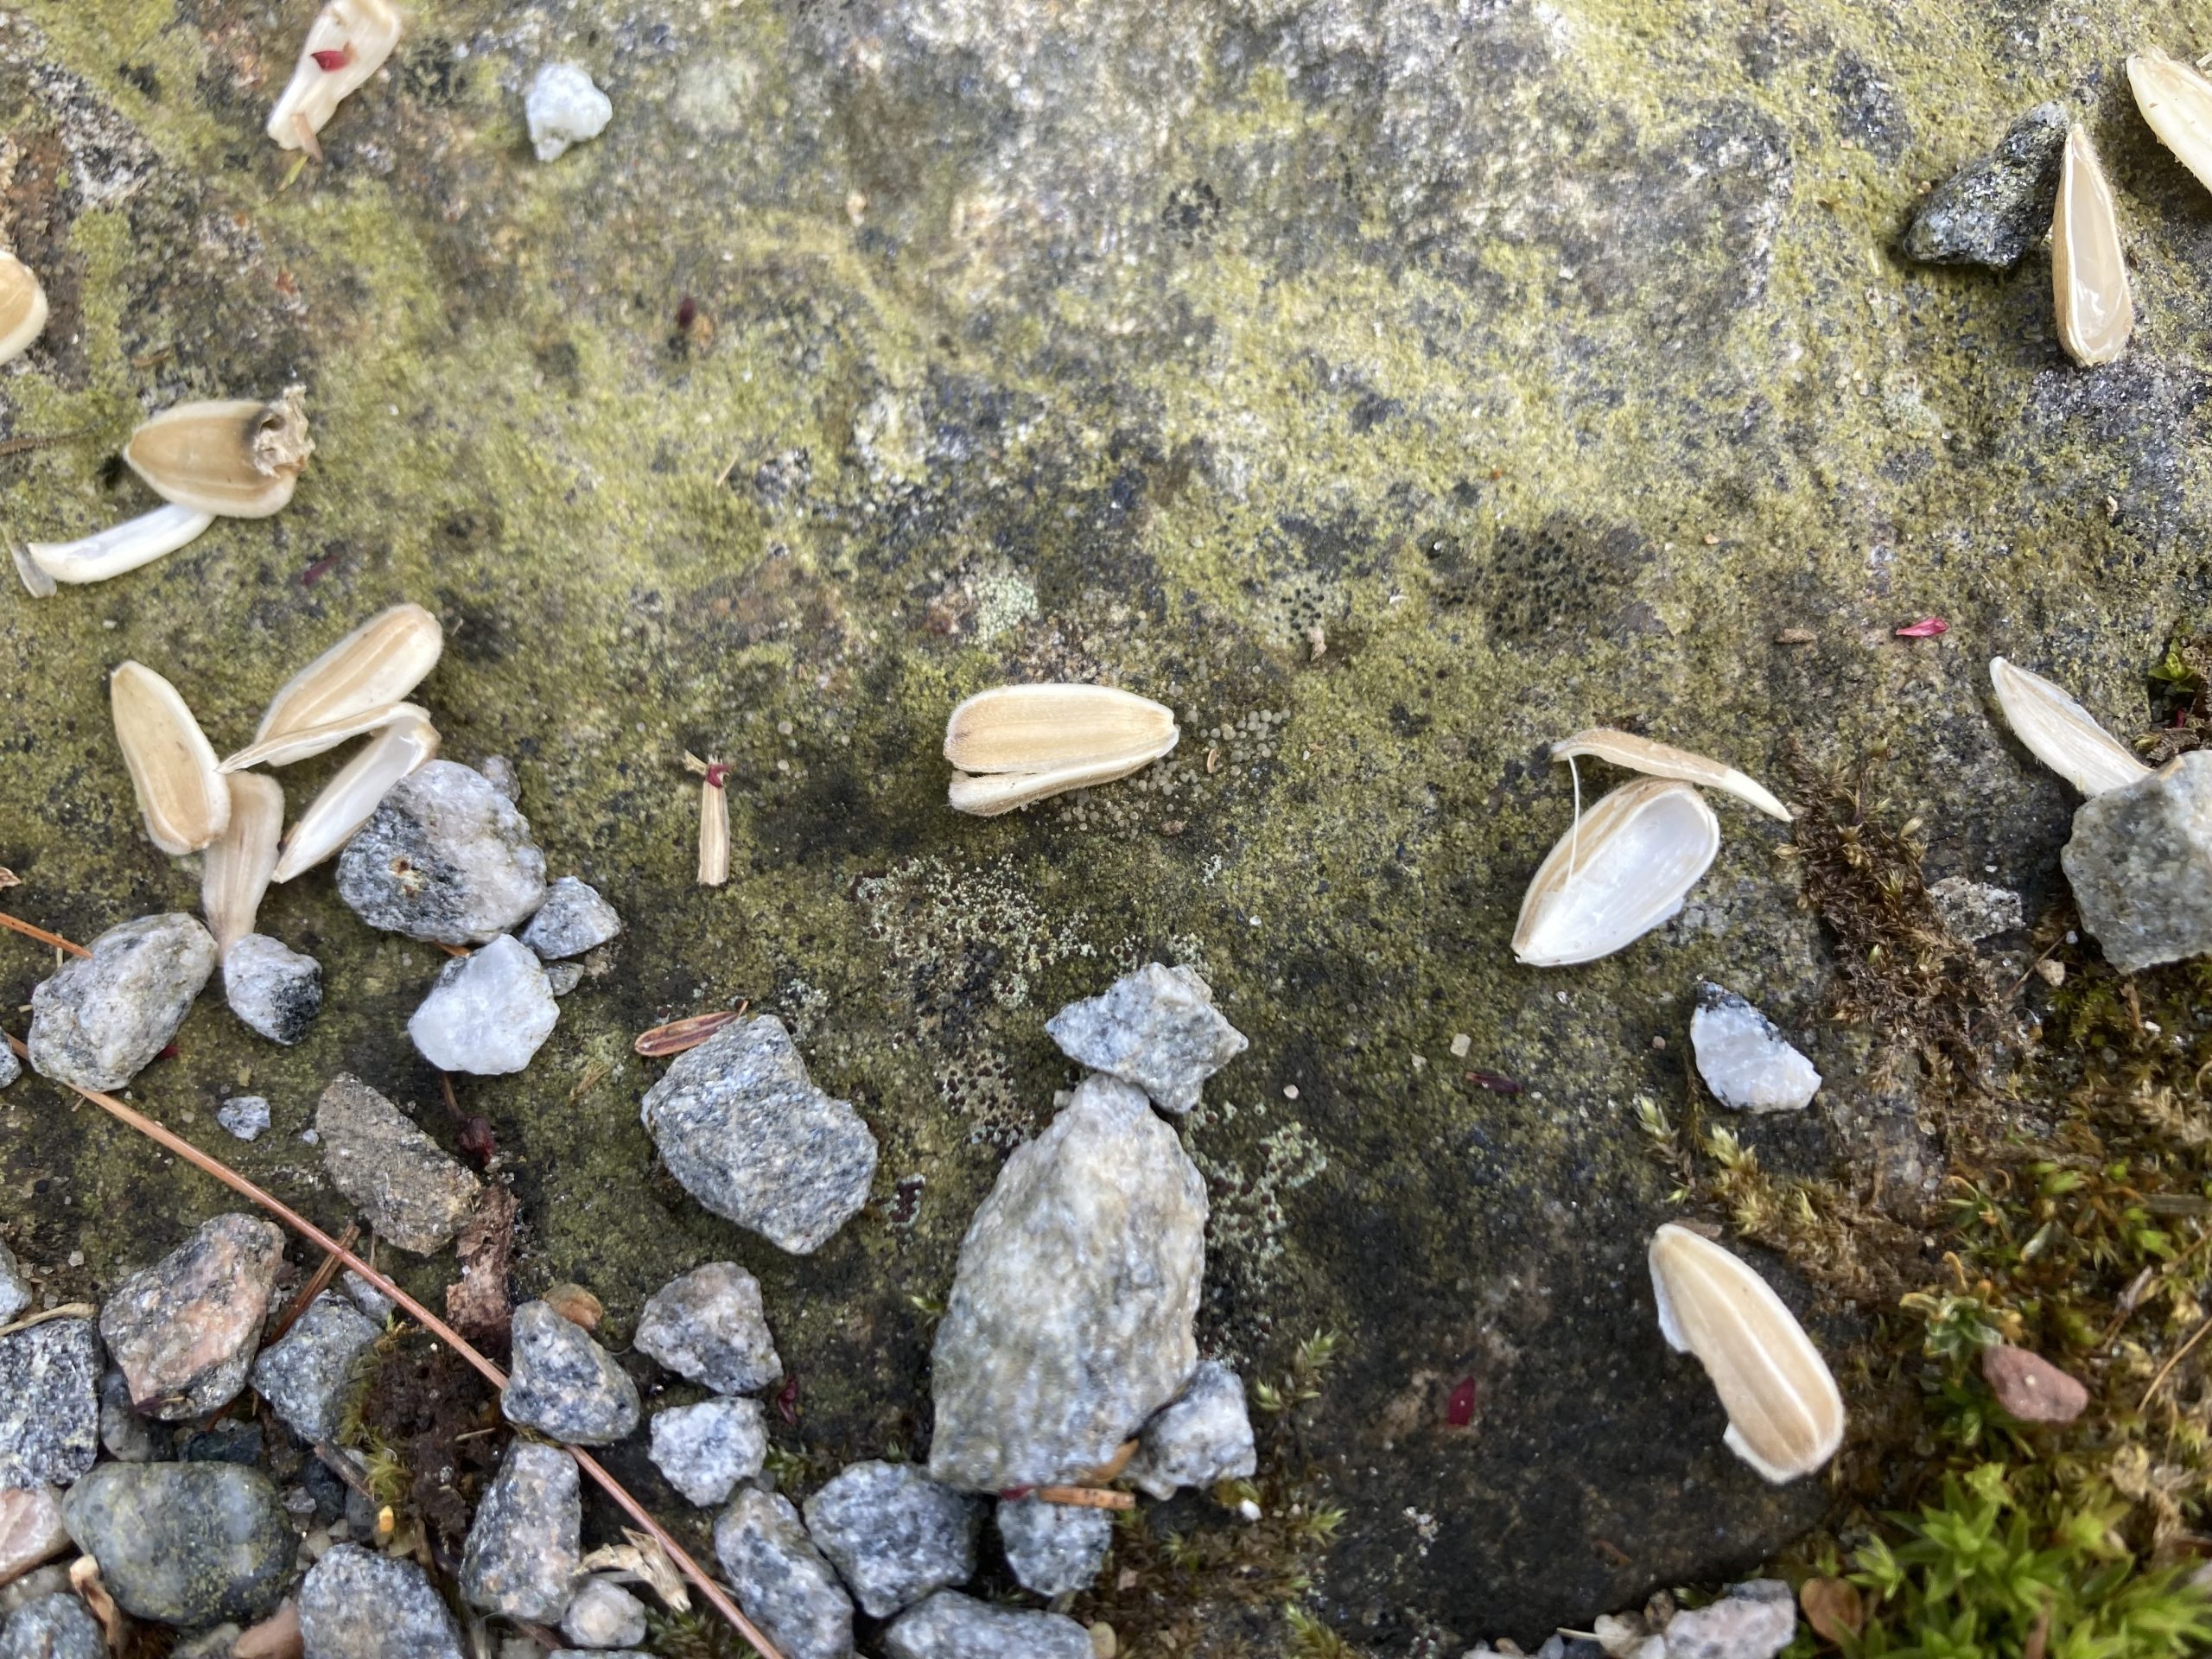
I’ll stay in touch and let you know what I get for blooms this year!
Related Resources:
- Echinacea – Cold Stratification
- Milkweed Magic: Harvesting and Starting Seeds for Pollinator Gardens
- 3 Reasons to Grow Bee Balm
- Benefits of Growing Common Yarrow
