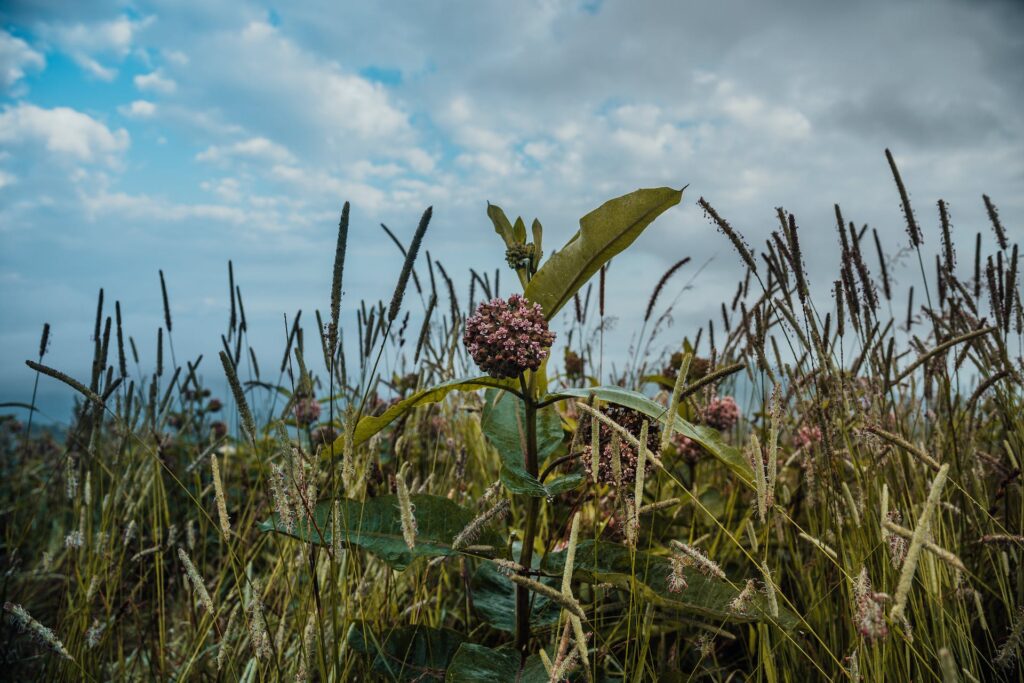
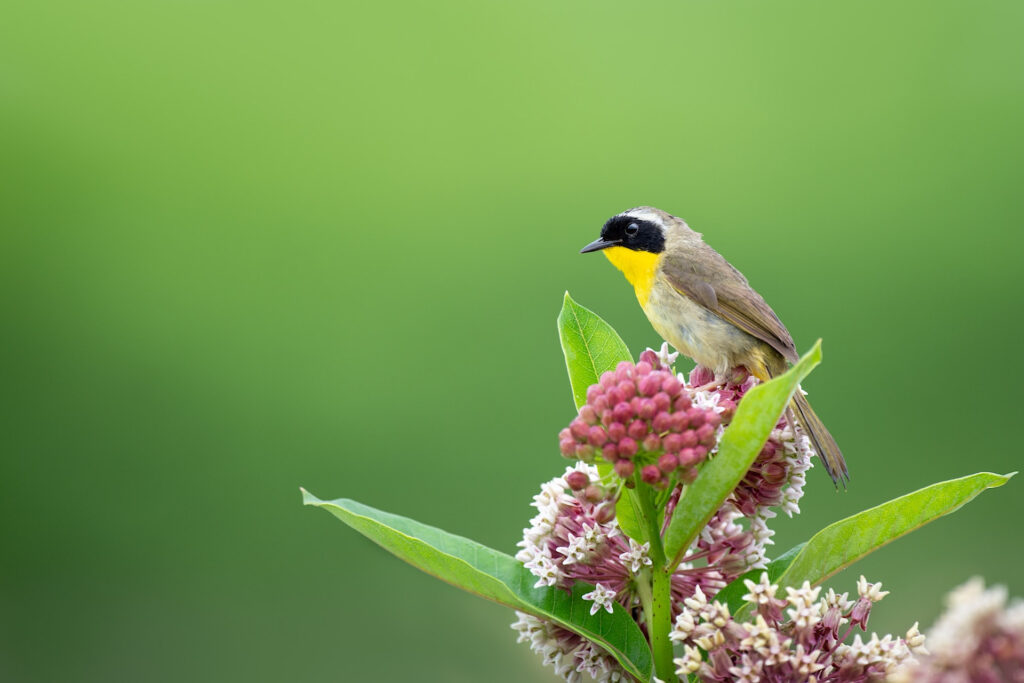
Step into the world of milkweed, where the ordinary becomes extraordinary. The simple act of planting native flowers can slowly transform your backyard into a haven for local wildlife. Often dismissed as a mere weed, milkweed plays a crucial role in supporting local pollinators, with the monarch butterfly being its most famous visitor. But there’s more to this unsung hero than meets the eye. It produces delicate, beautiful flowers and intriguing pods that add an artistic touch to your garden’s architecture and even become a fascinating element of indoor decor. In this post, we’ll start with fall harvest of milkweed seeds to planting seedlings in the fall.
Come bloom with me!

Milkweed: How It Blossoms with Benefits
Adding this unassuming native plant to your backyard garden offers a wealth of advantages, not just for your own enjoyment but for the broader ecosystem. Milkweed opens the door to a diverse range of creatures, while also enhancing your garden’s visual appeal. Take a look at this short list of benefits milkweed introduces into your backyard habitat:
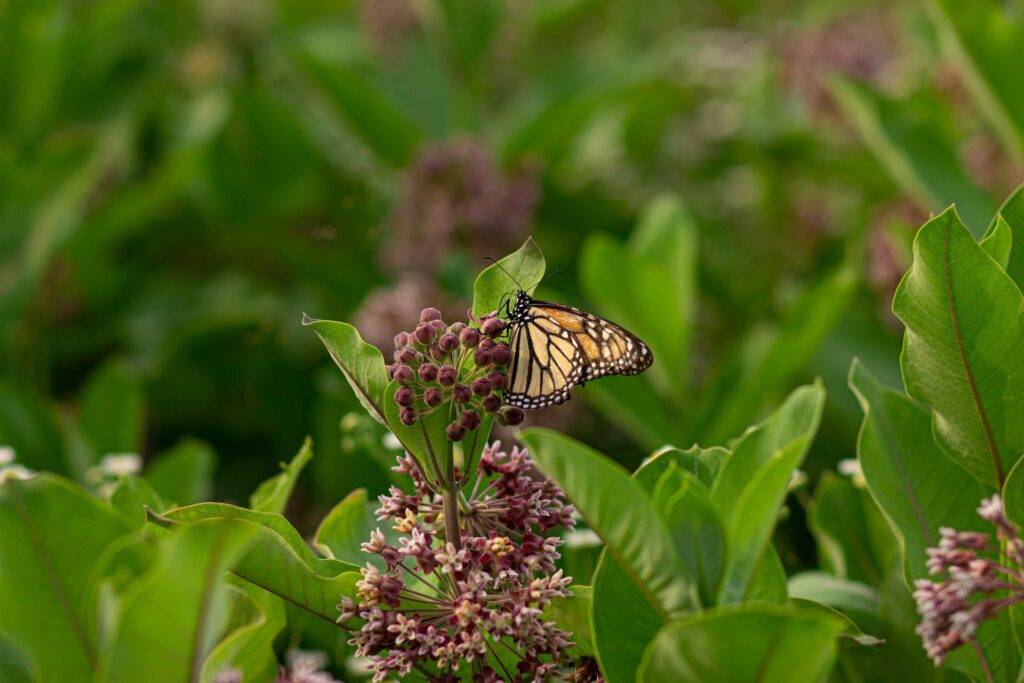
- Monarch Butterfly Habitat: Milkweed is a crucial host plant for monarch butterflies, providing a place for them to lay their eggs and food for their caterpillars.
- Supports Other Pollinators: While monarchs are the most famous, many other pollinators, such as bees, ruby throated hummingbirds and other beneficial insects are also attracted to milkweed nectar.
- Biodiversity: Planting milkweed contributes to overall garden biodiversity by attracting various species of insects and birds.
- Natural Pest Control: The presence of milkweed can help attract predators of garden pests, aiding in natural pest control.
- Low Maintenance: Once seedlings have taken hold, milkweed is relatively low-maintenance, making it a great addition for both novice and experienced gardeners.
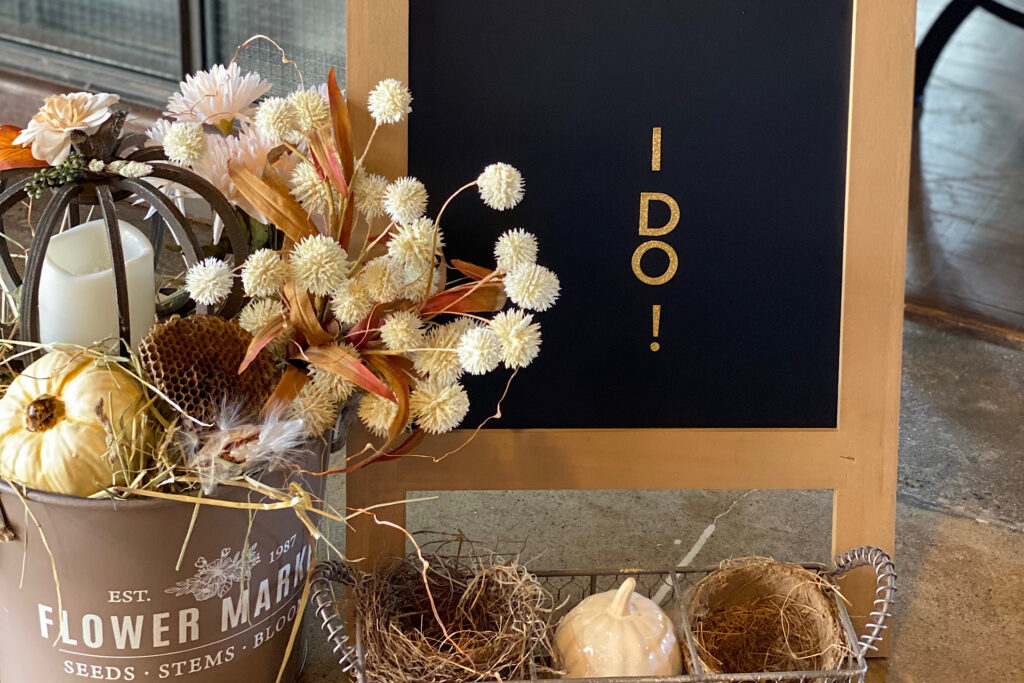
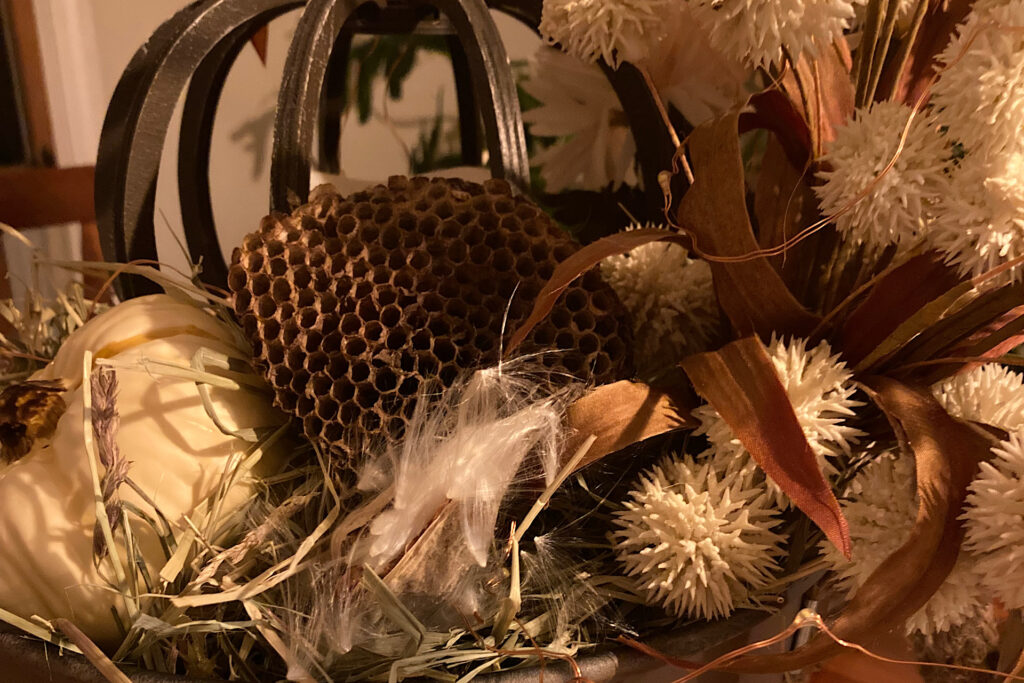
- Ornamental Value: Milkweed’s beautiful and unique flowers add aesthetic value to your garden, contributing to its visual appeal. The dried pods also make for lovely indoor décor.
- Education and Awareness: Growing milkweed in your garden can be an educational opportunity for children and adults alike to learn about the life cycle of monarch butterflies and raise awareness about their conservation.
So, as you plan your garden for the upcoming planting season, consider the numerous benefits of welcoming milkweed into your outdoor space. It makes the garden plan not just a choice for the present; but an investment in your back yard’s ecosystem.
Seed Harvesting: A Touch of Seasonal Magic
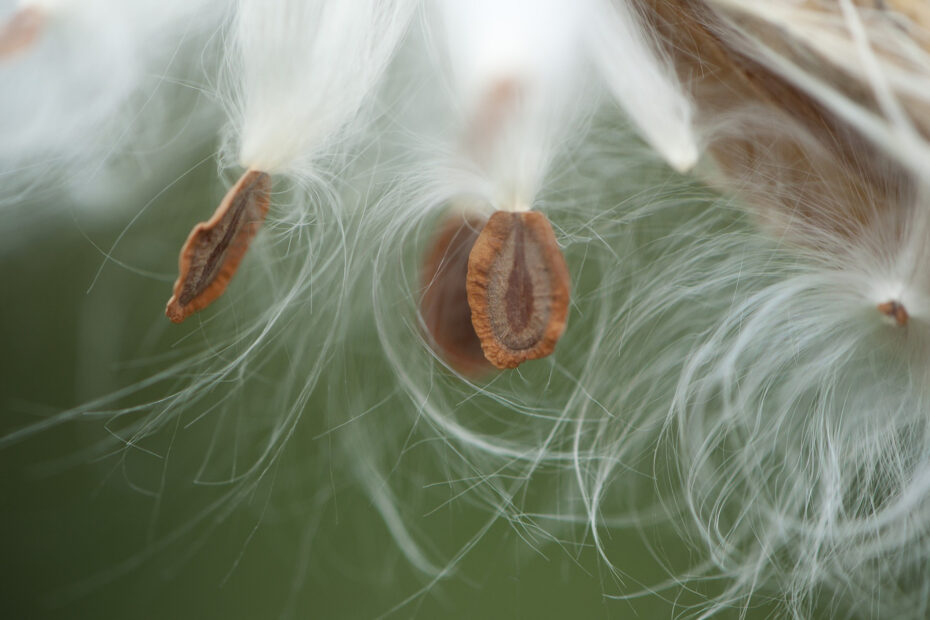
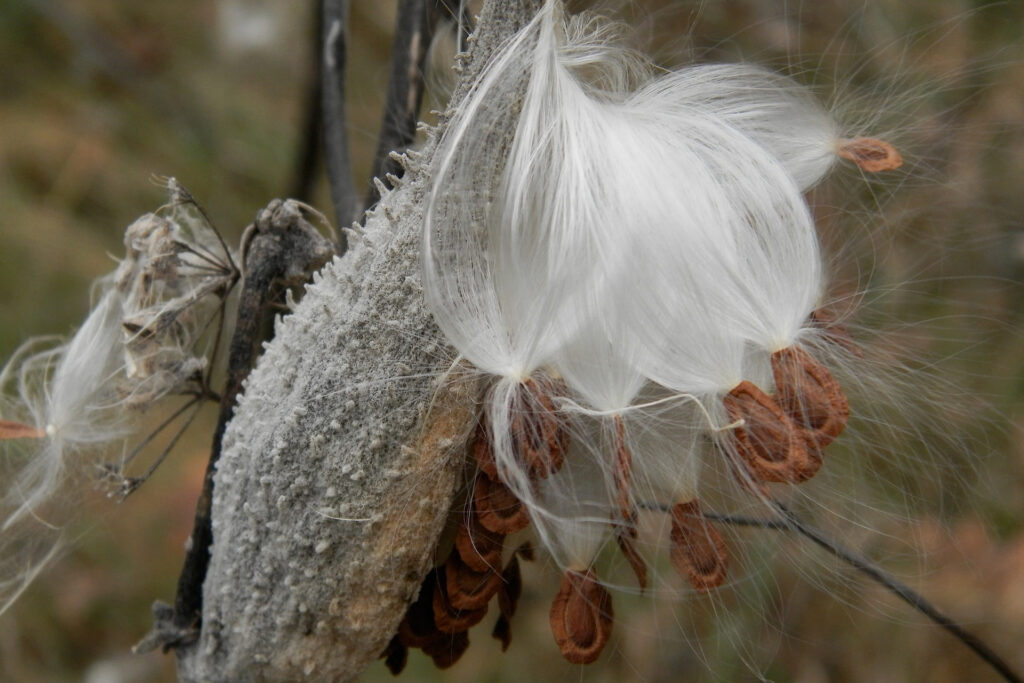
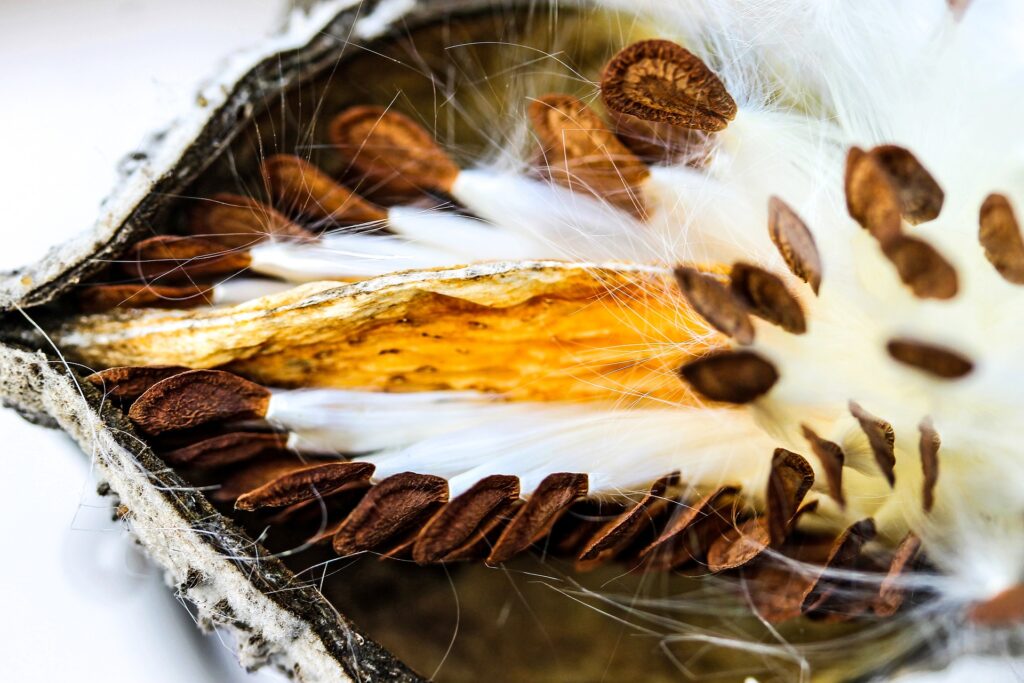
Harvesting milkweed and be fun as well as creative! As the days grow shorter and autumn’s embrace tightens, milkweed pods come into their own by transitioning from green orbs to rustic, papery jackets. While there are several methods for harvesting milkweed seeds, one approach that has proven successful for me, is letting the pods dry and begin to burst right on the plant. I feel this allows the seeds to mature as naturally as possible and hopefully ensures a higher rate of success when it comes to germination.
During the fall, when the pods split to reveal their hidden treasure, I carefully clip the full pods from the plant, so I can preserve them for the next phase of the journey. I bring them inside and let them continue drying for the remainder of the fall and winter seasons. While drying, I take advantage of their natural beauty as part of my seasonal décor. The pods become more than just seed jackets; I tuck them as accents into fall arrangements, seasonal tablescapes and festive garlands. As the holiday season approaches, they add natural whimsy to Christmas decorating.
The feathery down attached to the seeds looks especially pretty nestled among clear little Christmas light strings, creating tiny enchanting moments. I love that these pods are carrying life for next year’s garden, but also adding a unique touch to changing seasonal décor.

Cold Stratification: Awakening Milkweed Seeds
According to Save Our Monarchs (https://www.saveourmonarchs.org) Starting milkweed seeds indoors is a great way to ensure you will have milkweed plants ready when monarch butterflies arrive.
Most milkweed varieties need 30 days of cold exposure to break their dormancy cycle. In nature, this keeps milkweed plants from germinating at times when conditions are not favorable for growth. Even though you are storing your seeds inside, you can easily provide 30 days of cold exposure in your own home using a process called “cold stratification.” Cold stratification is just a fancy way of saying “exposure to cold” and is known to increase germination rates by waking the seeds up from dormancy.
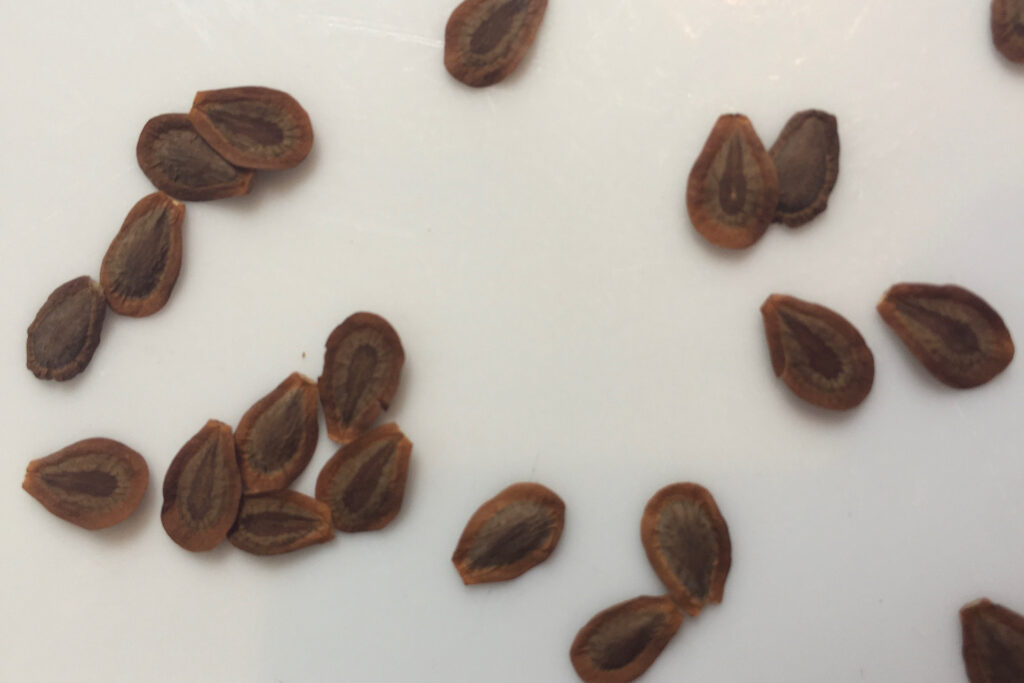
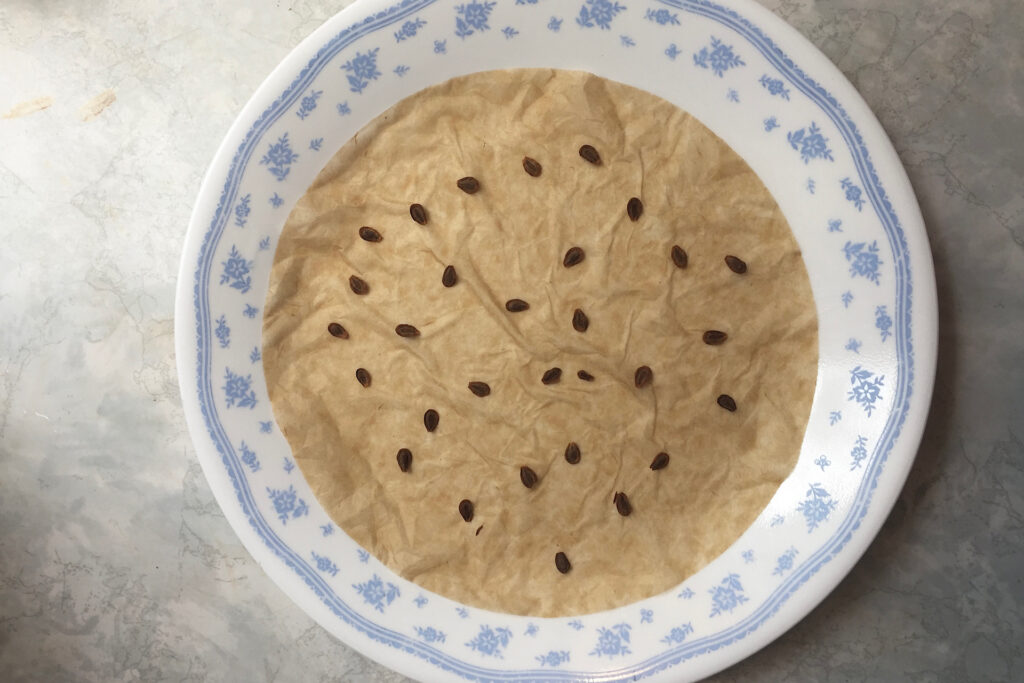
- Remove the dried seeds from their feathering and set aside. (Keep the feathering for more décor uses!)
- Dampen a natural coffee filter and place seeds on the filter. Make sure you wring out the filter and it is damp, not wet. If the filter is too wet, it can cause seeds to mold. (You can also use paper towels).
- Cover the laid-out seeds with another dampened coffee filter.
- Slide the two filters, with the seeds sandwiched between, into a ziploc plastic bag. Remove excess air and seal the bag.
- Label the bag with the date of packaging using an indelible marker.
- Place the bag in the refrigerator (33-38 degrees) for 30-60 days in a place where they won’t be disturbed. You may want to put the bag in a container so it won’t be jostled or damaged.
Save Our Monarchs organization also provides a chart outlining cold stratification times for various milkweed species:
- Common Milkweed – 30 days
- Swamp Milkweed – 30 days
- Whorled Milkweed – 30 days
- Prairie Milkweed – 30 days
- Western Sand Milkweed – 60 days
- Butterfly Milkweed – 30 days
- Showy Milkweed – 30 days
Starting Milkweed Seedlings: Step-by-Step
Starting milkweed seedlings is rewarding, but requires some planning to ensure your pollinator garden thrives. It’s important to remember that these tender seedlings should only be transplanted outdoors when the danger of frost has passed, so you’ll need to work backward from that date based on your local climate. In my region, I found success by cold stratifying my seeds during the month of March and starting the seedlings indoors in April. Here’s a simple step-by-step guide to help you cultivate healthy milkweed seedlings for your pollinator garden:
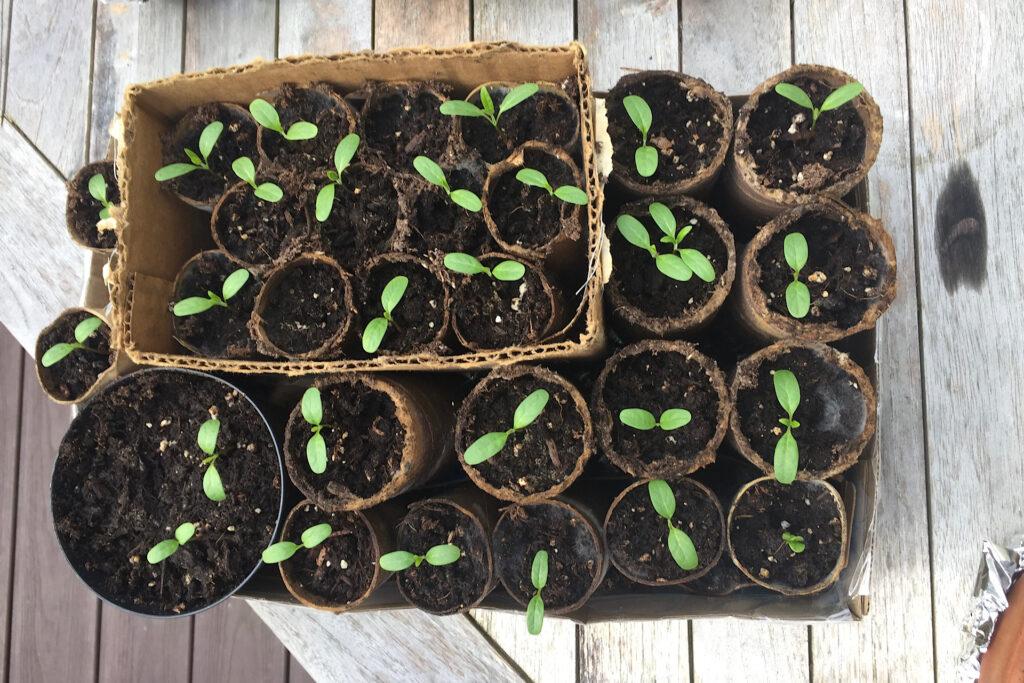
Step 1: Choose Biodegradable Pots. The first recommendation is to use biodegradable pots. Milkweed has a sensitive tap root that dislikes disturbance. Biodegradable pots allow you to plant the seedlings pot and all, minimizing root disruption when you eventually move them into your garden.
Step 2: Select the Right Soil. For seed starting, opt for a lightweight, well-draining seed starting mix. Avoid covering the milkweed seeds with too much soil, as they require sunlight to germinate. Instead, gently sprinkle the seeds on the soil’s surface, lightly press them in, and then dust them with a thin layer of additional soil.
Step 3: Watering. To water your milkweed seedlings, follow this method: place your biodegradable containers in a leakproof tray and add water to the tray’s bottom. This bottom watering method allows the soil to absorb moisture without disturbing the seeds. Additionally, it’s helpful to spritz the top layer of soil with a mister to ensure proper moisture levels.
Step 4: Create a Supportive Environment. To encourage successful germination and growth, consider using a few extra tools. Place the seed container on a warming mat to provide consistent, gentle heat. Cover the container with cling wrap for the first couple of days to create a mini-greenhouse effect, retaining essential moisture. After this initial period, remove the cling wrap to allow for better air circulation.
Step 5: Provide Adequate Light. Milkweed seedlings require sufficient light to flourish. While a sunny window can work, be cautious, as it may result in leggy seedlings. To prevent this, overhead grow lights are an excellent alternative. If you opt for a sunny window, supplement with grow lights as needed.
Step 6: Encourage Strength. Strengthen your seedlings by using a small fan to create a gentle breeze. This encourages them to develop sturdier stems. You can also gently brush your palm across the tops of the seedlings.
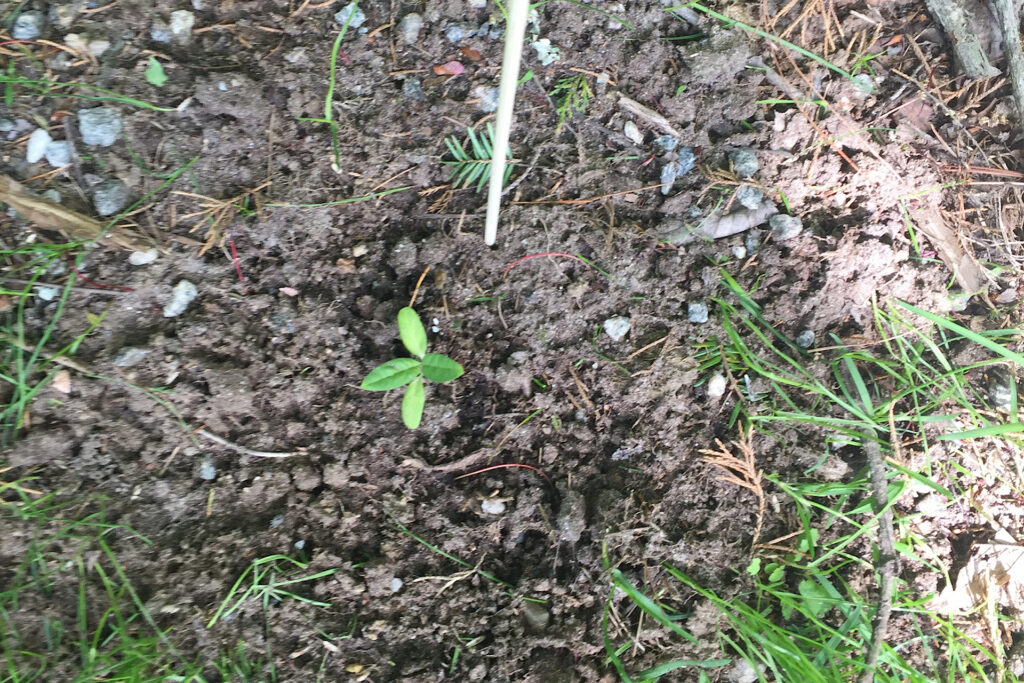
Step 7: Transplanting. Once your milkweed seedlings reach a height of 1-3 inches above the soil, they are ready to be transplanted into your garden. Make sure the danger of frost has passed for your area, and choose a sunny location where they can thrive. Milkweed does well in slightly acidic soil and is hardy in Zones 3-8. Height can be 3 feet tall or more. With these steps, you’ll be well on your way to nurturing healthy milkweed seedlings, ready to support local pollinators in your garden.
Growing Your Pollinator Paradise
By taking a thoughtful approach to milkweed cultivation, I hope you’ll not only be able to support your local pollinators but also enhance the natural beauty of your outdoor and indoor spaces.
Invitation
If you enjoyed this post, be sure to check out related articles here at Late Bloomer in Bakerville. Let’s continue this journey of discovery within the “Foundational 5 F’s:” Food, Family, Friends, Flora and Fauna!