At first glance, the term cold stratification may present as complicated; but it truly is a simple process if you are interested in starting Echinacea (cone flower) from seed.
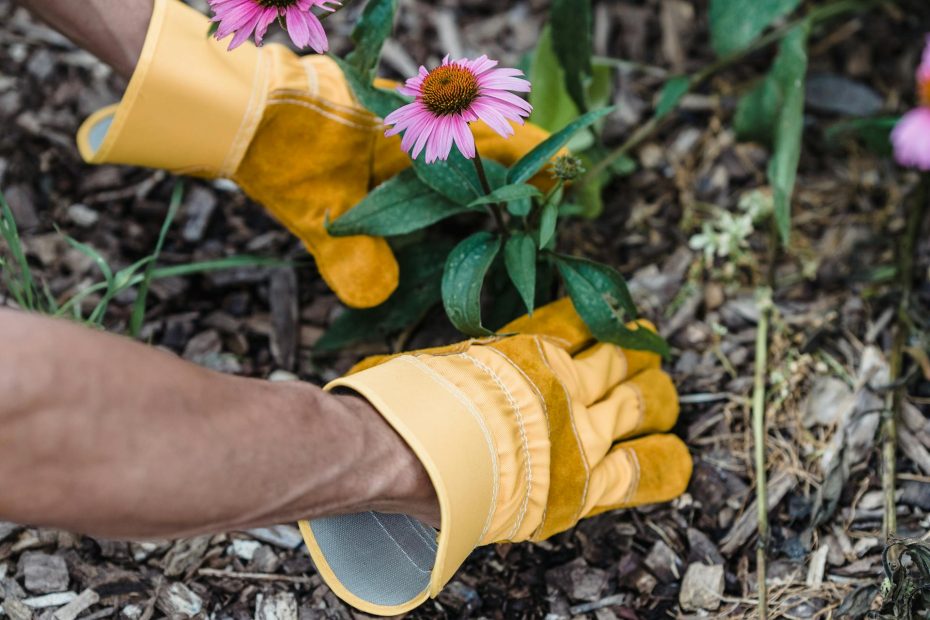
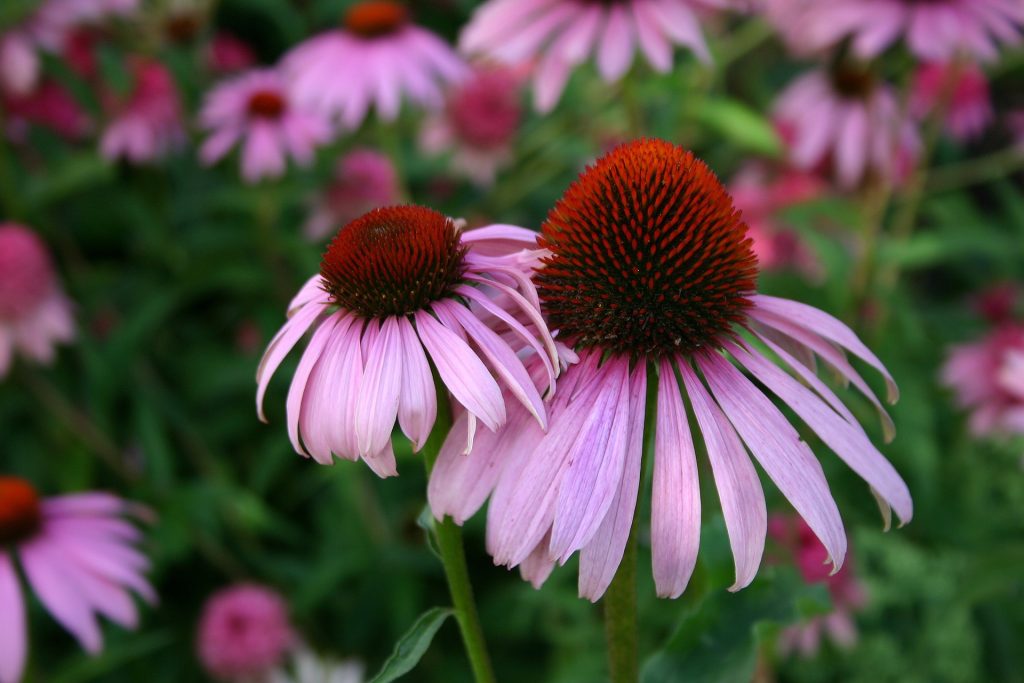
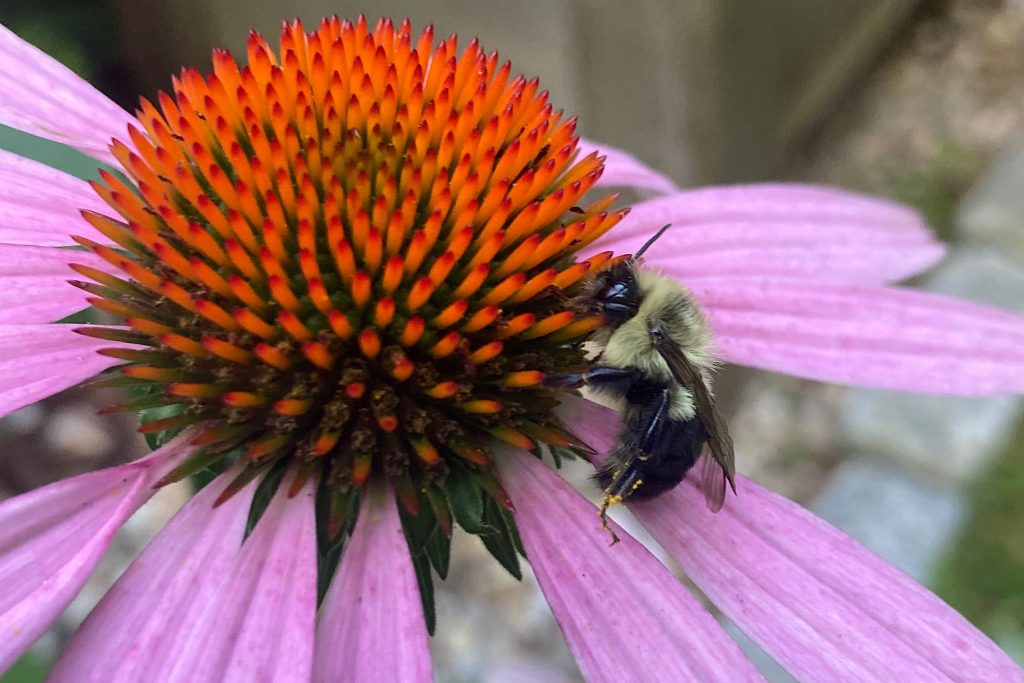
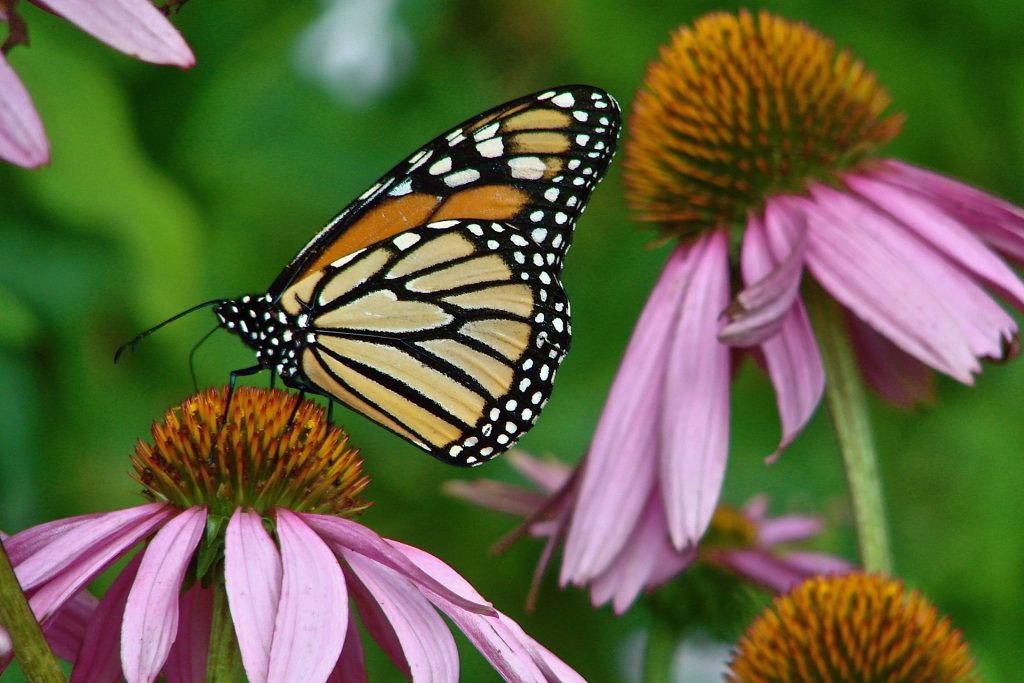
Echinacea purpurea is commonly referred to as purple coneflower. It is a perennial plant native to the Southeastern and Midwestern United States. You’ll also find it distributed in the Northeastern states as well. I love the addition of this plant in my back yard. It is hardy, low-maintenance, fairly pest-free and attracts a variety of pollinators and birds.
If you are starting with a purchased seed packet or have gathered Echinacea seed yourself, you will want to understand cold stratification before planting them in soil. I’m happy to share this simple process with you. Come bloom with me!
What is Cold Stratification?
To start at the beginning, Echinacea is classified as an herbaceous perennial plant. A perennial lives for more than two years (surviving to the next growing season). Some perennials have very long lifespans and some will need to be replaced after a few years. Echinacea is one of those plants that will provide beautiful blooms for many years.
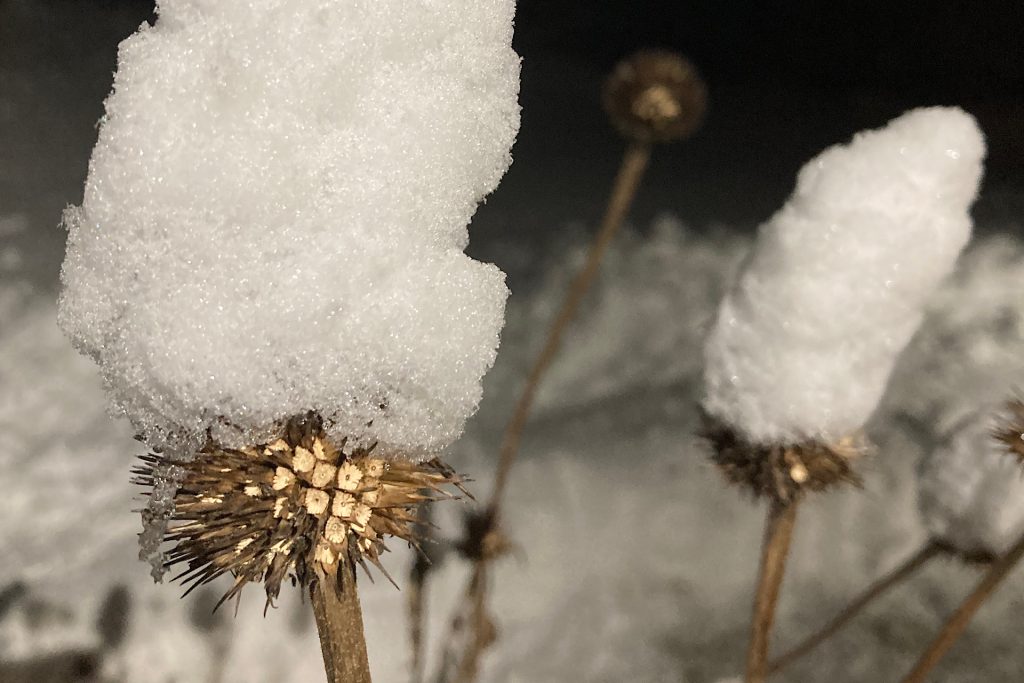
When surviving to that next growing season, some perennials like Echinacea are exposed to winter temperatures and damp conditions between growing seasons. Cold stratification simply imitates winter’s cold and moist weather and will prompt an Echinacea seed to sprout from its dormant state. You are simply preparing the seed for successful germination.
Without cold stratification, you still may get a few seeds to germinate, but this process will ensure successful seed starting.
Simple Supply Kit
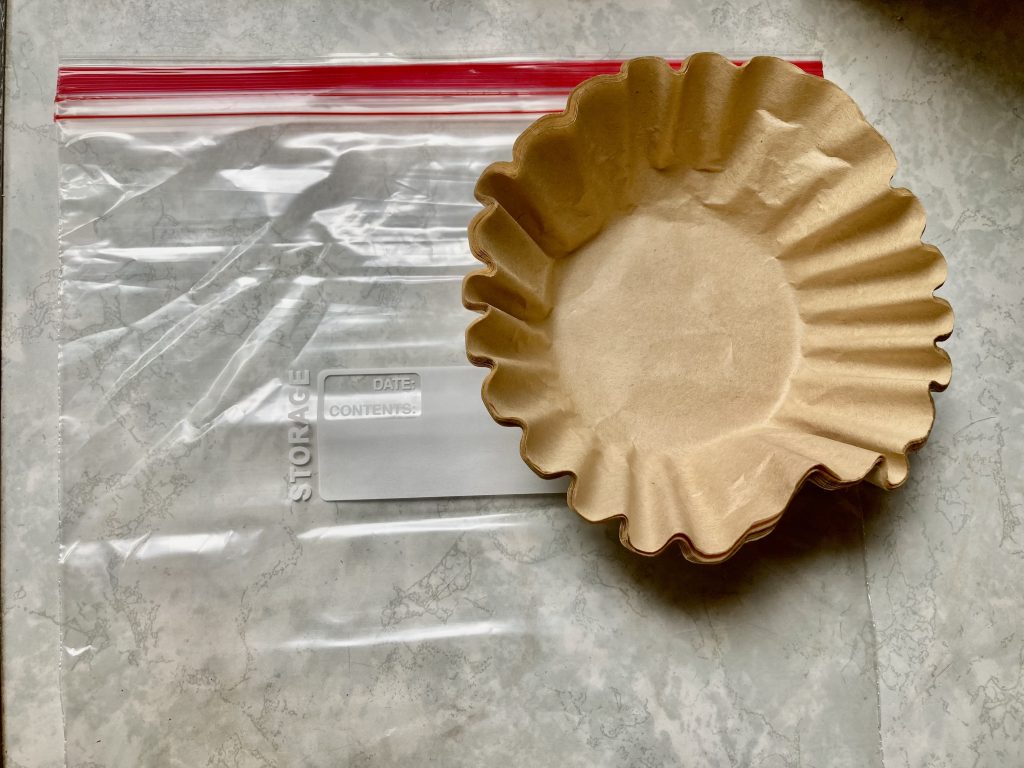
The supplies for this project couldn’t be simpler; and you’ll likely already have them on hand in the kitchen:
A plastic zip lock bag
Coffee filters (paper towels work too)
If you are working with more than one type of seed, you may want to label the bags with a sharpie marker.
Seed Selection
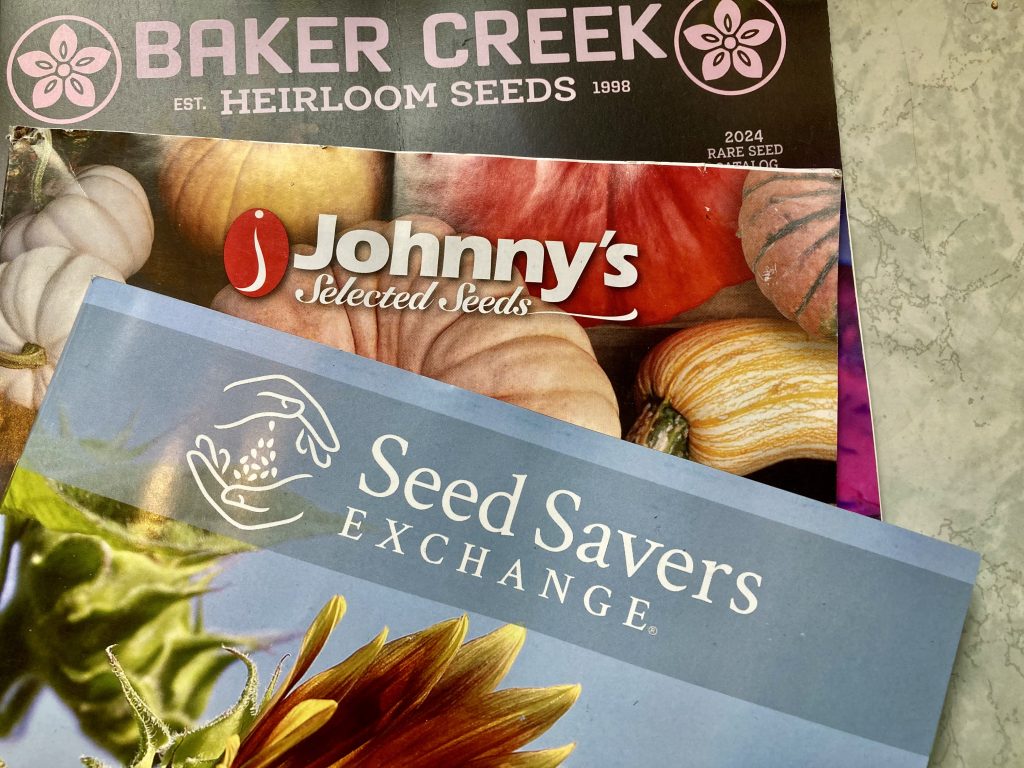
If you don’t have Echinacea seed on hand, I have had good luck with these resources:
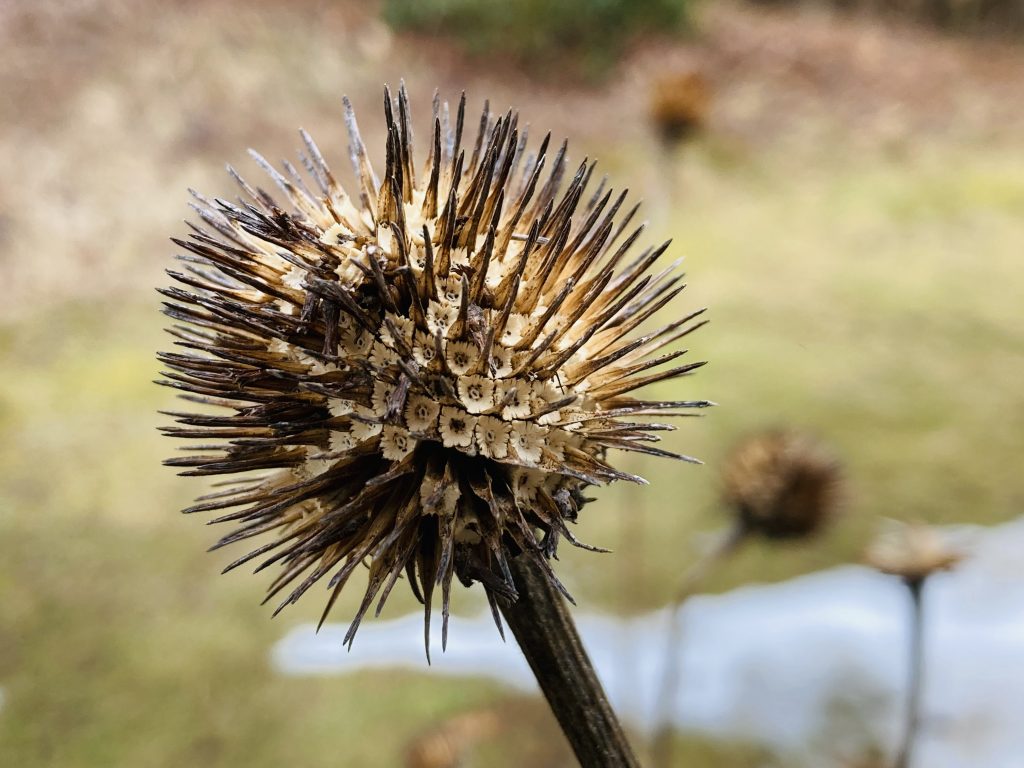
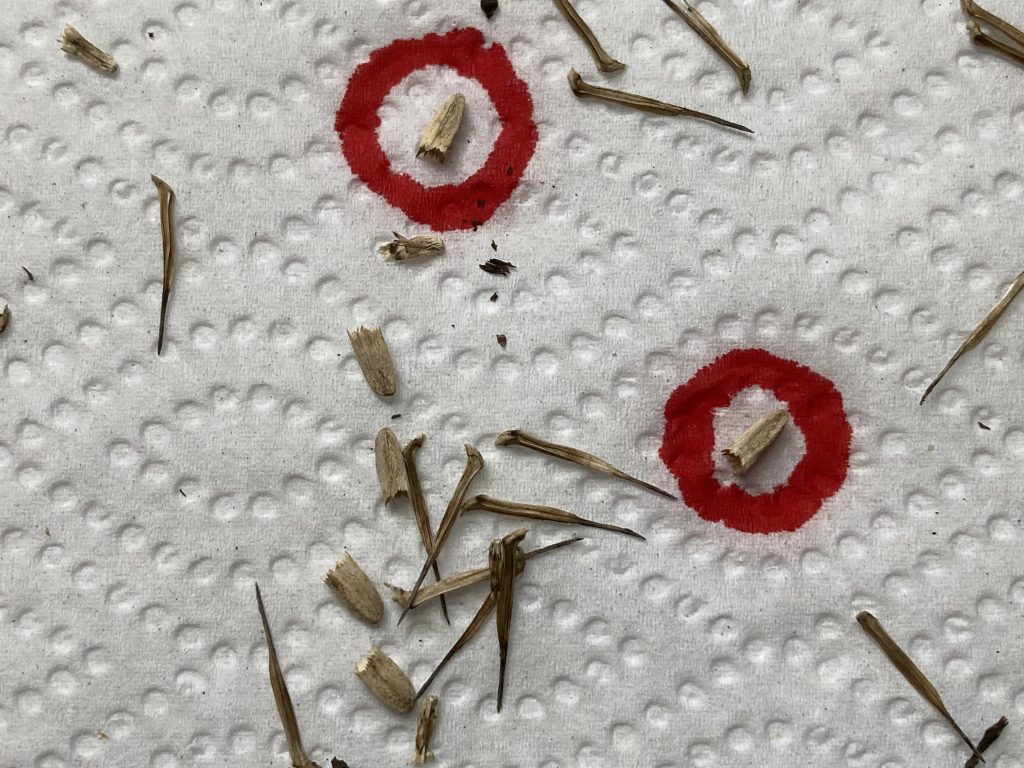
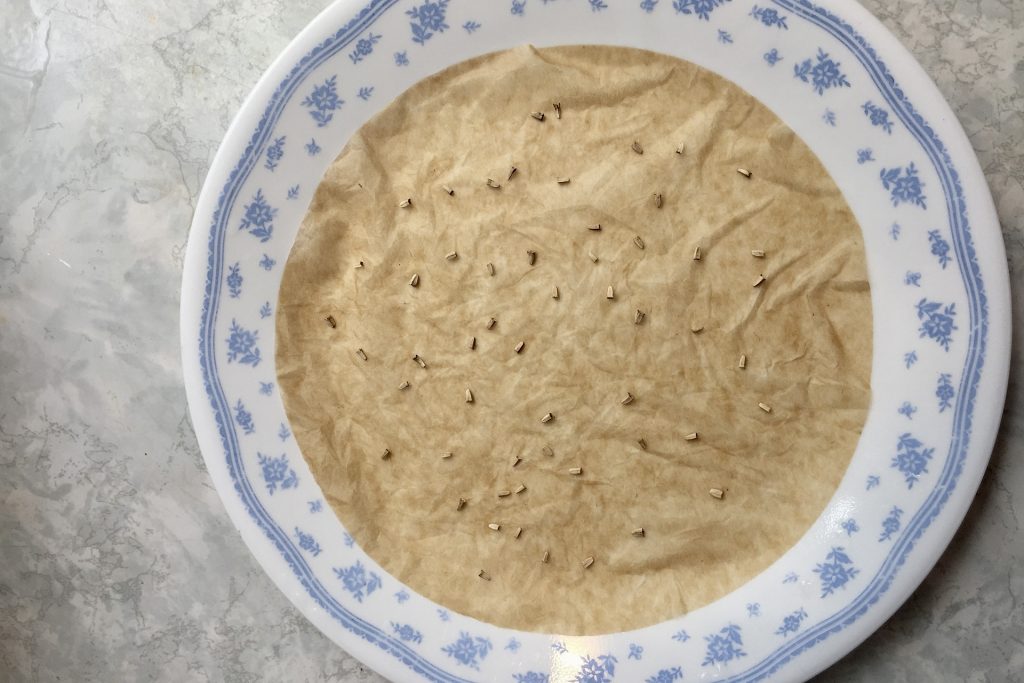
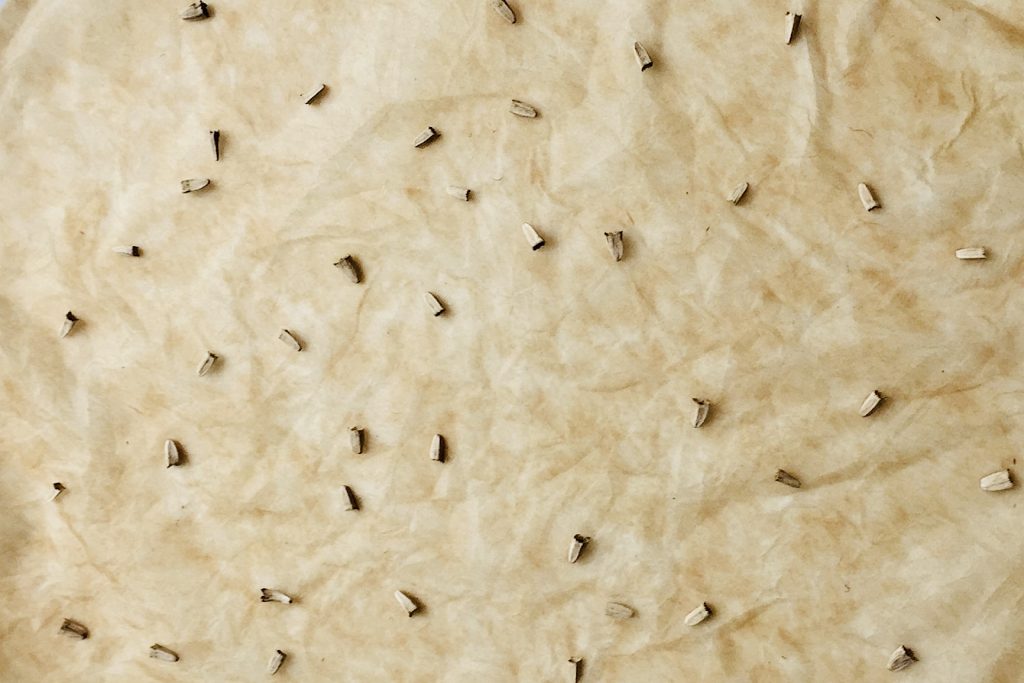
If you are gathering your own seeds, I’ve included a photo below of a dried Echinacea seed head. It presents as a spiky orb. Fun fact: the genus name, Echinacea, is derived from the Greek word echino, meaning hedgehog; likely referring to its spikey appearance. The seeds themselves are at the bottom of those spikes, embedded in the orb. In another photo below, you’ll see that I have separated the spikes from the seeds and circled the seeds in red. The seeds and spikes are easy to remove and won’t damage your fingers.
Prepping for Cold Stratification
Now you can move forward with either your packaged seeds or the ones you have separated from the dried flower head:
Start first by dampening two coffee filters. “Damp” is the key word. You do not want them to be soaking wet. This is why I recommend coffee filters; you can easily wring them out without them falling apart.
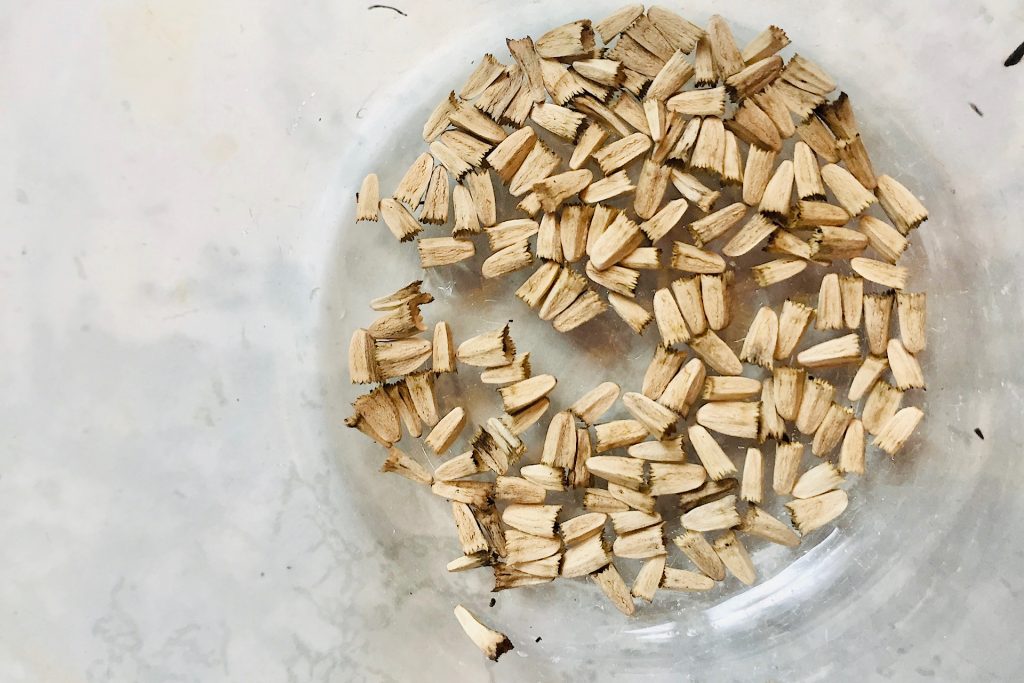
Lay the echinacea seeds on one of the dampened filters.
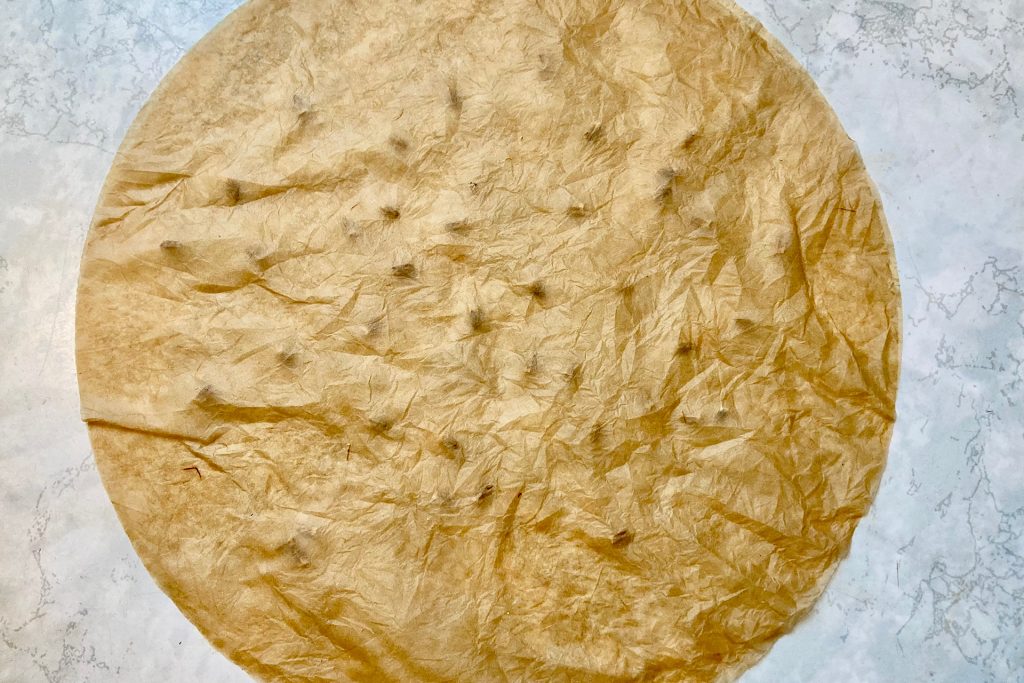
Cover them with the other dampened filter, sandwiching the seeds in between.
Place the filter packet inside of a zip lock bag, smoothing it flat, and close it securely.
Place the bag in the refrigerator.
That’s it! You’re ready to go. Here are a few planning tips you may find useful:
When I first learned how to do this, I was told to store the bags at the back of the refrigerator on the bottom shelf as that would be the coldest zone. I wasn’t sure if this was accurate, but it worked nicely for me. Migardener channel recommends the refrigerator crisper drawer for the same reason.
Remove the bagged seeds from the refrigerator after 2-3 weeks.
Whether planning to sow indoors or outdoors, you’ll want to add that 2-3 week period into your prep plan to allow for the stratification process.
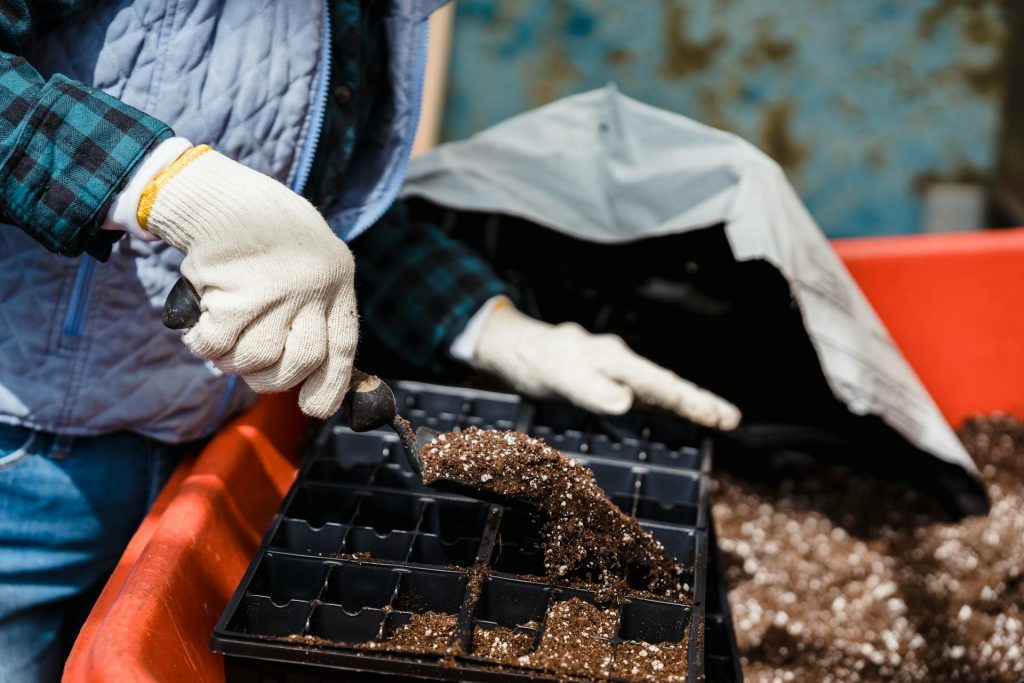
Some seeds may begin to spout in the refrigerator. That is fine. Carefully remove them from the coffee filters and place the seed and its roots in your potting soil.
There may be a little pink mold on the coffee filters – that if also fine and should not impact your seeds. It is from the moisture in the baggie. This is also why you don’t want to leave them in the refrigerator longer than 3 weeks – to inhibit mold growth.
When considering planting location, Echinacea does well in at least 4 hours of sunlight per day. It likes morning shade and afternoon sun or vice-versa. It is hardy in zones 3-9 and will grow from 2-4 feet tall.
Happy Ending
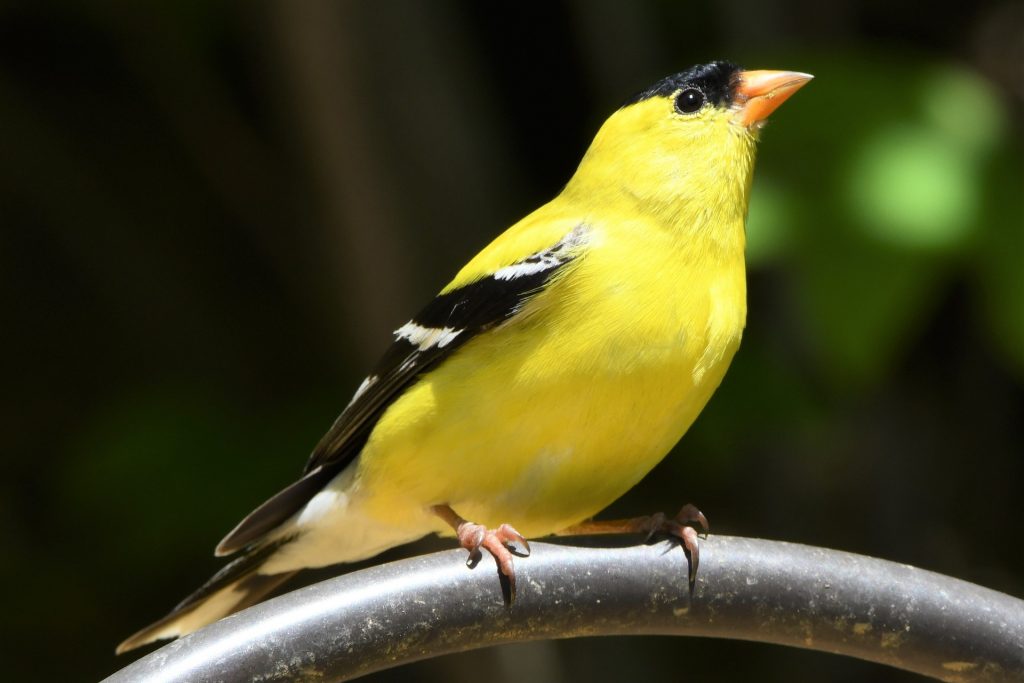
When Echinacea begins to flourish in your garden or yard you will find that it is a favorite of bees, butterflies, small songbirds and hummingbirds. My dry seed heads have also served as a food source for birds in the winter; goldfinch love them!
As far as wildlife interest; Echinacea is seldom damaged by deer. I have read that rabbits will nibble on tender, young growth, but I have not had this problem in my flower bed. To date, Echinacea has been a low-maintenance winner in my garden.
Let me know if you try it in yours!
Resources
If you enjoyed this article, you might want to explore these as well: