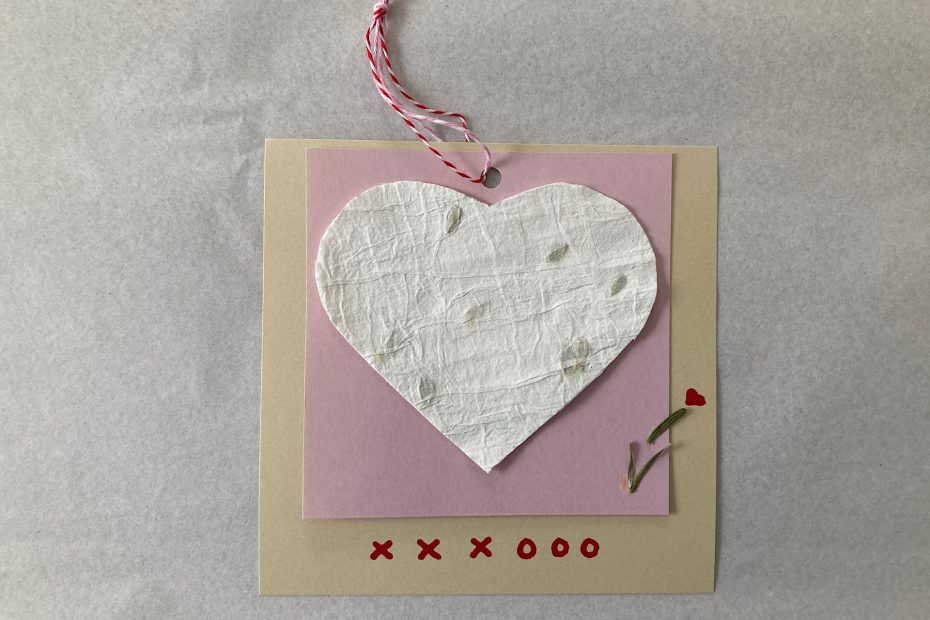
As Valentine’s Day draws near, I find myself searching for a gift idea that is unique, thoughtful, and a little different from the usual candy and carnations. Around this same time, I also begin planning my spring garden—thinking about seeds, blooms, and fresh possibilities. That’s when inspiration struck: what if I combined my love for gardening with the spirit of Valentine’s Day? After some research and a little experimenting, I decided to make handmade valentine seed paper—a simple, eco-friendly craft that shares the promise of new growth. It’s a perfect way to give a gift from the heart, and I’m excited to invite you to try it, too. Let’s get started!
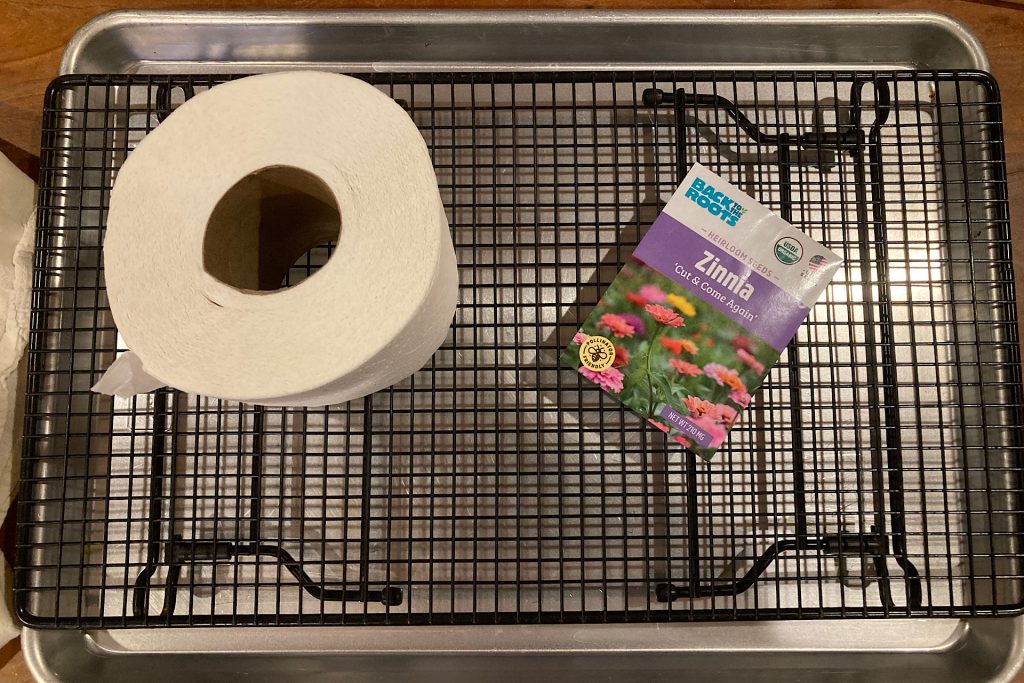
This project is a favorite of mine because it’s simple and handmade with materials I already have around the house. And, if I didn’t have an exact item my research called for, (like a fine mesh screen for drying), I substituted my baking rack—and it worked wonderfully! Here’s the list of supplies I used for my project, but don’t hesitate to switch out with what you have available.
Supplies for Handmade Seed Paper
- Packet of flower seeds (I chose heirloom zinnia seeds because they bloom beautifully and symbolize lasting affection—perfect for a Valentine’s gift!)
- Roll of toilet paper (consider eco-friendly paper if you can—the perfect complement to a craft that celebrates new growth)
- Fine mesh screen (or baking rack)
- Tea towels or dish towels to absorb moisture
- Water sprayer bottle
Additional Supplies for Valentine Cards
- Heart shape for tracing (I used a cookie cutter)
- Cardstock paper in colors of your choice
- Tiny specks of greenery (I used pine needles)
- Elmer’s glue (and some double-sided tape if you have it)
- Hole punch
- String
Handmade Valentine Seed Paper: Step-by-Step
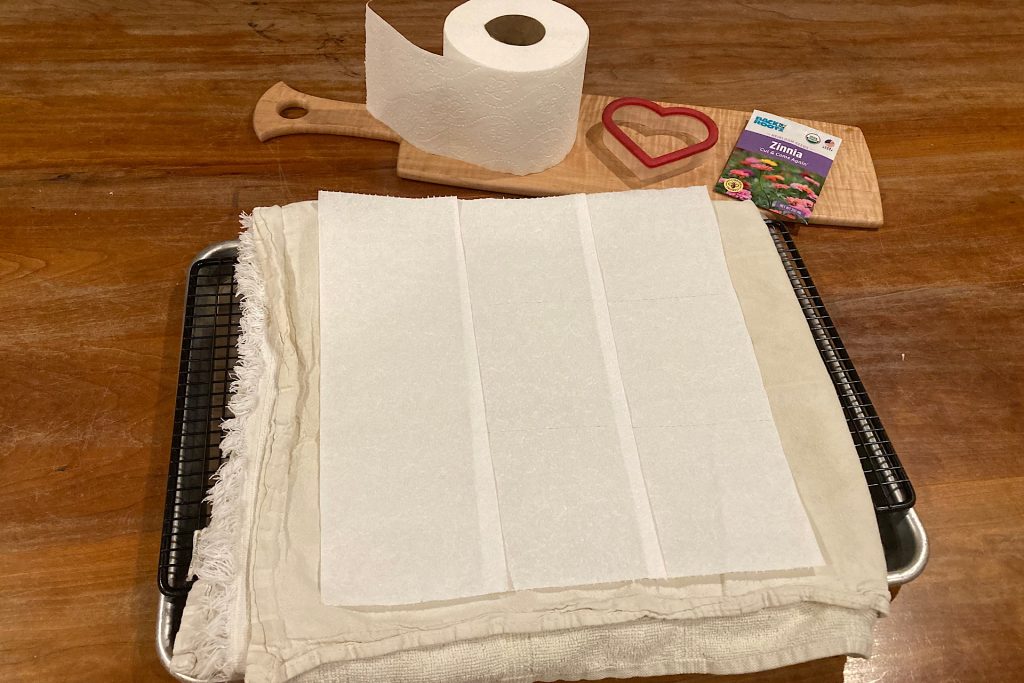
Getting Started: Preparing Your Work Area for Seed Paper Success
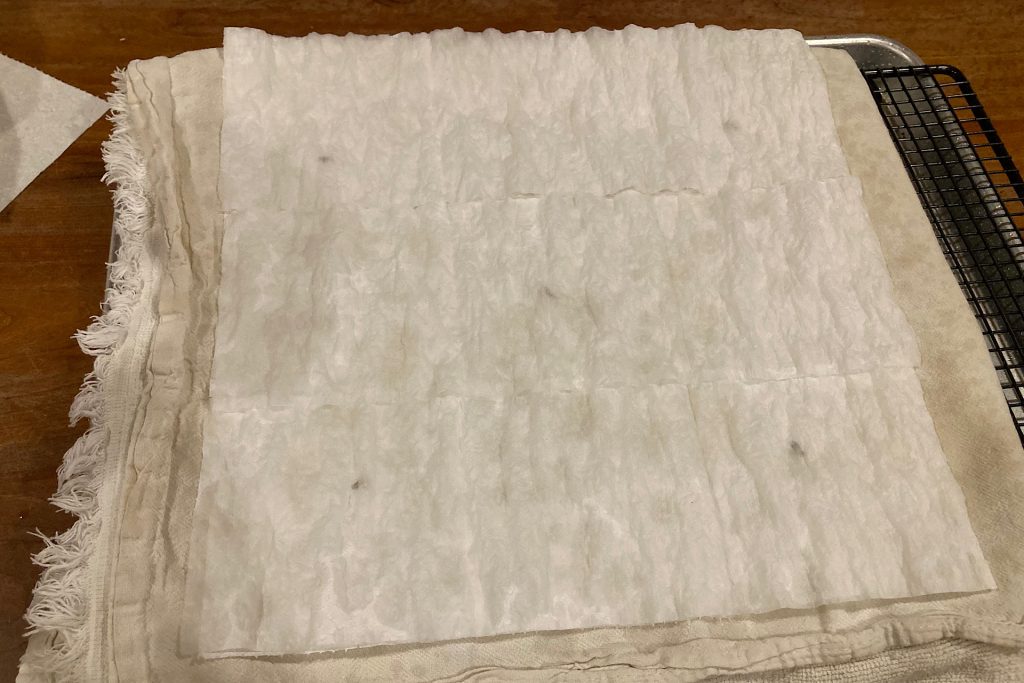
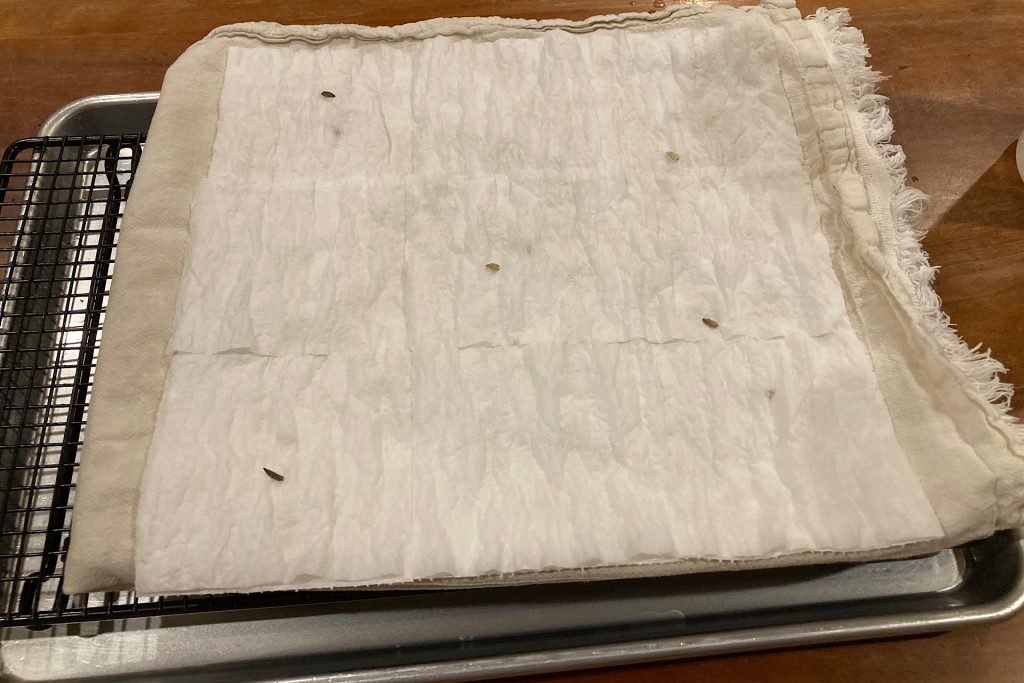
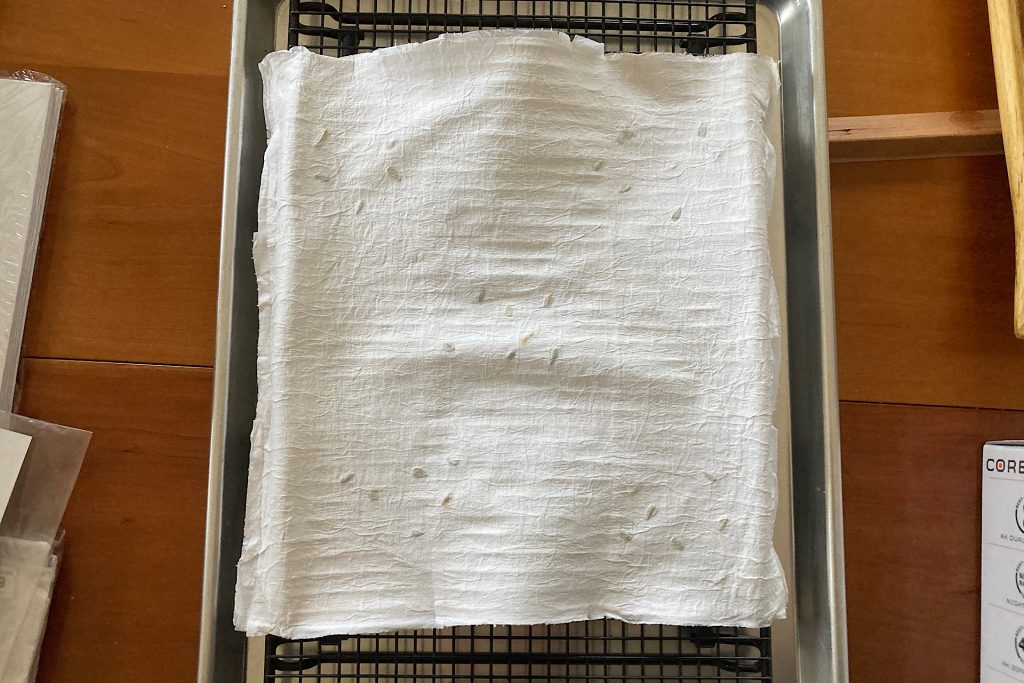
To begin, cover your baking rack or fine mesh screen with a layer of dish towels or tea towels. This will help absorb the excess moisture when we start wetting the toilet paper to bind the layers together. It’s an easy trick that keeps your workspace tidy while ensuring the layers hold well. You’ll want to lay out a single layer of toilet paper, overlapping edges so they create a larger surface area when dampened and melded together.
While researching, I noticed some crafters prefer a method where they immerse an entire roll of toilet paper in water, pulse it in a food processor, wring it out, and add seeds before pressing the mixture into cookie cutter molds. While creative, I find this layering method much simpler and more practical. It avoids over-soaking the seeds and keeps them in a tidy packet, ready for planting later. This approach feels more in line with the heart of this eco-friendly craft: easy, effective, and earth-conscious.
Creating the Layers for Perfect Planting
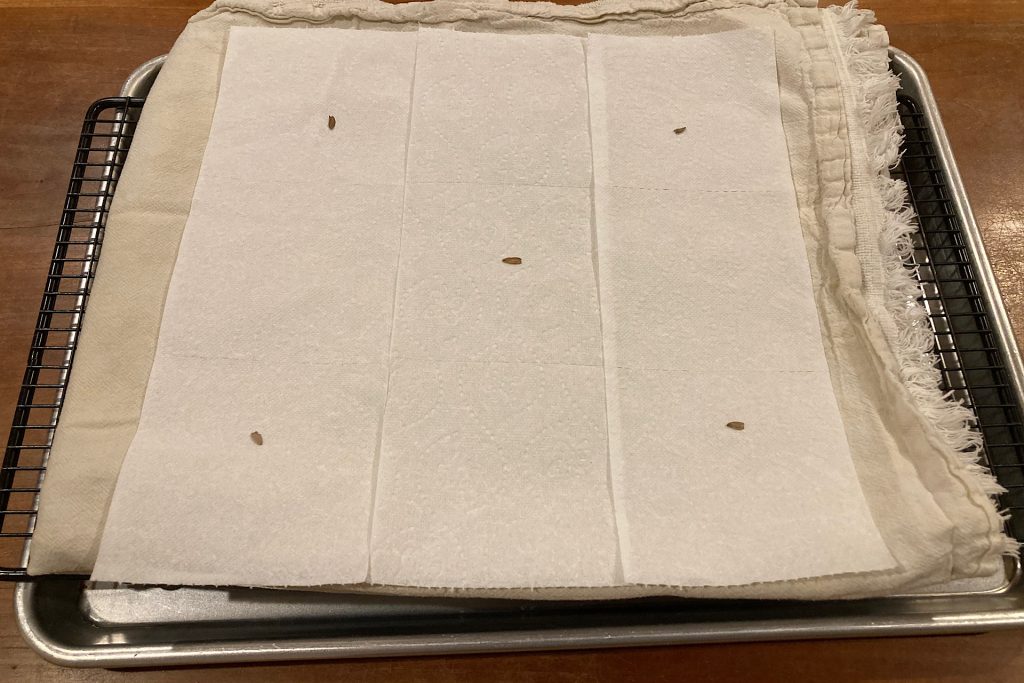
Let’s bring your handmade Valentine seed paper to life! Begin by sprinkling a few seeds on your first layer of toilet paper. If you’re planning to cut heart-shaped valentines, space the seeds to fit your cookie cutter shapes. For my project, I carefully placed one seed per heart, leaving room to fit five hearts on the final sheet.
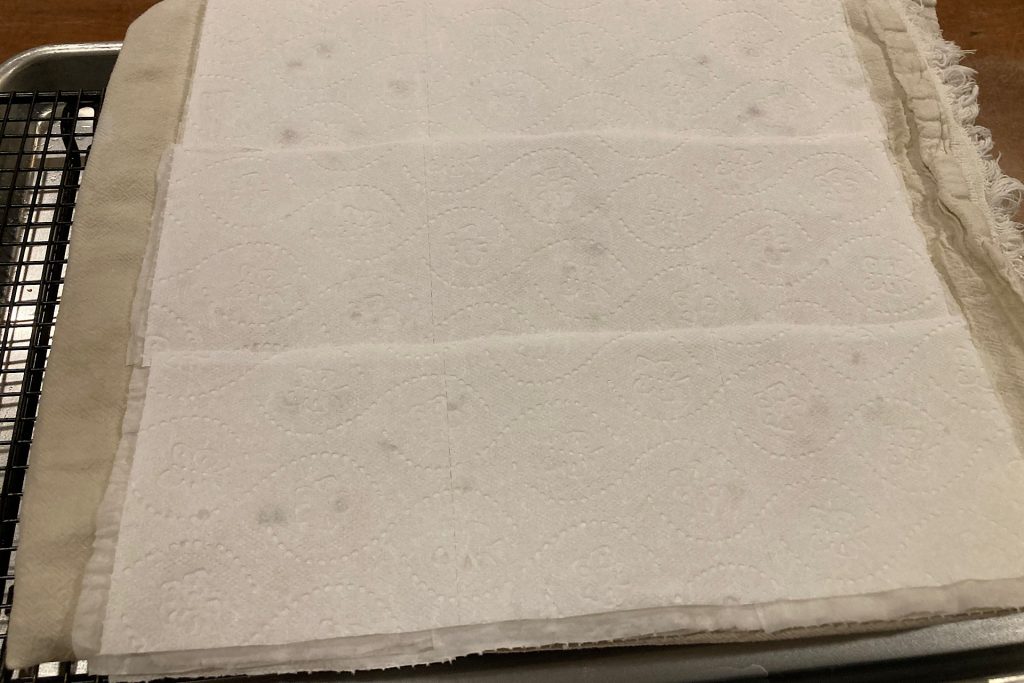
Once your seeds are spaced, cover them with three more overlapping strips of toilet paper, arranged crosswise to create a sturdy grid. Spray the paper well with water so it adheres neatly to the layer below. On this damp surface, sprinkle more seeds. Using your cookie cutter as a guide, space them so each heart shape gets its share of seeds.
Cover this second layer of seeds with three more strips of overlapping toilet paper, this time laid vertically. Spray them until damp, ensuring they stick securely. For the final layer, place the rest of your seeds in the five designated areas for your hearts, then cover them with three more strips of toilet paper laid crosswise. Give the entire sheet a generous spray of water to make sure all layers are damp and bonded.
When you’re done, you’ll have four layers of toilet paper and three layers of seeds arranged in a grid. This technique keeps the seeds tidy, evenly spaced, and ready for planting once your Valentine’s Day gift is shared.
Damp to Dry: Preparing Seed Paper for Crafting
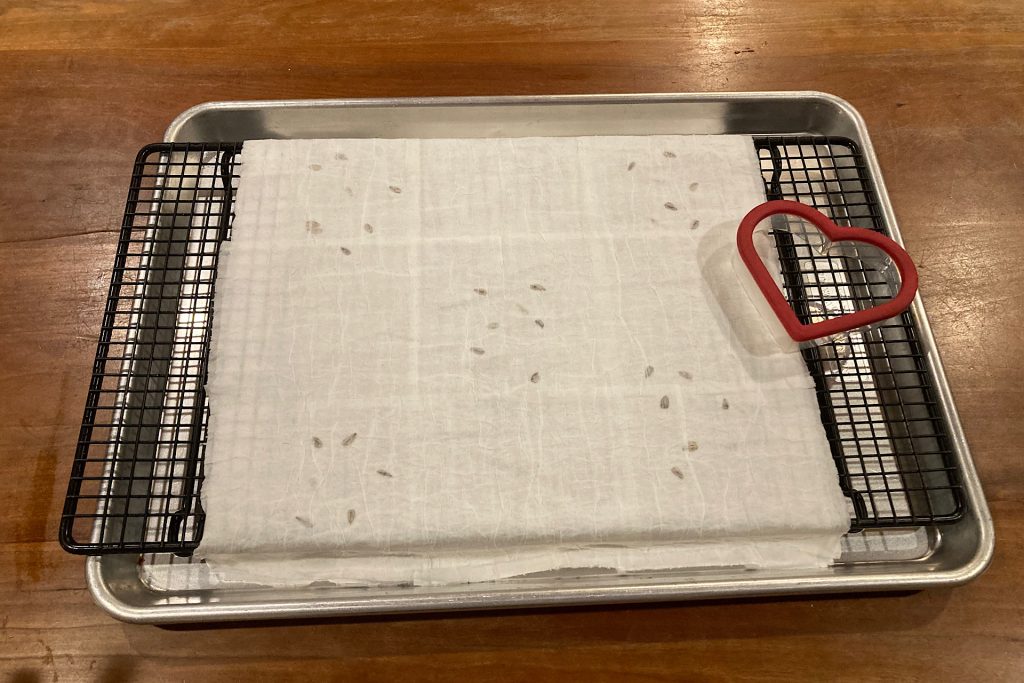
Now that your seeds are perfectly layered and the paper is dampened, it’s time to dry your handmade Valentine seed paper. This step is important because you don’t want the seeds to absorb too much moisture and begin sprouting prematurely.
One reason I love this layering method with thin toilet paper is how quickly and easily it dries. Start by lifting the dish towels holding your seed paper and transferring them to a flat surface. Lay a dry towel over the top and press gently but firmly to absorb excess moisture.
Next, carefully lift the damp seed paper off the towels and transfer it to your drying rack. Spread it out evenly and leave it to air dry overnight. By morning, your seed paper will be fully dry and ready for cutting into heart shapes—or sharing as thoughtful Valentine gifts for the garden lovers in your life!
Making Handmade Valentine Seed Paper Cards
Shaping the Heart: Transforming Seed Paper into Valentine Cards
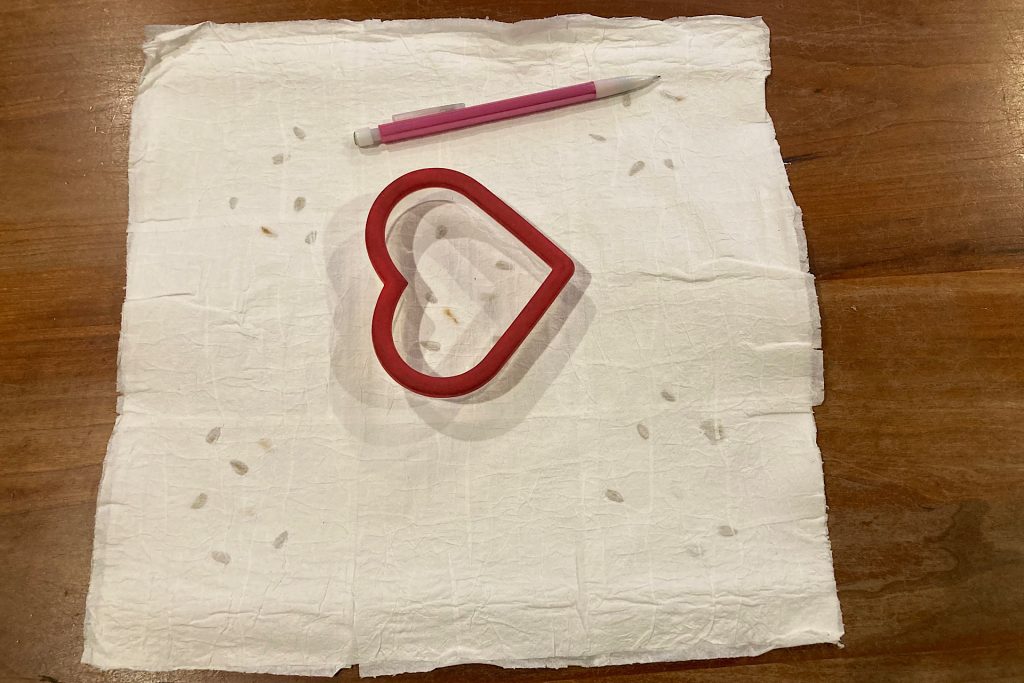
Now that your handmade seed paper has dried, it’s time to turn it into stunning Valentine cards! If your paper has a slight wave, no need to worry—flatten it easily by placing a baking sheet on top and weighing it down with a cast-iron pan for a couple of hours.
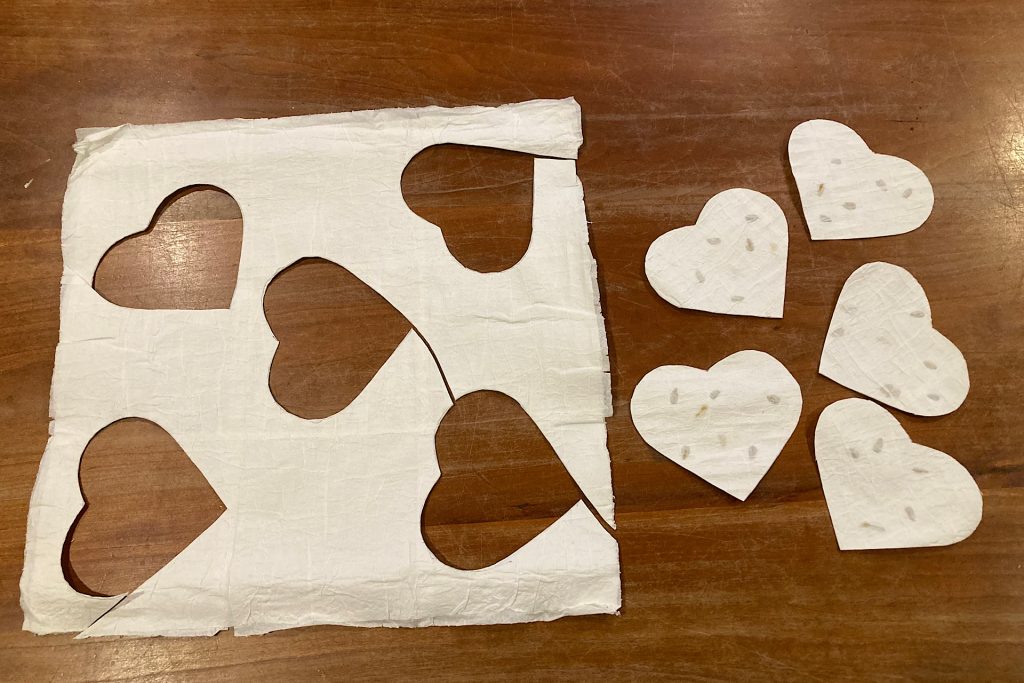
To start, position your heart-shaped cookie cutter over the seeds and trace the outline lightly with a pencil. Carefully cut out each heart using sharp scissors, keeping the shapes neat and clean.
Layered Love with Cardstock and Greenery
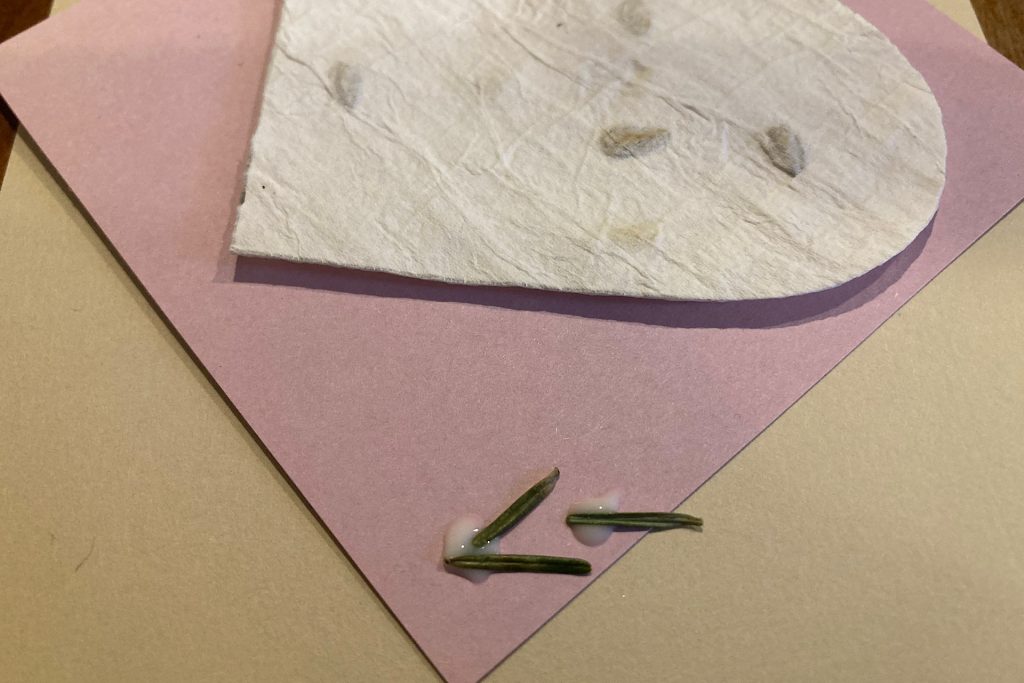
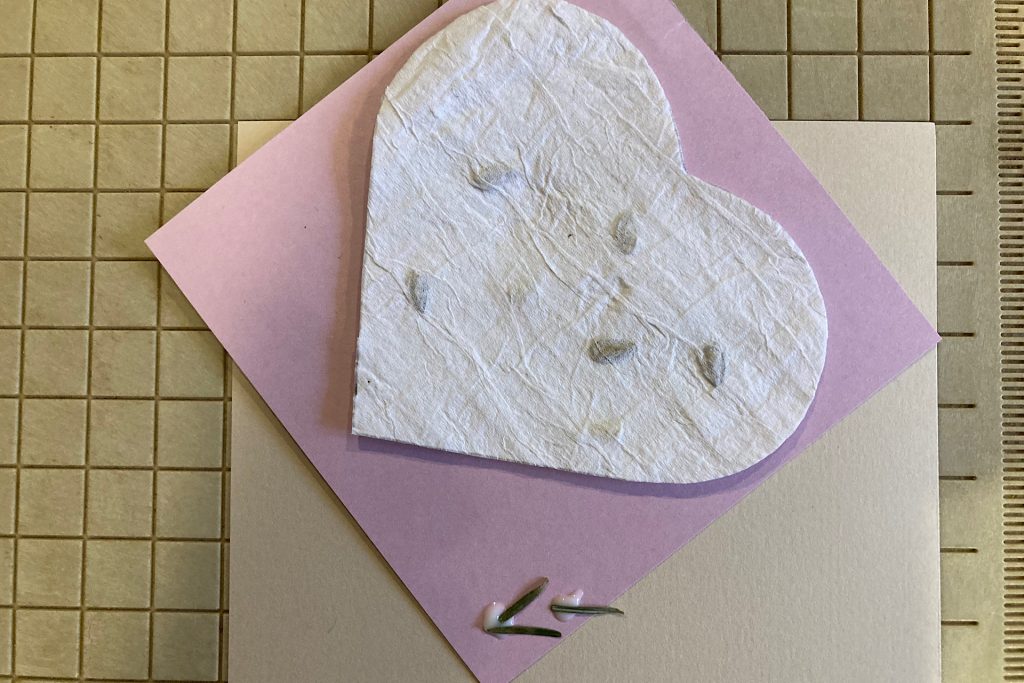
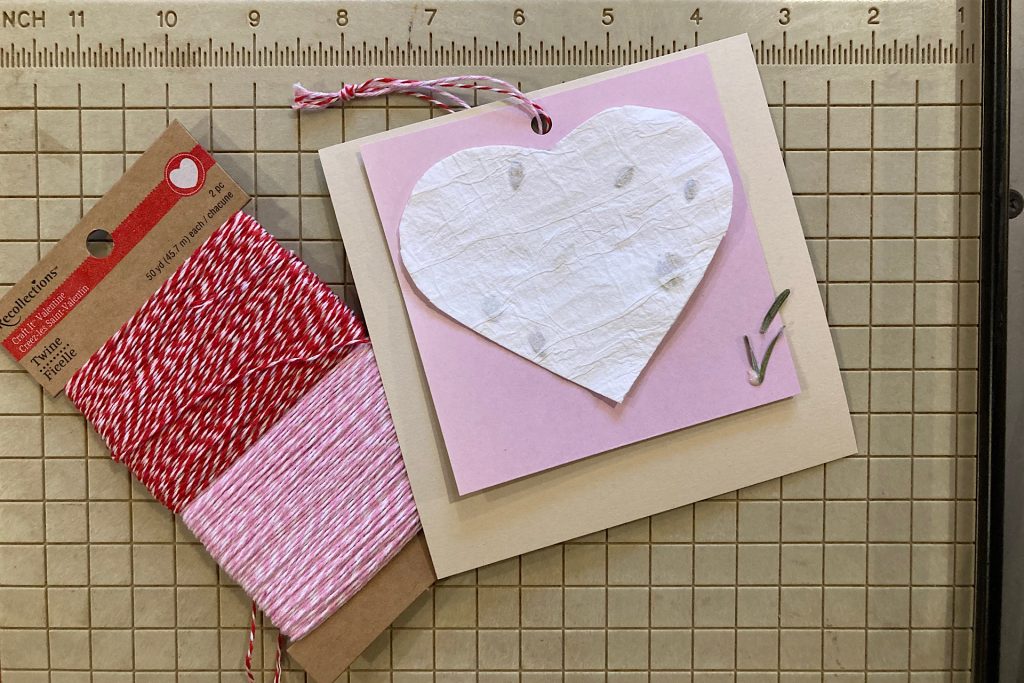
Take your handmade Valentine seed paper to the next level with a simple yet stunning layered design. Begin by cutting 4-inch squares from pink cardstock and 5-inch squares from tan cardstock to create a soft, complementary background.
Next, carefully place the seed paper heart on the pink square. Use the tiniest drops of Elmer’s glue—taking care to avoid the embedded seeds—and secure the heart in place. For a natural, textured touch, add a small sprig of greenery, such as pine needles, to accent the heart. Use the smallest amount of glue to keep the greenery in place without overwhelming the design.
A Finished Look
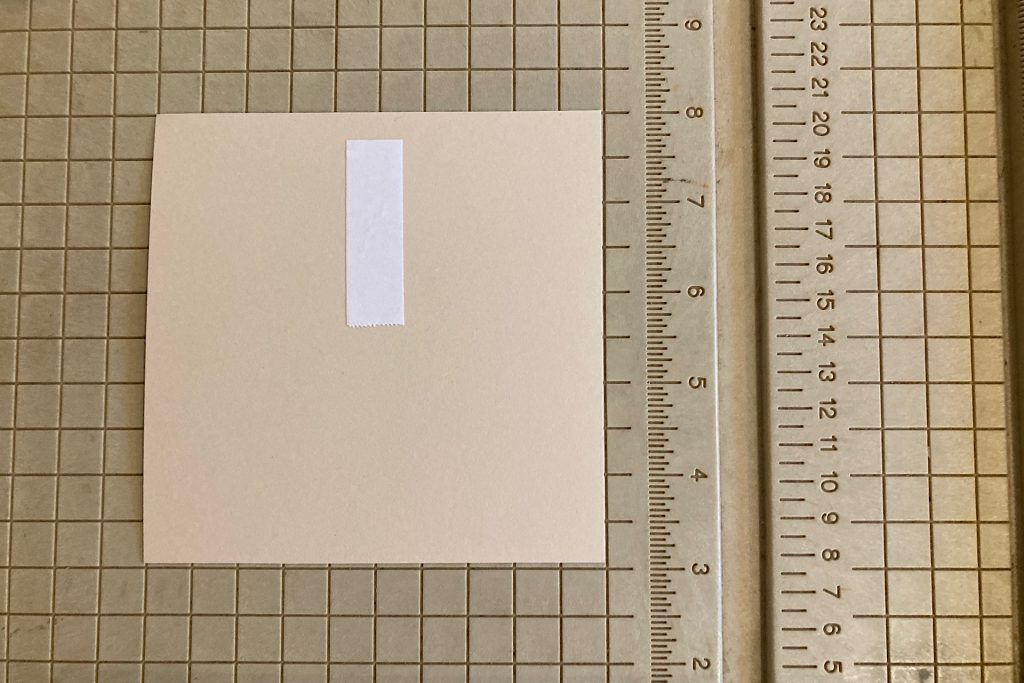
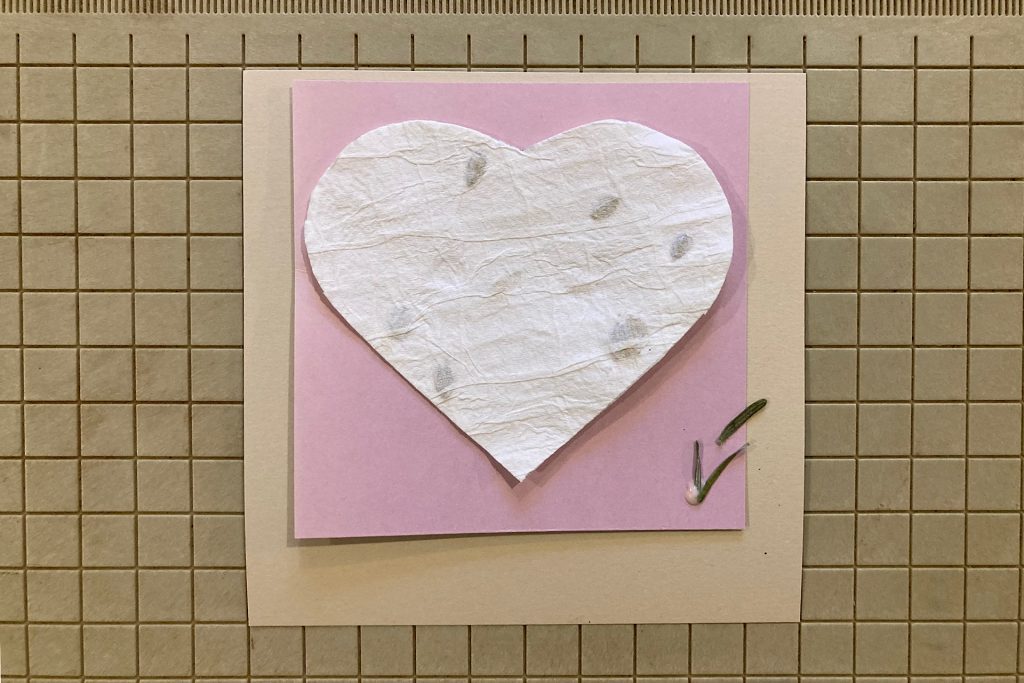
To create a beautifully layered Valentine card, start by placing a piece of double-sided tape onto the front of your 5-inch tan cardstock square. Carefully place the 4-inch pink square, with the seed paper heart, on top of the tan square, pressing gently to secure the layers.
If you don’t have double-sided tape on hand, no worries! A light touch of glue will do just as well. This simple layering technique will extra dimension to your card, making it stand out as a thoughtful, handcrafted gift.
Adding String or Ribbon
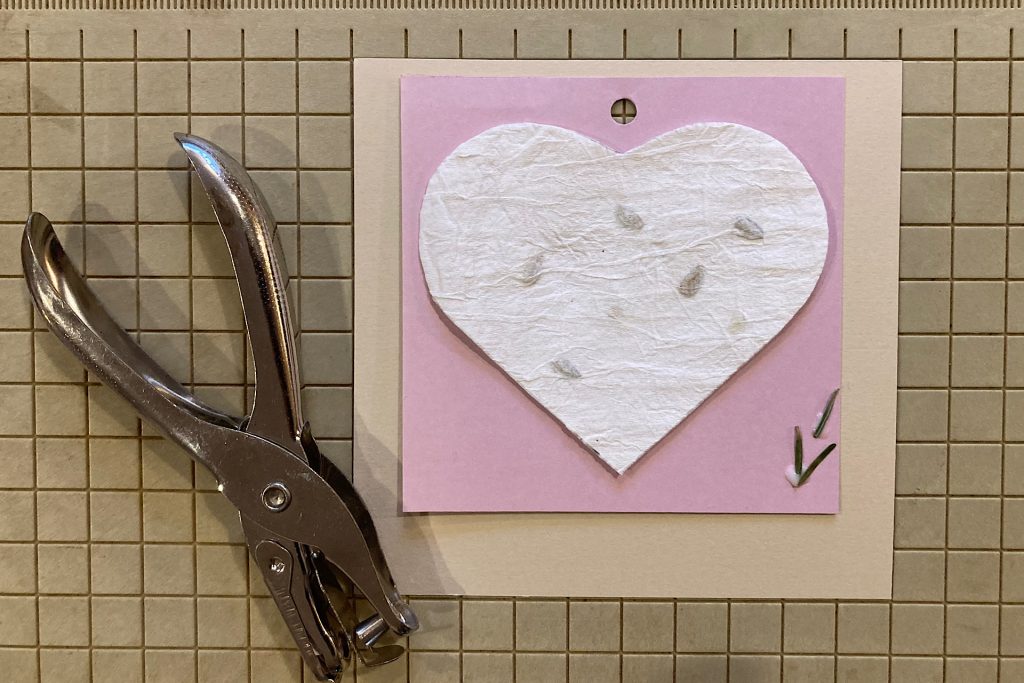
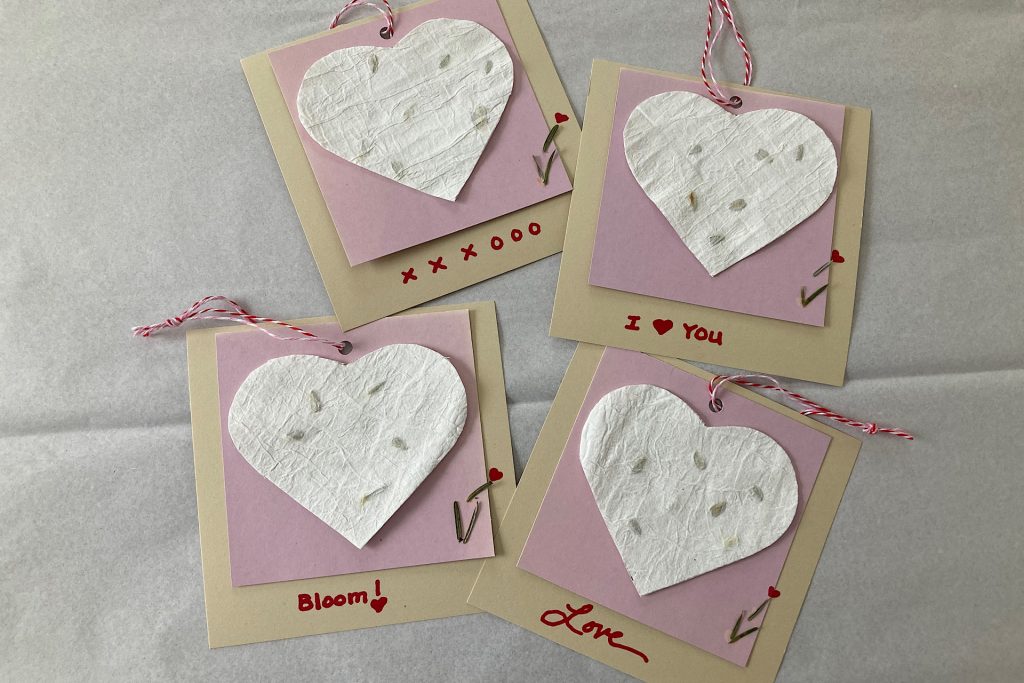
To give your handmade Valentine card an extra special touch, use a hole punch to create a small opening at the top of your card. Then, thread a piece of ribbon or string through the hole, tying a simple knot to secure it in place. This charming detail allows your card to easily slip over the neck of a wine bottle, the handle of a garden spade, or any other gift you’d like to pair it with.
Whether you’re gifting a bottle of wine for a romantic evening or sharing a gardening tool with a loved one, this simple but thoughtful addition makes your handmade Valentine card a unique and personal gesture.
A Heartfelt Finish
As you wrap up your handmade Valentine seed paper project, don’t forget to add your personal flair! Whether you choose to write a sweet message or embellish your card with playful Valentine doodles, this is your chance to make each card uniquely yours. The smiles you’ll receive when gifting these thoughtful creations will be well worth the effort!
To recap, your handmade Valentine seed paper is the perfect way to show your love this Valentine’s Day. Not only is it a meaningful gift, but it also brings a touch of nature and creativity into the celebration. I’d love to see how you make this project your own, so if you decide to try your hand at the seed paper or Valentine cards, please share your photos with me!
You May Also Enjoy These Posts:
If you’re looking for more inspiration, check out these related posts from Late Bloomer in Bakerville:
- Valentine’s Day Fragrance Simmer
- Echinacea – Cold Stratification
- Heirloom Seeds
- Milkweed Magic: Harvesting and starting Seeds for Pollinator Gardens
I hope you find these posts just as inspiring and helpful for your gardening and crafting adventures!
