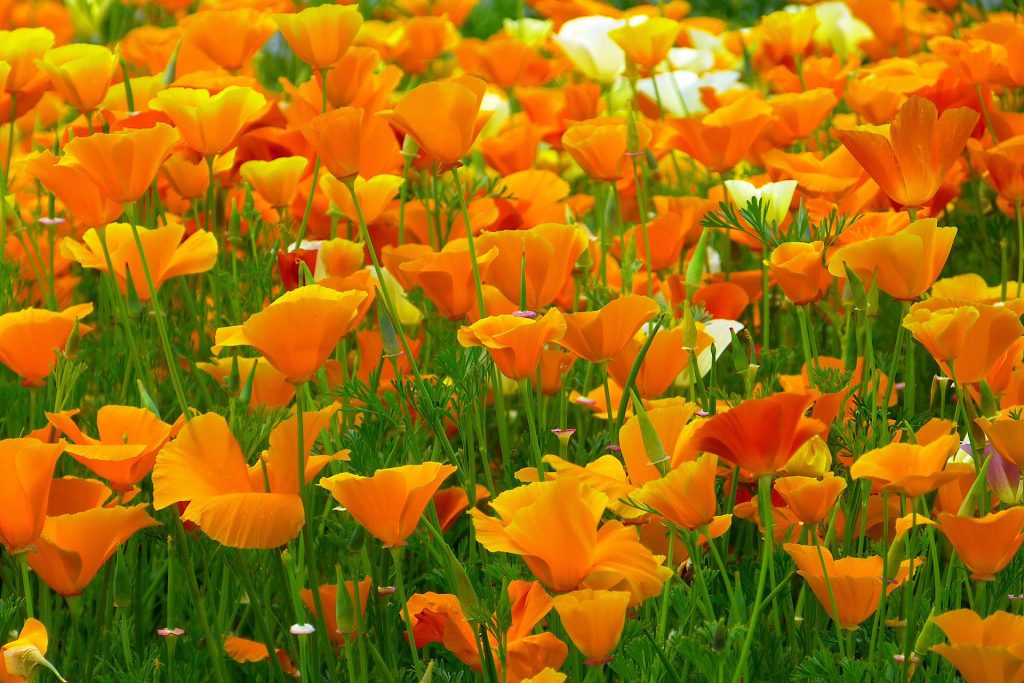
This year, I’m adding a special touch to my garden—vibrant Icelandic poppies. These delicate, papery blooms hold a deep personal meaning for me. As a child, I admired poppies lining the driveway of my parents’ first apartment, their bright colors swaying in the breeze. More recently, a trip to Iceland with my son left me in awe of the country’s beauty, and growing these flowers feels like bringing a piece of that adventure home. (Despite their name, Icelandic poppies are not native to Iceland, but rather to subpolar regions of Asia and North America. Their given name however, still evokes lovely memories for me.) In addition, Icelandic poppies are self-pollinating and attract bees, butterflies, and hummingbirds—making them a beautiful and beneficial addition to any garden. If, like me, you are captivated by their light fragrance and delicate petals, let’s get planting!
A Cool-Weather Bloom with Delicate Charm
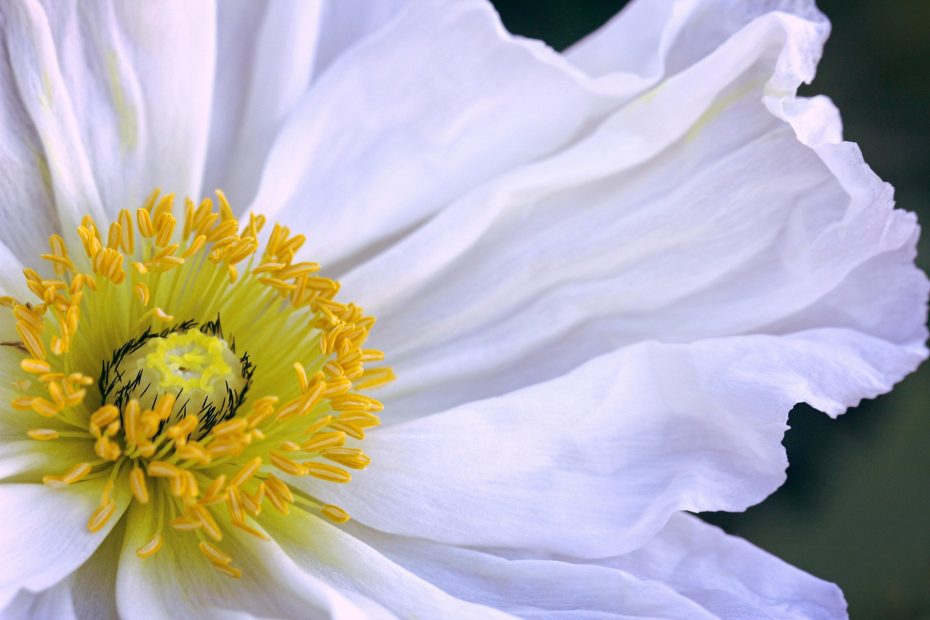
Icelandic poppies (Papaver nudicaule) bring delicate beauty to the garden with their feathery foliage and soft, papery petals in shades of pink, orange, yellow, cream, and white. Native to cooler climates, these hardy yet short-lived perennials prefer temperatures below 70°F. In warmer climates, they may need to be planted annually, as heat shortens their bloom period. However, in cooler regions, they can flower from spring through fall.
For healthy, vibrant poppies, plant them in full sun to partial shade with well-draining soil. Avoid overwatering, as Icelandic poppies are susceptible to blight and fungus. They prefer light, dry soil and are sensitive to excessive moisture. Keep the soil light and aerated, only watering when needed. These elegant blooms, standing approximately 12+ inches tall on wiry, hairy stems, make excellent cut flowers for vases and arrangements. While they add charm to any garden, it’s important to note that Icelandic poppy seeds and all parts of the plant are toxic—they are not for culinary use!
Supplies for Cold Stratifying Icelandic Poppy Seeds
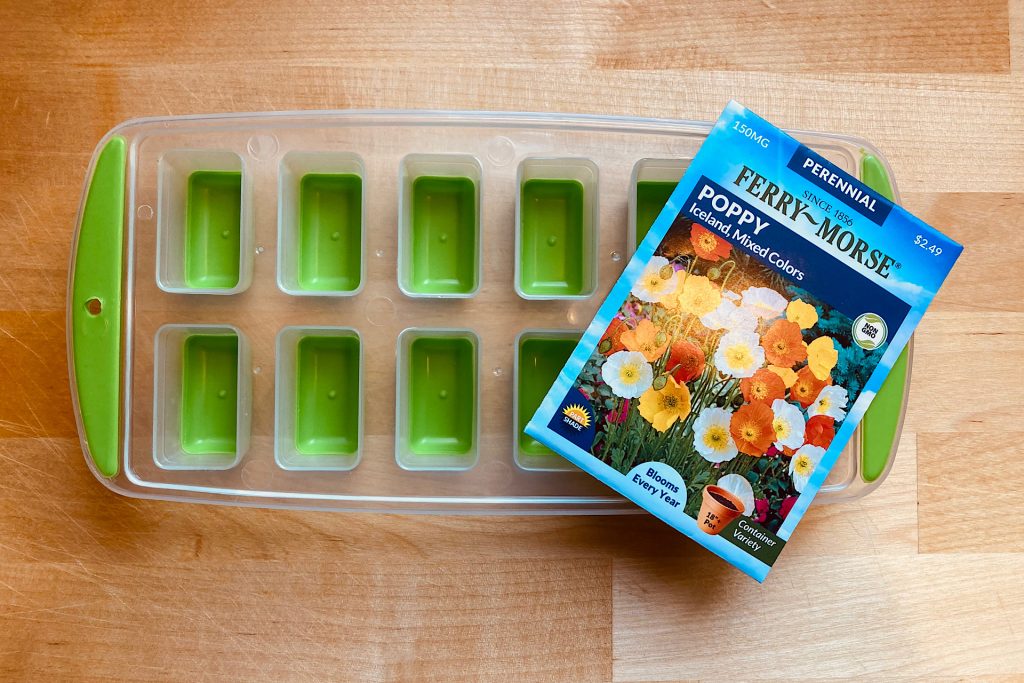
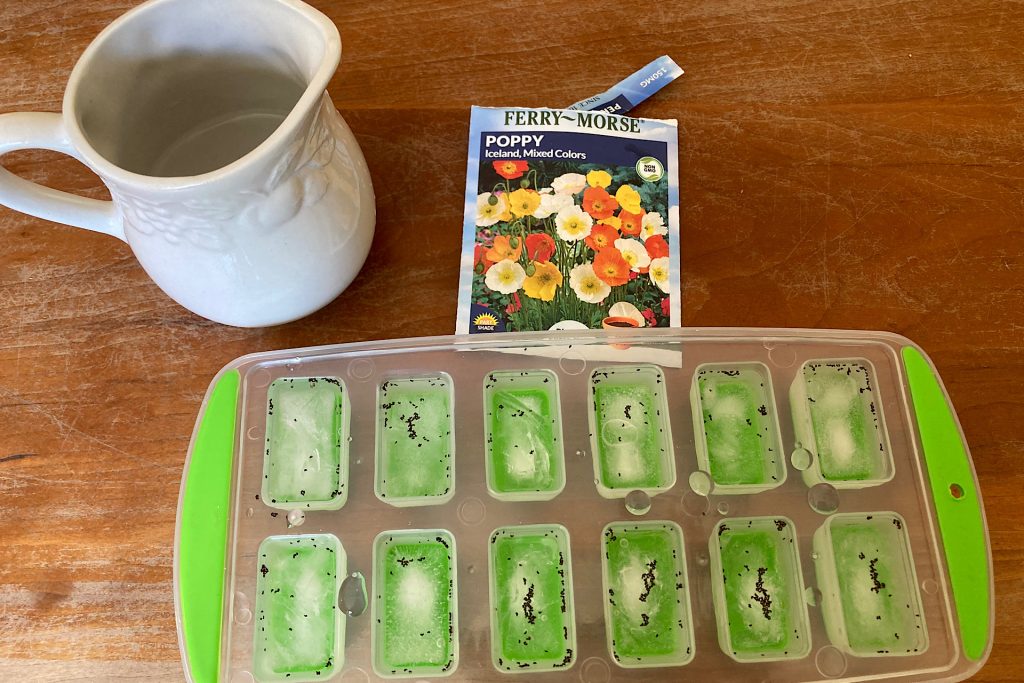
Cold stratifying Icelandic poppy seeds doesn’t require fancy equipment or expensive gear. All you’ll need is a packet of seeds and an ice cube tray. That’s right—just two items to kick-start the germination process!
Cold stratification is the gardener’s way of copying nature. In the wild, seeds often go through the winter nestled in soil under the snow. Those cold, moist conditions tell the seed it’s safe to wake up and grow once spring arrives. By placing seeds in ice cube trays and freezing them, you’re simulating this natural cycle—right in your kitchen freezer.
This easy prep step gives your Icelandic poppies the head start they need, especially if you’re planting in a region without a true winter. It’s a simple way to support stronger, more reliable blooms come spring.
Step-by-Step – Cold Stratifying Icelandic Poppy Seeds with Ice
Step 1: Start with Ice
Fill each section of your ice cube tray about halfway with water and place it in the freezer. Let the cubes freeze completely.
Step 2: Add the Seeds
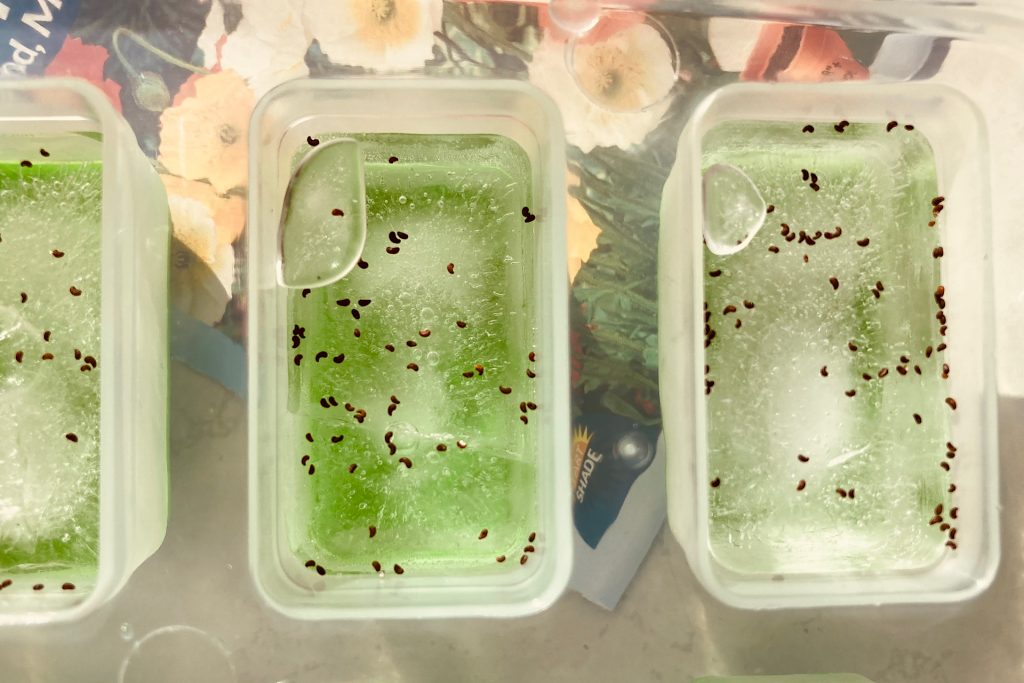
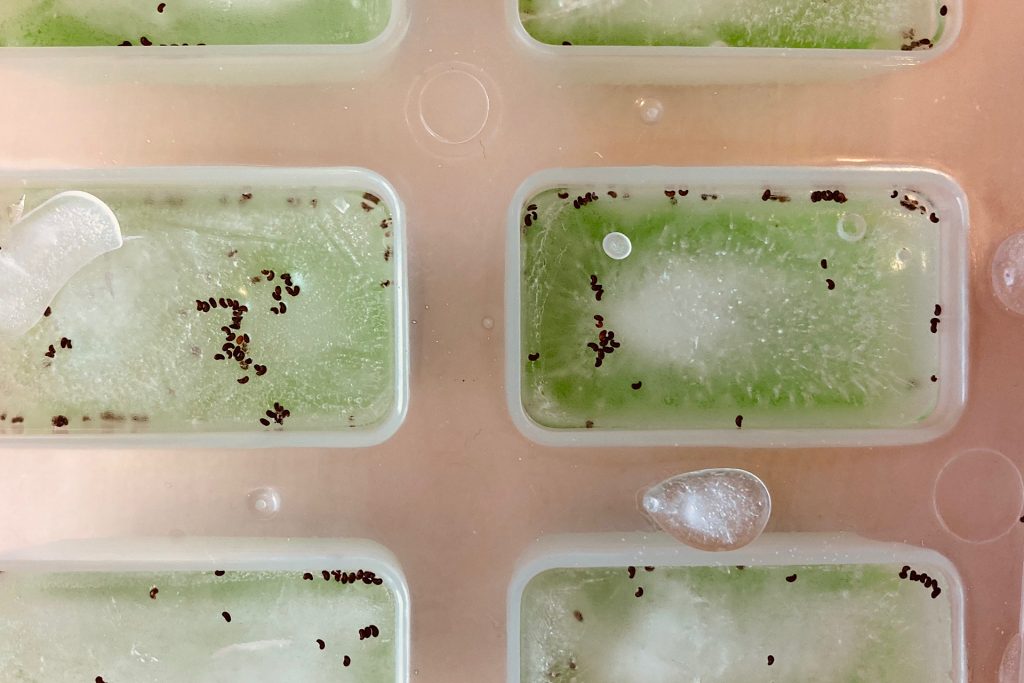
Once the ice is solid, remove the tray from the freezer and sprinkle your Icelandic poppy seeds over the top of each cube.
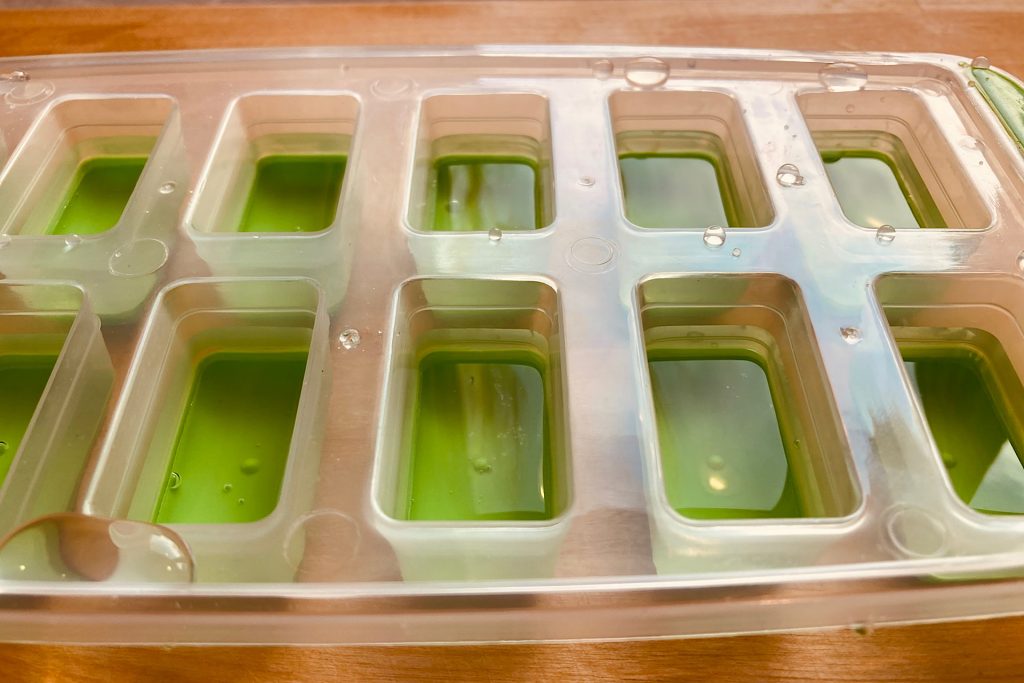
Step 3: Top It Off
Carefully pour a bit more water into each cube slot, nearly filling it. Be sure to leave a little room so the water has space to expand as it freezes again.
Step 4: Back to the Freezer
Return the tray to the freezer for about two weeks. This “false frost” gives seeds the cold, moist conditions needed to break dormancy and prepare for germination. After this simple prep, your cold-stratified poppy seeds will be ready to plant directly into your garden soil.
Time to Plant Your Cold Stratified Seeds
Once your cold stratified Icelandic poppy seeds are ready, it’s time to get them into the garden—and this part couldn’t be easier.
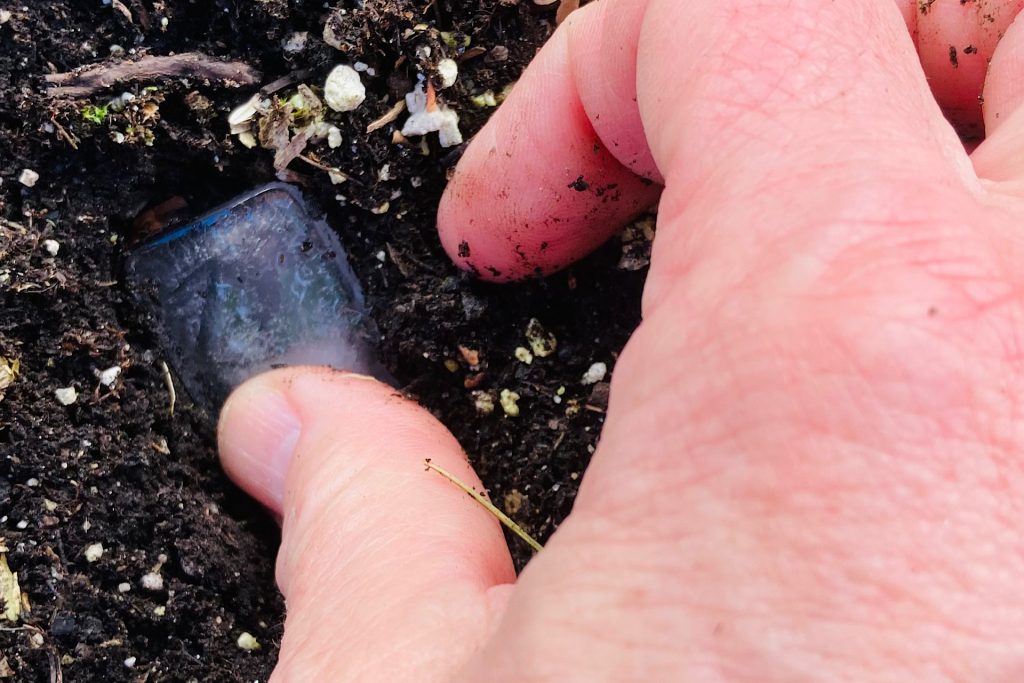
There’s no need to thaw your seed-filled ice cubes. Simply take them out of the freezer and place them directly on the surface of your soil. You don’t want to bury the seeds deeply—just press them gently into the top layer of soil so they stay in place and make good contact with the earth.
If you’re planting in garden beds, a quick press with the sole of your boot will do the trick. For container gardening or raised beds, like I used, the heel of your hand or a few fingers works beautifully. The goal is a light, even press—just enough so the seeds settle in and can start rooting as the cubes melt.
Give it a couple of weeks and keep an eye out—your Icelandic poppy seedlings should begin to sprout, bringing you one step closer to a beautiful spring display.
Share Your Poppy Patch Progress!
If you give this cold stratification method for Icelandic poppy seeds a try, I’d love to hear how it goes! Whether you’re planting in garden beds or containers, watching those first little sprouts pop through the soil is such a joy. Feel free to share your photos or updates in the comments—I’m always excited to see how these tiny seeds grow into big, beautiful blooms in other gardeners’ spaces.
Looking for more inspiration to keep your green thumb going? You might enjoy these related posts: