Looking for a Valentine’s Day science craft that’s easy, magical, and fun? DIY Sparkling Crystal Hearts are the perfect blend of creativity and science! With just a few simple materials, you can grow dazzling crystals overnight—right at home. As snow swirls outside, bring a little winter magic indoors with this hands-on crystal-growing experiment. Whether you’re crafting with kids or just love a little DIY sparkle, this project is sure to add a touch of wonder to your Valentine’s celebrations.
Crystal Crafting Essentials: What You’ll Need for Valentine’s Day Science Craft Fun
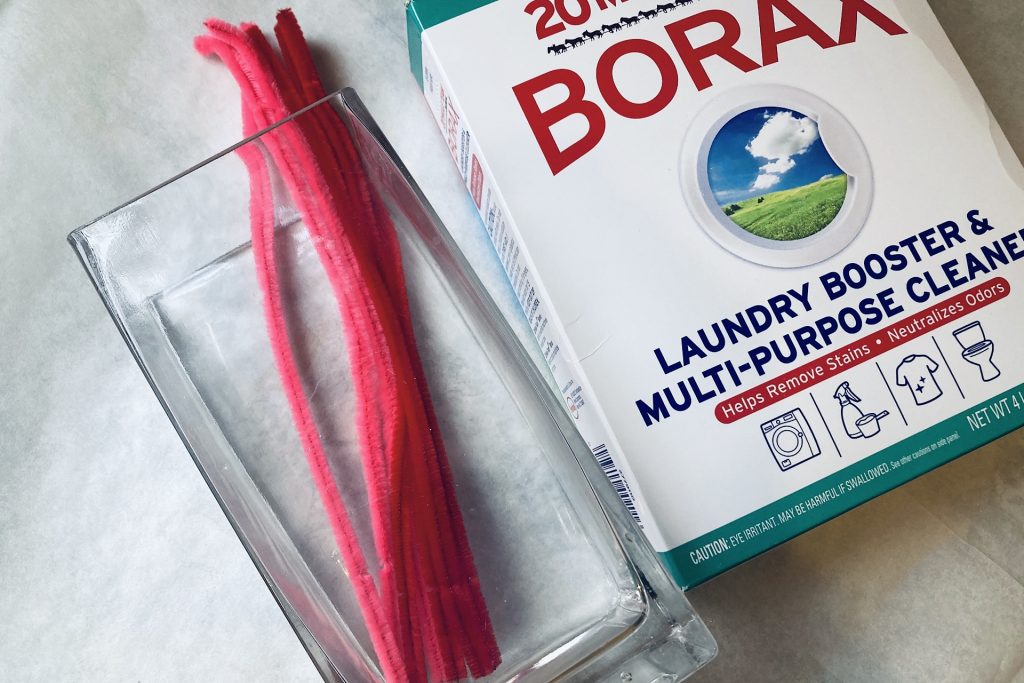
Time to gather your crystal-growing essentials! Here’s what you’ll need:
🔹 Borax Laundry Booster – The magic ingredient for sparkling crystals. 🔹 Boiling Tap Water – Hot water works best to dissolve the Borax. 🔹 Pipe Cleaners – Pick a color you love—this will be the base of your heart! 🔹 Glass Jar – Big enough to fit your heart with extra space for crystals to grow. 🔹 Popsicle Stick, Skewer, or Straw – Used to suspend your heart inside the jar.
A Quick Safety Note: If crafting with young children, this is a supervised activity. You’ll be using boiling water. Additionally, Borax should not be inhaled or ingested, so consider using goggles and a mask—it’ll make the experiment feel even more like real science!
Size Matters! Before placing your heart in the jar, double-check the fit. Crystals will form and expand the shape, so be sure you can still remove it once it’s fully grown. I used a wide-mouthed flower vase, but if you’re using a mason jar, remember that the heart must fit back through the tapered opening.
Forming the Perfect Heart for Crystal Growth
Let’s shape your DIY crystal heart and get it ready to grow!
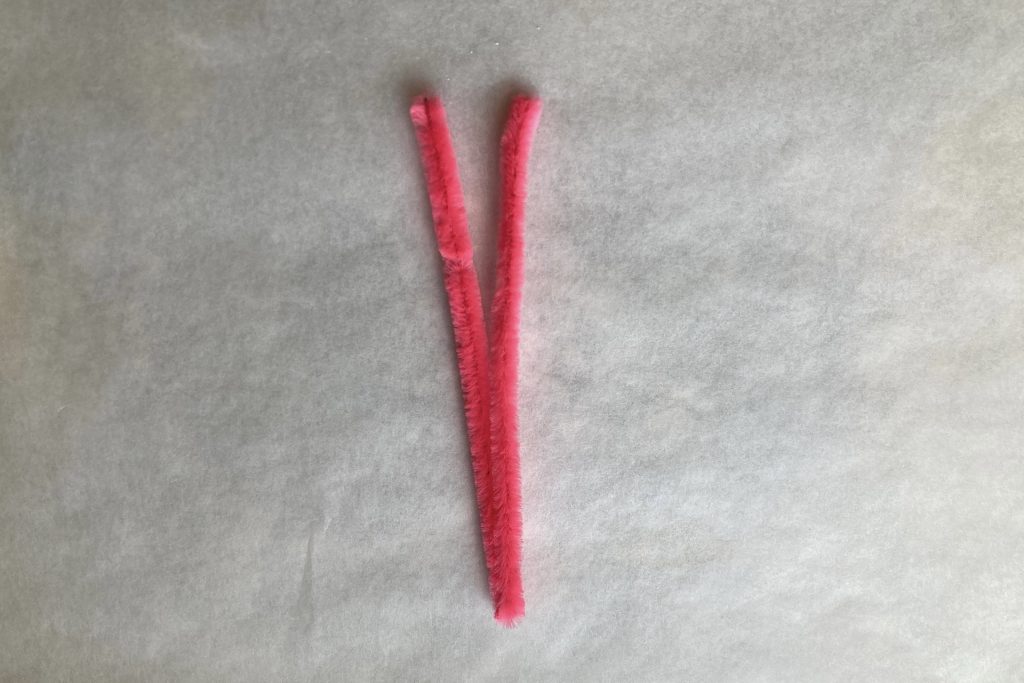
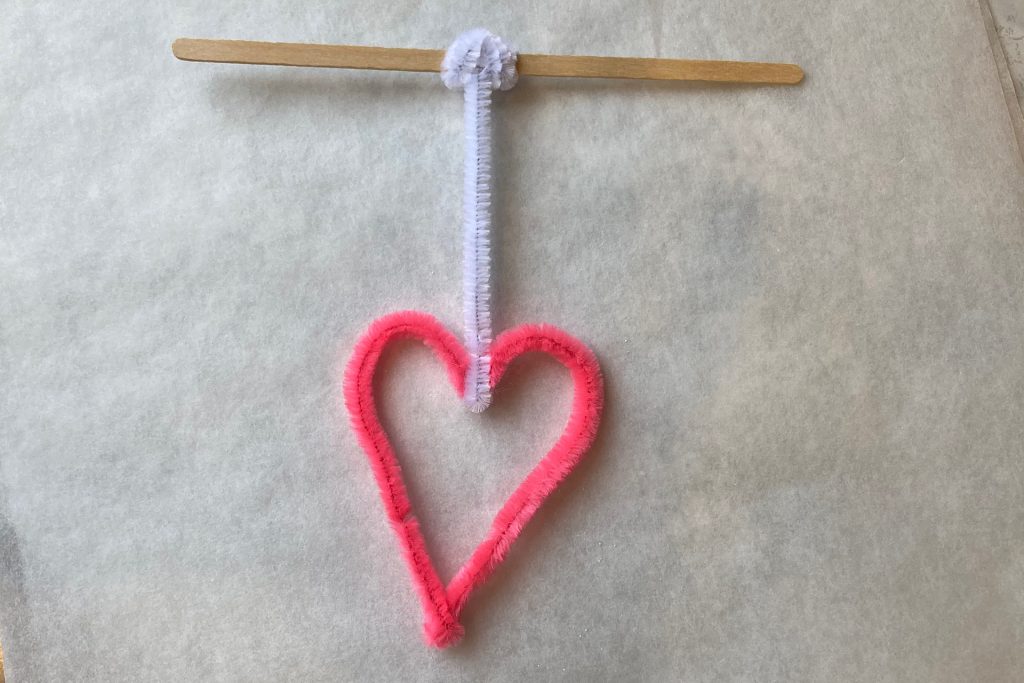
Fold your pipe cleaner in half to create the center of the heart.
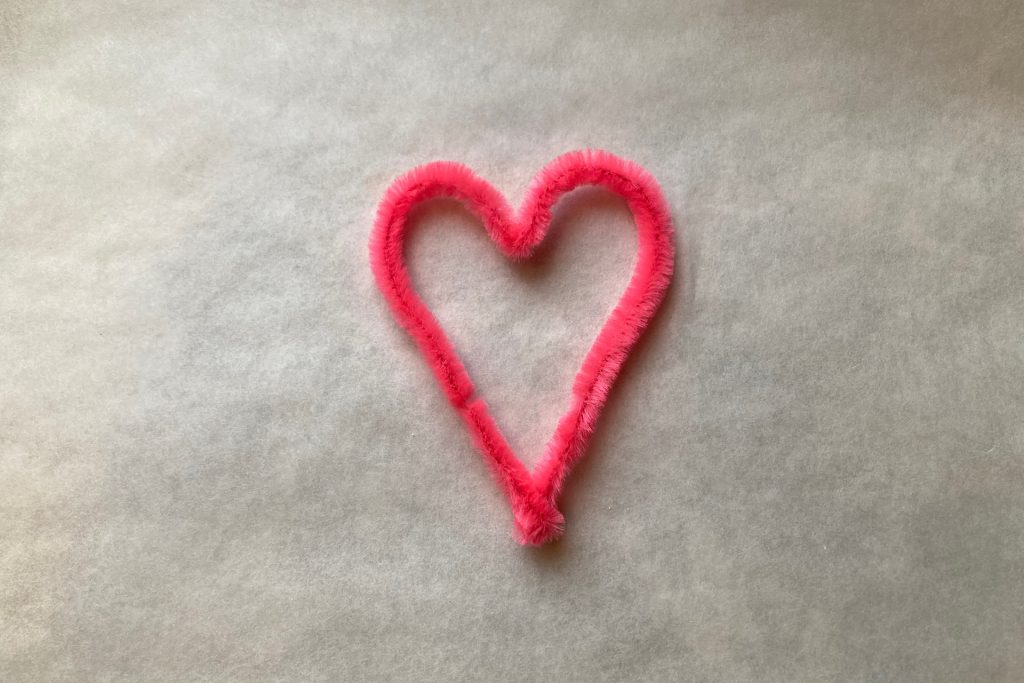
Shape the two ends into a point at the bottom of the heart and twist them to secure.
Shape the heart’s curves as you like—pipe cleaners are super pliable!
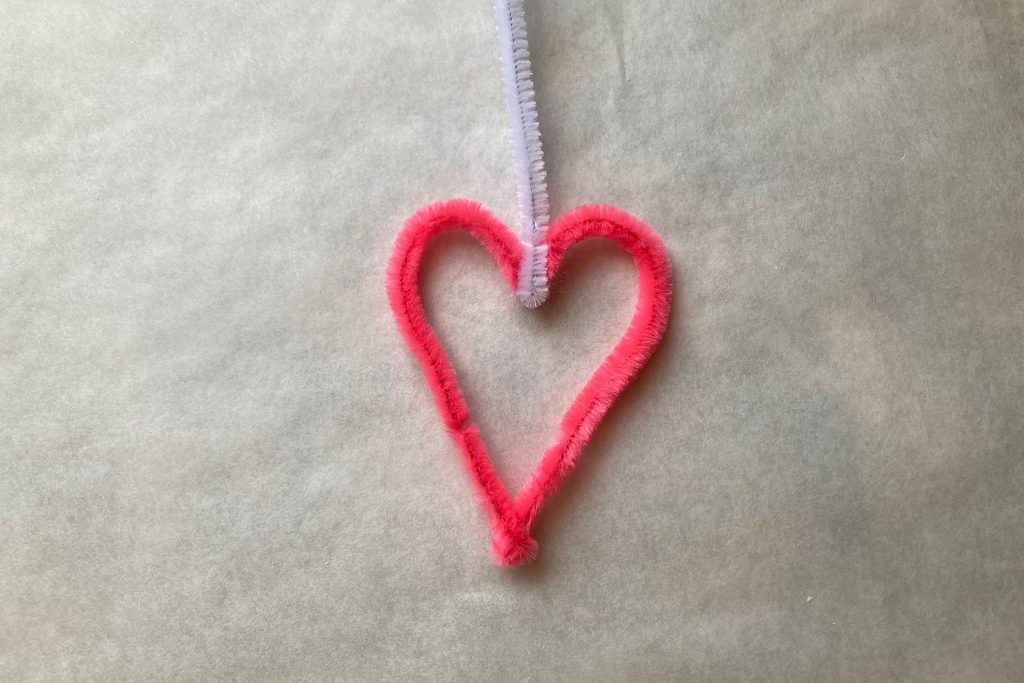
Add a second pipe cleaner at the center to create a handle for hanging.
Wrap the free end around the middle of your popsicle stick.
Mixing the Magic: Creating Your Crystal-Growing Solution
Now it’s time to mix up the magic and create the solution that will grow your sparkling crystal hearts!
Boil enough water to completely fill your glass container.
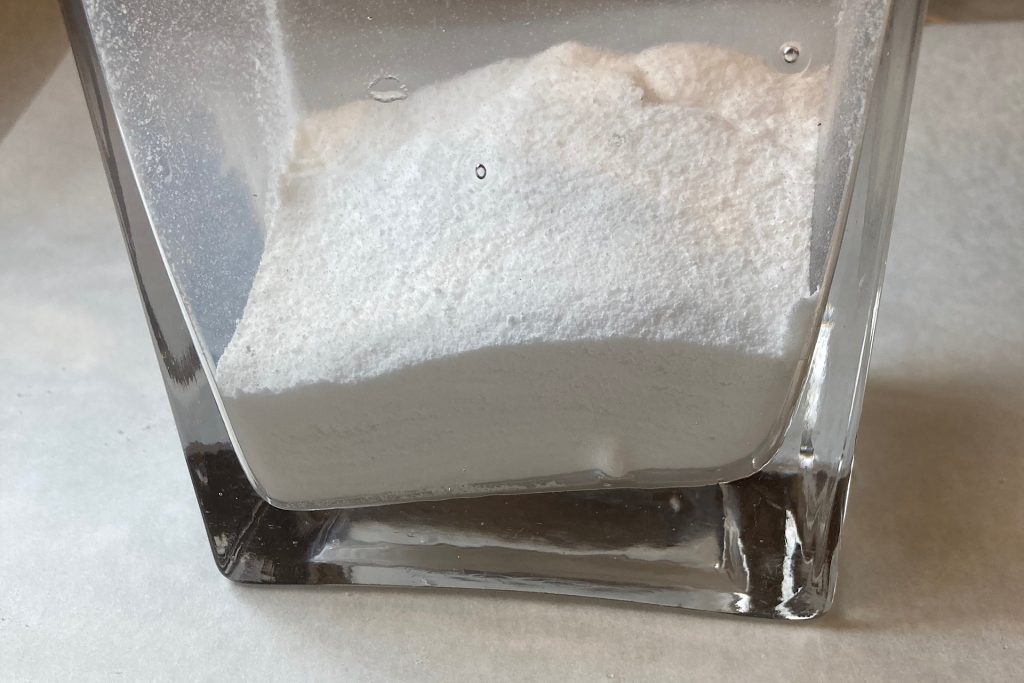
Determine your measurements—you’ll need 3 level tablespoons of Borax per 1 cupof boiling water. To be precise, check how many cups of water your jar holds before you begin.
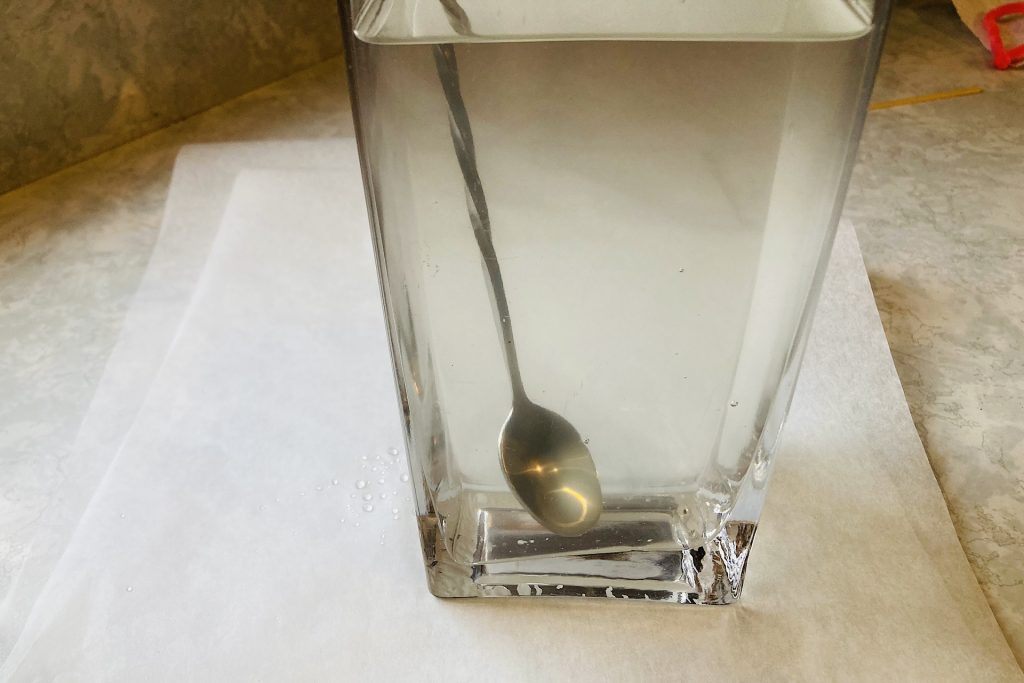
Mix it up—add the Borax to your jar, then carefully pour in the boiling water. Stir well! If some Borax clumps at the bottom, keep stirring—the heat will help it dissolve fully.
With your solution ready, it’s time to suspend your heart and let the crystals grow!
Suspended in Sparkle: Setting Your Heart for Crystallization
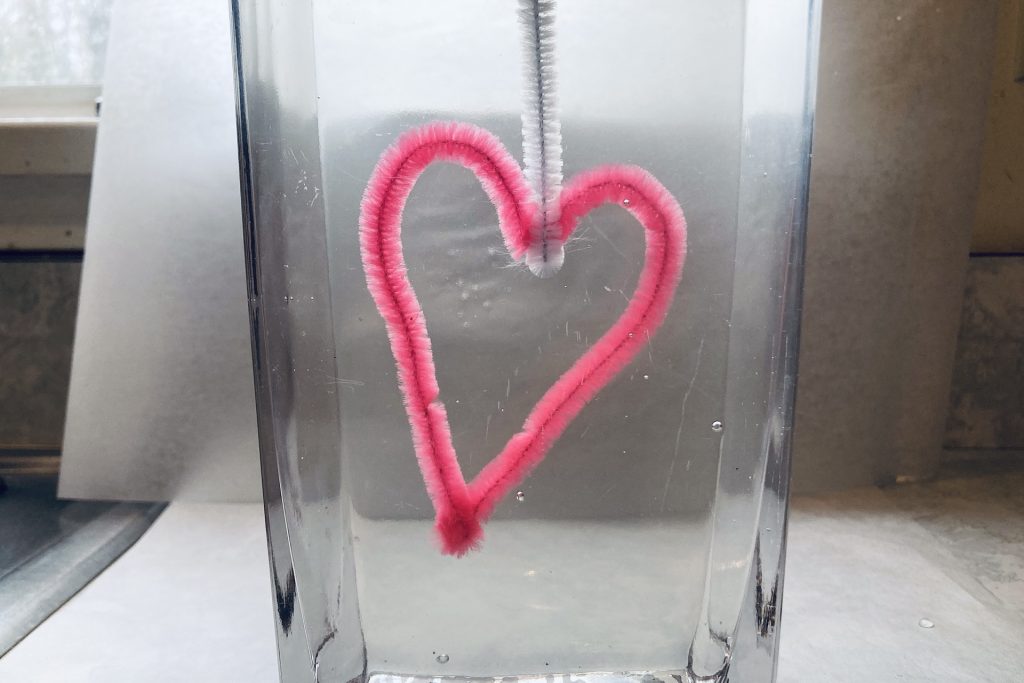
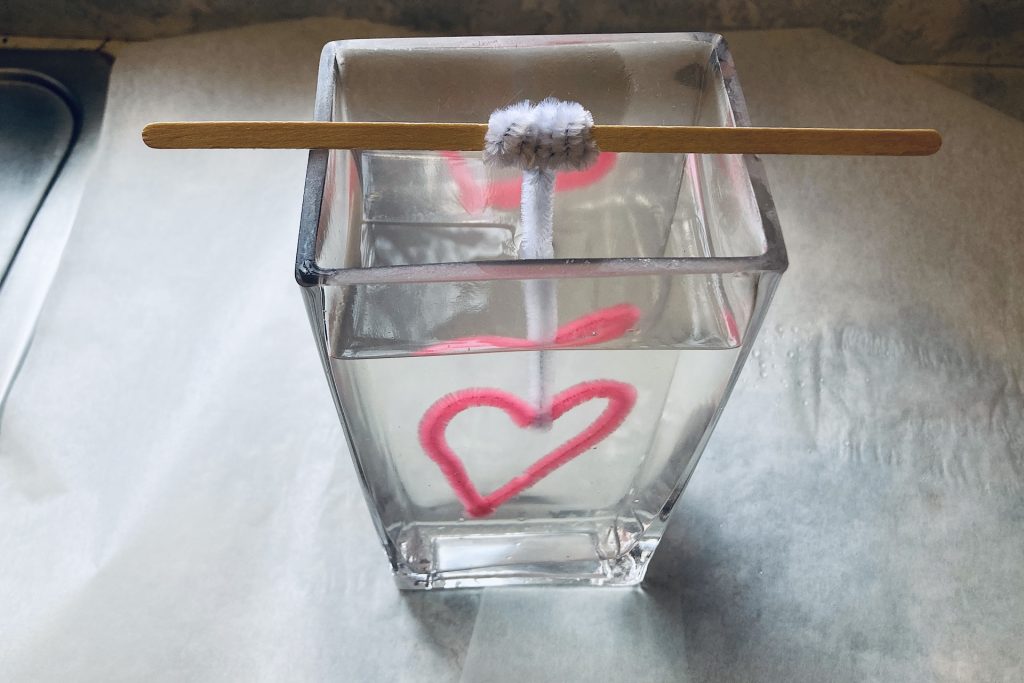
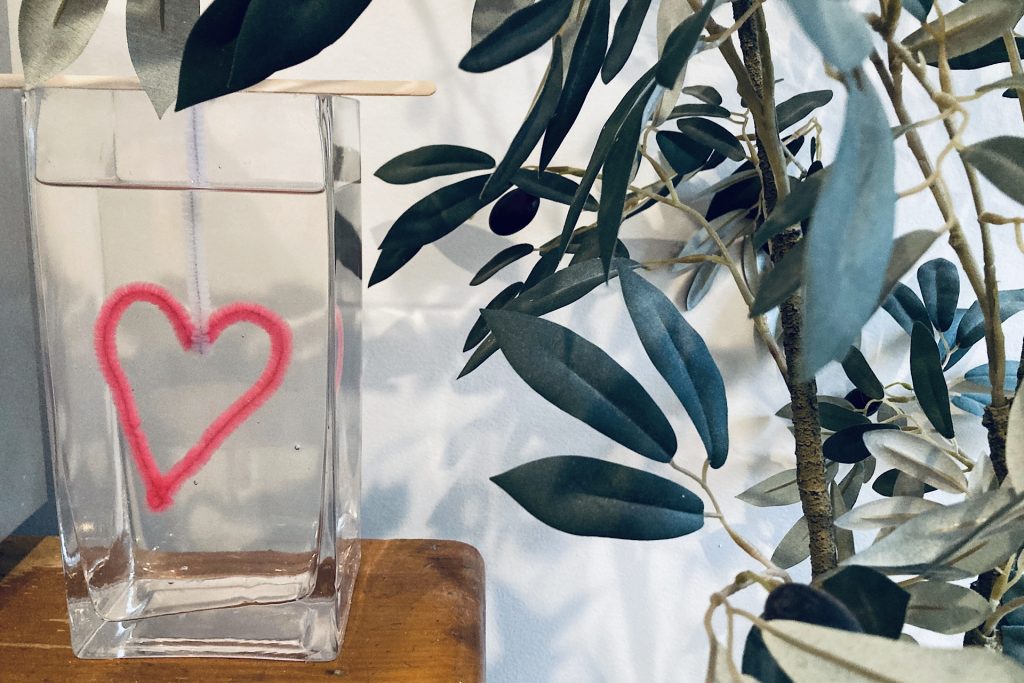
It’s time to set the stage for crystal magic! Carefully lower your pipe cleaner heart into the Borax solution, ensuring it’s centered inside the container.
Check the spacing—make sure your heart isn’t touching the glass on any side. Crystals need room to form freely, and you don’t want your heart to get stuck to the sides or bottom of your container.
Find a quiet spot—place your container somewhere safe and undisturbed so the crystallization process can work its magic without any jostling or movement.
Now, all that’s left to do is wait and watch the transformation unfold!
The Science of Sparkle—Crystal Growth in Action
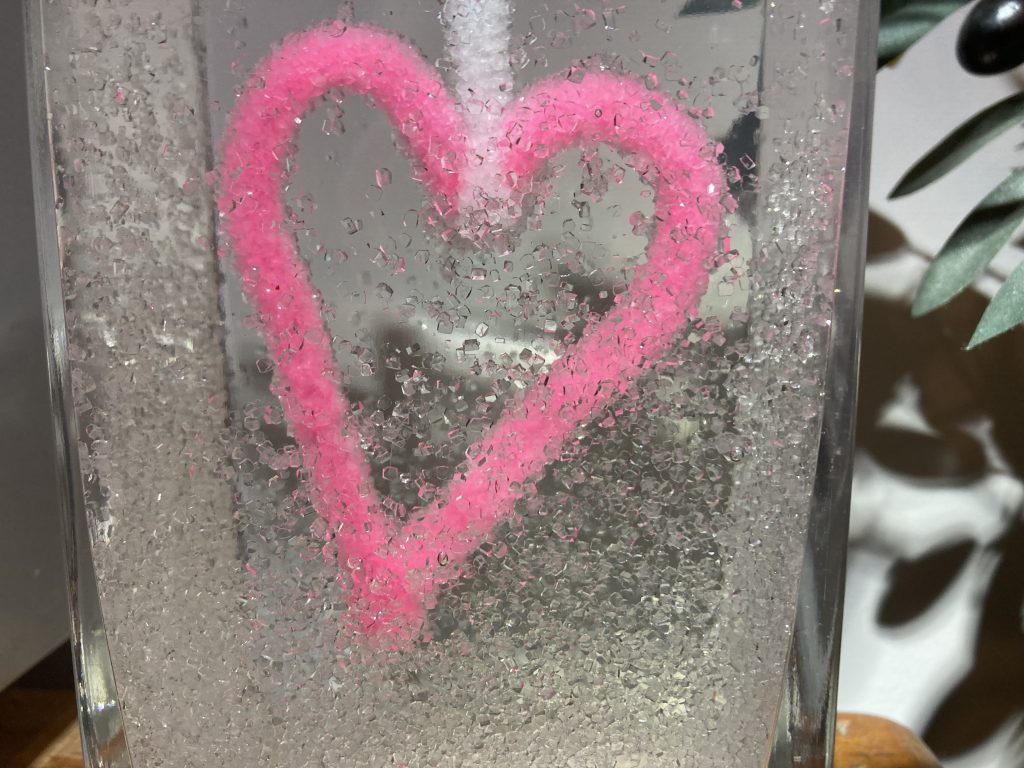
Now comes the exciting part—waiting and watching as the crystals begin to form! The process takes about 24 hours, but you’ll start to notice changes within just a few hours.
So, what’s happening inside the jar? When Borax is dissolved in boiling water, the liquid becomes saturated, meaning it holds more Borax than it could at room temperature. As the solution cools, the water can no longer keep all the Borax suspended, so the excess clings to surfaces and solidifies into crystals.
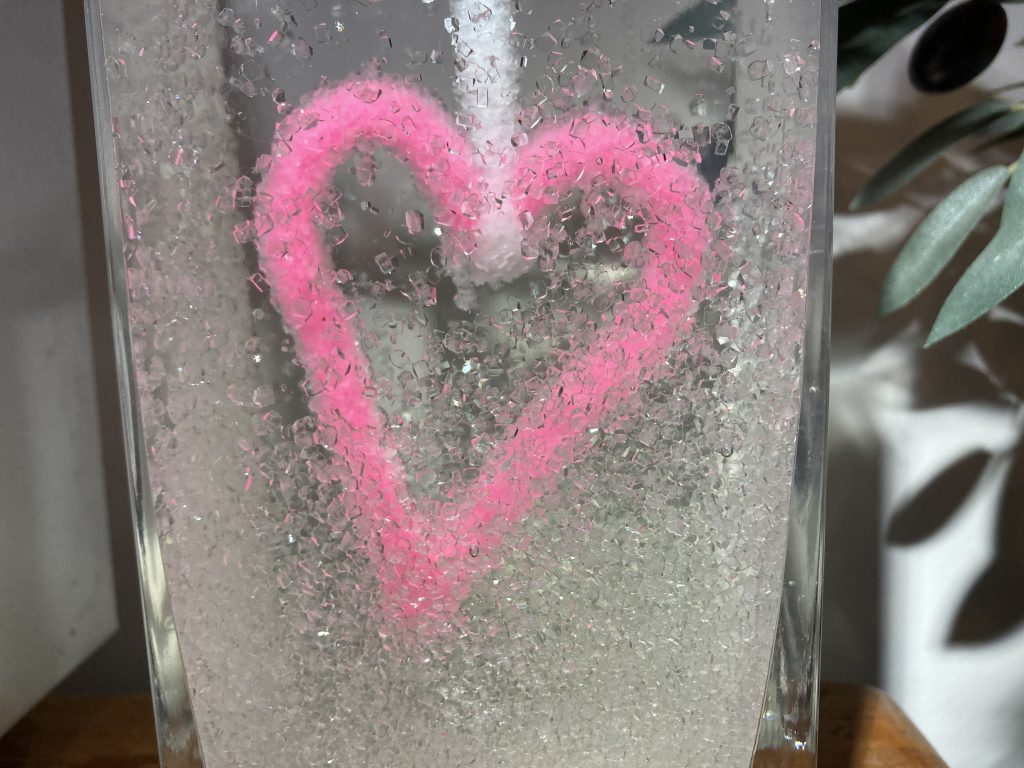
I took photos at 4 hours and 6 hours into the process to show how the crystals develop. You’ll see them forming on the pipe cleaner heart and the sides of the jar. This is why it’s important to keep the heart suspended away from the glass—otherwise, they might bond together!
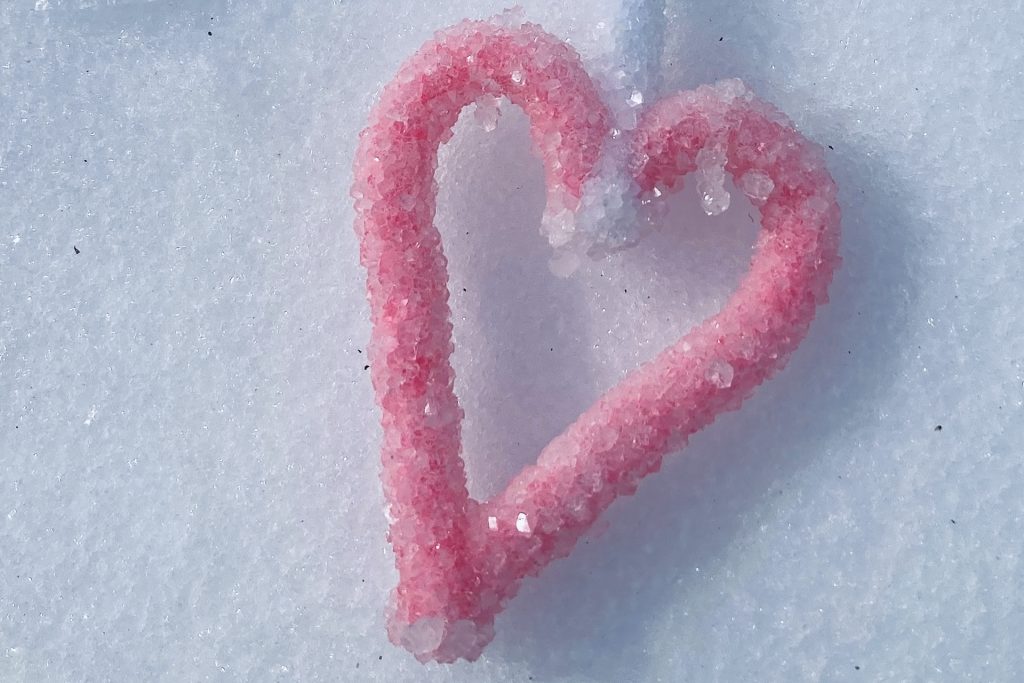
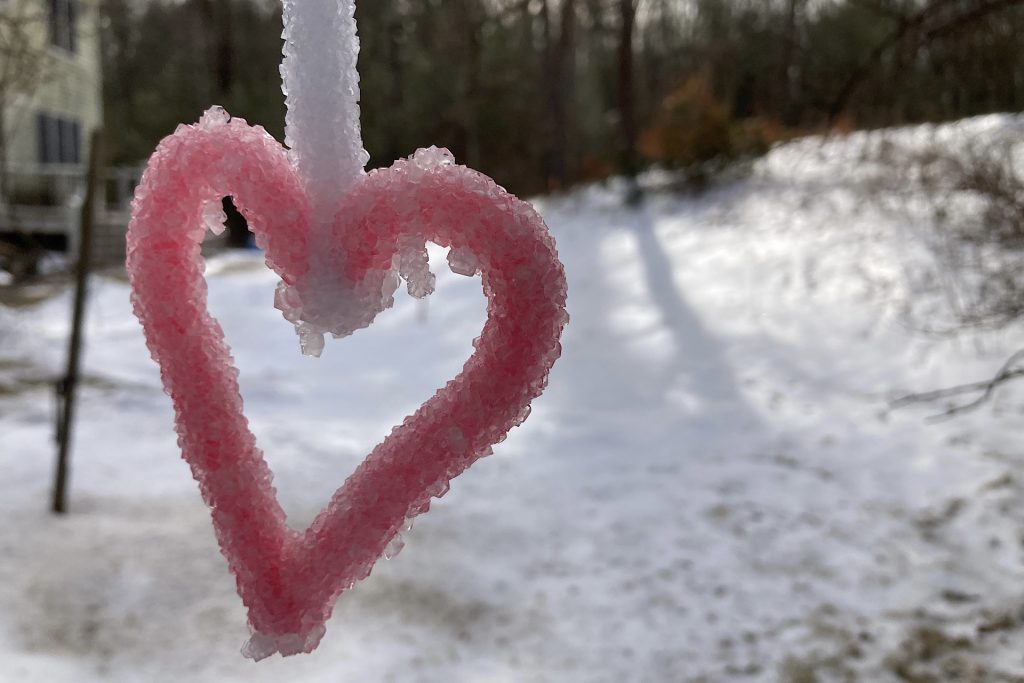
After 24 hours of magic, your DIY Sparkling Crystal Hearts are ready! Carefully lift the heart out of the solution and let it dry completely. You’ll notice how the crystals catch the light, giving your creation a beautiful, icy sparkle.
To truly showcase the delicate details, I brought mine outside and photographed them against the snowy backdrop—the perfect way to highlight their frosty beauty!
Now, I’d love to see how yours turned out! If you give this Valentine’s Day science craft a try, be sure to snap a picture and share it. Let’s spread the joy of creativity and science together!
More Creative DIYs to Try!
If you loved making DIY Sparkling Crystal Hearts, you might enjoy these other fun and easy crafts: