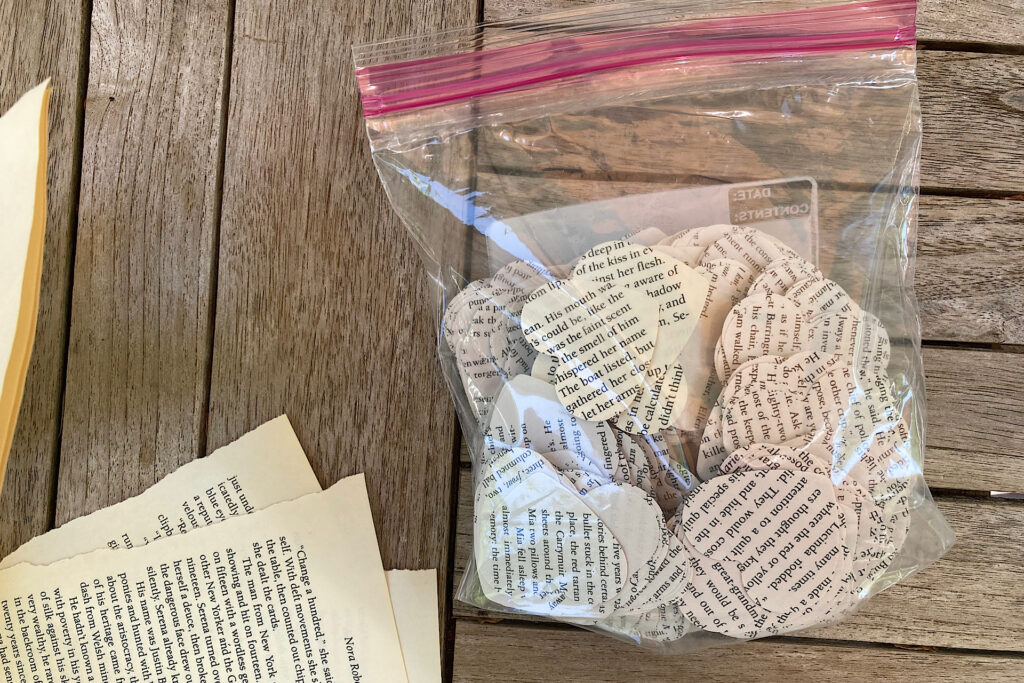
If you are like me, you’re not a fan of damaging books and hang on to just about every one you have read. For this project, grab old tattered books that are ready for the junk bin. You can also gather a few dog-eared copies from local library giveaways or the thrift shop. The weathered appearance of old pages adds charming whimsy to the project.
(Disclosure: Late Bloomer in Bakerville is a participant in the Amazon Services LLC Associates Program, an affiliate advertising program designed to provide a way for websites to earn advertising revenues by advertising and linking to Amazon.com )
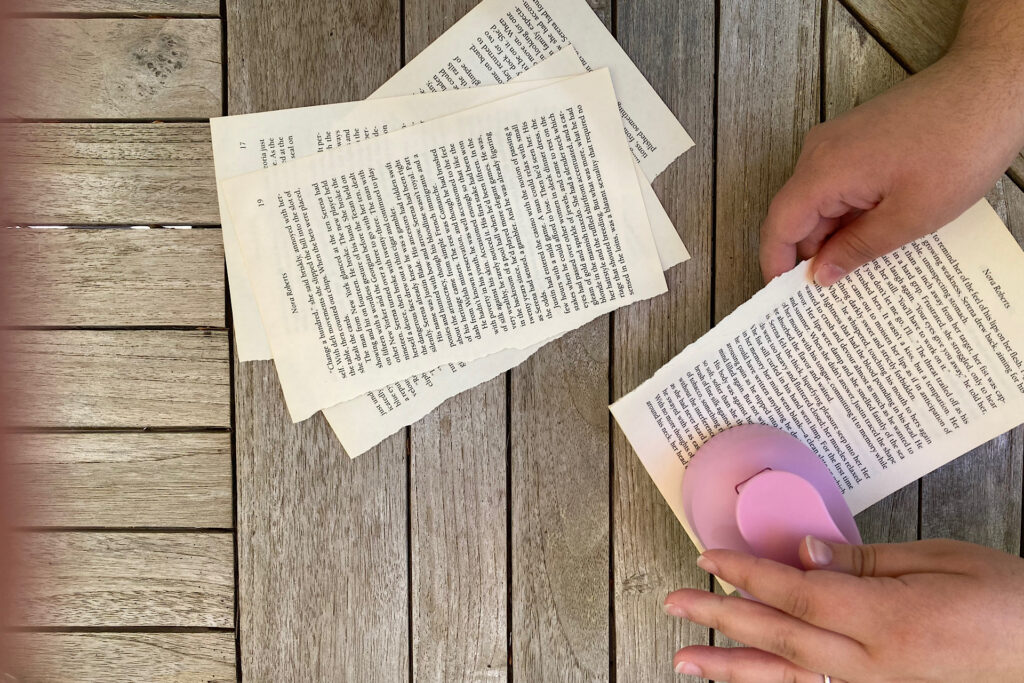
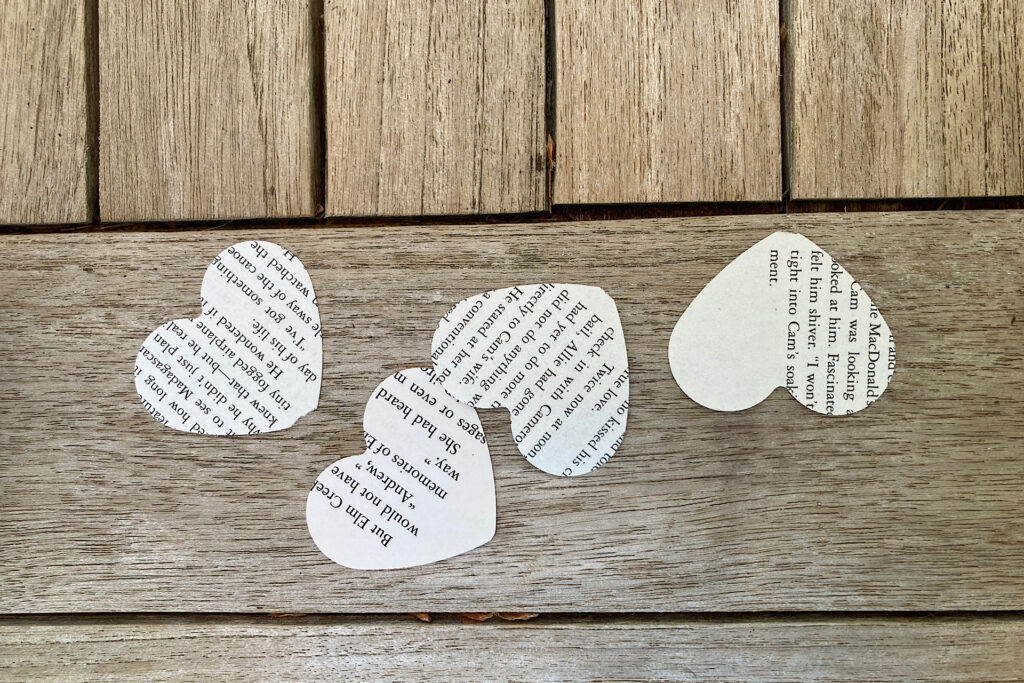
Step 1: Page Punches for Heart Strings
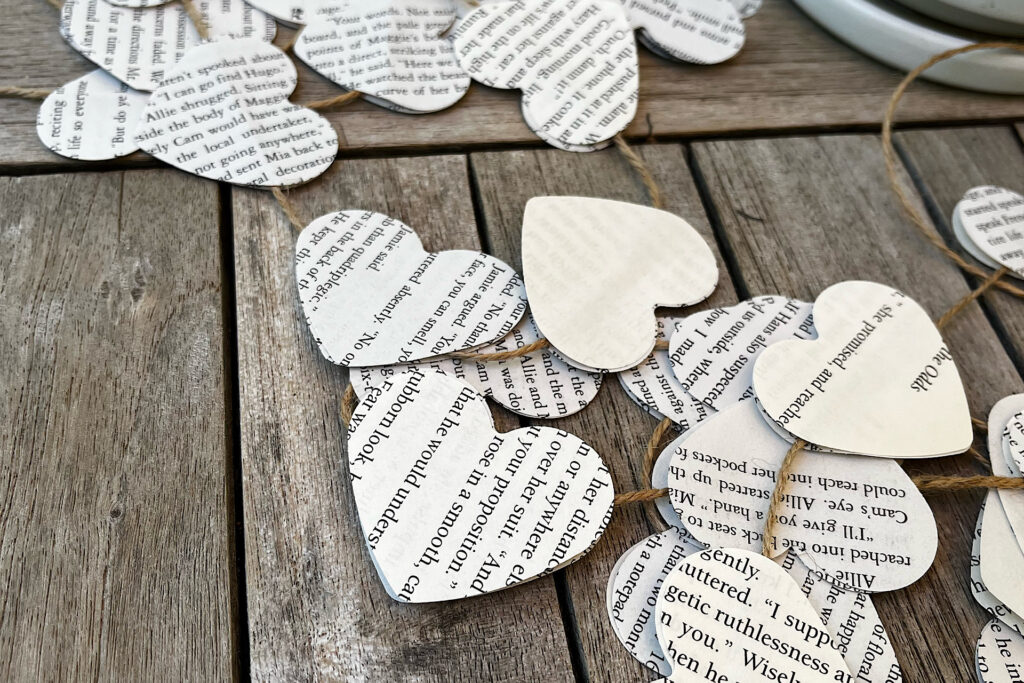
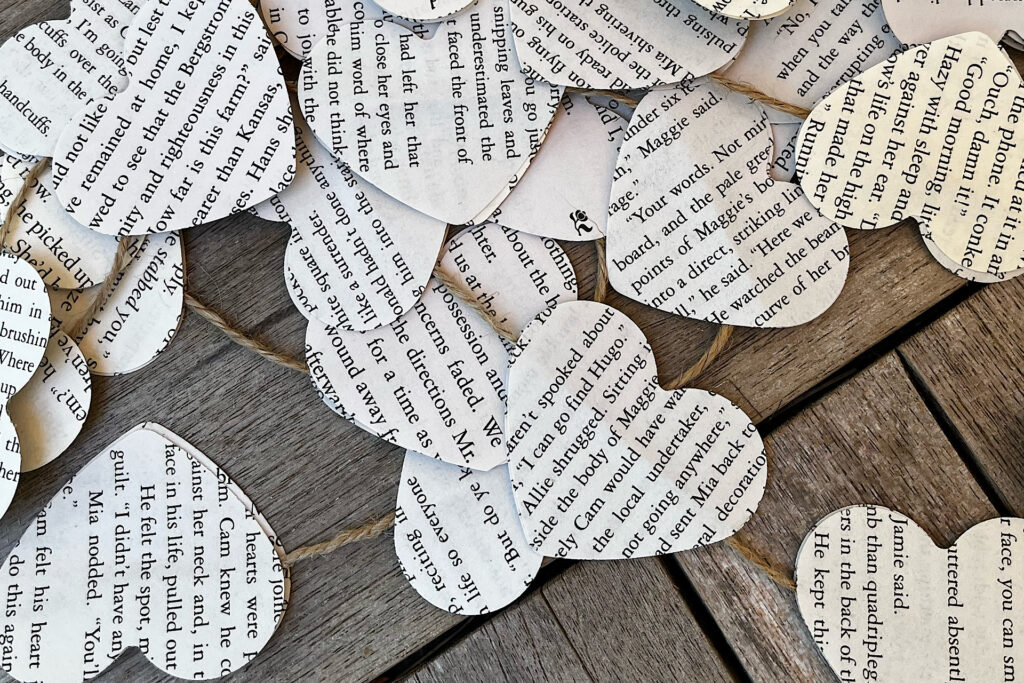
Punch your heart out. You will need to punch a lot of paper hearts to make a string of them. They are double-sided. So, whichever way they twist or turn you will see print on either side. The heart strings we made required approximately 60 hearts per length of twine.
Partner up. I partnered with a book loving bride-to-be when creating these. We plan to make a large quantity of them, so working with another person not only speeds up the process, but makes it enjoyable. As you work together, you’ll develop a rhythm, divide up tasks, and have plenty of time to catch up, plan and dream.
Pick a spot. Set up in a place you can spread out. We chose a sunny afternoon on an outdoor table. Don’t do this on a windy day outside, however, or you’ll find yourself in the “tossing-confetti-business,” rather than heart string making! Comfy seating, a flat work surface, a cold or hot beverage and the company of your choice sets the stage for great results.
If you’d like to add another dimension to these heart strings, consider your theme. As these are wedding-related, we chose romance book pages. These strings would also work well for Valentine’s Day. You might select a snowflake punch for the holidays and theme your pages accordingly. Whichever genre you choose, the printed text on the punches will reflect your messaging.
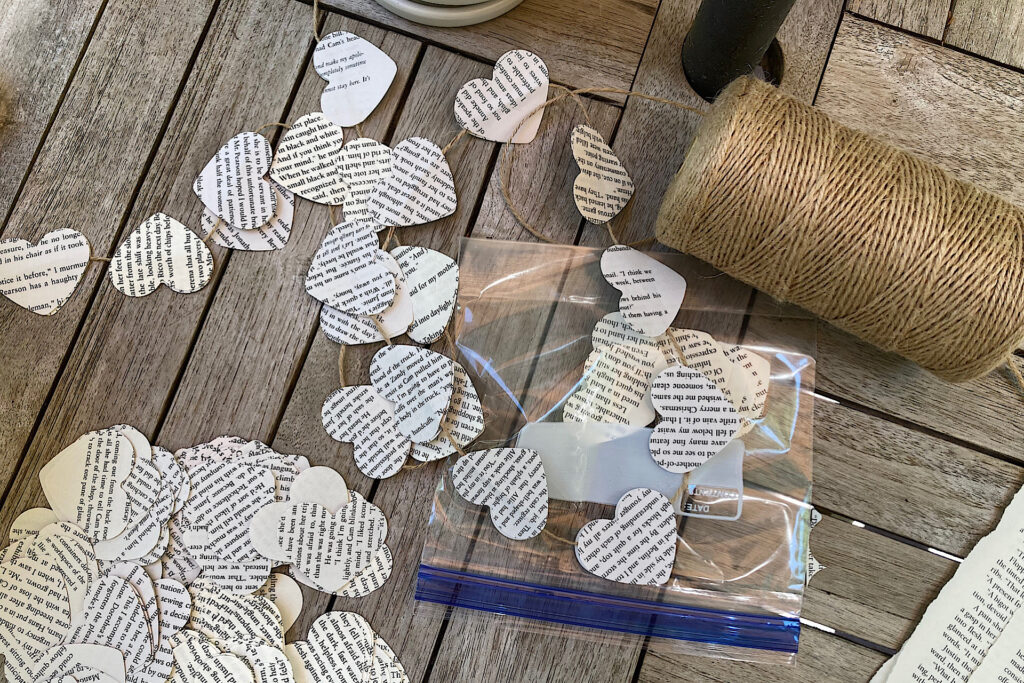
Step 2: Twine or String Garland
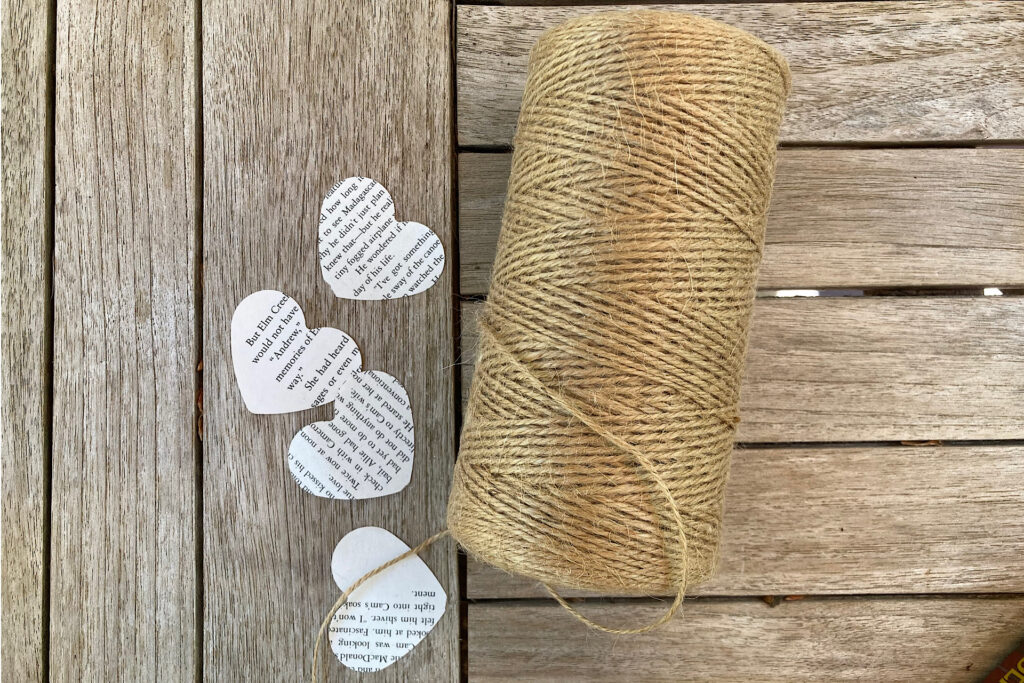
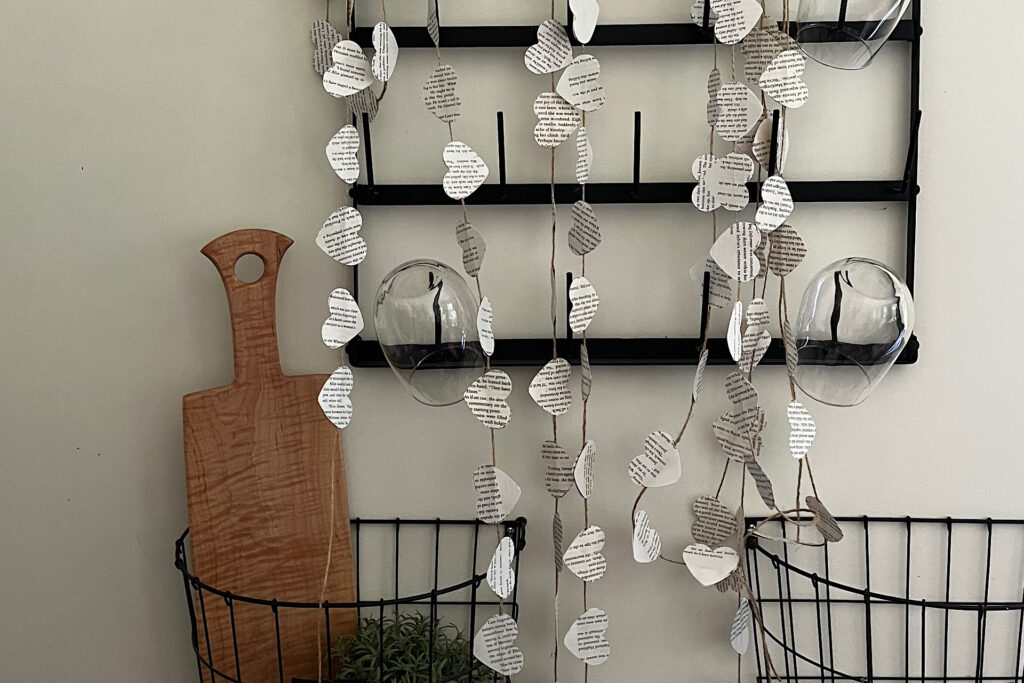
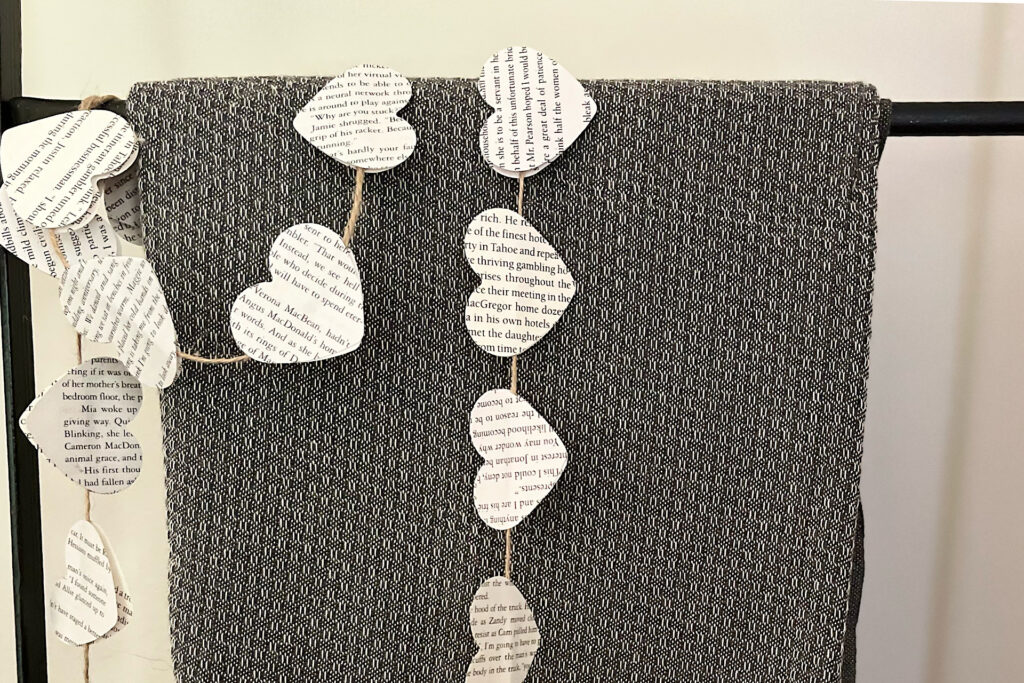
Length. Because we are not yet sure of placement at the venue, we went longer rather than shorter in length. The bride selected twine over string as it blends seamlessly with the tone and feel of her setting. We chose 11-12 feet in length for twine cuts. When draped in half, they are approximately 5 1/2 to 6 feet on either side. Leave a portion of each string bare on either end for tying.
Spacing. We placed our punches about 2 inches apart on the heart strings. This seemed to be the most visually appealing for what we were trying to achieve. If you would like a sparser or denser feel, you can play with placement a little to get your desired effect.
The string you select changes the mood of your piece. We preferred a rough texture for a farmland theme. But, color and texture will add another story line to these literary heart strings. White might be nice for holiday twine. A finer, glossier string will set a modern, minimalist tone. You can also add copper led string lights to further elevate the character of these sweetheart strings.
Step 3: Placing Paper Punches on Heart Strings
Adhesive choice. Double-sided tape works best for this project. Glue sticks don’t have the hold power and regular white glue discolors the paper and can smear the print. I will admit, we quickly ran through our roll of double sided tape and resorted to making small tape loops out of regular scotch tape so it would be sticky on both sides. It required extra time to make the loops, but they worked equally as well.
Punch placement. Again, for this project, we placed the hearts about 2 inches apart on the string. You can decide what works best for your intended use. We also found that turning them 180 degrees every now and then added more visual appeal and didn’t make them look so static. Sometimes we did every other, sometimes we placed a few each way, but mostly it was random. We liked the eclectic feel that scattered up-and-down placement offered these heart strings.
Taping. We laid one punch flat on the table. Then, laid a piece of double sided tape in the center of the punched heart. We then pressed the twine on top of the centered tape. And, lastly pressed another heart on top, making sure that the top heart paper grabbed the double-sided tape on either side of the twine on the bottom heart.
For visual interest, we varied placement of some punches with full text coverage mixed with others that were scant or empty of print. Up close, the heart strings provide little romance snippets.
Finished Twines That Pulls At Your Heart Strings
Our finished heart strings achieved what we set out to accomplish. A farmhouse vibe with a minimalist refined feel. We anticipate they will pair quite nicely with jars of white baby’s breath on a fresh fall afternoon.
We both agreed that making these was actually relaxing and a bit meditative. There is a rhythm and muscle memory that kicks in when you are making a number of them…as well as a little promise for the future couple.

BEST POST YET. thank you for helping my wedding day include some easy crafting projects!
Fun collaboration! Thanks to you as well!