Sometimes the most satisfying creative projects begin with a little curiosity and a willingness to experiment. This DIY bubble print art project grew out of inspiration from several pieces I had seen online. I wondered if I could combine a few ideas and create something playful for my own home.
Learn how to create this fun DIY bubble print tulip art using acrylic paint, soap bubbles, and multi-media paper. This beginner-friendly painting project proves you don’t have to be an artist to make visually appealing wall décor. I certainly don’t consider myself an artist, but I do love to create and play with materials. The painting techniques are wonderfully simple, yet the taped grid and hidden bubble prints add a surprising graphic element. Together they transform a very elementary process into a piece with personality. If you enjoy exploring new ideas, I hope you’ll dabble in this project with me.
Supplies Needed for DIY Bubble Print Art
One of the things I enjoy most about projects like this is how simple the materials are. This DIY bubble print art tutorial uses basic supplies that many people already have at home. I gathered what I had from my craft drawer and started experimenting. If you’re starting from scratch, everything on this list can easily be found at your local craft store.
Supplies:
Multi-media art pad
Acrylic paint set
Medium sized paint brush
Blue painter’s tape
Small bowl for mixing bubble solution
Dish soap
Drinking straw for blowing bubbles
Small container for rinsing your brush
Shadow box frame for displaying your finished artwork
I’ll mention the colors I used as we go, but don’t feel limited by them. This is a wonderful project for playing with color and creating something uniquely your own.
Taping Off the Six-Frame Grid
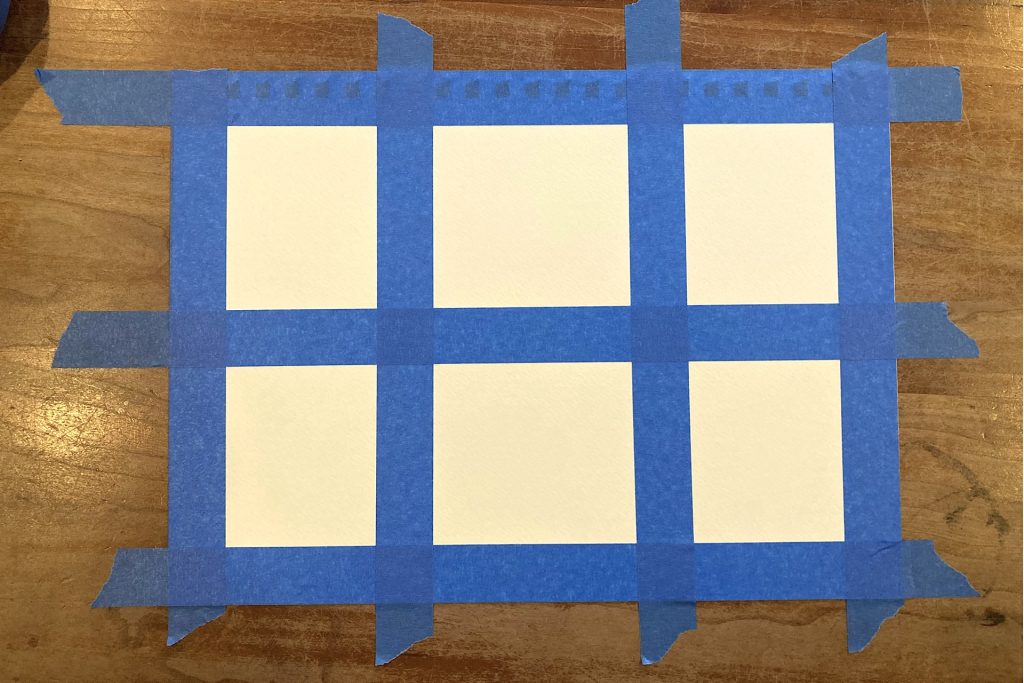
To begin this DIY bubble print art project, start by creating a simple grid on your paper using blue painter’s tape. This taped framework will divide the page into six small painting spaces and give the finished artwork a clean, graphic look.
First, lay strips of painter’s tape along the outer edges of your paper to create a border. Press the tape firmly along the top and side edges so it stays in place while you work.
Next, place a strip of tape horizontally across the center of the page to divide the sheet in half. Then add two additional vertical strips, spacing them evenly so each section is divided into thirds. Once finished, you will have a grid of six small frames ready for painting.
A ruler can help keep your lines straight and evenly spaced. You can also make small measuring marks directly on the painter’s tape rather than the paper. This keeps your multi-media paper clean and free of pencil marks. Blue painter’s tape works especially well for projects like this because it peels away easily at the end without tearing the paper.
Making the Bubble Prints
Now it’s time for the most playful part of this DIY bubble print art project—creating the bubble prints themselves.
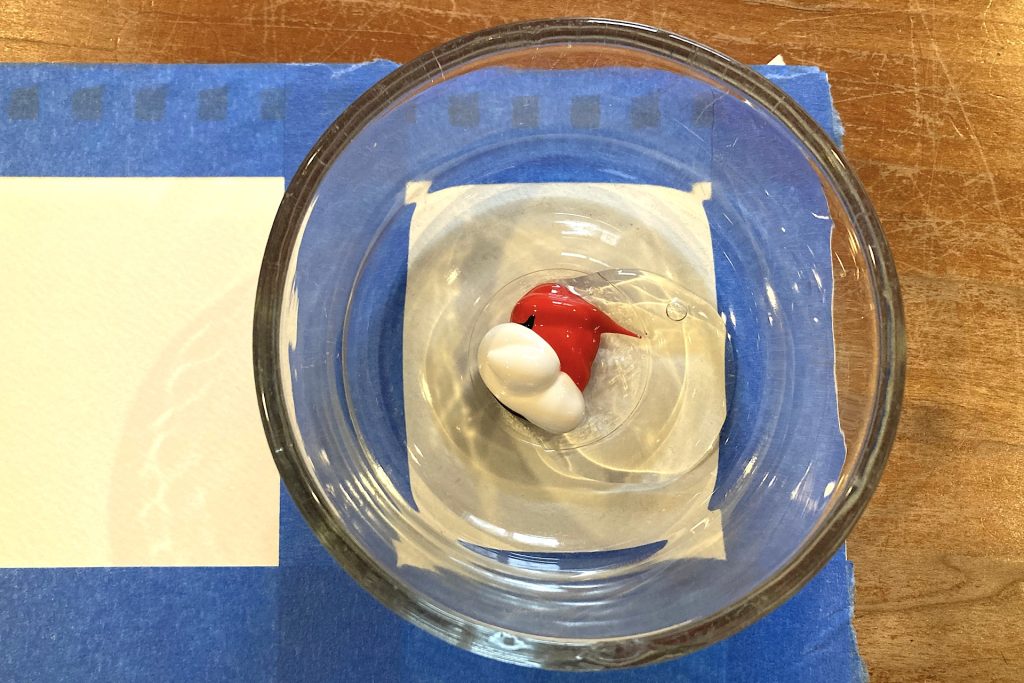
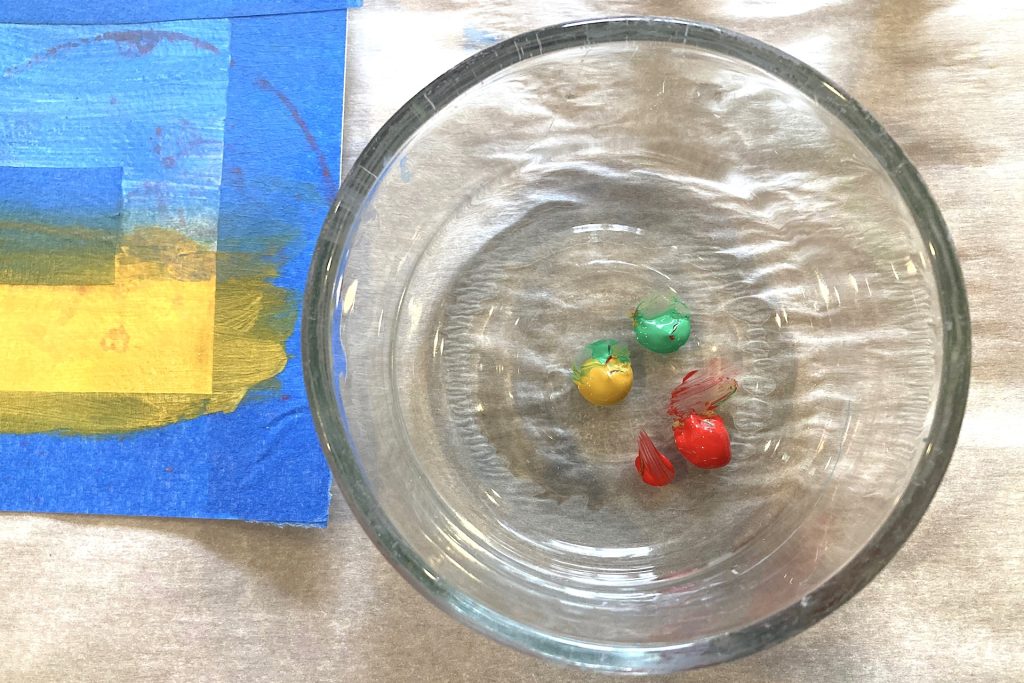
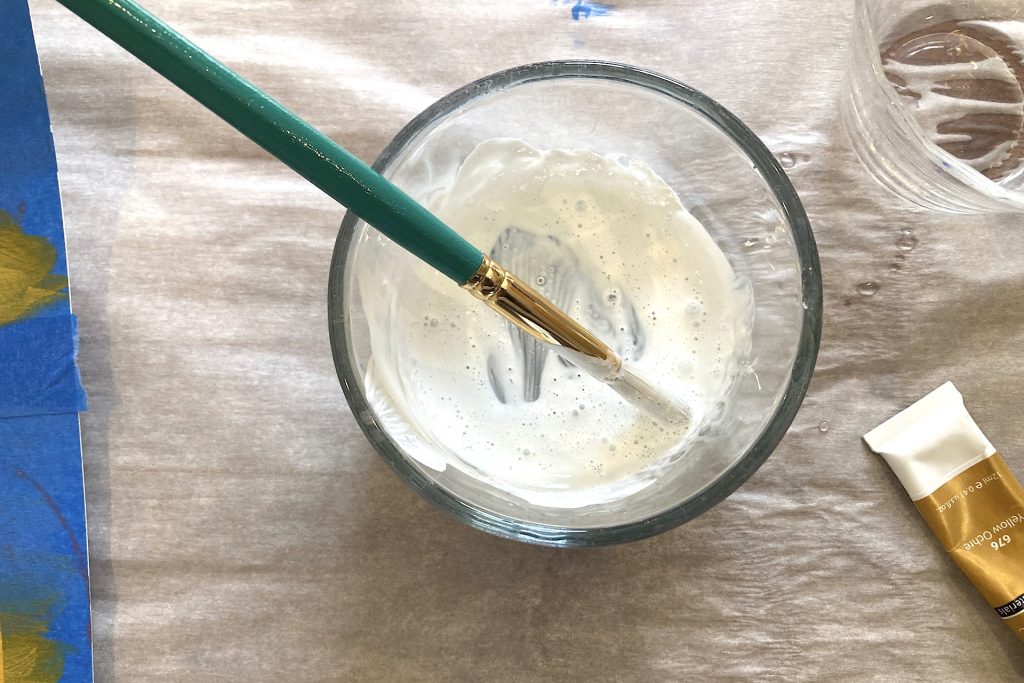
Start by preparing your bubble mixture in a small bowl. Add equal amounts of acrylic paint, dish soap, and water. I added just a little extra water so I would have enough solution to create prints for all six sections of my grid.
For my color mix, I used scarlet, titanium white, and just a small dab of ultramarine. Once everything is in the bowl, stir the mixture well with a spoon until the paint, soap, and water are fully combined.
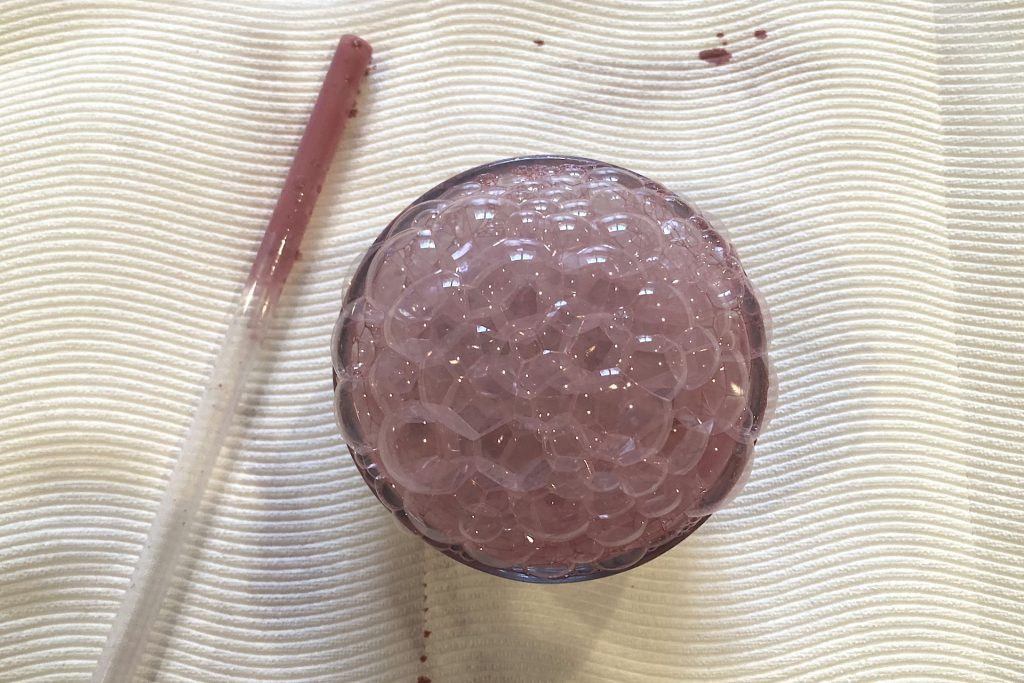
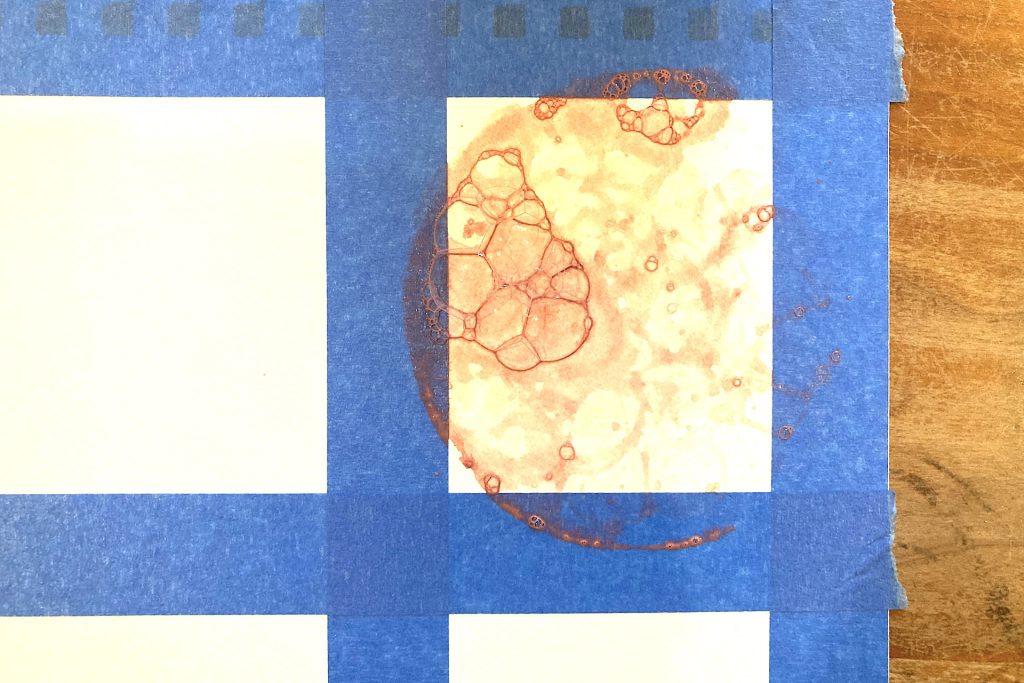
Now the fun begins. Place a drinking straw into the mixture and gently blow into the bowl until bubbles rise up and spill over the rim. This step can get a little messy, so it helps to place the bowl on a disposable surface such as paper towels, cardboard, or aluminum foil.
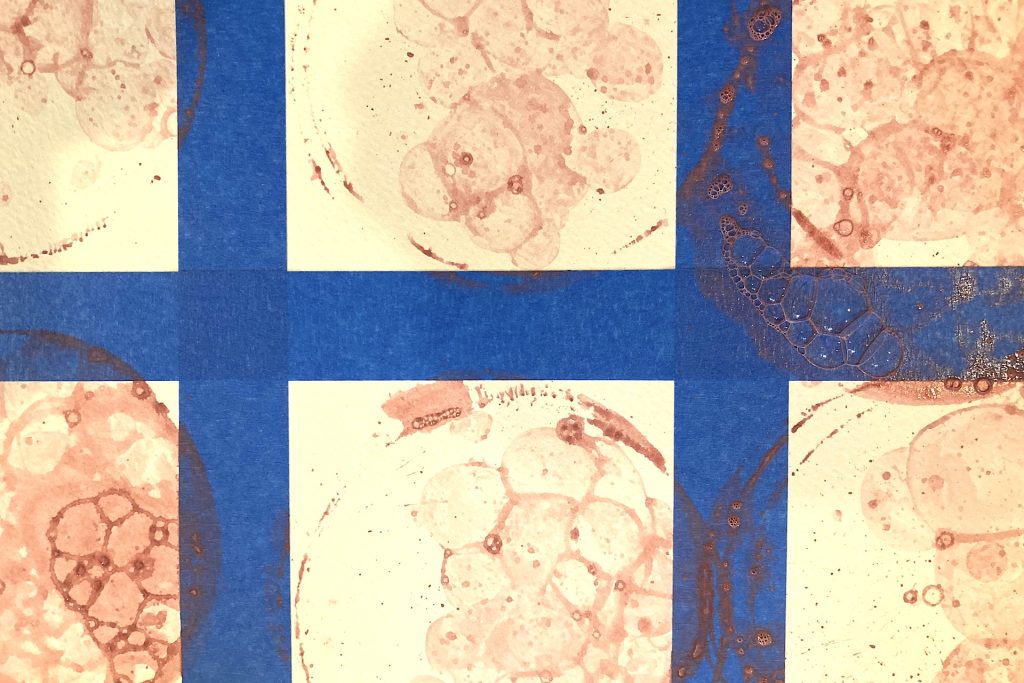
When the bubbles rise above the rim, carefully position one of the taped frames over the container and lower it flat onto the bubbles. Try not to twist or slide the paper. Simply lay it down gently so the bubbles leave their print. Lift the paper straight up to reveal the pattern.
Repeat this process until you have created a bubble print in each of the six frames on your art paper.
Drying the Prints and Adding a Hidden Detail
Once all six sections have their bubble prints, set your paper aside and allow it to dry completely. The paint mixture dries fairly quickly, so this step only requires a little patience.
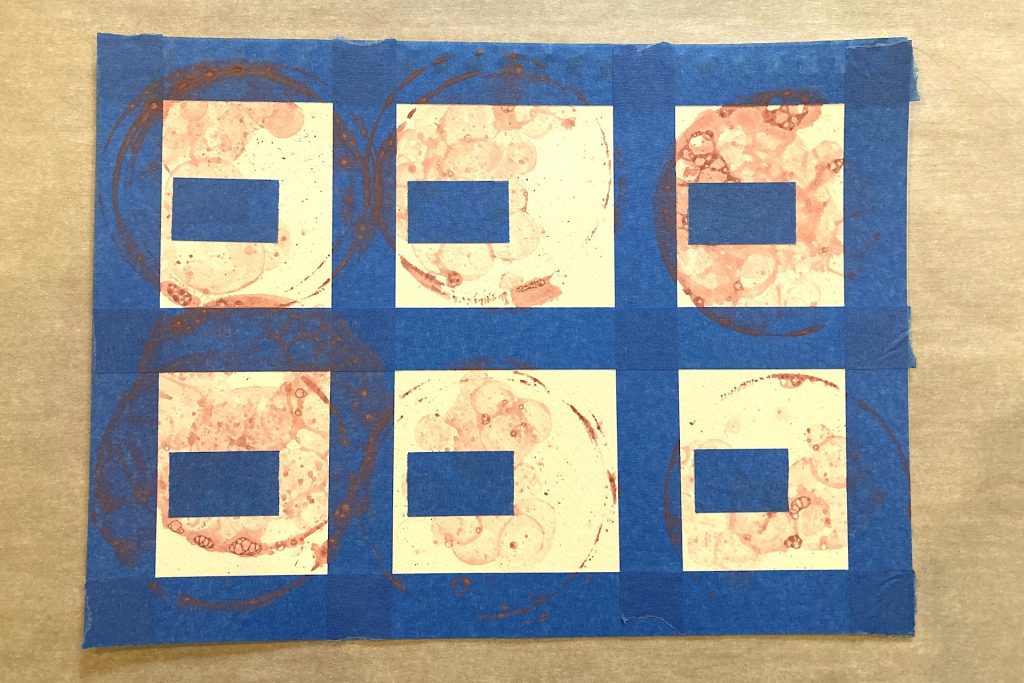
When the bubble prints are dry, cut six small rectangles from your blue painter’s tape. Mine measured about 1½ inches long, though the exact size can vary depending on your preference.
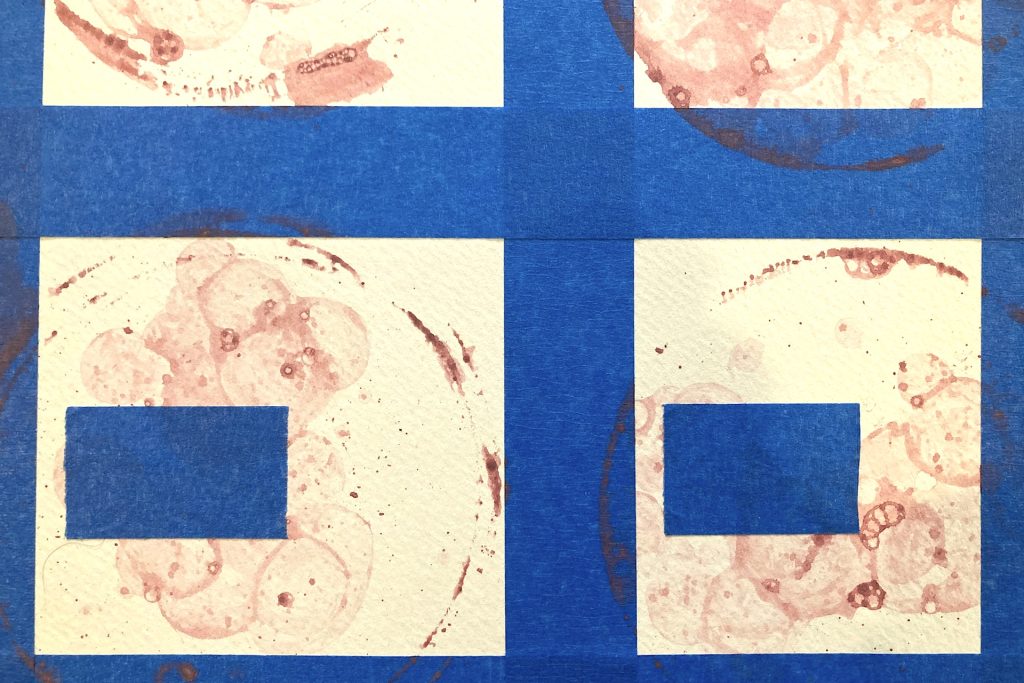
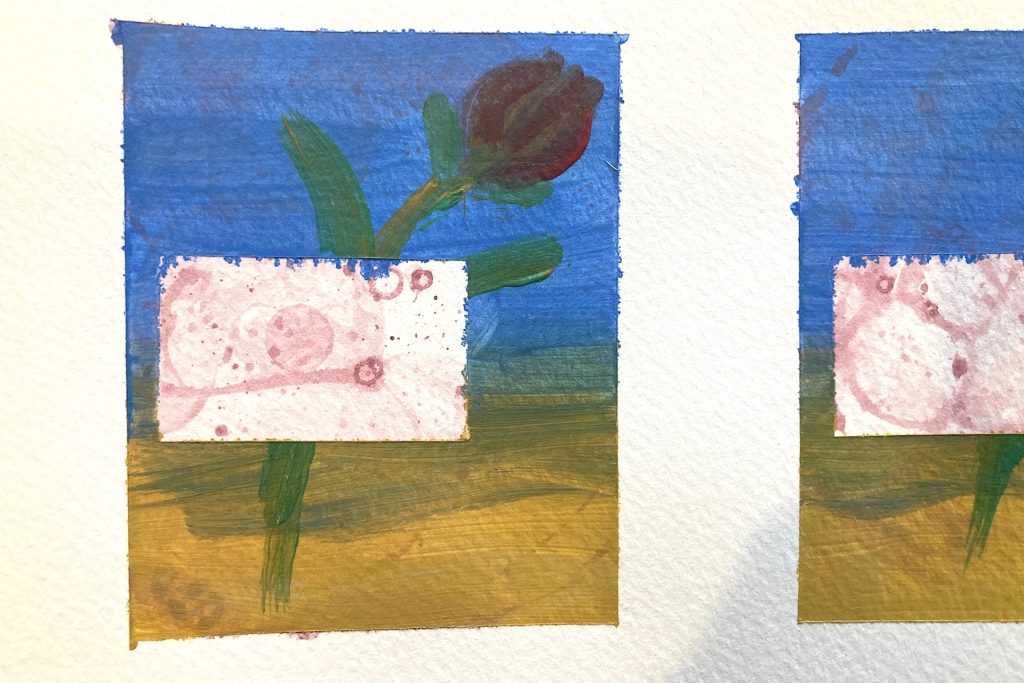
Press one rectangle firmly into each frame, placing it in roughly the same location every time. The tape should cover a small portion of the bubble print pattern. This simple step protects a portion of the original DIY bubble print art before the next layers of paint are added. Later, when the tape is removed, those small sections will reveal the untouched bubble prints beneath. It’s a subtle detail, but it adds a wonderful element of surprise to the finished artwork.
Adding the Background Layers
With the bubble prints protected and dry, it’s time to begin adding the painted background to each frame of your DIY bubble print art.
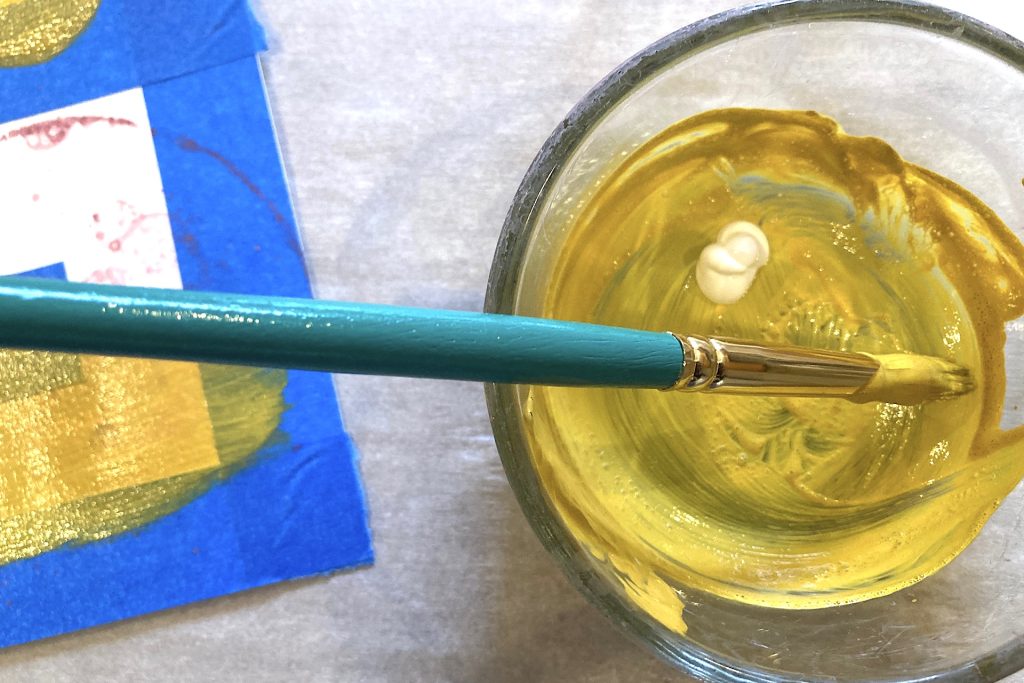
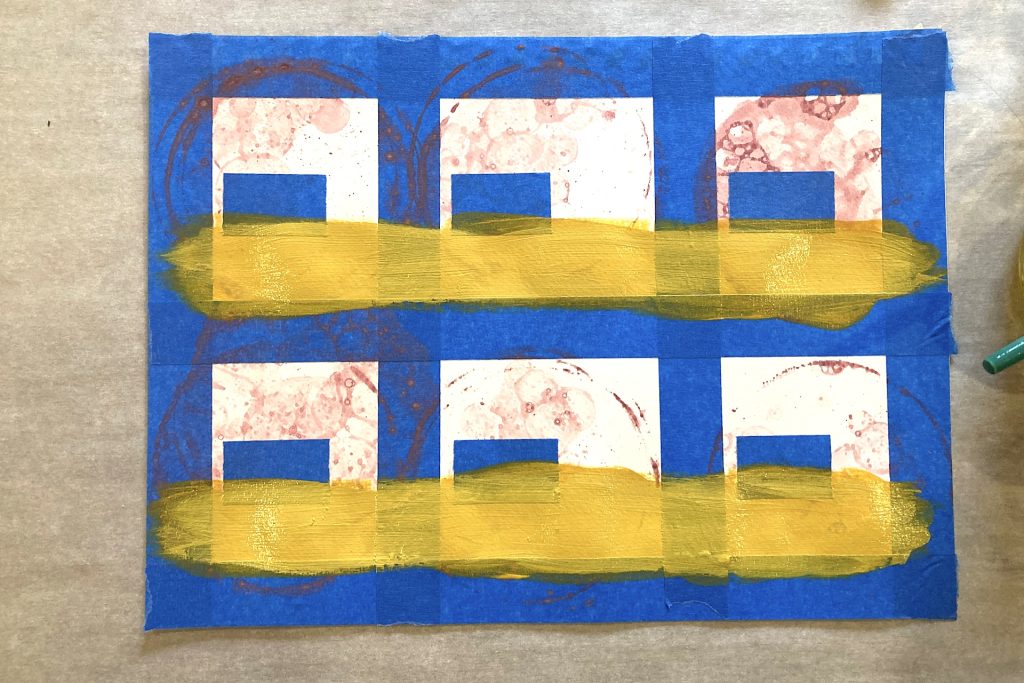
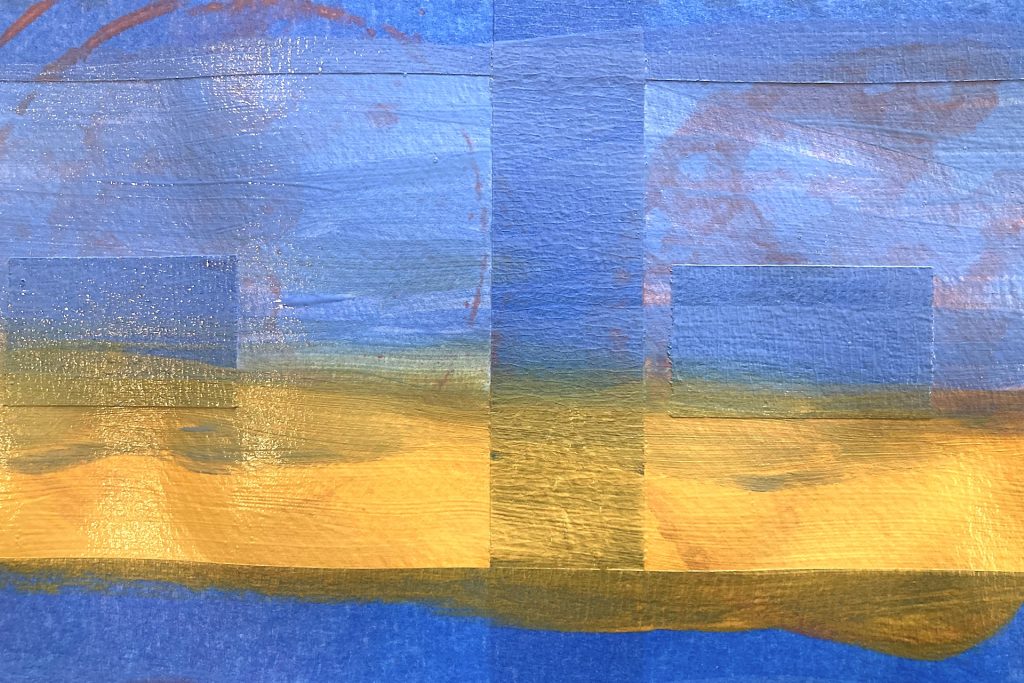
Start by mixing a generous dollop of yellow ochre with a small dab of lemon yellow. Brush this mixture across the bottom quarter of each frame. After applying my first layer, I decided the color needed a little more brightness, so I added additional titanium white and painted over the section again. Don’t hesitate to adjust your colors as you go. This project is a wonderful opportunity to experiment and follow your instincts.
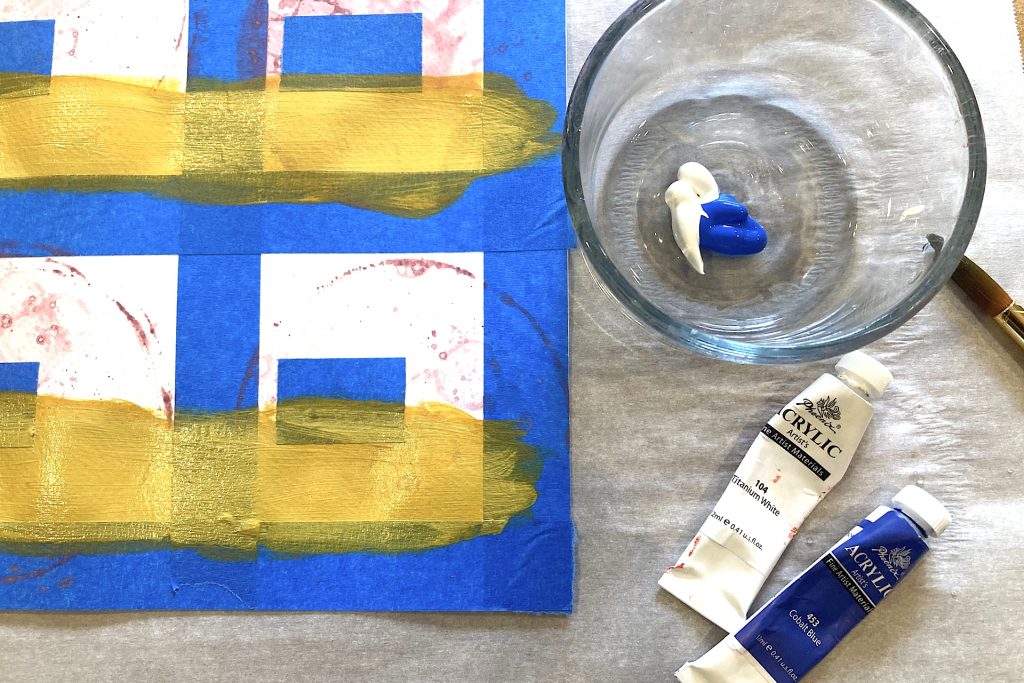
While the yellow paint is still wet, prepare the color for the upper portion of the frame. Mix good-sized dollops of cobalt blue with titanium white until you reach a soft sky-blue tone.
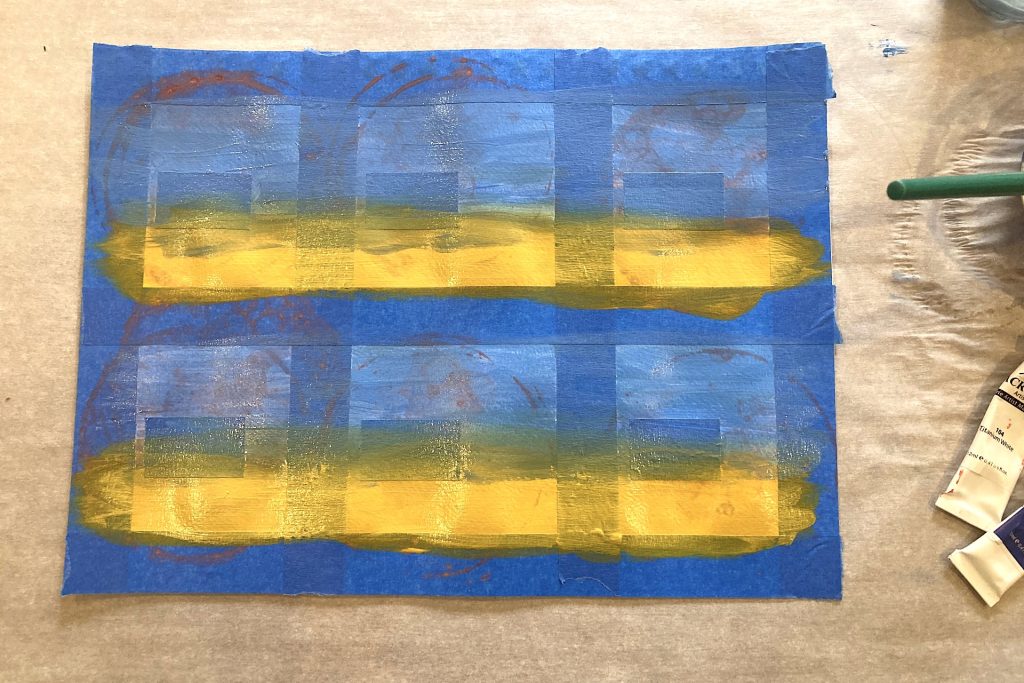
Brush this mixture across the top portion of each frame, allowing it to overlap slightly with the wet yellow section below. Where the colors meet, they will naturally blend together and create subtle touches of green.
At this stage, the thicker layers of acrylic paint will cover much of the bubble print pattern as well as the blue painter’s tape beneath. If you look closely, however, you should still see hints of the original bubble texture peeking through the paint. Once all six frames are painted, allow the background layers to dry completely before moving on.
Painting the Tulip Heads and Stems
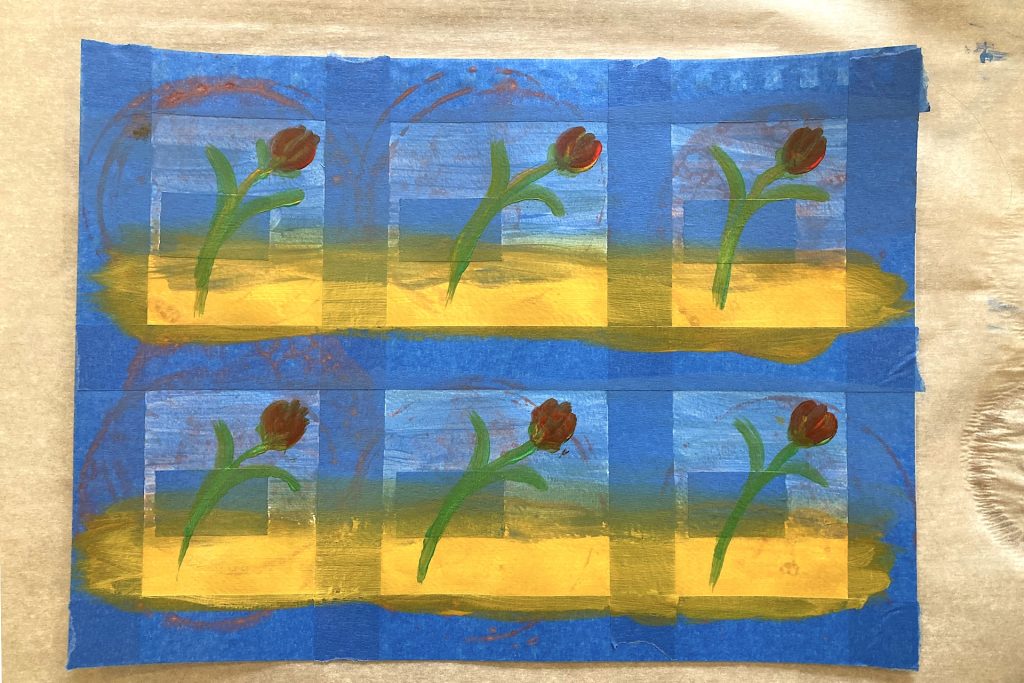
This step is where the artwork begins to transform. With a few simple brush strokes, the painted backgrounds of this DIY bubble print art project start to take on the shape of bright tulips.
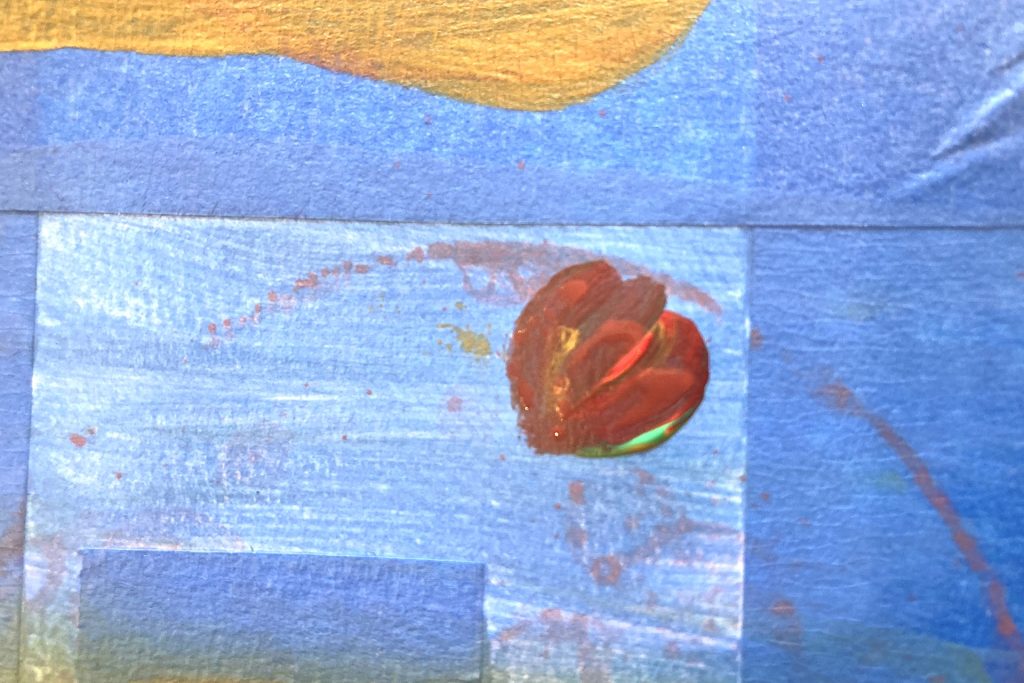
Begin with the tulip heads. Place small amounts of scarlet, lemon yellow, and emerald green on your palette. Load your brush mostly with red, then lightly touch it into the yellow and green so the colors mingle together.
In the upper right corner of each frame, make three confident brush strokes to form the tulip petals. Start each stroke near the top of the petal and pull the brush downward so the three strokes meet at their base. If you like, practice the motion on a scrap piece of paper first until you are comfortable with the shape.
For the petals, I used the paint straight from the brush without watering it down. The thicker acrylic paint creates a little texture and helps the petals stand out against the background.
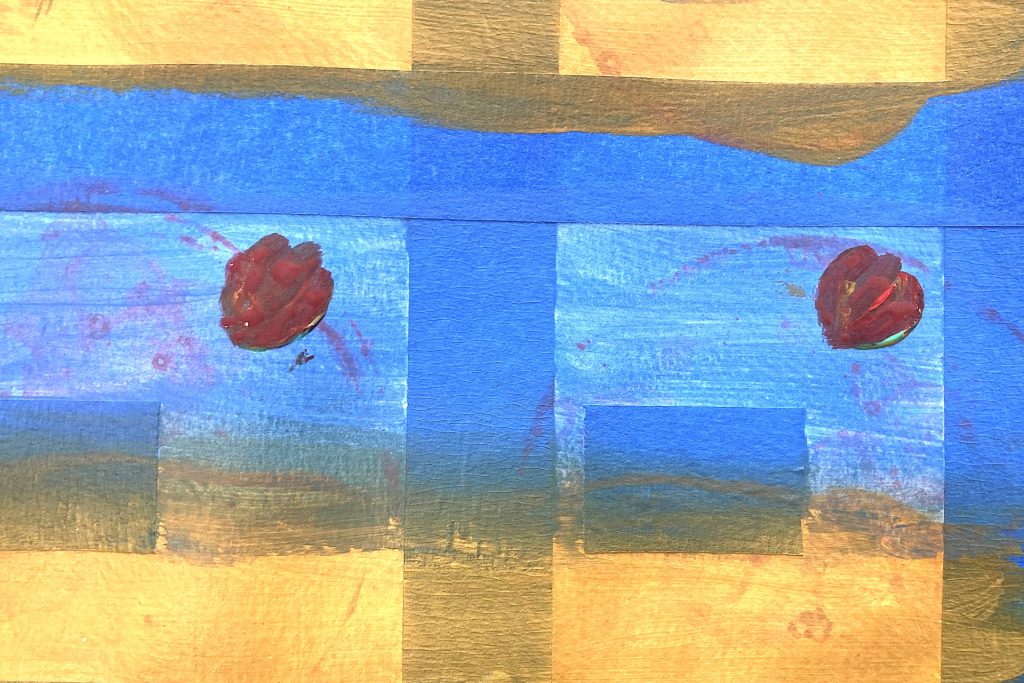
Once the petals are finished, clean your brush and work with a small dollops of sap green and lemon yellow. Load your brush mostly with green and lightly dab it in the yellow.
From the base of each tulip head, sweep the brush in a graceful arc down toward the yellow band near the lower left side of the frame. The stem should cross right over the taped rectangles that are protecting the bubble prints underneath.
To complete the flower, add two simple leaves using the same colors. Start near the bottom of the stem and sweep your brush outward in gentle arcs on either side. These loose strokes help keep the painting playful and expressive. If you’d like, you can always practice the leaves on a spare sheet of paper before adding them to your frames.
Making the Painting Your Own
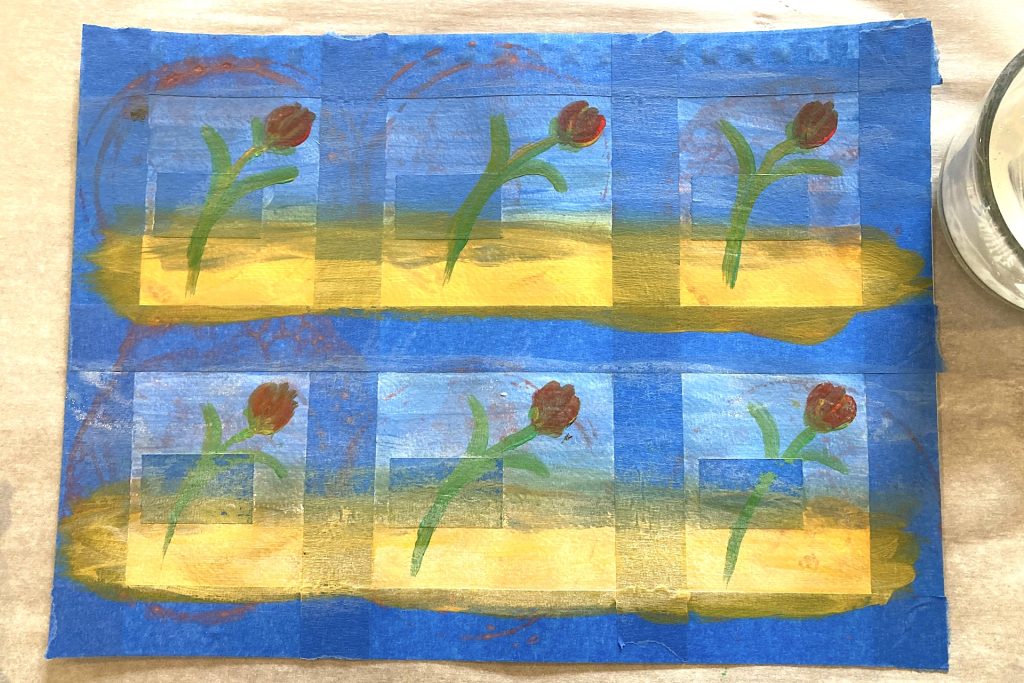
After my tulips and stems had dried, I realized the colors felt a bit stronger than I wanted. Rather than repainting anything, I decided to soften the overall look with a gentle acrylic paint wash.
I mixed a small amount of titanium white with water until the paint became thin and translucent. With a light touch, I brushed this mixture across each frame of my DIY bubble print art. The wash didn’t hide the layers underneath. Instead, it created a soft veil that toned down the colors and blended everything together in a way I liked.
You may find that your painting feels just right without this step, and that’s perfectly fine. Projects like this are meant to be flexible and creative. Feel free to add details, adjust colors, or experiment with different ideas as you work.
One of the most enjoyable parts of a project like this is the freedom to personalize it. Even though the painting techniques are very simple, they allow you to explore color, texture, and composition in your own way. I certainly don’t consider myself an artist, but this project reminds me that creativity doesn’t have to be complicated. Sometimes the most satisfying pieces come from simply playing and experimenting.
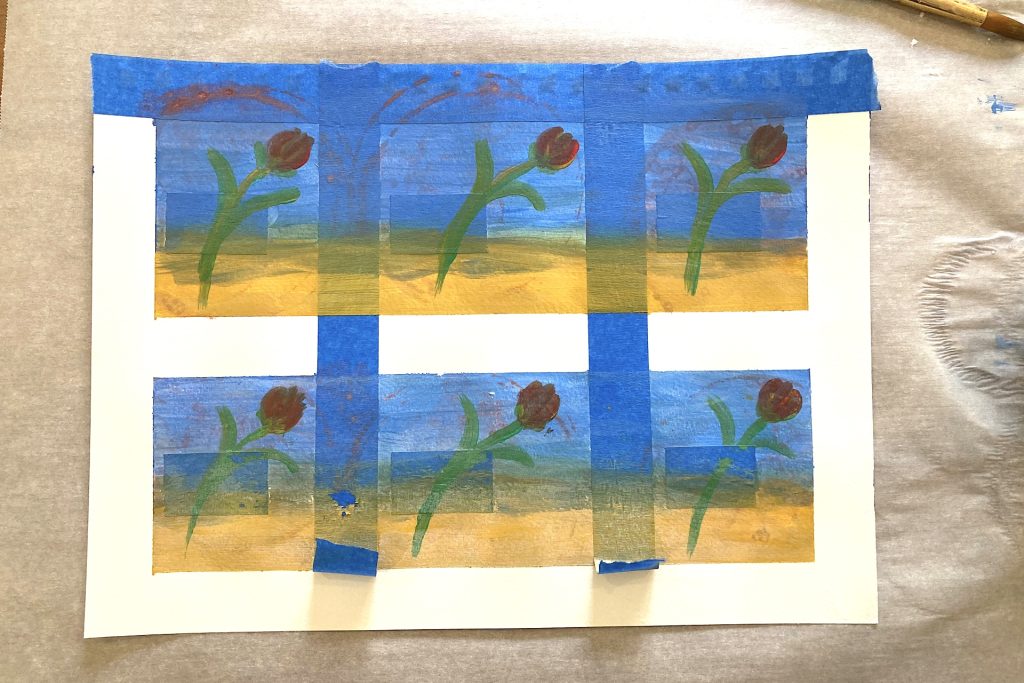
The Big Reveal: Removing the Tape Grid
Now comes one of the most satisfying moments of this DIY bubble print art project—the tape reveal.
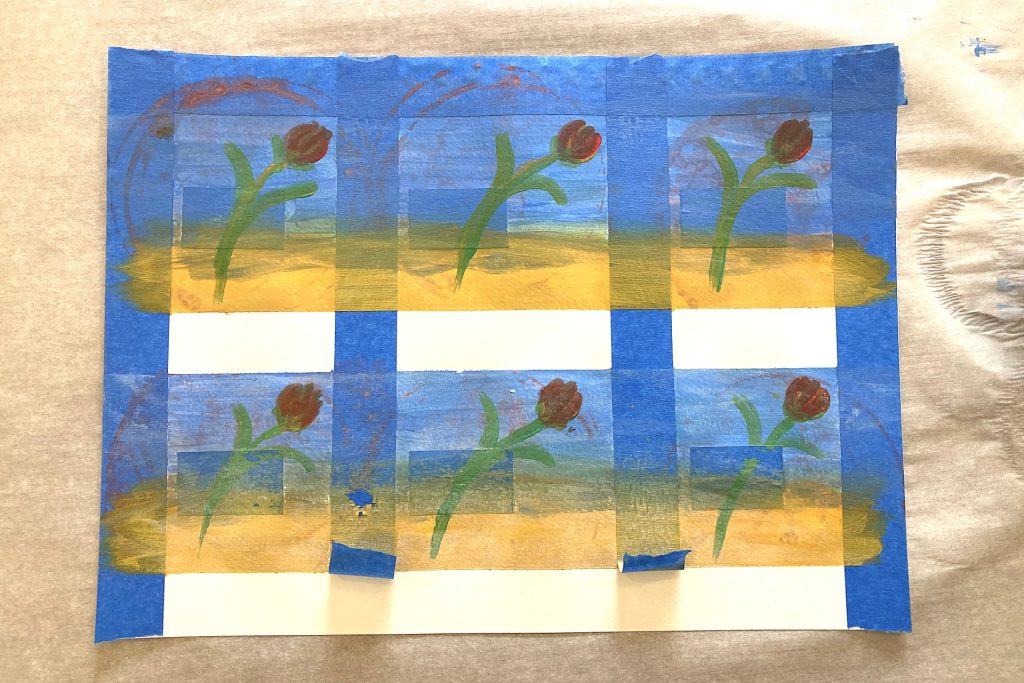
Begin by carefully removing the blue painter’s tape that created the grid around your six frames. I found it easiest to remove the tape in the reverse order that I applied it, working from the top layers down to the bottom layers.
Even though painter’s tape usually lifts away easily, take your time and pull it back slowly. This will help prevent the paper from lifting or tearing.
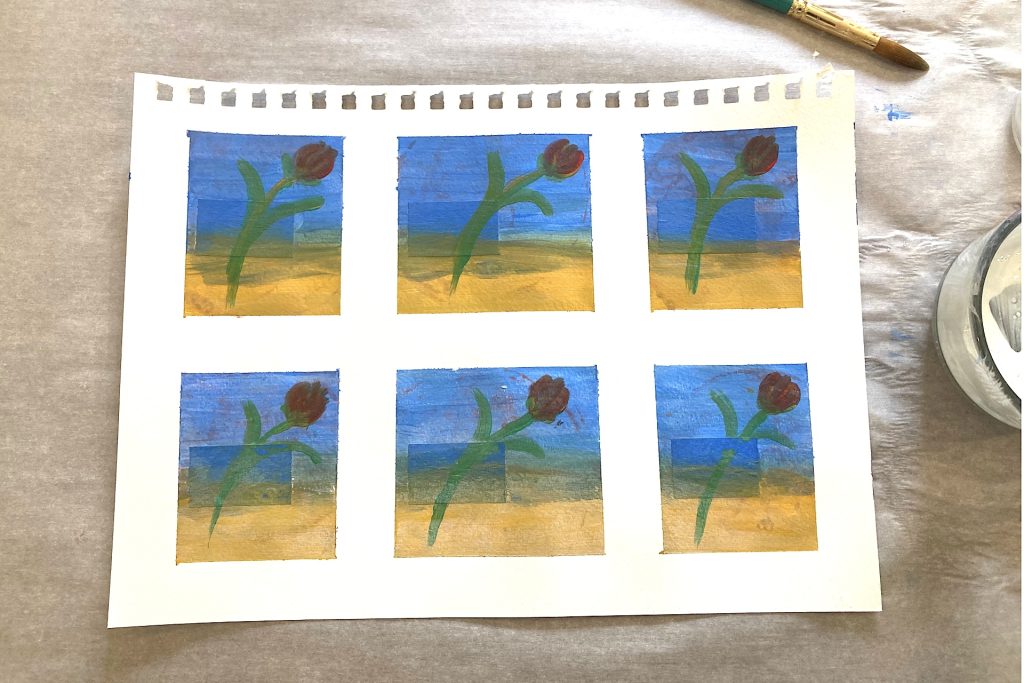
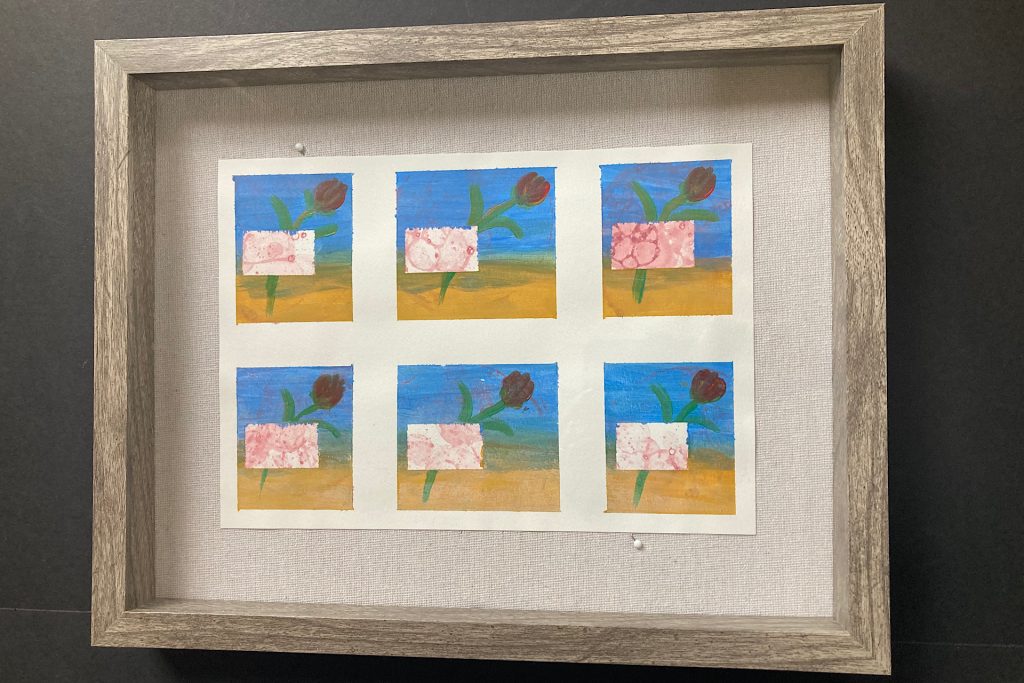
As the tape comes off, you’ll begin to see the clean white lines of the paper surrounding each frame. These crisp borders instantly change the look of the artwork. What was once a full sheet of painted paper now becomes six small framed paintings arranged in a graphic grid.
The simple act of removing the tape gives the DIY bubble print art a polished, finished appearance and highlights each little scene on its own.
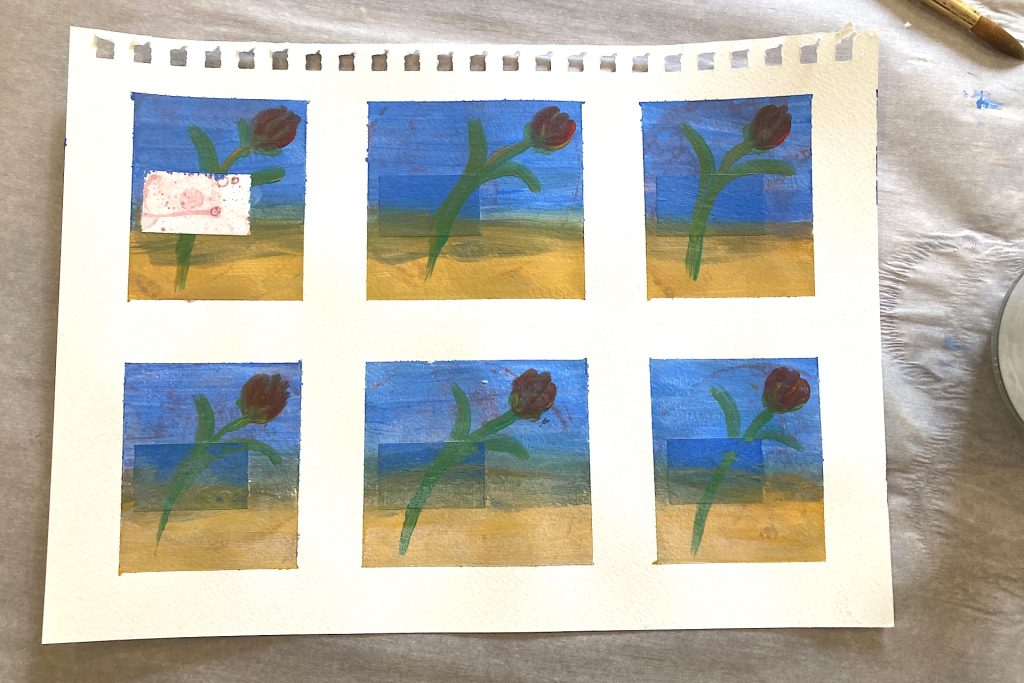
Now for the final little gem in this DIY bubble print art project.
Those small pieces of painter’s tape you placed earlier are still covering a portion of the original bubble prints. Carefully peel each one away to reveal the hidden layer beneath.
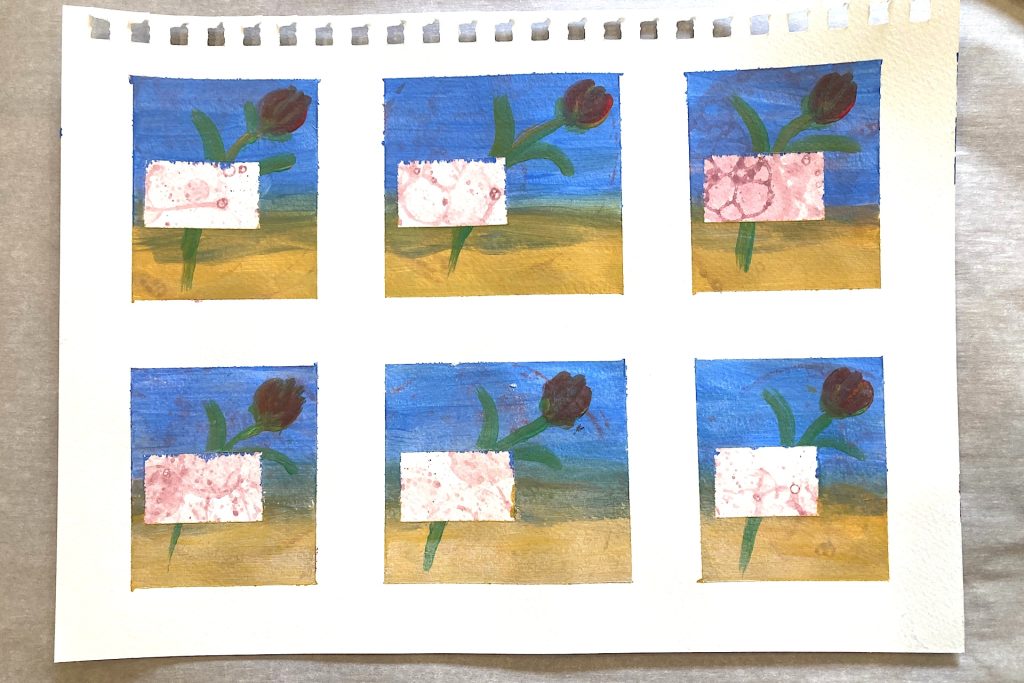
Take your time as you remove the tape and pull it back gently so you don’t lift any paint or paper fibers. When the tape comes off, the first layer of bubble print art appears again like a tiny window within each frame.
For me, these little openings are what gave the painting its creative edge. The simple shapes and basic brush strokes suddenly have an unexpected detail that adds character and visual interest.
I hope you enjoy peeling back these small windows as much as I did. It’s a simple step, but the reveal is surprisingly fun.
Displaying Your Finished Artwork
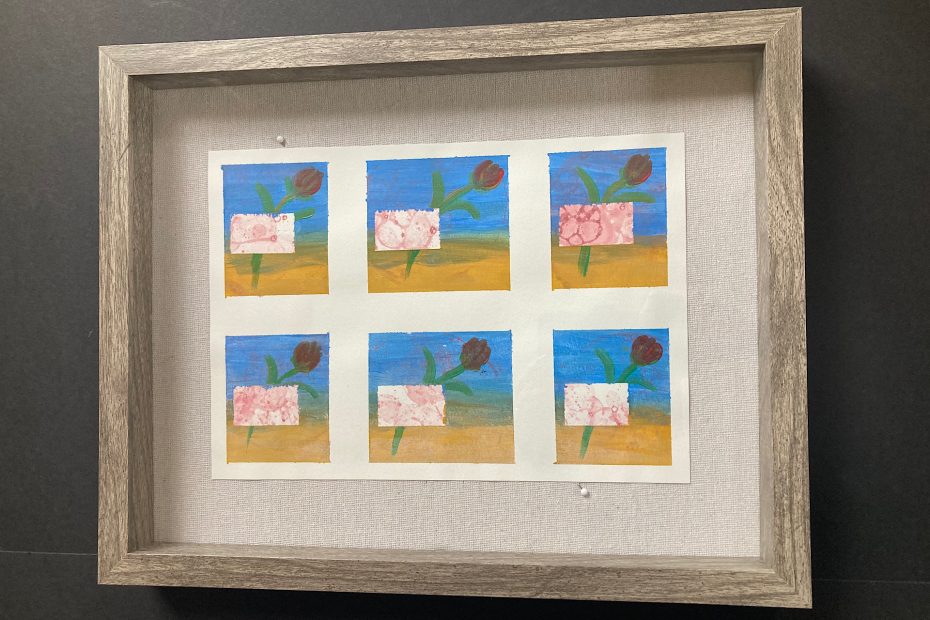
Once your DIY bubble print art is complete, the final step is finding the right way to display it. I chose a simple shadow box frame, which gave the artwork a little extra depth and presence.
The frame I selected came with small decorative pins, and I liked the slightly eclectic feel they added. Rather than setting them aside, I pinned them into the fabric backing of the frame for a touch of added visual interest behind the artwork.
To attach the painting, I used double-sided tape to secure the paper to the fabric. This kept the print in place while still keeping the mounting simple and clean.
If you’re selecting a frame for your own project, I recommend bringing your finished print with you to the store. Lay the artwork on or next to different frames to see how the colors and style work together. A frame that complements the piece can make your DIY bubble print art feel even more special once it’s displayed.
A Creative Project Worth Exploring
I hope you enjoyed following along with this DIY bubble print art project as much as I enjoyed creating it. One of the things I love most about projects like this is that they invite us to experiment, play with color, and discover something unexpected along the way. You don’t need to be an artist to create something meaningful and visually interesting for your home.
If you decide to try this project, I would truly love to see what you create. Feel free to share your artwork or your own variations of this project. Seeing how others interpret a simple idea is one of the most rewarding parts of sharing creative tutorials.
If you enjoyed this project, you might also like exploring a few of these creative posts: