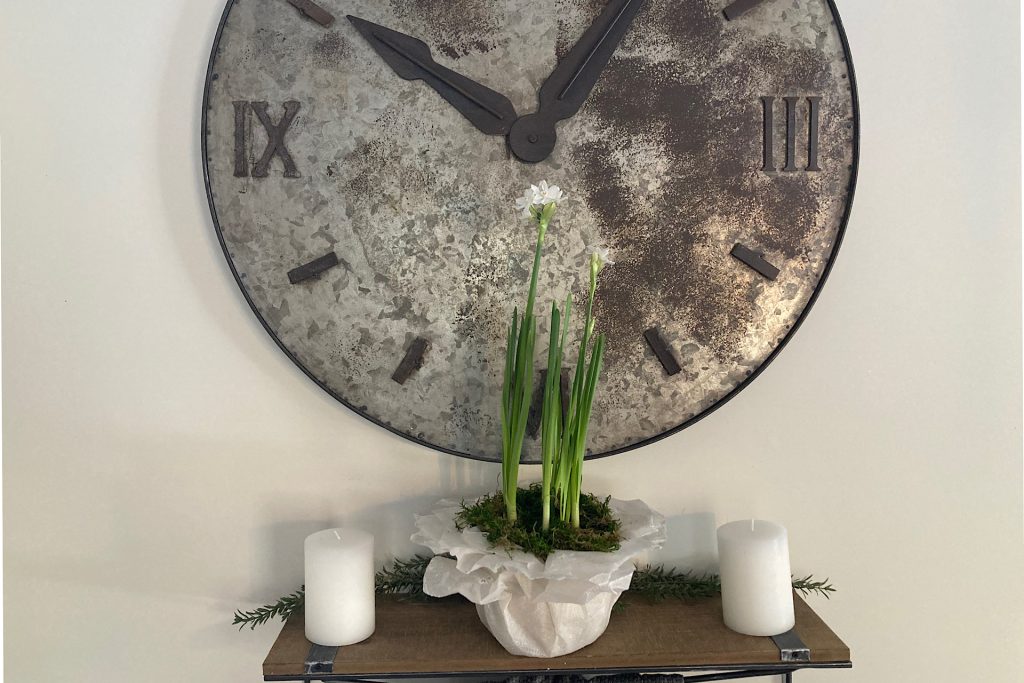
Paperwhites are one of my favorite winter flowers to grow indoors, especially when January feels long, dark, and colorless. This year, a sweet Christmas gift from a friend — a paperwhite bulb kit with a simple black plastic pot and coco coir soil disc — inspired me to create a little whimsy. Instead of planting my bulbs directly in the plastic container, I used it to create a DIY paperwhite planter using white paper towels dipped in melted wax, shaping them into a waterproof bowl that looks like a soft paper vessel. This whimsical winter flower bowl adds just the right touch of greenery and soft white beauty to carry me through January and February’s cold, dark days.
Supplies for DIY Paperwhite Planter with Handmade Bowl
To create your own enchanted winter flower bowl, you’ll only need a few simple supplies — many of which you may already have on hand. This easy DIY paperwhite planter is a cozy winter project that transforms an ordinary bulb kit into a beautiful piece of indoor winter decor.
Materials Needed:
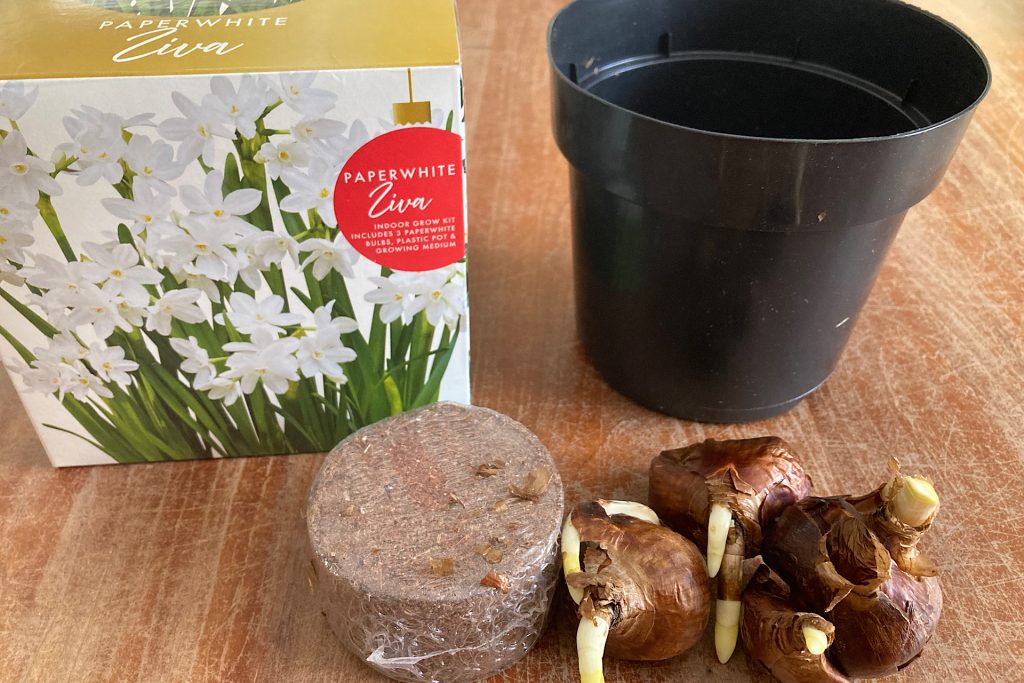
Paperwhite bulb kit (Includes paperwhite bulbs, a planting container, and coco coir soil disc — widely available and reasonably priced online and in stores during winter.)
White paper towels These will be dipped in wax and shaped into your handmade paper bowl planter.
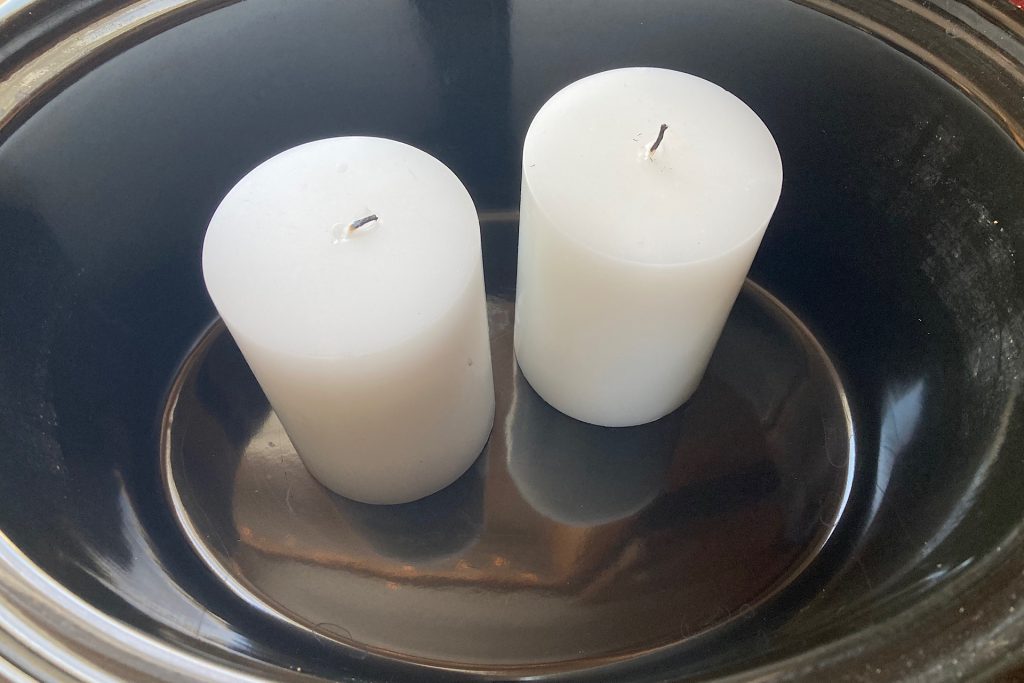
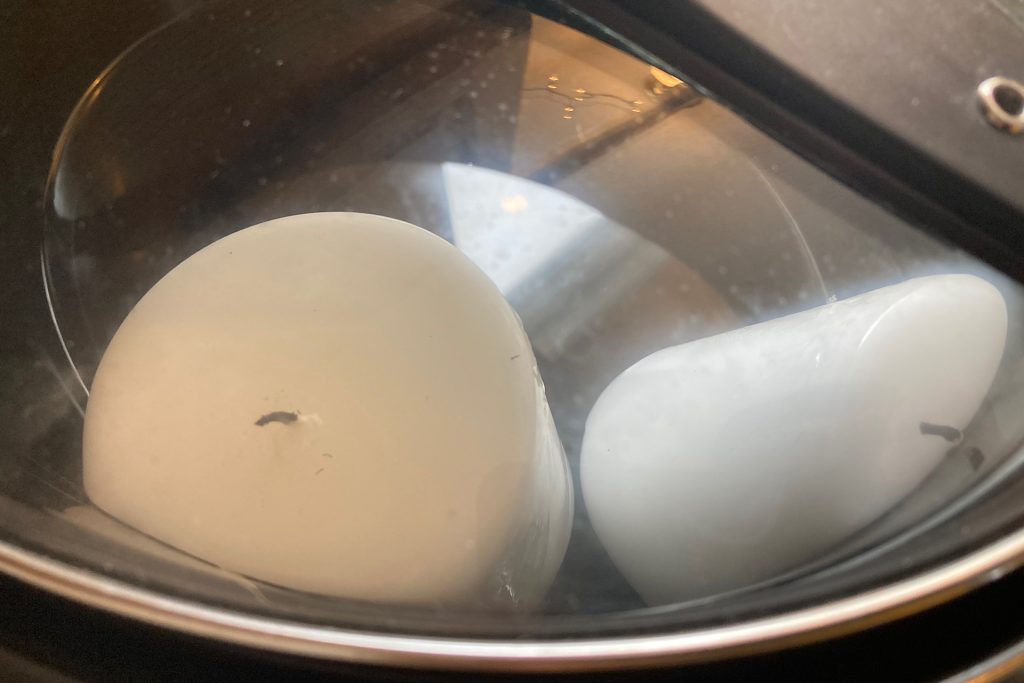
White wax I used two chunky white candles left over from my holiday decor — a perfect way to repurpose seasonal candles.
Double boiler or crockpot for melting wax (I used a crockpot and will share more about that method later.)
Tongs For safely lifting the hot wax–dipped paper towels.
Parchment paper To protect your table or countertop from melted wax while the planter cools.
String or baking twine To gently hold the paper bowl planter in shape while it sets.
Vegetable oil Just a few teaspoons to lightly coat the plastic pot and parchment paper so the wax doesn’t stick.
PrepareYour Workspace to Create a Paperwhite Planter Bowl
Before shaping your handmade paper bowl, it’s important to get your workspace set up and your wax melting safely. Since I used a crockpot instead of a traditional double boiler to melt my two candles, I started by allowing plenty of time for the wax to fully melt before beginning the project.
I chose a crockpot for a few simple reasons. First, I already had an older one on hand that I no longer use in the kitchen, making it perfect for crafting. Second, its generous size allowed me to work with full sheets of paper towels and let excess wax drip neatly back into the pot. And finally, I could keep it on my protected countertop rather than risking wax drips on my stovetop.
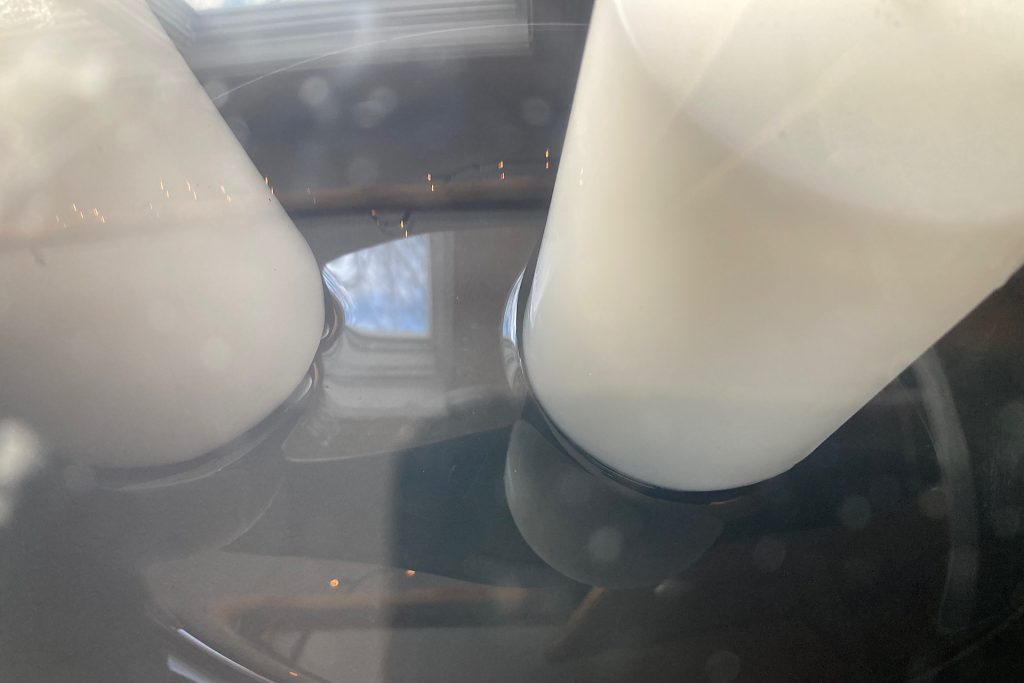
I set my crockpot to high and stayed in the kitchen the entire time to monitor it closely. Never leave melting wax unattended — every crockpot heats differently, so it’s important to keep a watchful eye for safety. Some crafters prefer to add water and use the crockpot as a double boiler, which is another good option.
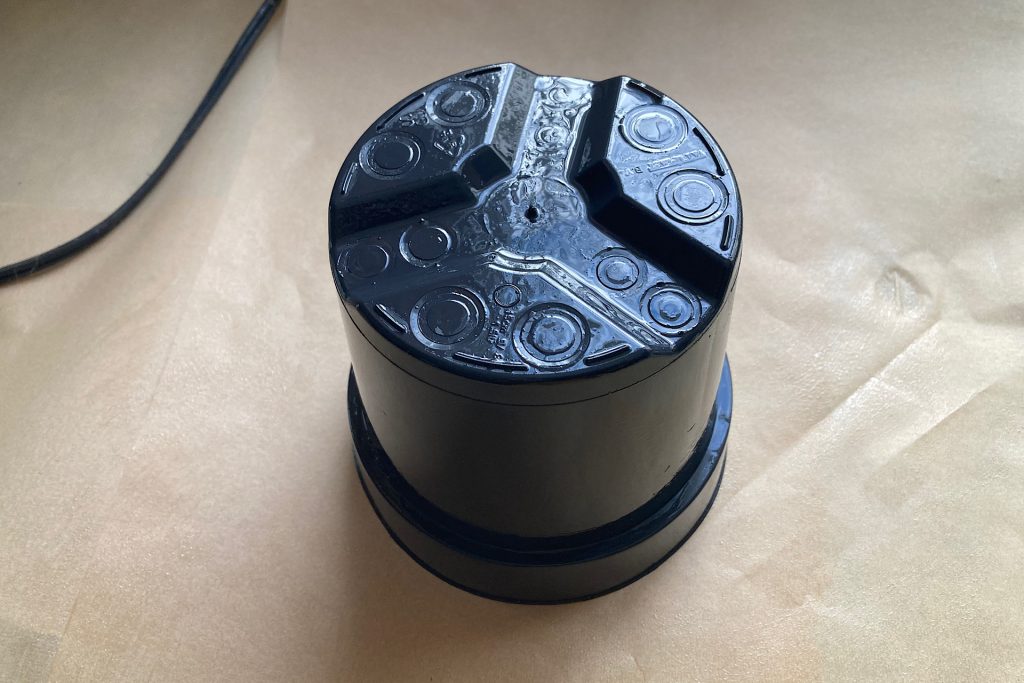
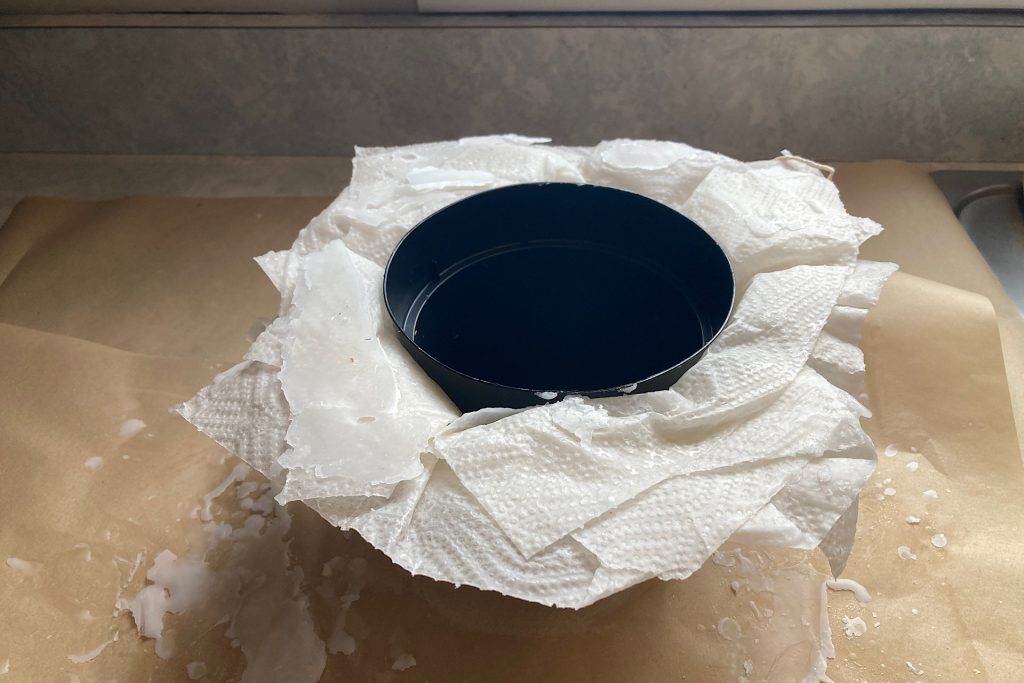
While the wax was heating, I covered my work surface with parchment paper and placed the plastic planting pot upside down on top. I brushed both the pot and parchment with a thin layer of vegetable oil to prevent the wax from sticking. With my tongs ready for dipping and lifting the paper towels, everything was in place to begin creating my DIY paperwhite planter.
Dipping and Shaping the Paper Bowl
This is where your DIY paperwhite planter really begins to take shape. I chose to begin dipping my paper towel sheets before my two wax candles were completely melted. There was already plenty of clear, melted wax pooled in the basin of the crockpot, and I simply worked around the remaining unmelted pieces. If you prefer to wait until the wax is fully melted, use your tongs to carefully remove the two candle wicks before dipping your paper towels so they don’t get in the way while shaping your handmade bowl.
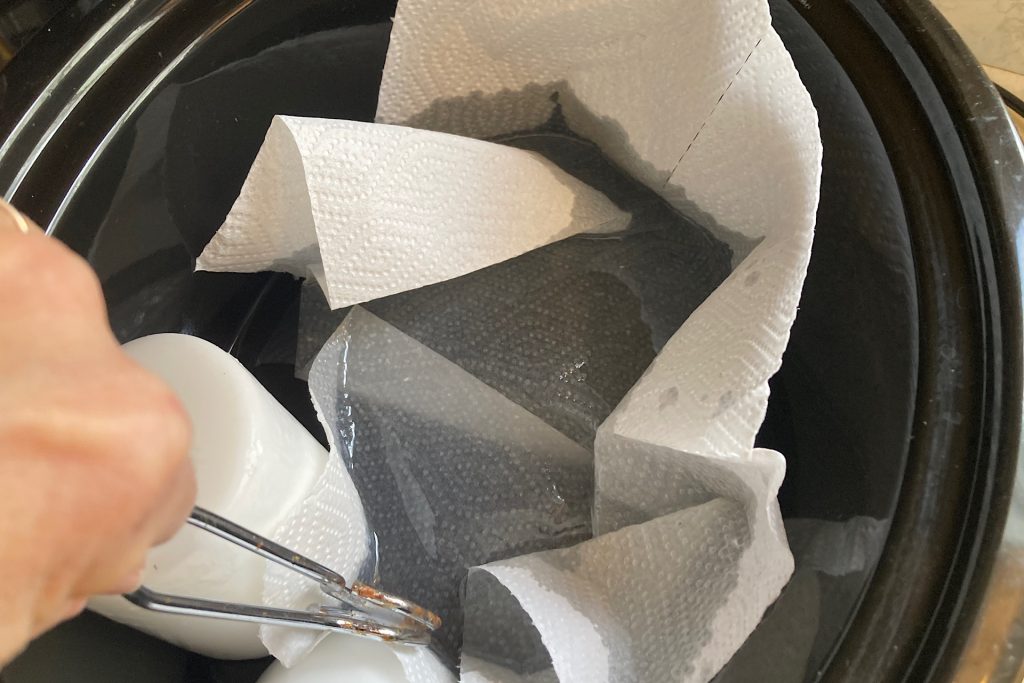
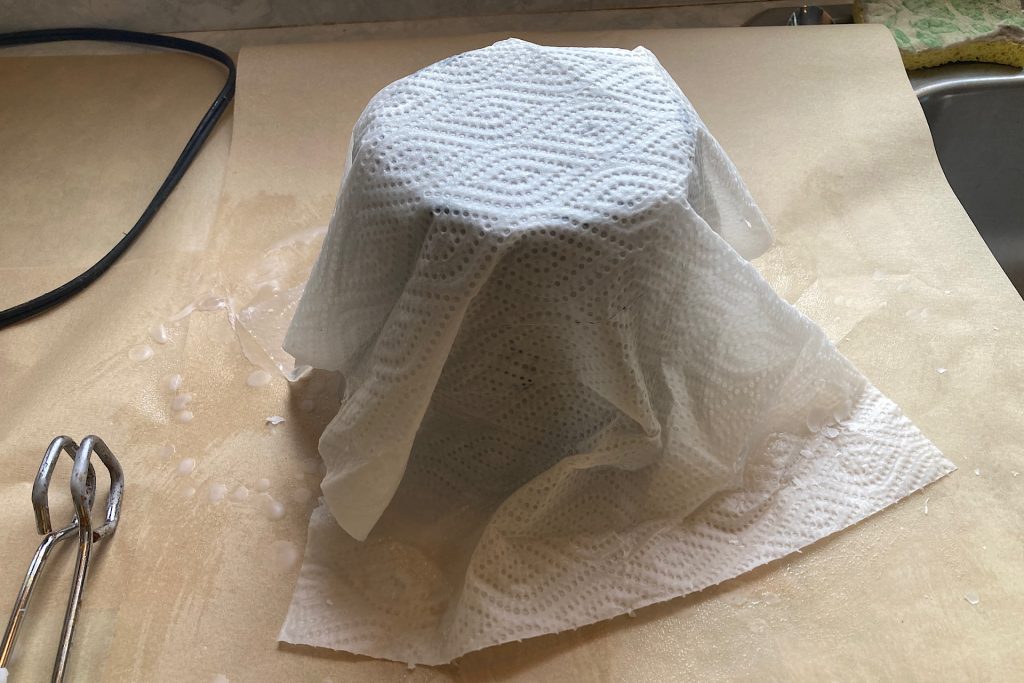
Getting started: Using tongs, fully immerse one sheet of paper towel into the melted wax, gently submerging any dry corners until the entire sheet is saturated. Lift it out and allow the excess wax to drip back into the crockpot.
While the paper is still warm and flexible, drape it over the oiled black plastic pot. The wax cools quickly, so use your hands to gently shape the paper towel to the contours of the planter underneath.
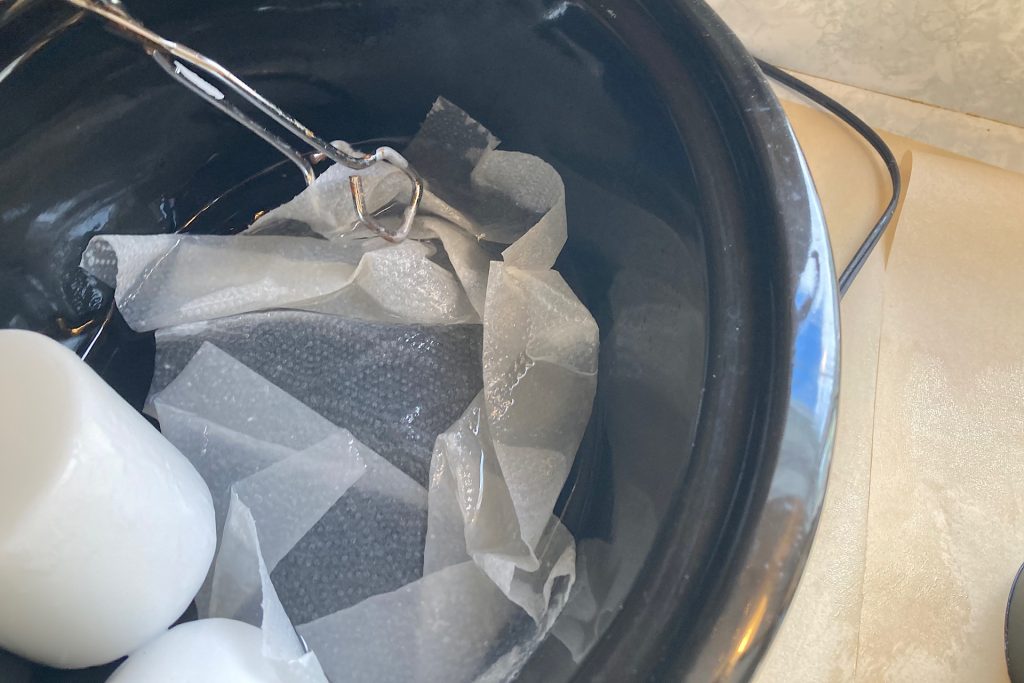
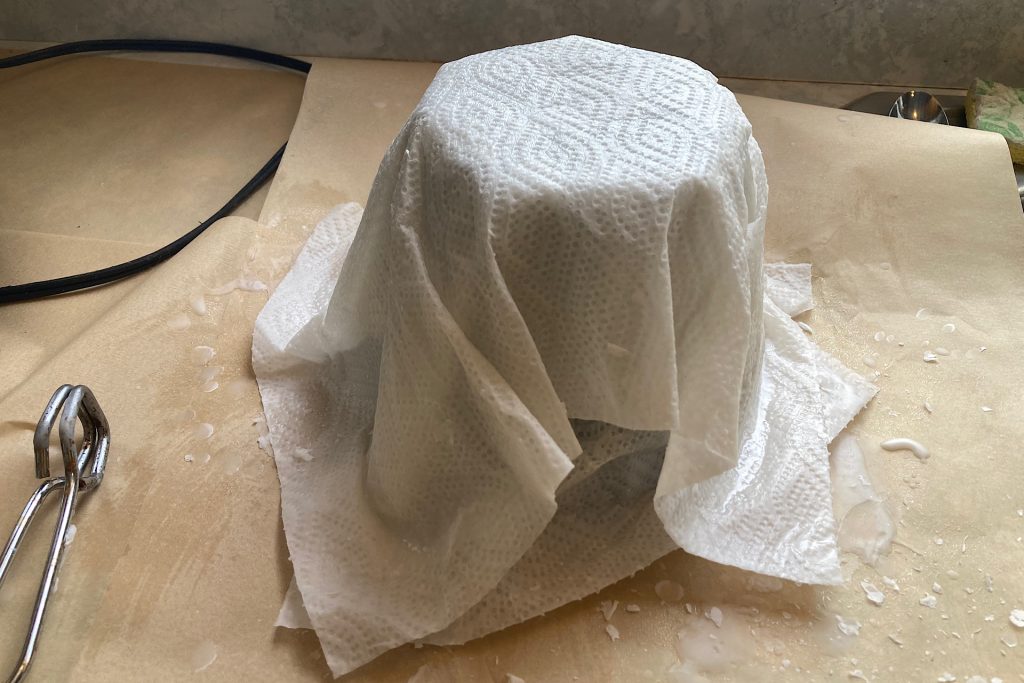
Repeat this process with another sheet of paper towel, laying it crosswise over the first layer. Criss-crossing your layers helps create strength and structure. Continue adding layers until you’re happy with the thickness and shape of your bowl — I used five layers for my planter.
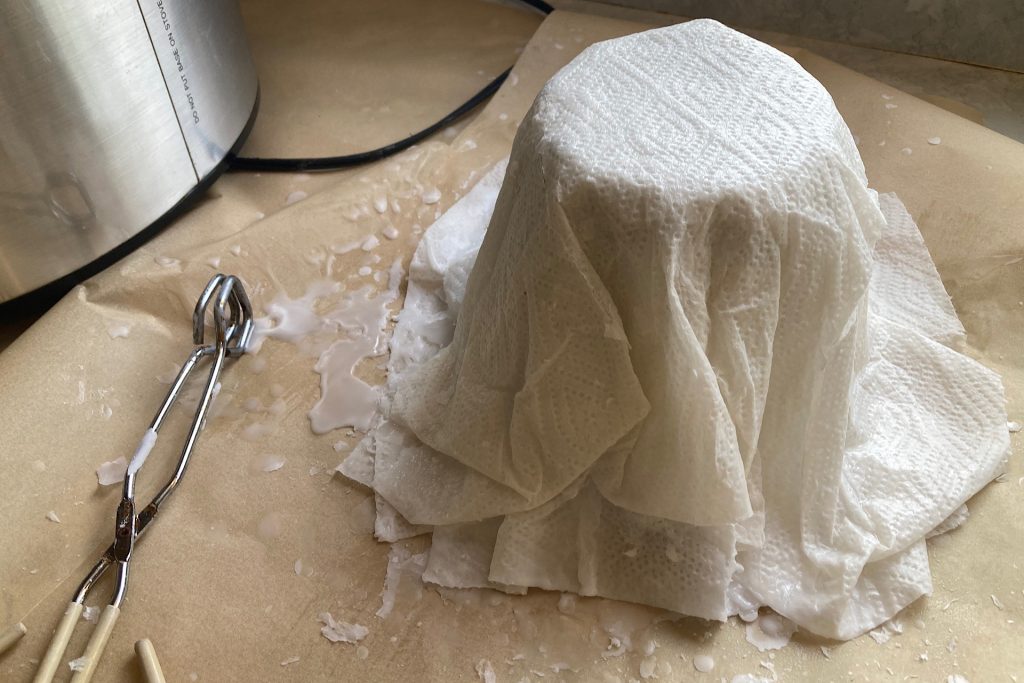
After each layer, take a moment to smooth, shape, and contour the waxed paper around the pot. If your paper towels have perforations or serrations, work gently so the sheets don’t tear while molding.
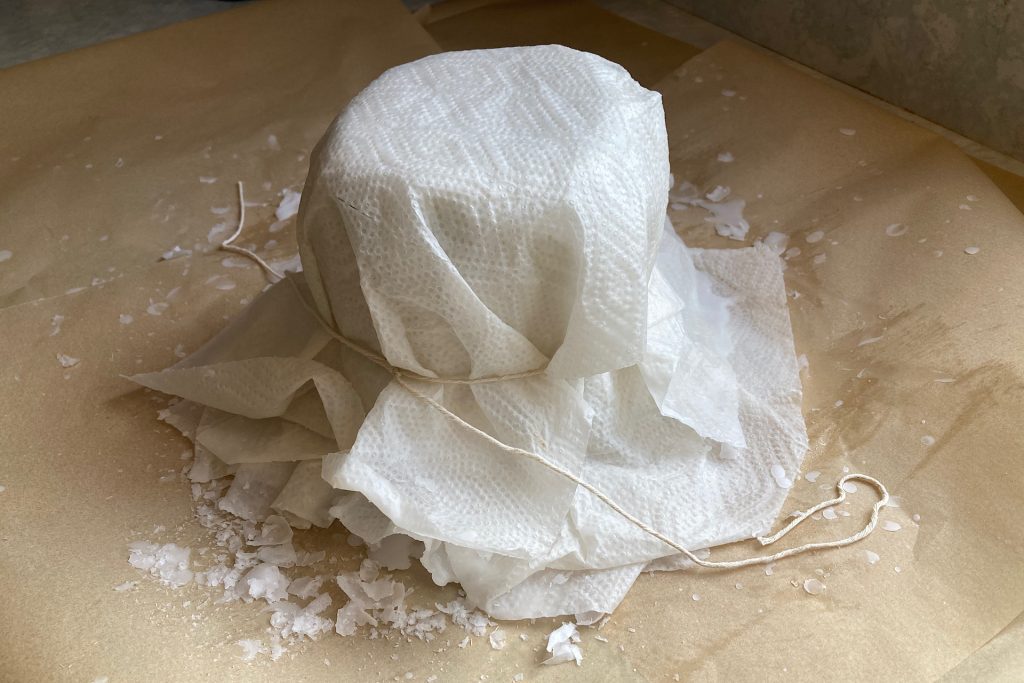
Once all the layers are in place, tie a piece of twine around the middle of the planter to hold everything snug against the plastic pot underneath while it finishes cooling and setting.
Revealing Your Wax-Dipped Paper Bowl Planter
Once your layers are in place, it’s time to be patient and let your DIY paperwhite planter fully cool and dry. I left my planter upside down on the parchment paper and resisted the urge to touch or adjust it while the wax set. Although the wax firms up fairly quickly, I allowed about an hour for everything to fully harden before checking it.
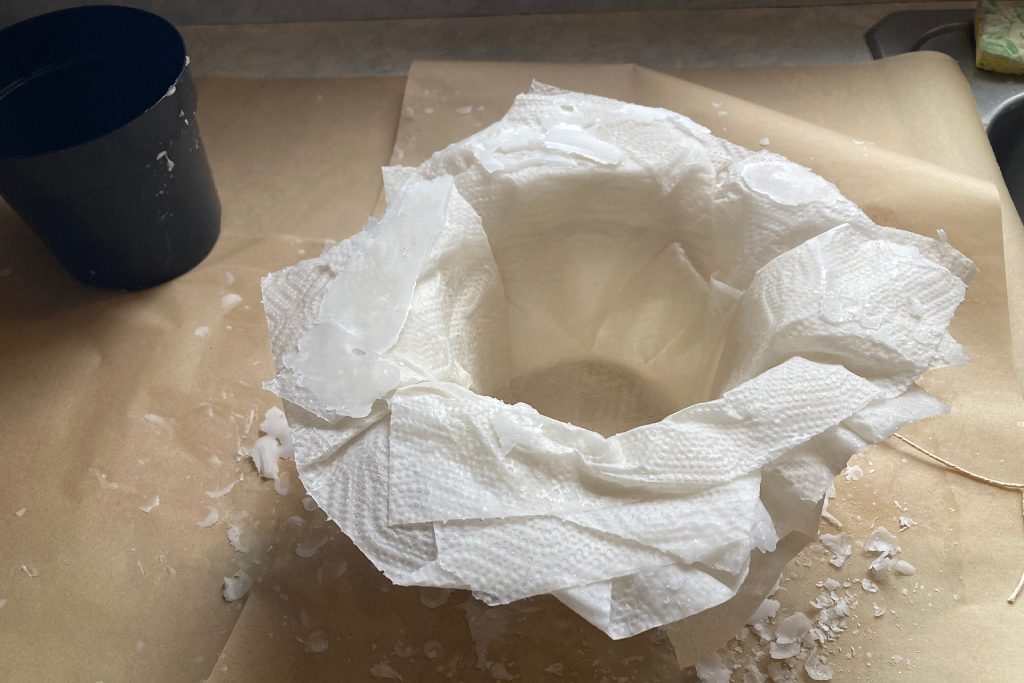
When the bowl was ready, I gently turned it right-side up. It lifted easily from the parchment paper with no sticking at all. I then removed the plastic planting pot from the center, which popped out smoothly thanks to the thin layer of vegetable oil.
Along the rim, I found a little excess wax that had collected during dipping. I carefully chipped away some of it while leaving any areas that might pull the paper layers apart. For a more sculptural look, you can place the plastic pot on top of a canning jar while the wax is setting. This lets the paper edges fall downward, creating soft, plume-like edges when the planter is turned upright.
Adding Bulbs to Your DIY Paperwhite Planter
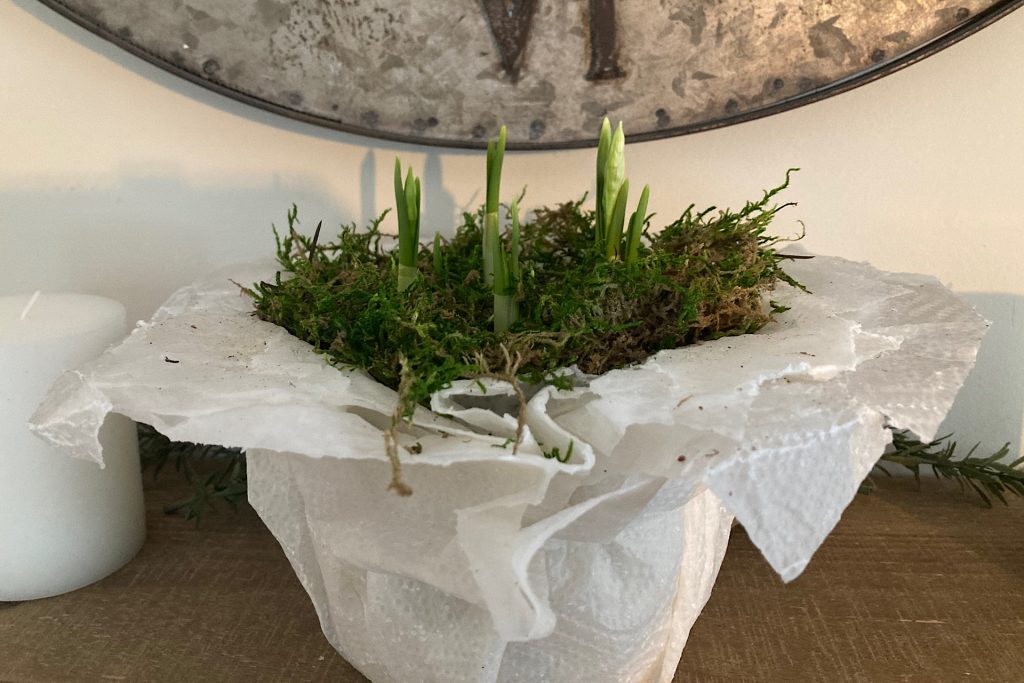
Now that your wax-dipped paper bowl is complete, it’s time to bring it to life with paperwhite bulbs. Thanks to the wax, all the paper towel layers are sealed together, making your handmade planter completely waterproof.
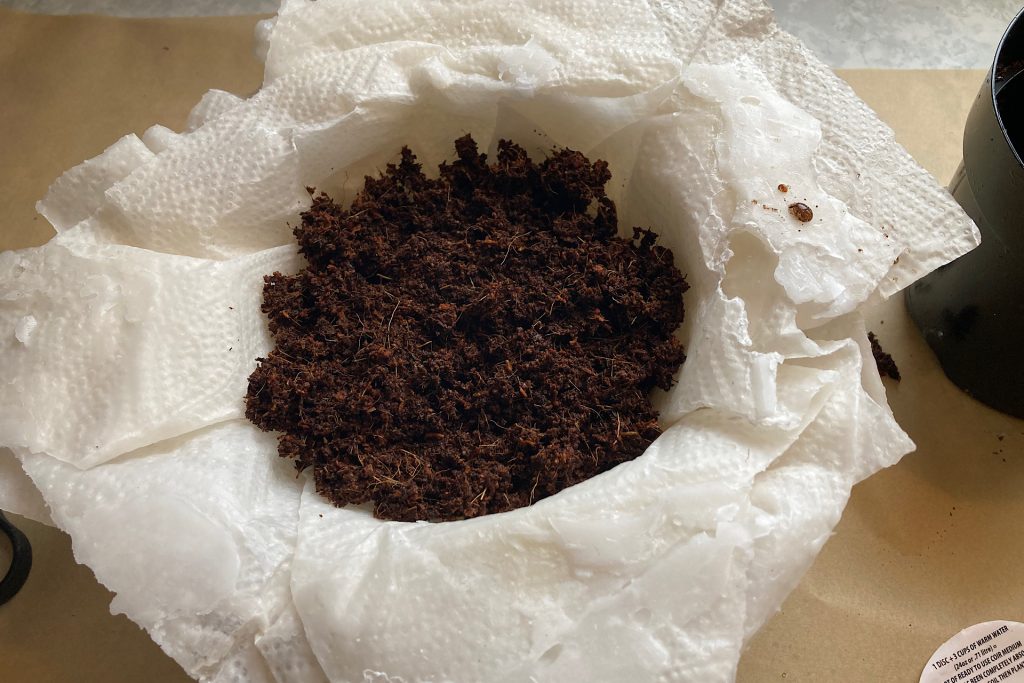
I started by preparing the soil: I mixed 3 cups of water with the coco coir disc in the original plastic container. In just a few minutes, the coir expanded into a soft, damp soil, which I scooped by hand into the waxed paper bowl.
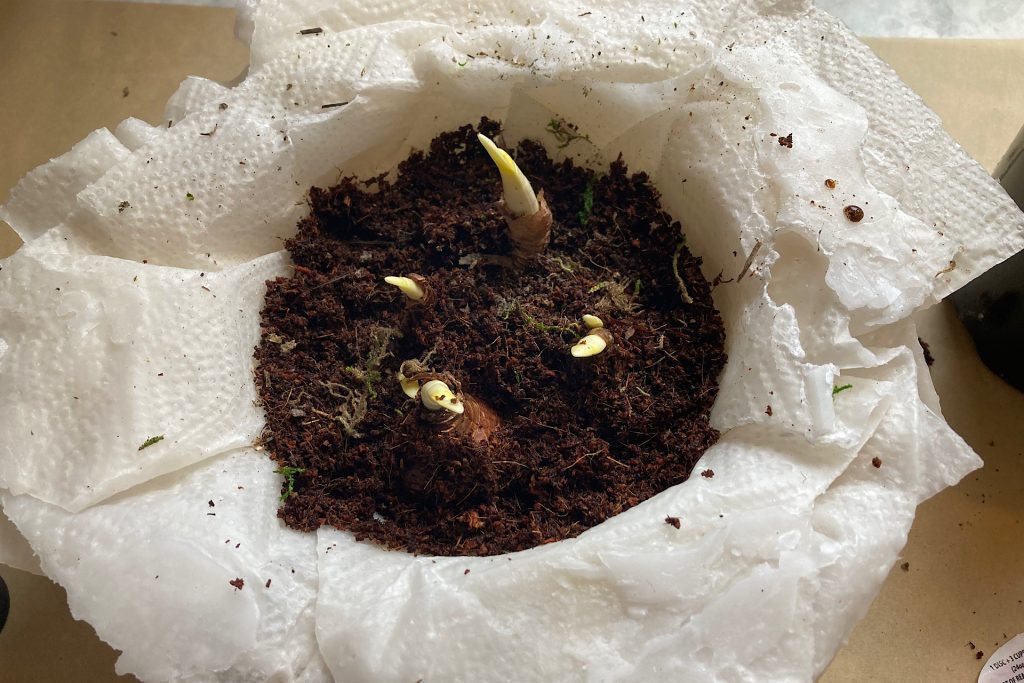
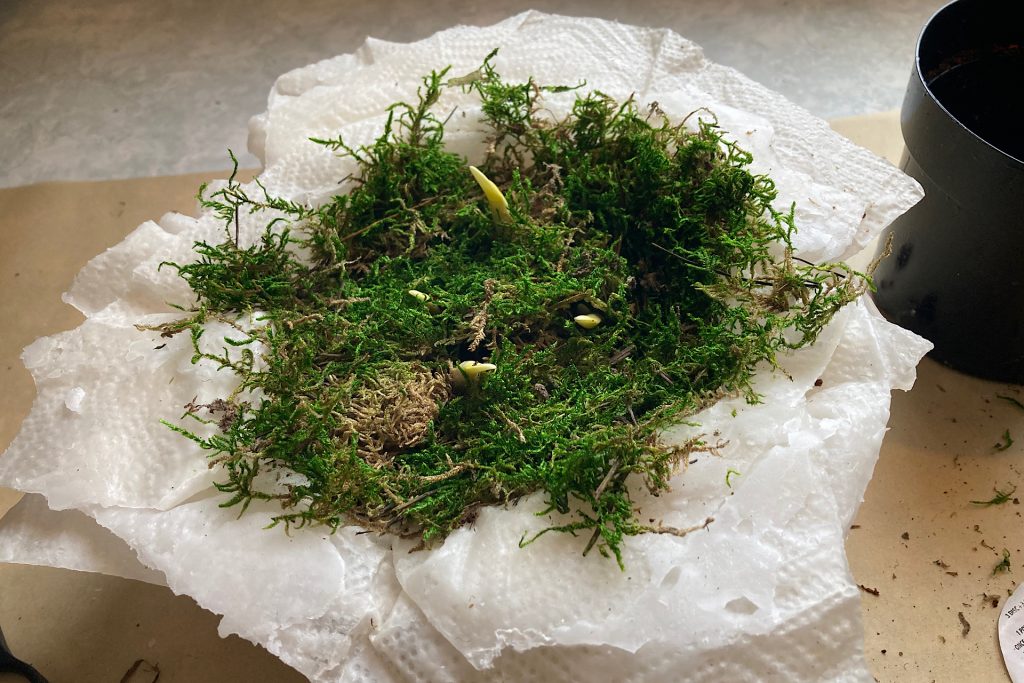
Next, I nestled the paperwhite bulbs gently into the soil, spacing them so they would grow freely.
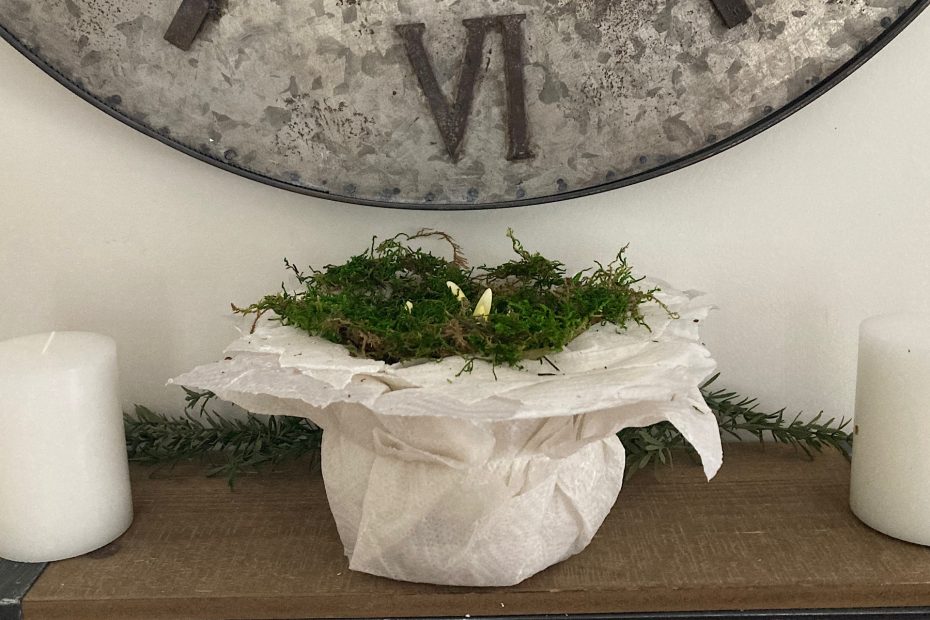
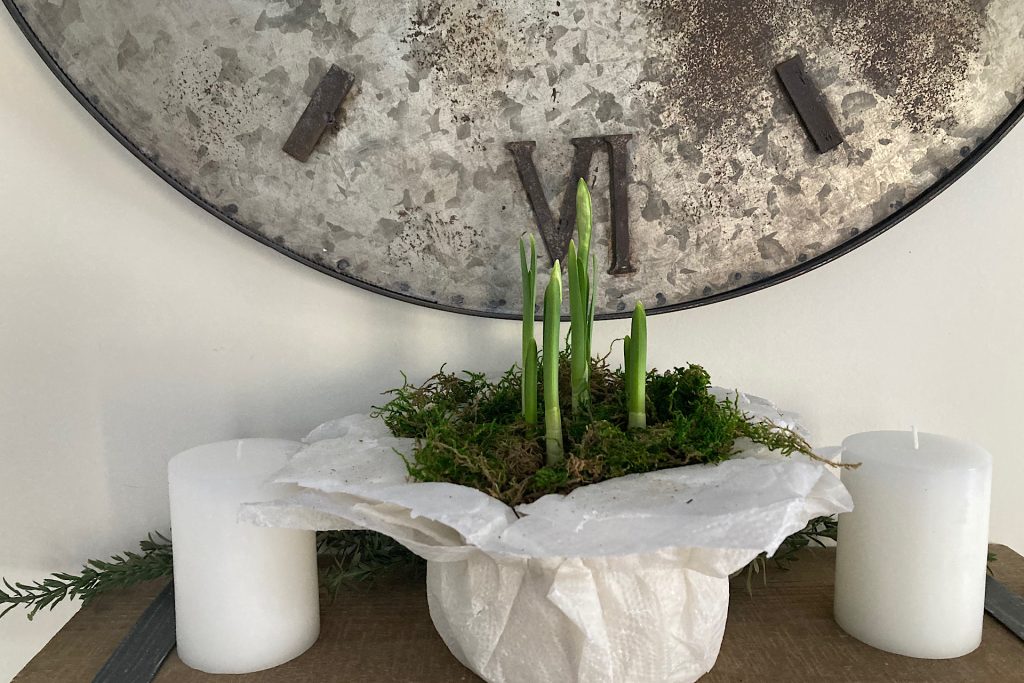
To add a finishing touch and a hint of greenery, I topped the soil with leftover green moss from holiday projects. This simple addition gives the planter a lively, spring-ready look, and brings a promise of blooms to brighten the winter days.
A Cozy Winter Project with a Promise of Spring
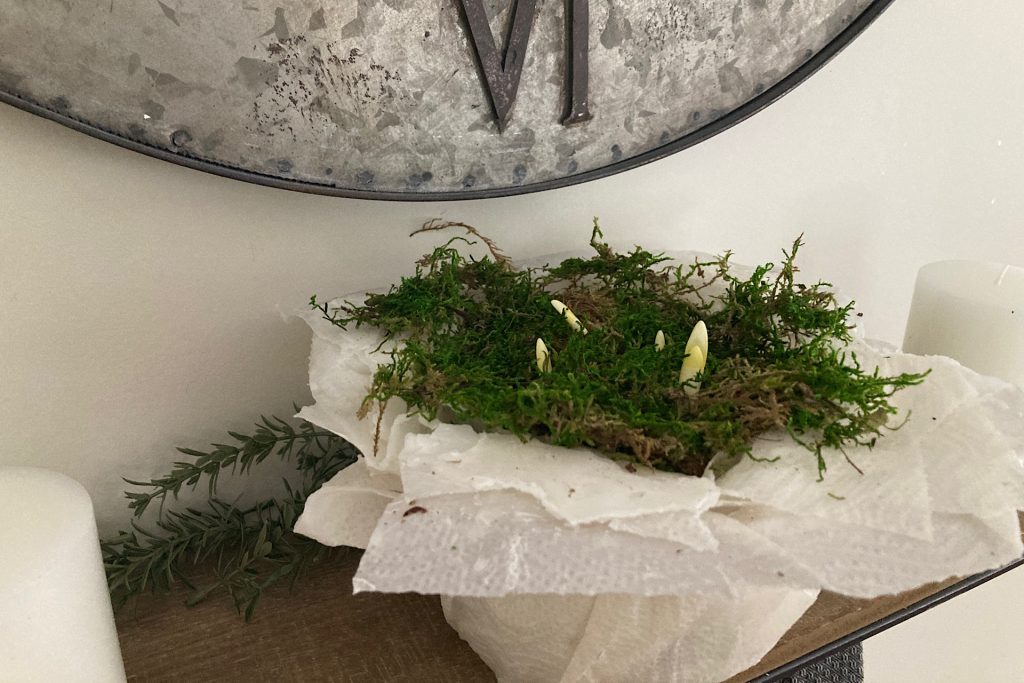
There’s something deeply satisfying about a cozy afternoon spent crafting in the kitchen, especially when the outside world is cold and gray. Creating this DIY paperwhite planter with a handmade wax-dipped paper bowl is the perfect way to add a touch of whimsy, greenery, and promise of spring — all on a cold afternoon.
With just a few inexpensive supplies — paperwhite bulbs, wax, paper towels, and a little creativity — you can craft a planter that feels rich, personal, and full of life. I love seeing how simple materials can transform into something magical. I hope this project inspires you to try your own version, experiment with layers, and add your personal touches. I’d love to see what you create, so please share your DIY paperwhite planters and your winter blooms with me!
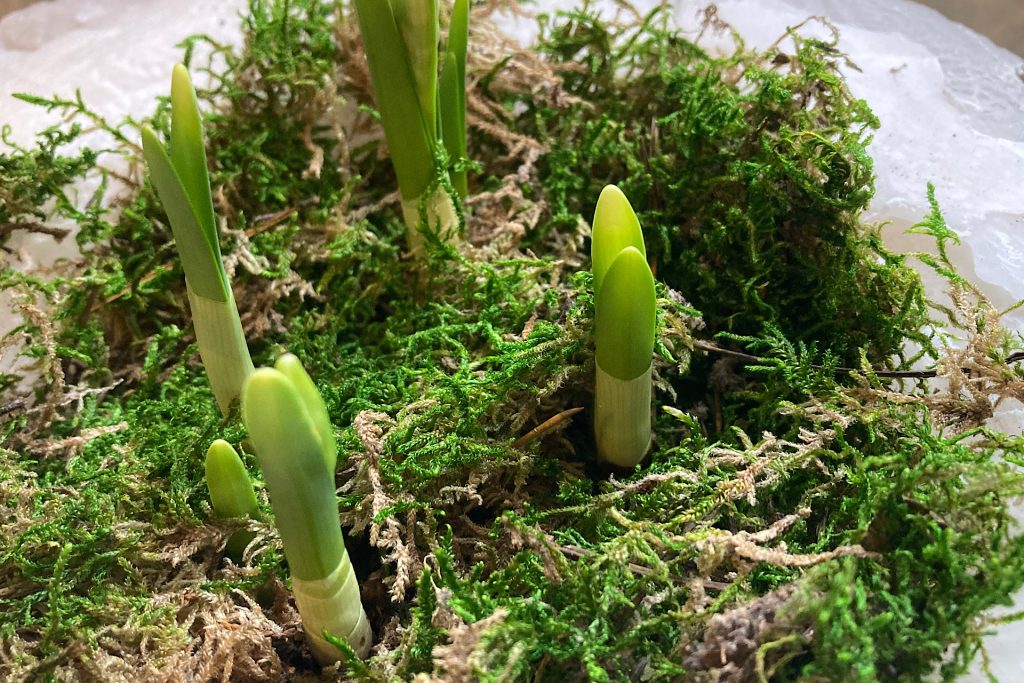
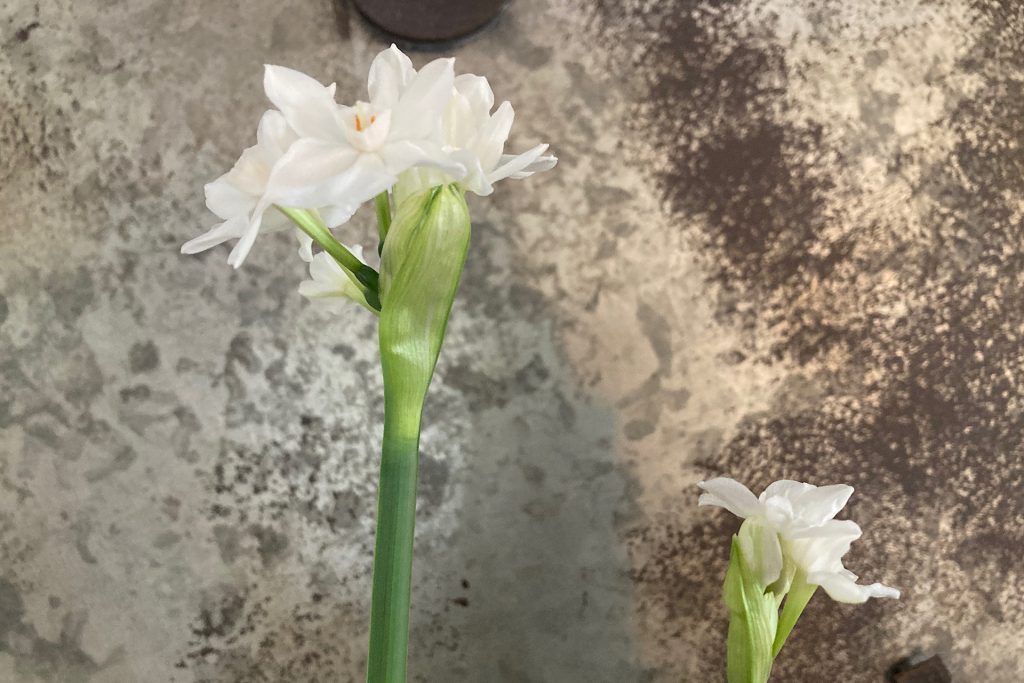
Growing. Growing. Growing!
More Late Bloomer Inspiration
If you enjoyed this DIY paperwhite planter project, you might also like exploring some of my other floral and gardening ideas. Here are a few posts that my readers often find inspiring: