What is your theme?
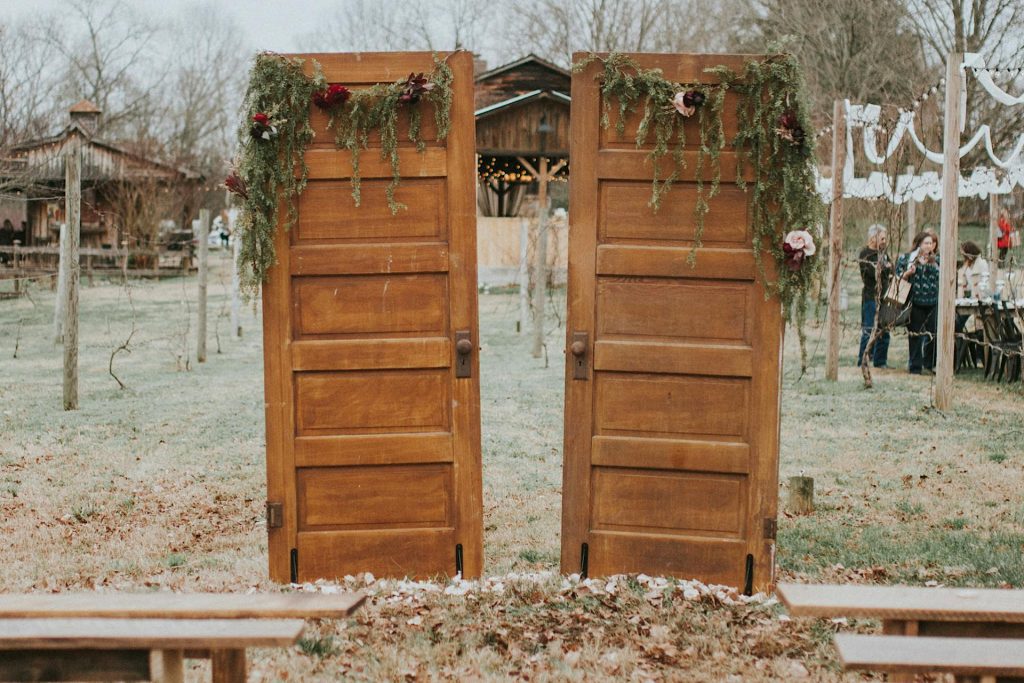
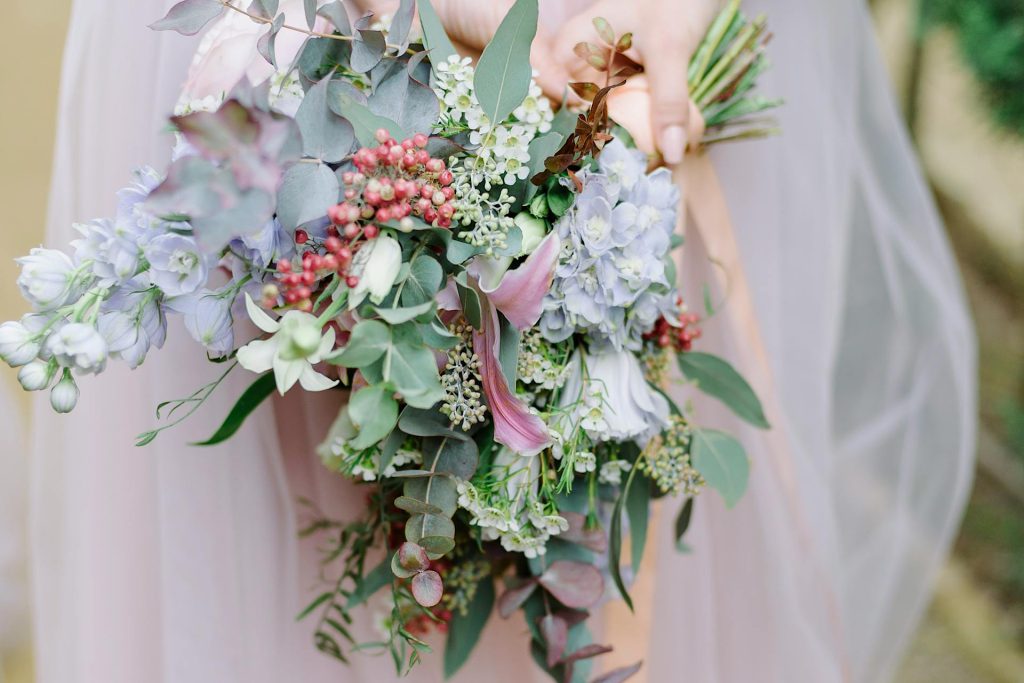
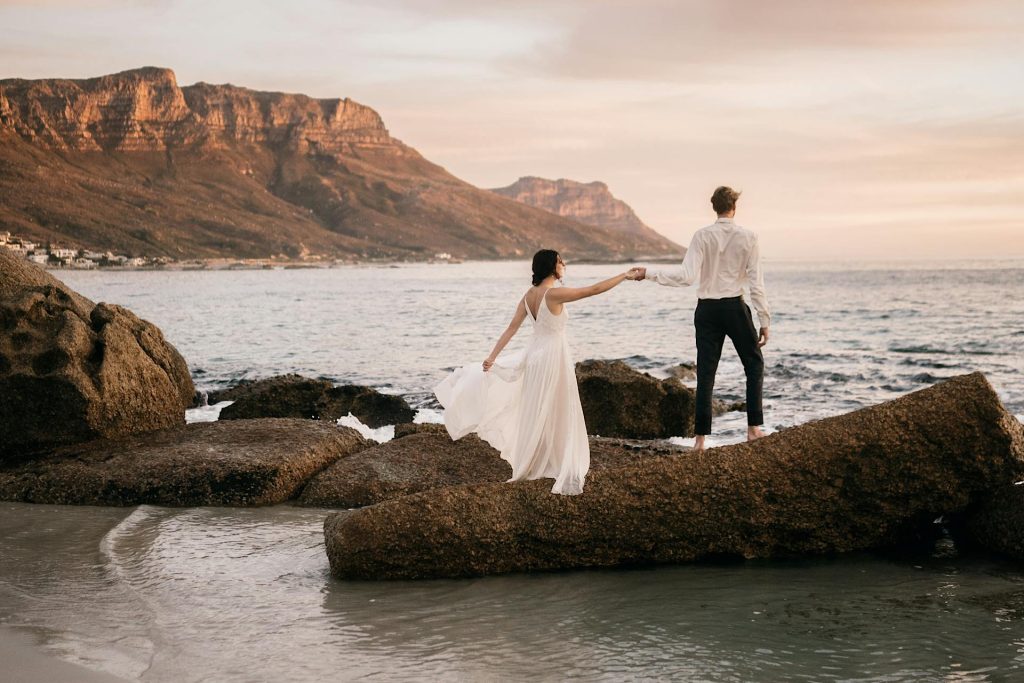
There are a variety of themes to choose from when planning your wedding ceremony and reception. Whether you are drawn to minimal, classic, modern, vintage, rustic, garden or bohemian styles, you can personalize your invites to reflect the concept you have in mind. Even very small touches can convey a sense of elegance, seasonality, botanical interest, or beach-inspired fun.
Inspiration to Get You Started
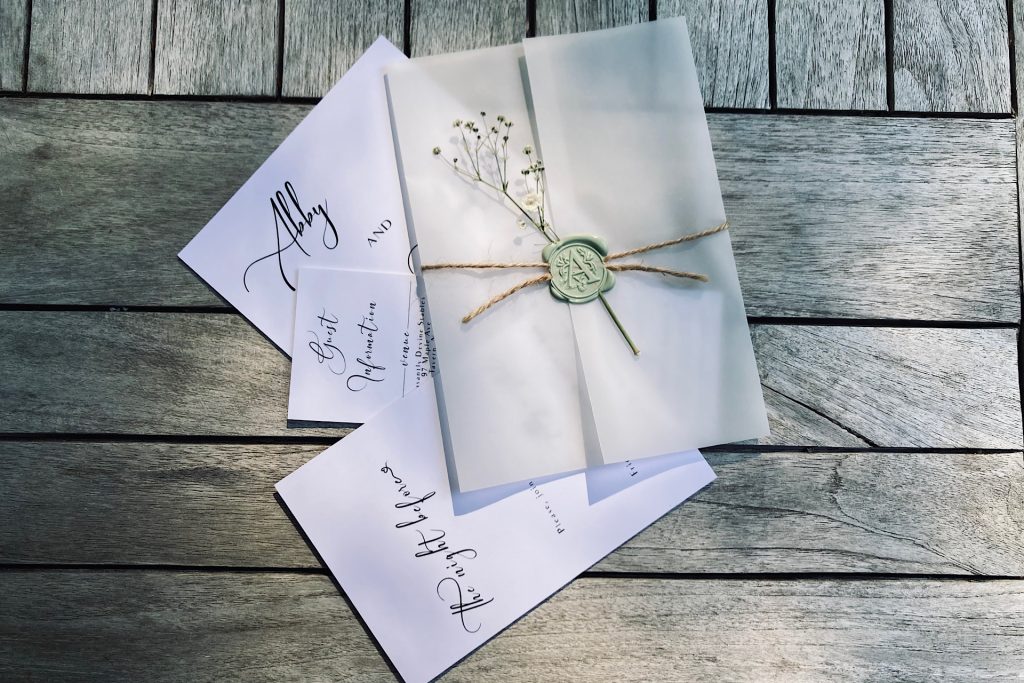
Today, I’ll share an example of personalized wedding invitations to help get you started and inspired to create your own. These invites were designed by my soon-to-be daughter-in-law. Prior to making any decisions on adding their unique signature to the invite, the couple considered their venue, color choices, and the overall ambiance they wished to create for their guests. In this case, the ceremony and reception takes place at a single location with a blend of indoor and outdoor backdrops. The main building is a heavy timber frame post and beam barn. It embodies classic, rustic elegance; the bride and groom wanted their invitations to reflect that.
Personalization Process
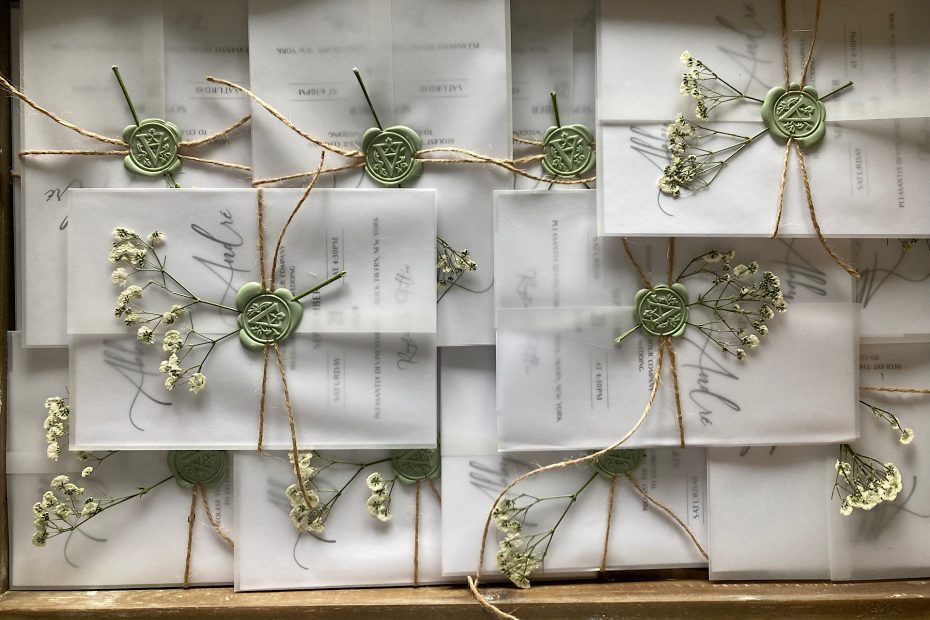
With three people working together, these invitations came together in one afternoon. It worked well to have each piece of the invite set out in a work station so they could come be assembled efficiently.
Materials:
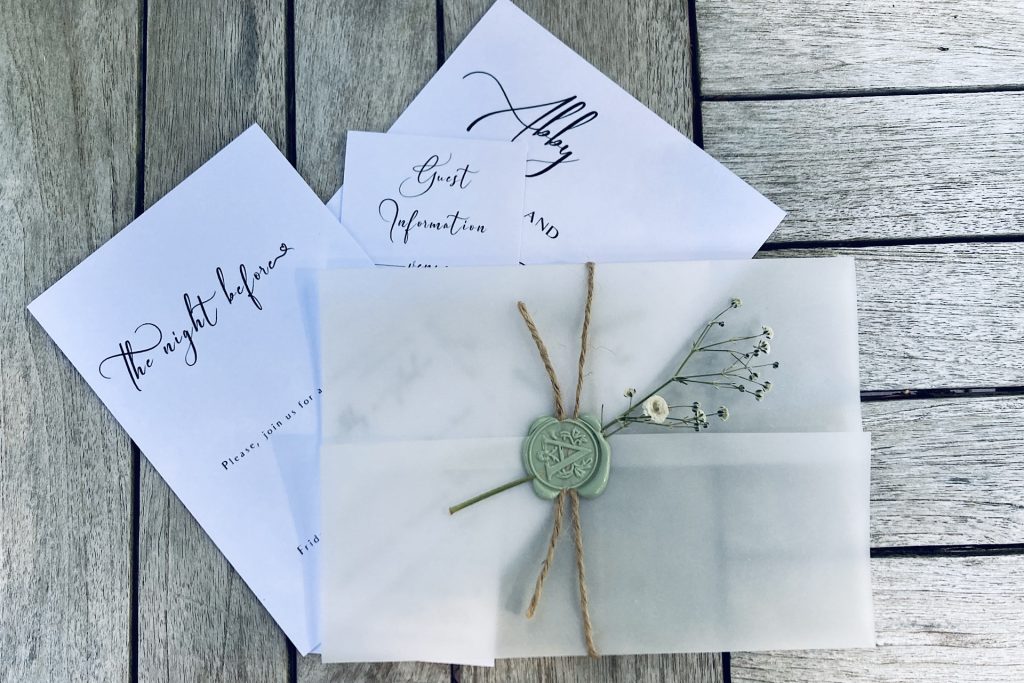
- Your Choice of Invitation (this packet included a standard invite, a general guest information card, and a night-before detail card for those invited to rehearsal dinner.)
- Mailing Envelopes (there is an option to pre-print your envelopes with addresses on Canva)
- Pre-Folded Vellum Jackets (to house invite and information cards.)
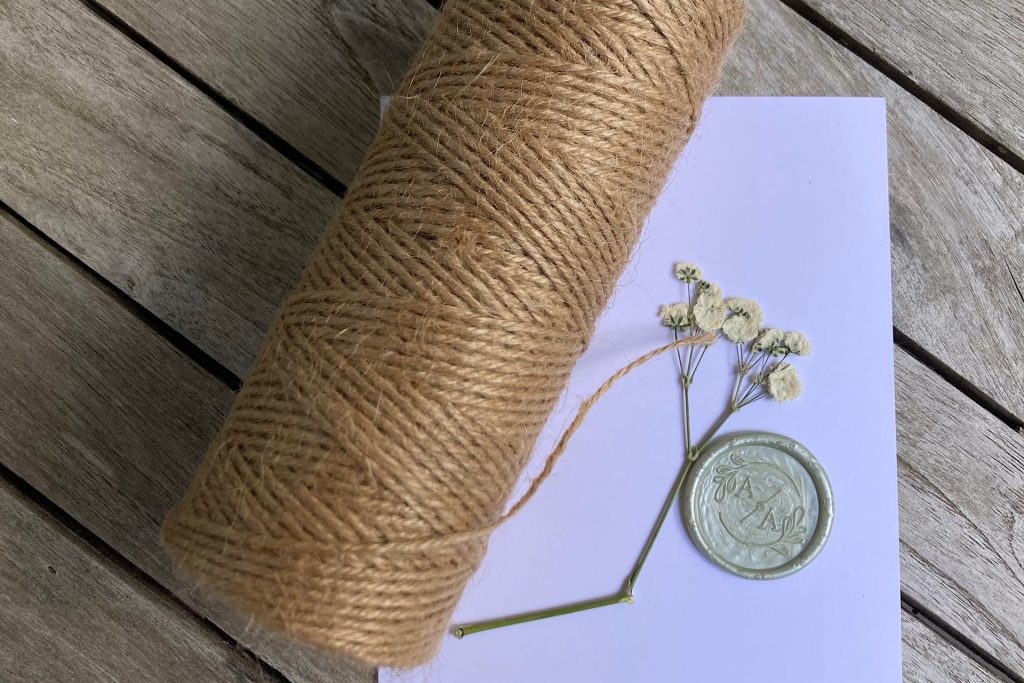
- Jute Twine
- Dried Baby’s Breath
- Wax Seal Stamp
- Sealing Wax
- Hot Glue Gun to melt & dispense sealing wax
- Custom Seal Logo Stickers (for backs of envelopes.)
Putting Invitations Together
- Start by gathering all of your inserts. In our case, that was the invitation, guest information card, and night-before detail card for those invited to rehearsal dinner. Stack them as you would like them placed in the envelope.
- Place each stack inside a pre-folded vellum jacket with the jacket opening in the front.
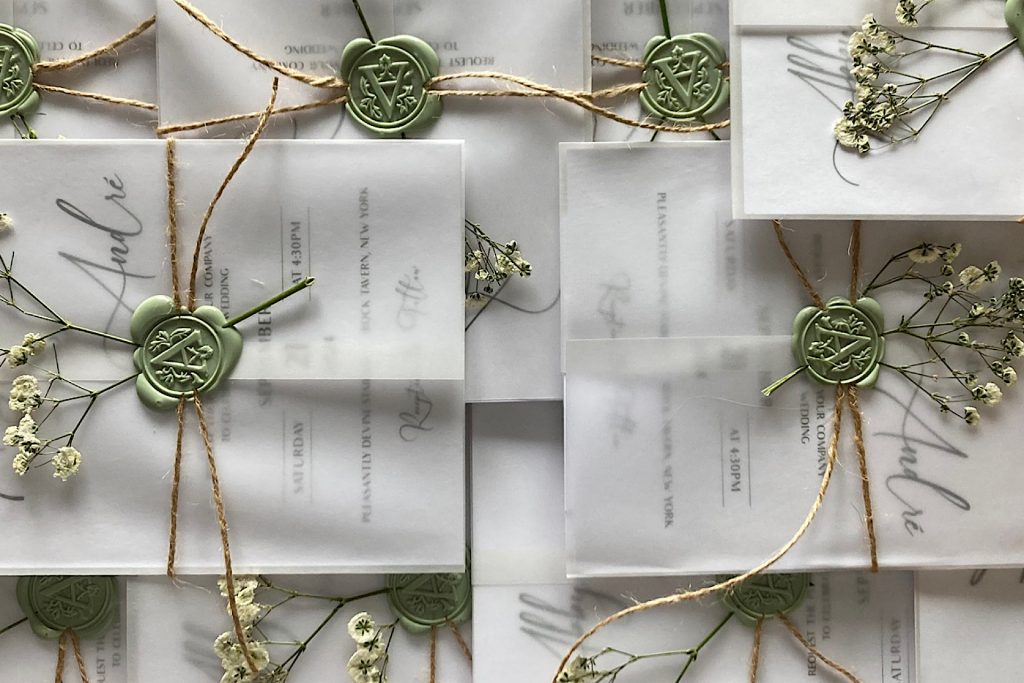
- Next, arrange a sprig of baby’s breath over the jacket opening.
- Lay the jacket on top of a pre-cut piece of twine. Cross the ends of the twine over the baby’s breath. Do not tie the string, as knots will be too bulky – just hold the two ends firmly in place.
- We found it easiest to have one person hold the string in place while another dispensed the melted wax over the crossed string and baby’s breath.
- Make sure you have a good-sized dollop of melted wax that completely covers the twine and baby’s breath stem.
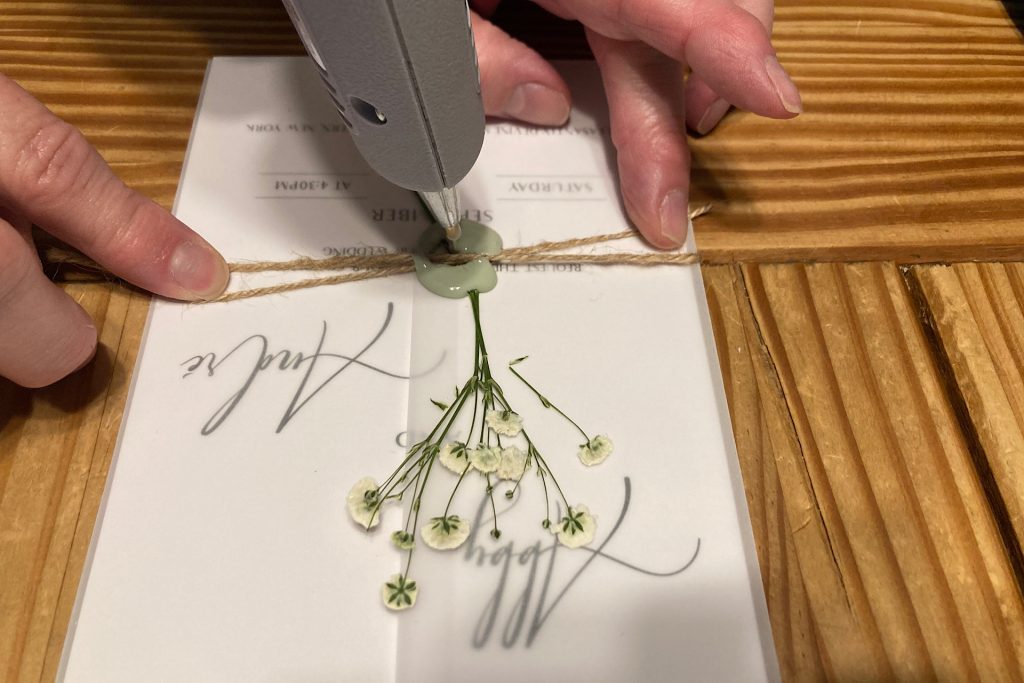
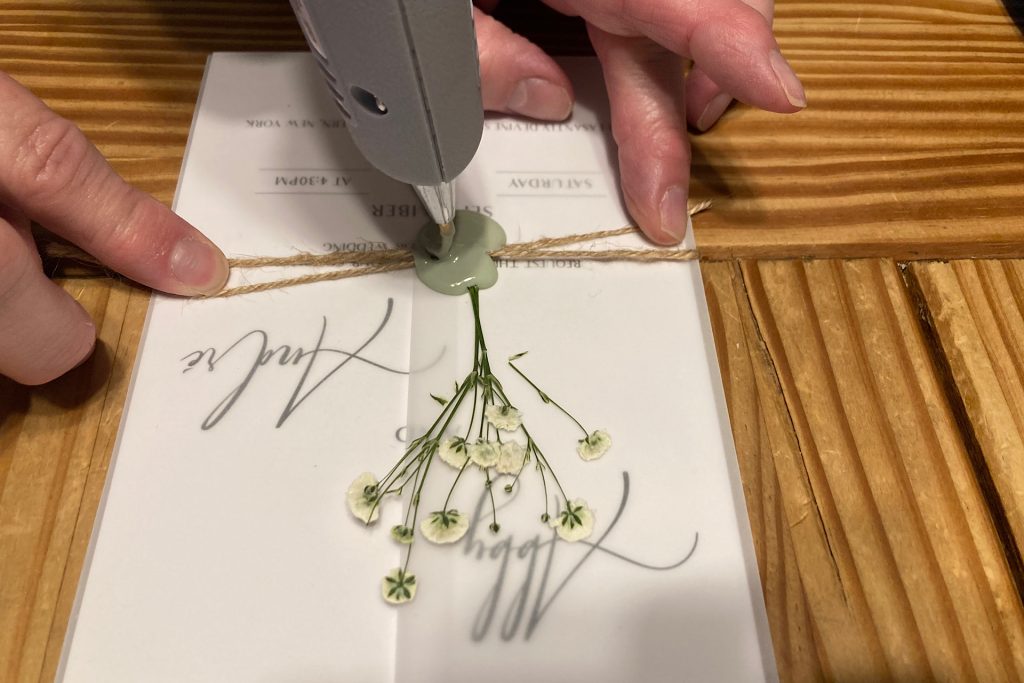
Wax Stamping
If you have never used a wax stamp before, you may want to experiment with it a couple of times prior to using it on your invitations. This way, you won’t waste precious resources.
Firmly press the stamp into the melted wax. You will need to hold it there for a minute. When the wax has set, the stamp will release easily. If the wax is still too soft, there will be resistance and the wax will feel “grabby.” Wait until you can loosen the stamp from a firm wax base that can hold it’s shape. (Keeping the stamp cool on an ice pack or placing it intermittently in the freezer will help it release from the wax easier.)
Lay out the invitations to allow the wax to continue to firm up completely.
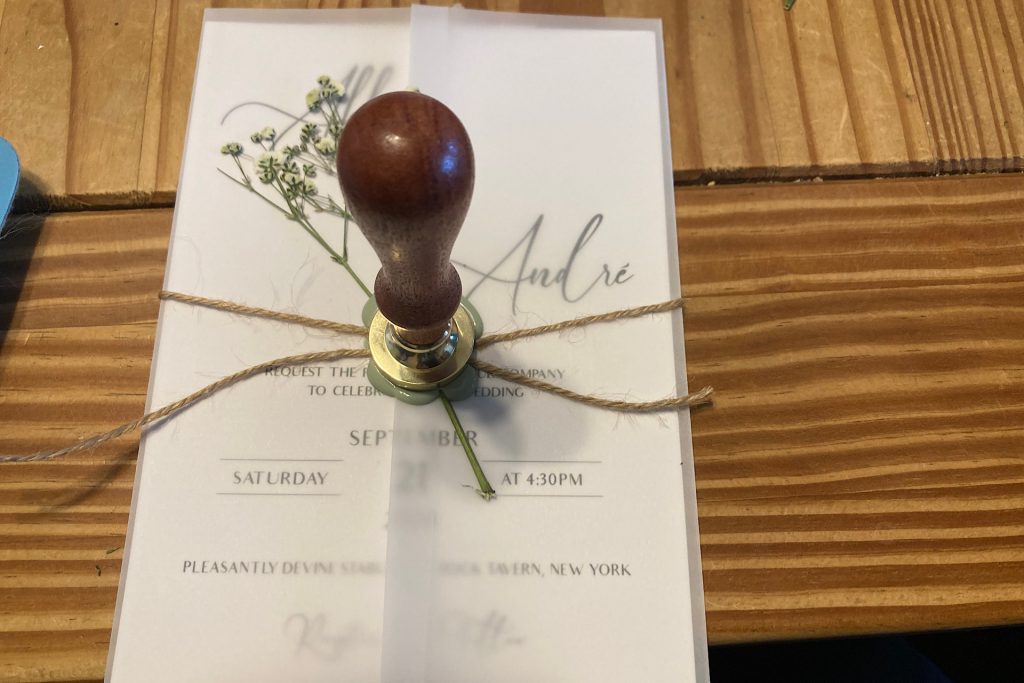
Finishing Touches
Trim away any excess string and baby breath stem so all your invites are uniform and visually appealing.
The vellum jackets will still fit nicely in the envelopes even with the baby’s breath, string and wax seal. When closing the invite envelope, you can apply a decorative adhesive logo seal to the back flap.
Do keep in mind your invitations will likely require extra postage. The invites featured in this post required two postage stamps for mailing. When you bring the finished invitations to your post office, you will want to ask them to hand-stamp rather rather than processing through a postage machine to avoid any damage.
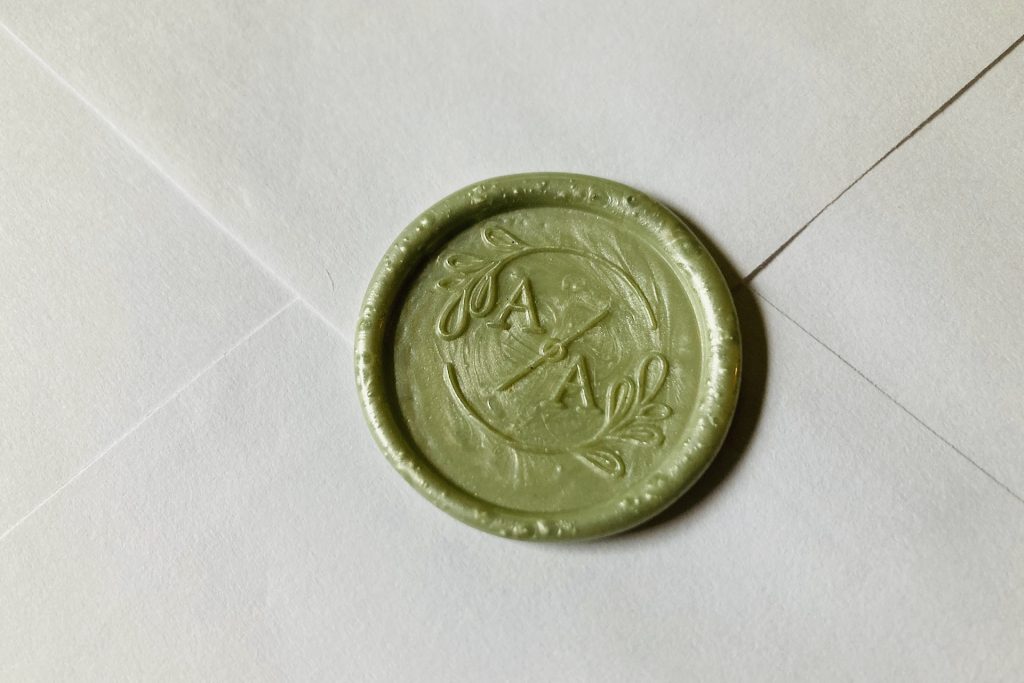
Whatever theme you choose for your wedding day, you can easily spend an afternoon personalizing invitations for your guests. Each invite will carry your personal signature. Enjoy your day and the journey!
Related Resources:
