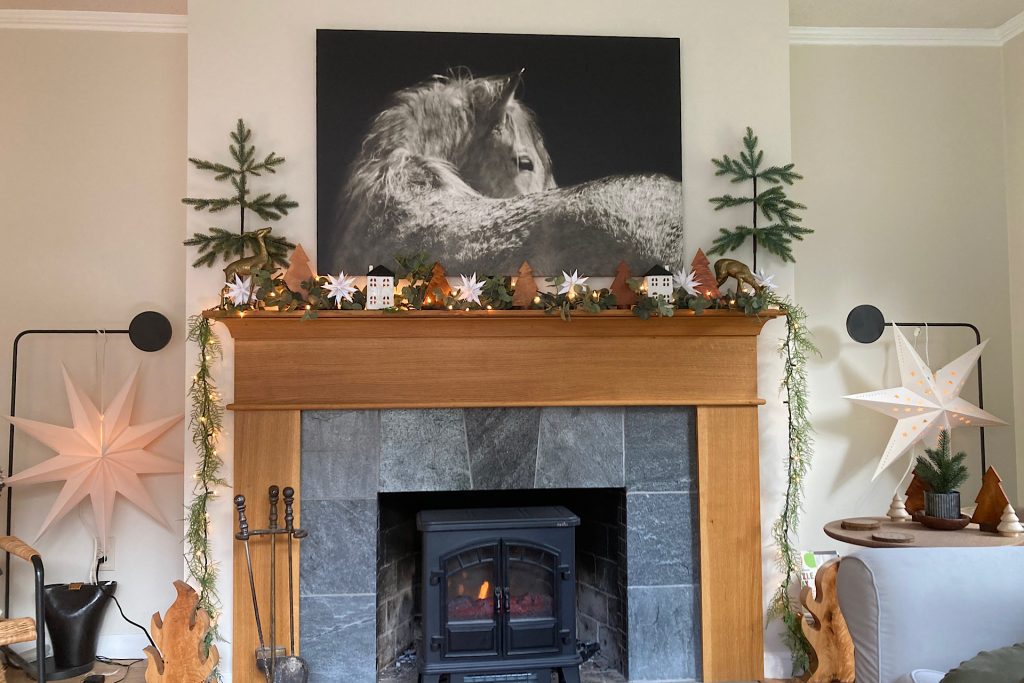
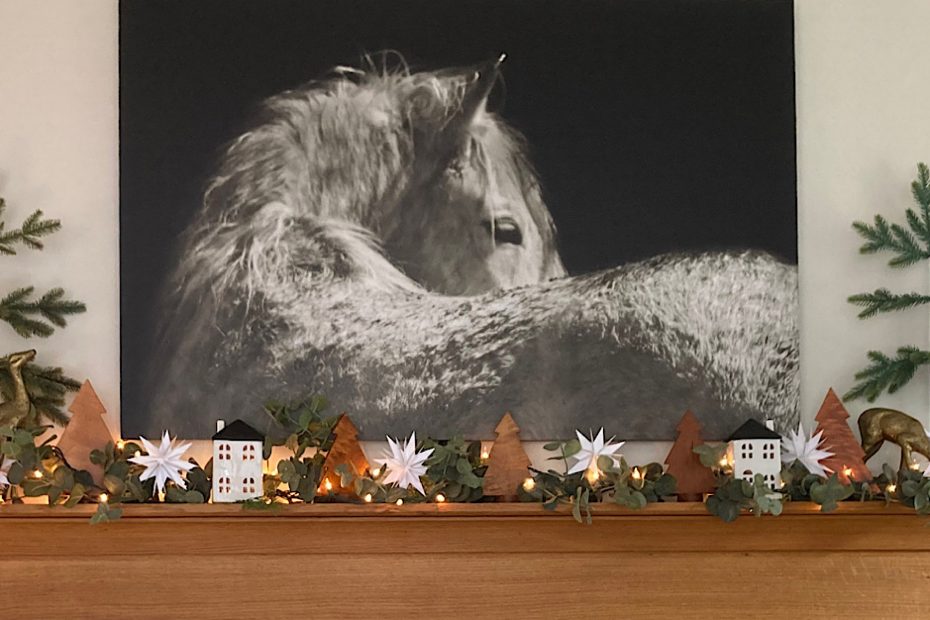
This holiday season, celebrate the beauty of simplicity with these white cardstock holiday stars . This DIY project is the perfect way to bring seasonal charm into your home without taxing your bank account—or your schedule! With just a few materials and a couple of hours, you can craft stunning stars that will brighten any space. Imagine an afternoon spent sipping hot cocoa or your favorite coffee while cutting, folding, and assembling these delightful stars. It’s a wonderful way to embrace the season’s spirit and add a touch of handmade charm to your home.
Gather Your Supplies:
DIY White Card Stock Holiday Stars Made Simple
Before you can craft your DIY White Cardstock Holiday Stars, let’s talk supplies. The beauty of this project lies in its simplicity—you only need a few essentials to create something truly charming. Here’s what you’ll need:
- White Cardstock: Each star requires just one sheet, making it an affordable and mess-free craft.
- Sharp Scissors: Precision is key, especially for cutting out the intricate shapes.
- A Cozy Beverage: Whether it’s cocoa, coffee, or tea, a warm drink pairs perfectly with an afternoon of crafting.
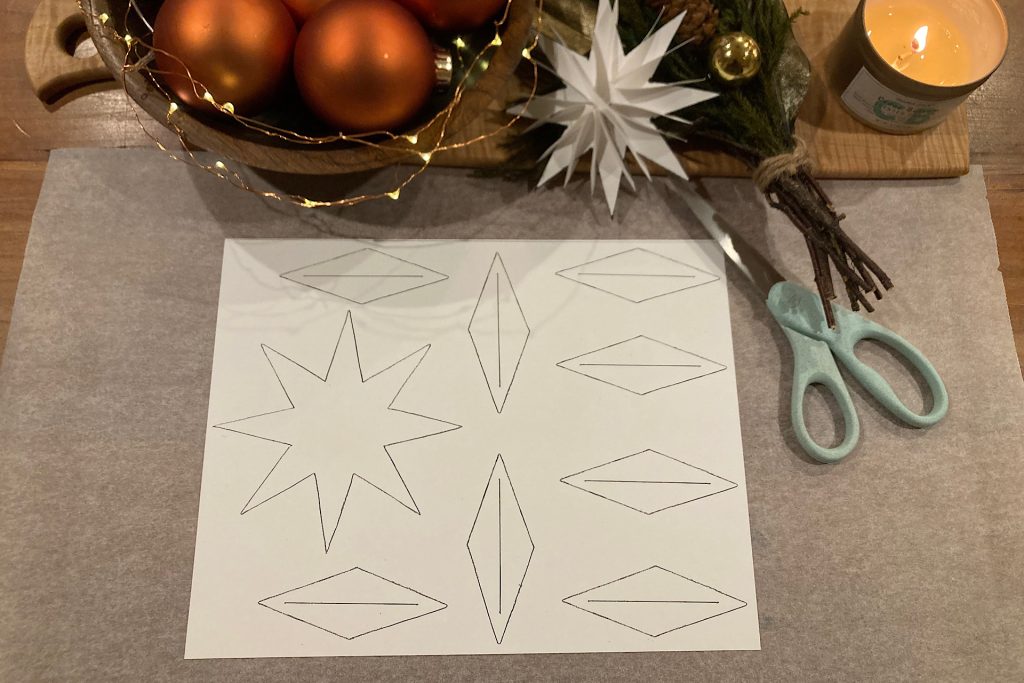
The star’s design consists of a flat star-shaped base and eight diamond points that create the 3-D effect. If you’re a full-fledged DIYer, feel free to search for an eight-point star shape online as your starting template. My stars are approximately 5 inches tall, a versatile size that works beautifully for decorating mantels, windows, or trees.
Here’s the tricky part: crafting the diamond points. These pieces need to be slightly larger than the points of the star base to meet properly at the center and fan out fully. After some trial and error, I perfected the shape, and I’m sharing a free template to save you the trouble. Simply print as many copies as you need on cardstock, and you’re ready to create stunning holiday stars. Get link for the free template here!
Snip & Relax: Preparing the Pieces
Cutting out the pieces for your DIY White Cardstock Holiday Stars is not just a step in the process; it’s part of the fun! This is a wonderful activity to share with a loved one—gather at the table, enjoy that favorite warm drink, and let the holiday spirit inspire you.
When cutting, you have two options for your lines:
- For a pristine snowy white star, cut just inside the printed lines to eliminate any black shadowing.
- For added character, cut along the outside edge of the lines. I opted for this method, and the subtle outline gave my stars a charming, handmade feel.
The choice is yours! Either way, the process is relaxing and simple. You can cut out one template at a time and assemble each star as you go, or cut multiple templates at once to streamline your crafting session. There’s no right or wrong way—just enjoy the creative process and the company of those around you.
Fold & Slice: Shaping the Star’s Points
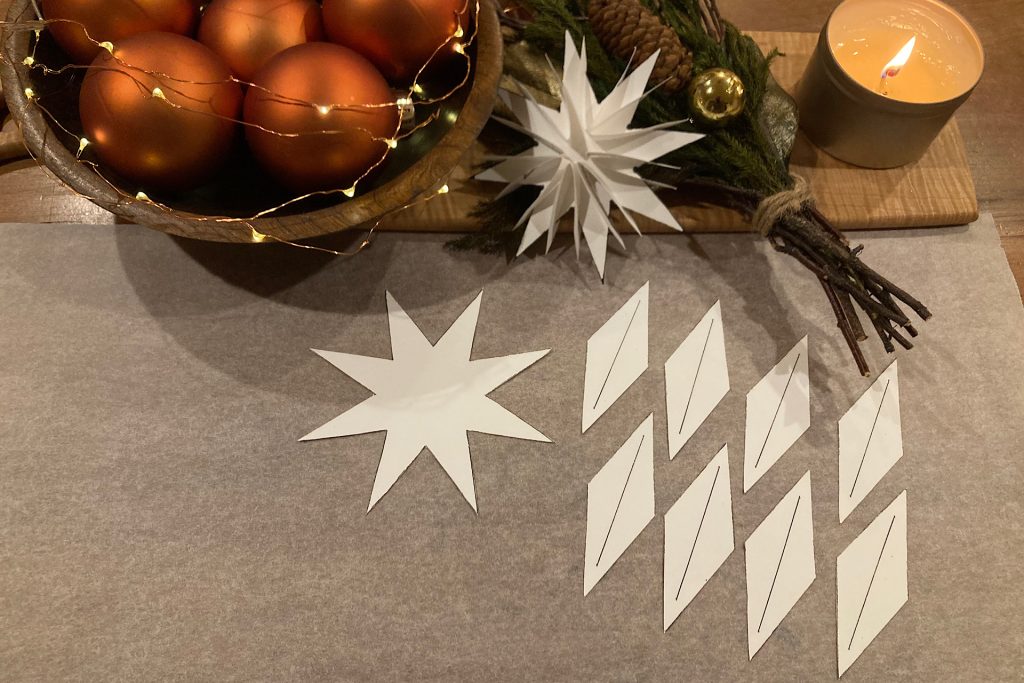
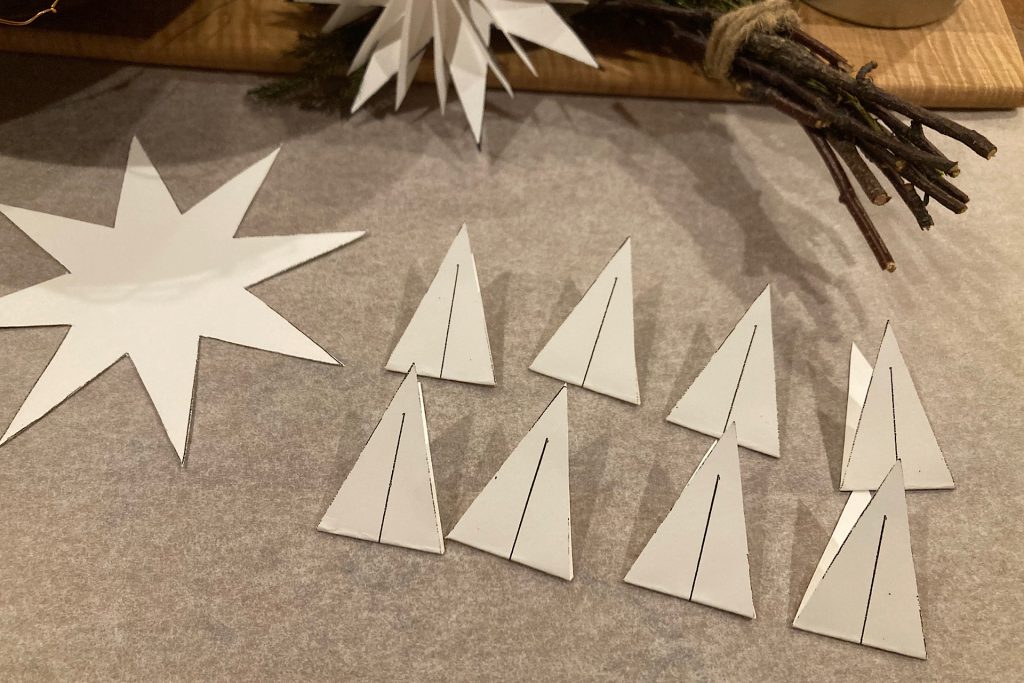
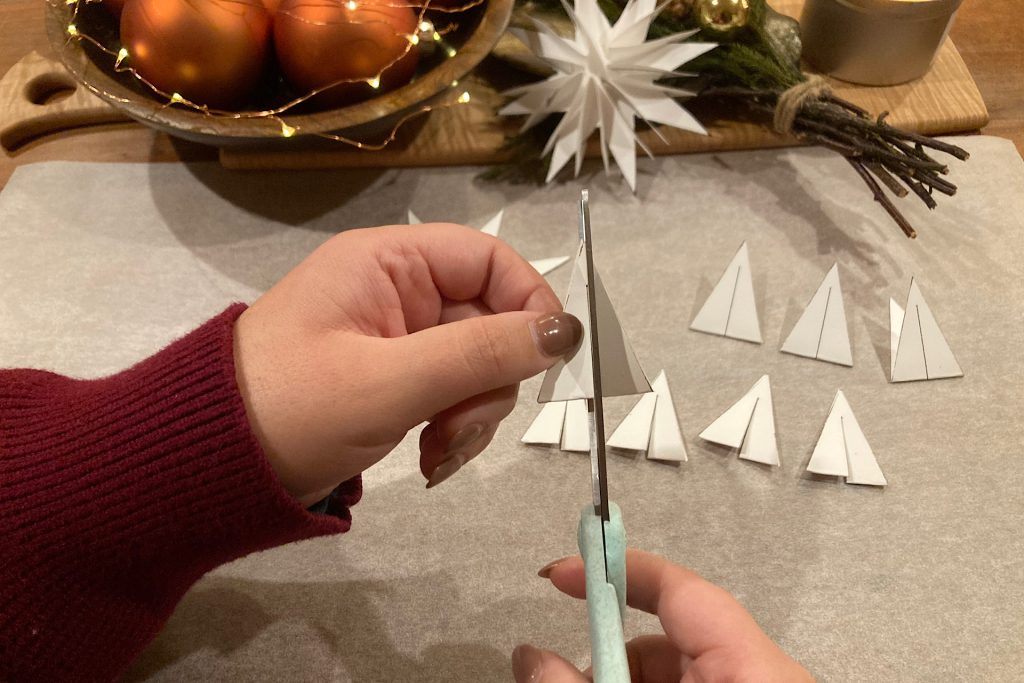
Folding and cutting the diamond shapes for your DIY White Cardstock Holiday Stars is a simple yet satisfying step that adds dimension to your creation. To ensure a crisp fold, start by bending each diamond so that the top and bottom points touch one another. Align these points carefully before pressing the fold across the middle. This method keeps the fold clean and prevents those frustrating re-dos.
Once folded, each diamond will take on a neat triangle shape with a sharp line running down the center. Using sharp scissors, cut along this center line for a polished finish. Leave the diamonds folded—they’re ready to be tucked between the points of your star base, adding depth and dimension. With just a bit of care, these simple folds and cuts will elevate your holiday stars into elegant, eye-catching pieces of décor.
The Final Touch:
Piecing Together DIY White Card Stock Holiday Stars
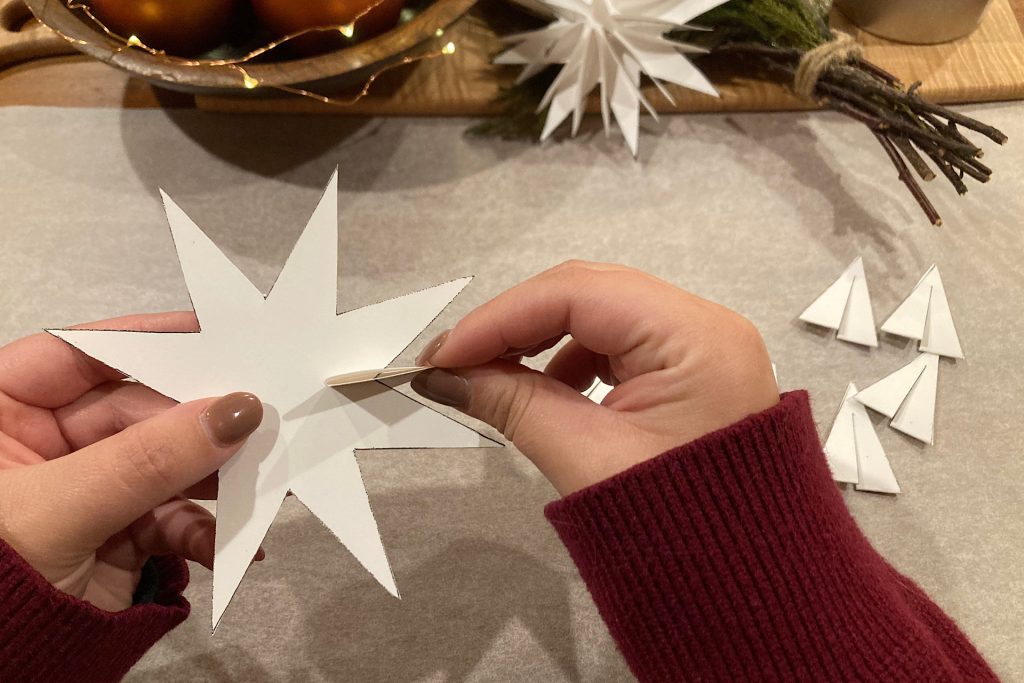
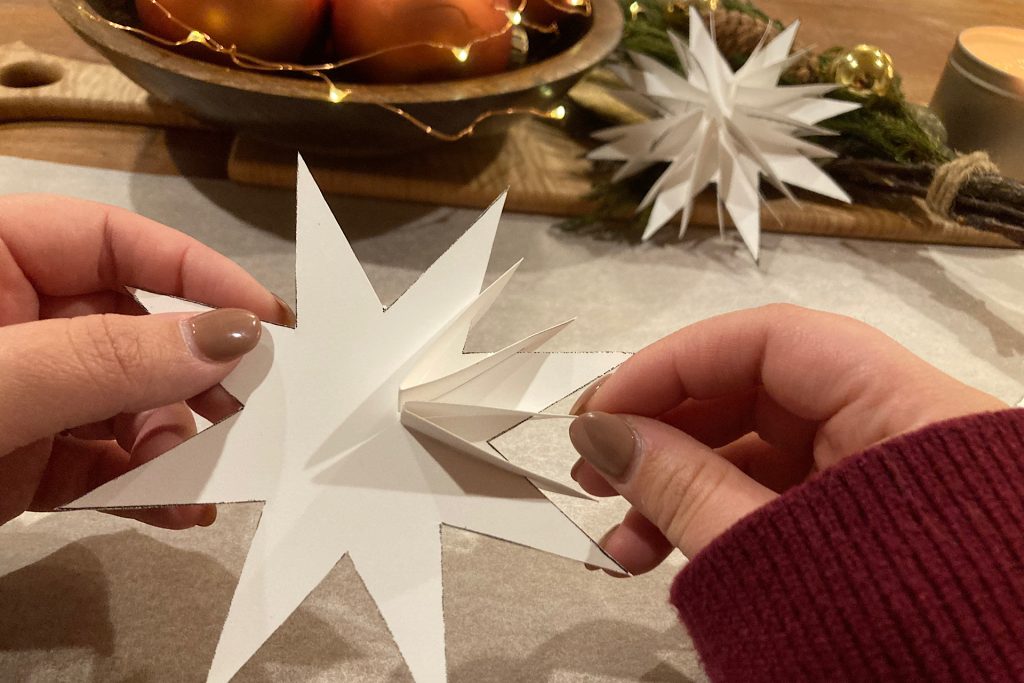
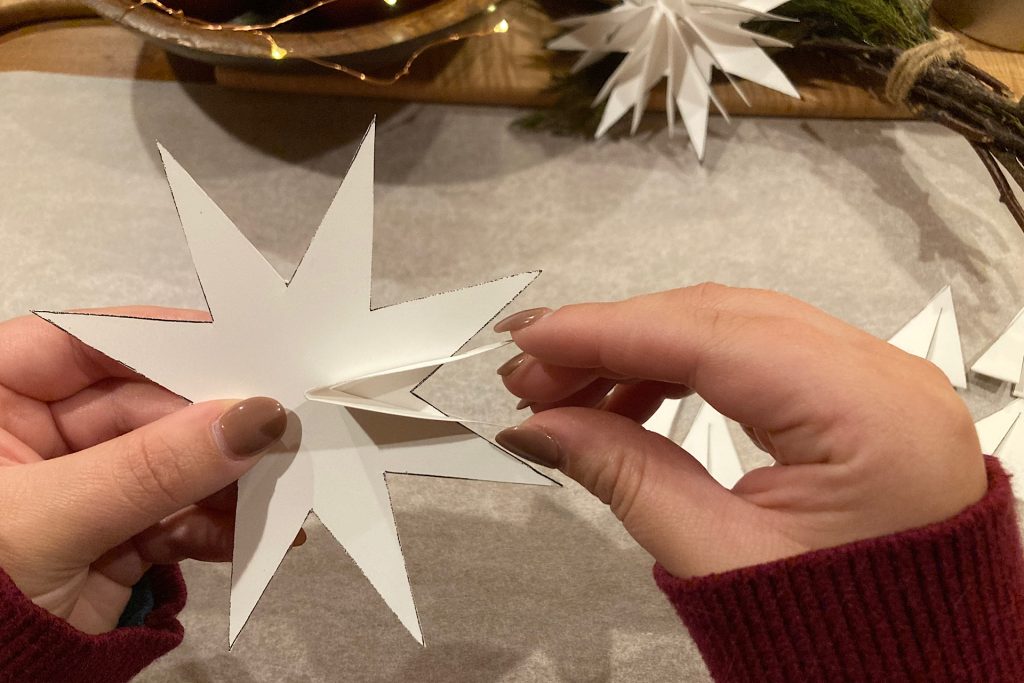
Inserting the folded diamonds is the step where your DIY White Cardstock Holiday Stars truly come to life. Begin by inserting a folded diamond at a 90-degree angle between two star points on your large 5″ star. Position the diamond so that the flat bottom of the triangle rests at the center of the star.
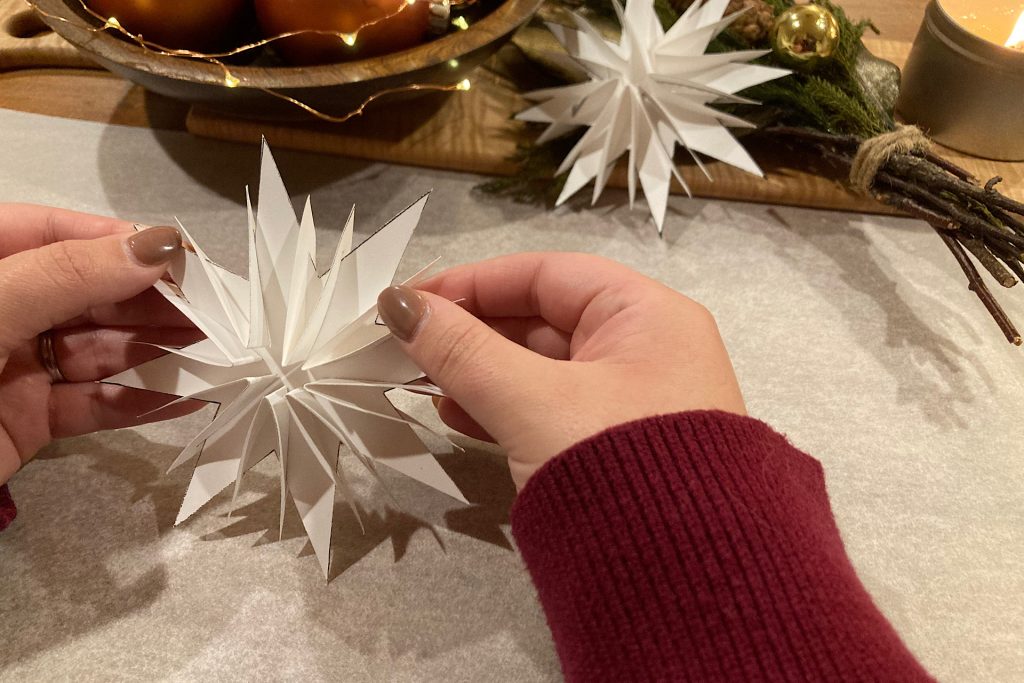
Once in place, gently fan out the two top points of the diamond so they spread between the star’s points. Repeat this process for all eight folded diamonds, ensuring they are evenly spaced and arranged to your liking. Take your time to adjust and fan them out until your star achieves the full, intricate shape that makes these decorations so enchanting.
With all the diamonds securely in place, your holiday star is ready to dazzle. This step is where precision meets creativity, and the results are worth every bit of effort.
A Star of Your Own
Now that your DIY White Cardstock Holiday Stars are finished, it’s time to showcase their beauty. These stars are truly enchanting, with their intricate shapes and delicate design. Like snowflakes, each star is slightly different, and that uniqueness adds to their charm.
As someone who usually prefers uniformity, I found the subtle differences in these stars delightful—they bring warmth and personality to the finished pieces. Of course, you can let your creativity shine by customizing your stars. Try using metallic gold or silver cardstock for a luxurious look, sprinkle the edges with glitter for frosty sparkle, or add a bow or ribbon for extra flair.
However you choose to display them, your handmade stars will add whimsical elegance to your holiday season, a perfect reflection of the joy and creativity they bring.
Showcasing DIY White Cardstock Holiday Stars
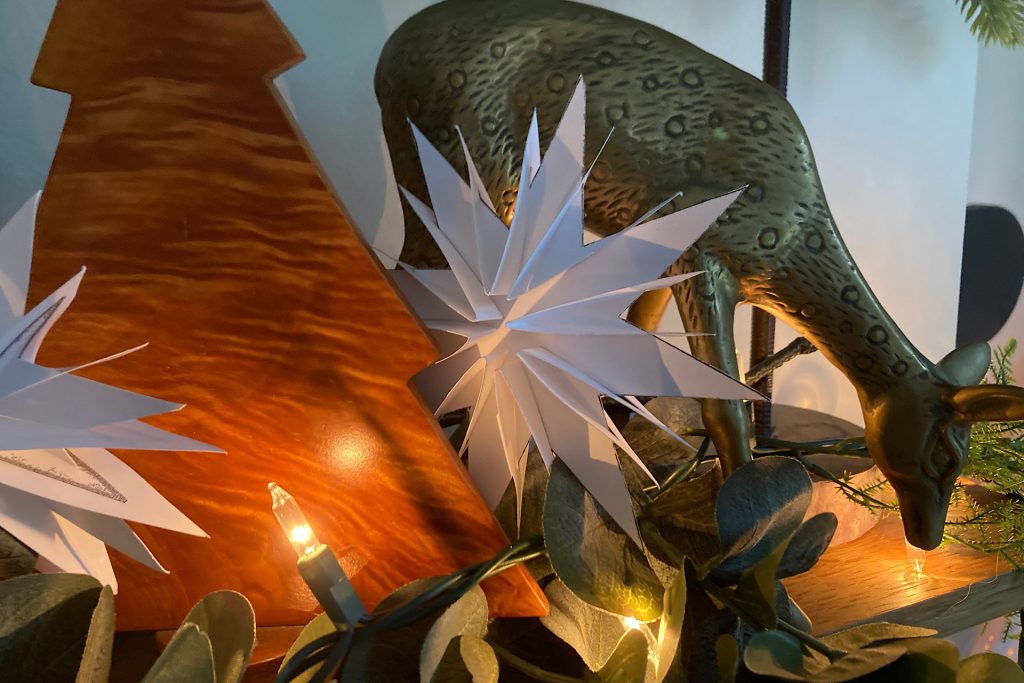
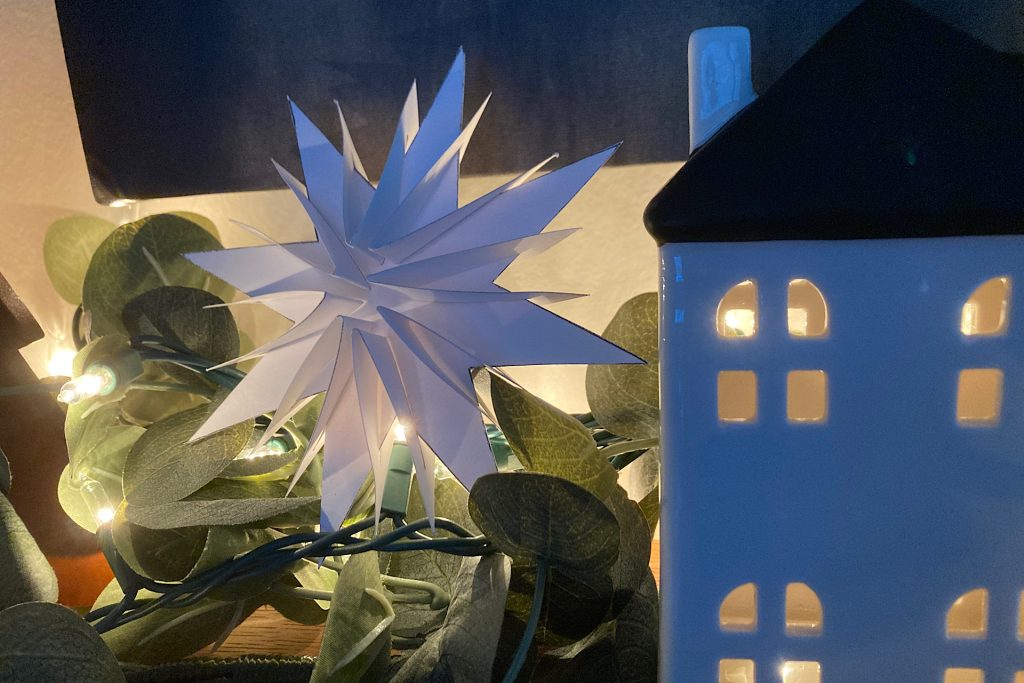
Now that your creations are complete, it’s time to find the perfect place to showcase them! These stars can add a touch of whimsy and elegance wherever they are displayed. Imagine them nestled on the mantle, beautifully woven into greenery, or placed in a decorative bowl with sparkling ornaments. For an enchanting effect, hang them from ribbons on window frames, mirrors, or even the Christmas tree itself.
No matter how you choose to display your stars, they’re sure to bring a magical charm to your holiday décor. I’d love to see how you’ve incorporated these stars into your home! Feel free to share photos of your creations with me, and let’s celebrate the beauty of handmade holiday décor together.
Related Posts
