Skip to content
Home » Strawberry Jam – Beginner Recipe

Strawberry Jam – Beginner Recipe

Beginner Strawberry Jam in Canner Jars

This strawberry jam beginner recipe may be just what you’re looking for! 

If you are anything like me, the first experience with preserving any food can be intimidating.  My questions and concerns were:

  • How do I ensure the fruits I preserve will be safe to consume?
  • What will I need for equipment?
  • What ingredients do I need?
  • What is the canning process?
  • How do I store my finished preserves?

I didn’t have the answers to any of these and set out to research on my own.  I hope my groundwork will aid you in feeling more comfortable and achieving success!

Woman in Straw Hat Picking Strawberries
Woman's Hands Picking Fresh Strawberries

How to Ensure Preserves are Safe to Consume

When making this beginner strawberry jam recipe, the most important tools you will need are reputable sources:

Ingredients:

  • Fresh, quality fruit:  Strawberries are ripe for the picking at local patches, farmer’s markets and grocer’s.  Consider if fruit is grown organically and without pesticides.  You will need to wash your berries to rinse away any debris and remove stems.  I typically rinse, then pat dry before using them so I’m not adding any extra water content to my jam recipe. 
  • Bottled lemon juice:  Use bottled lemon juice only for this recipe.  Fresh lemons have varied acid levels and you want to ensure you have the proper levels of acidity for canning low-acid fruits.

Supplies:

  • Reputable brand names for canning jars and equipment:   As a beginner, you may want to start with a well-known brand such as Ball Canning Supplies.  Their equipment and jars are a standard and considered to be safe and reliable.  Their canning products are easily found in stores or online.

Guidance:

  • Educational resource material:  This is important!  Stick with .edu and .org sites for your food safety information.  There are people who have been canning safely for years; who have trusted recipes and a good feel for which corners they can cut.  Until I am one of them, I am sticking with Ag Extension and educational sites for a safety-first approach.  It is important to know your altitude and timing adjustments for water bath canning when making this strawberry jam.  Ball canning has resource guides as well.  I also did an online tutorial class titled “Confidently Fill Your Pantry with SAFE Home-Canned food with Carolyn at Homesteading Family.  I found this to be a very helpful resource.

Cleanliness

  • Clean work surfaces and equipment:  Thoroughly clean your workspace, jar components and processing equipment.  Older recipes used to require sterilizing lids and jars prior to canning.  It has since been proven that simmering lids on the stovetop can result in a poor seal.  It is now recommended to clean and rinse jars, lids and rings with warm, soapy water; either by hand or in the dishwasher.  Jars should also be warmed before filling them.  I place mine in a warm oven on a towel-lined cookie sheet while I am preparing the jam.

Equipment List for Strawberry Jam Beginner Recipe

We will be using a water bath canning processing method.  You will need the following supplies on hand for this beginner strawberry jam recipe:

  • Colander, pairing knife and cutting board for cleaning and prepping berries.
  • 21.5 quart water bath canning pot (pictured above on stovetop).
  • Canning cookware set.  A boxed set typically contains:  a stainless steel basket that can be lifted in and out of the water bath pot, a funnel, tongs, magnetic lid lifter and de-bubbler/head space tool.
  • 8-ounce canning jars with lids and rings.  You will need 8 jars.
  • 6-8 quart saucepan for mixing and boiling jam recipe.
  • Potato masher to mash berries in saucepan.
  • Large silicone spoon for stirring jam on stovetop.
  • Cookie sheet lined with a clean towel for keeping jars warm prior to filling

*Note:  Check your stove manufacturer if you have a glass cooktop like mine to ensure that you are able to use a water bath canner on it.  If so, you will want to consider a flat-bottom pot.

Hands Cupping Fresh Strawberries for Strawberry Jam - Beginner Recipe

Ingredients for Strawberry Jam Beginner Recipe

The ingredient list for this recipe is simple:

  • Fresh strawberries (5 lbs).  If purchasing by the pound, approximately 5 lbs.
  • Granulated sugar (7 cups).  I know that sounds like a lot, but we’re talking jam here!
  • Lemon juice (1/4 cup).  Make sure it is bottled lemon juice, not fresh-squeezed.
  • Pectin (6 tablespoons).  Look for Ball Canning products if you are doing this for the first time.
Strawberry Jam - Beginner Recipe in Canning Jars
Strawberry Jam - Beginner Recipe in Bowl with fresh strawberries and cream

Canning Process and Storing Finished Jam

The complete recipe is below.  Again, you will want to check a reputable altitude/timing chart for where you live.  Remember to keep your supplies, equipment and hands clean; and to wipe any spills off the jar rims before placing the lids on.  The boiling liquid and altitude/time charts will do the rest for putting together a safe, preserved product.

After you have processed the jars, you will let them sit, undisturbed, for 12-24 hours.  You will hear the lids ping as they seal.  When jars are cooled and ready to store, you will remove the rings and visually inspect to check that the raised bubble in the center of the lids has flattened and depressed inward.  Additionally, you can pick up the jars by their lids to ensure they are sealed.

Leave the rings off and store jars in a cool dark place until you are ready to use them.  Save the rings, though, as you will want to use them after you open a jar to secure the lids when you store them in the refrigerator.

I hope you enjoy the process.  Share your successes with me!

Beginner Strawberry Jam in Canner Jars

Strawberry Jam - Easy / Basic Recipe

Safe and easy recipe if you are new to making your own fruit preserves.

Equipment

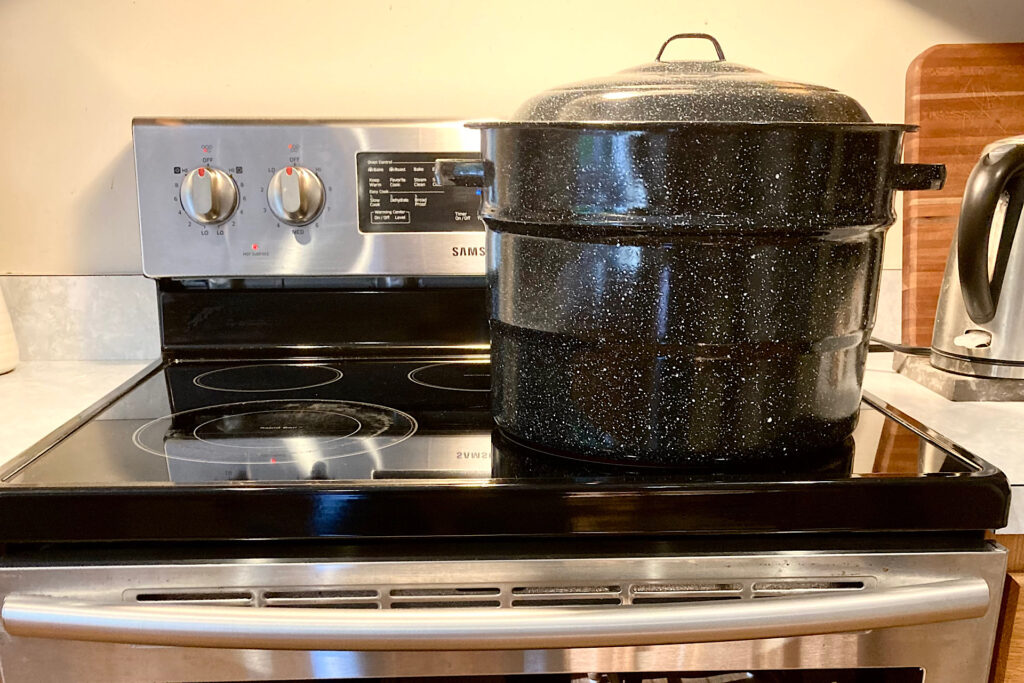
  • 1 Water bath canning set (21.5-quart pot, lid, basket and canning tool set)
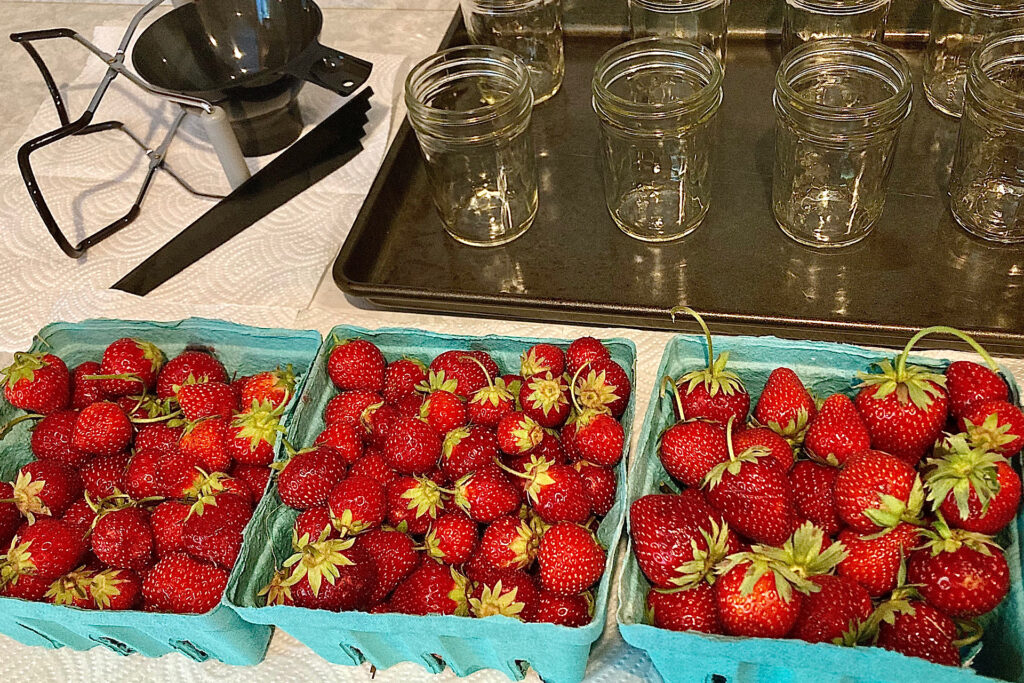
  • 8 8-ounce canning jars with lids
  • 1 6 or 8 quart saucepan for making jam
  • 1 Silicone Spoon

Ingredients
  

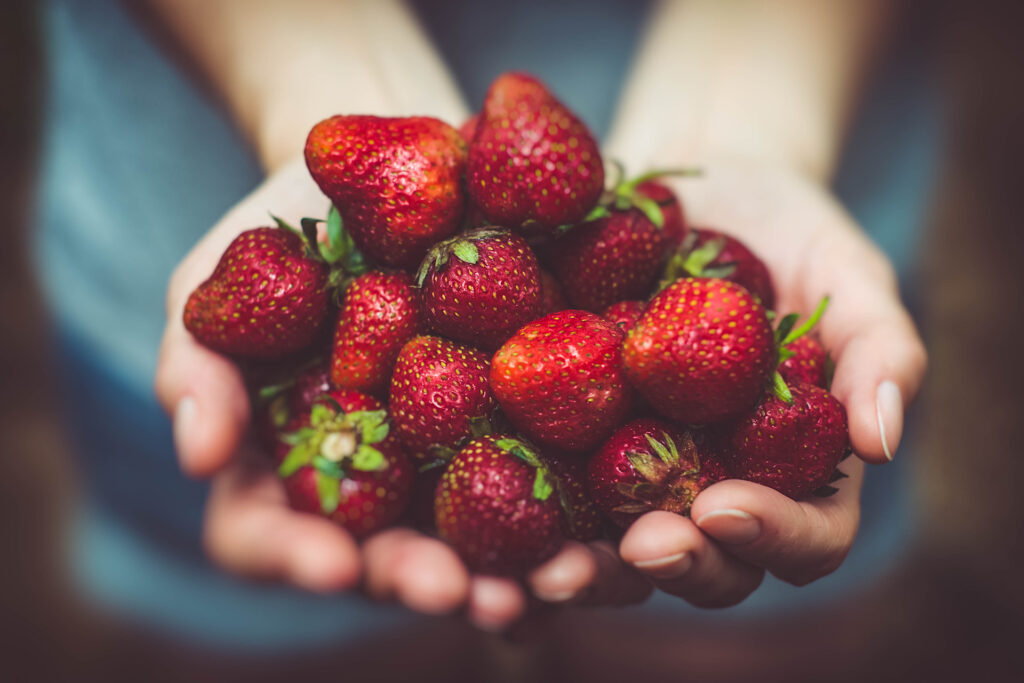
  • 5 cups crushed fresh strawberries Wash, dry, and remove stems.
  • 1/4 cup lemon juice Use bottled, not freshly squeezed.
  • 6 tbsp pectin Ball brand Real Fruit is a good choice for beginners.
  • 7 cups granulated sugar
  • 1 large ladle

Instructions
 

  • Thoroughly clean / sanitize jars and lids. Have them set aside and ready.
  • Place basket in the canner pot. Fill pot with water. (When jars are added to the pot later in process, there should be enough water to allow them to sit 1-2 inches below the surface). Bring to a boil. On my stove, this takes some time, so I get the water to boiling while I am prepping the jam. If it boils down a bit, I just add a little more water.
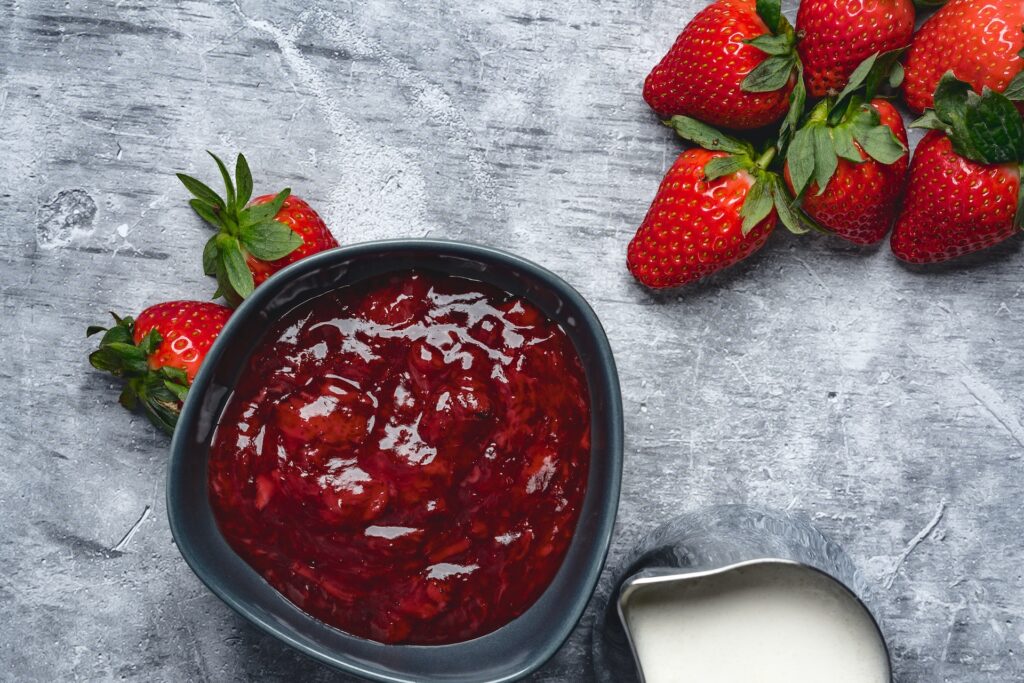
  • In the meantime, combine fresh crushed strawberries and lemon juice in a saucepan.
  • Stir pectin into the strawberry/lemon juice mixture. Do this a little bit at a time. Gradually add until well blended.
  • Using a silicone spoon, stir strawberry / lemon juice / pectin mixture constantly over high heat until it comes to a rolling boil. You will know you have reached the proper boil when you cannot settle it or stir the boiling action down with your spoon.
  • Add all of the sugar and continue stirring constantly until the mixture comes back to a full rolling boil again. Keep this boil for 1 full minute while still stirring.
  • Remove the saucepan from the heat. There will be foam on the top. Skim this off.
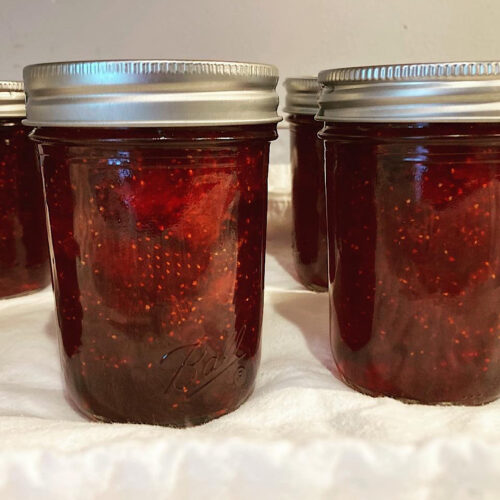
  • Ladle the hot mixture into hot jars. (I keep mine in a warm oven on a baking sheet lined with a towel). Leave 1/4" of open space between the jelly surface and the rim of the jelly jar.
  • Use the de-bubbler tool in your canning supplies kit to remove any air bubbles. The end of this tool also has a handy head space measurer. After removing the air bubbles, see if the level of the jam has dropped and add more until you reach that 1/4" of open head space.
  • Once jars are filled, wipe the rims with a damp cloth to remove any spills or spots of jam.
  • Center the flat, round lid on the jelly jars. There is a tool in the canning supply kit that aids in keeping the lid clean. It is a stick with a magnet tip so you do not have to handle the underside of the lid with your fingers.
  • Screw the jar rings on finger-tight. You don't need to crank them down. Think tightening with your fingers/not your wrist.
  • Using jar tongs in your canning kit, place jars in the basket of the boiling water bath of the canner.
  • Place lid on the canner and continue to boil for 10 minutes. **Adjust this time to your altitude.
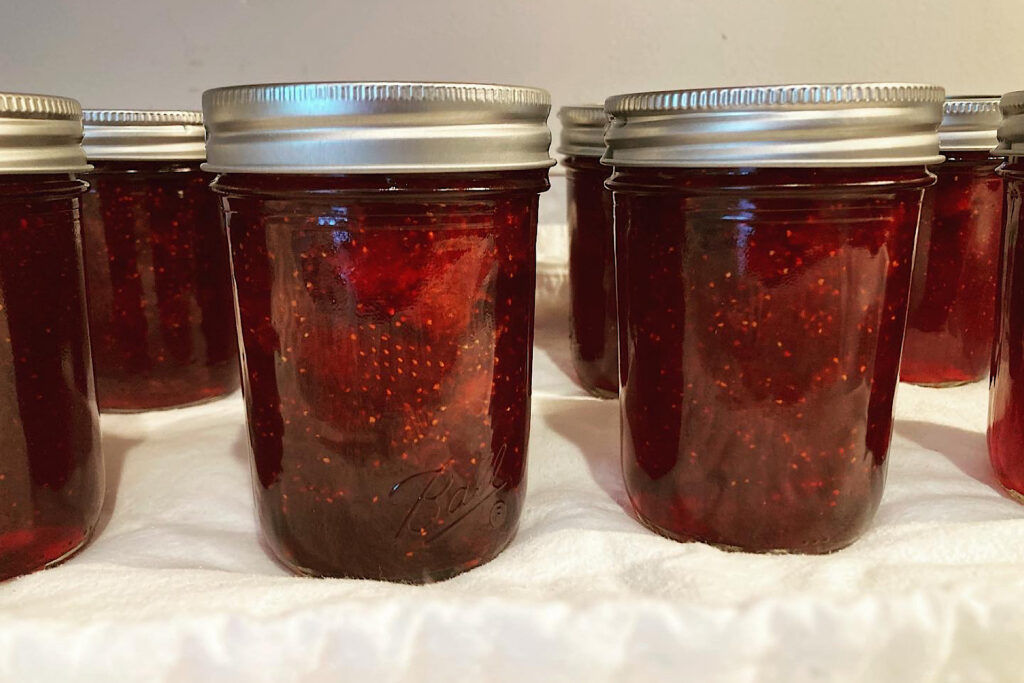
  • Remove the hot jars from the water bath using the jar tongs. Let the jars sit, undisturbed, for 12-24 hours. You will hear them "ping" as the raised bubble in the center of the lid is sucked down and flattened.
  • After 12-24 hours remove the jar rings and check to see if the center bubble on the lid has flattened. You can lift jars by the cap to ensure the seal is tight.
  • Store finished jam in a cool dark place without the rings. Rings can hold the lid down, providing a "false seal." Save the rings though. After you open the jar you can use them when storing jam in the refrigerator.

Additional Resources:

If you enjoyed this recipe, you may also like:

Tags:

Leave a Reply

Your email address will not be published. Required fields are marked *

Recipe Rating