Fall Pumpkin Spice Simmer
Clean Living Autumn Aromatherapy
Equipment
- 8 quart Simmer Pot
- 1 Cutting Board
- 1 Strong Kitchen Knife to Cut Pumpkin
- 1 Measuring Spoon Set
- 1 Measuring Cup
Materials
- 1 Medium Sugar Pumpkin
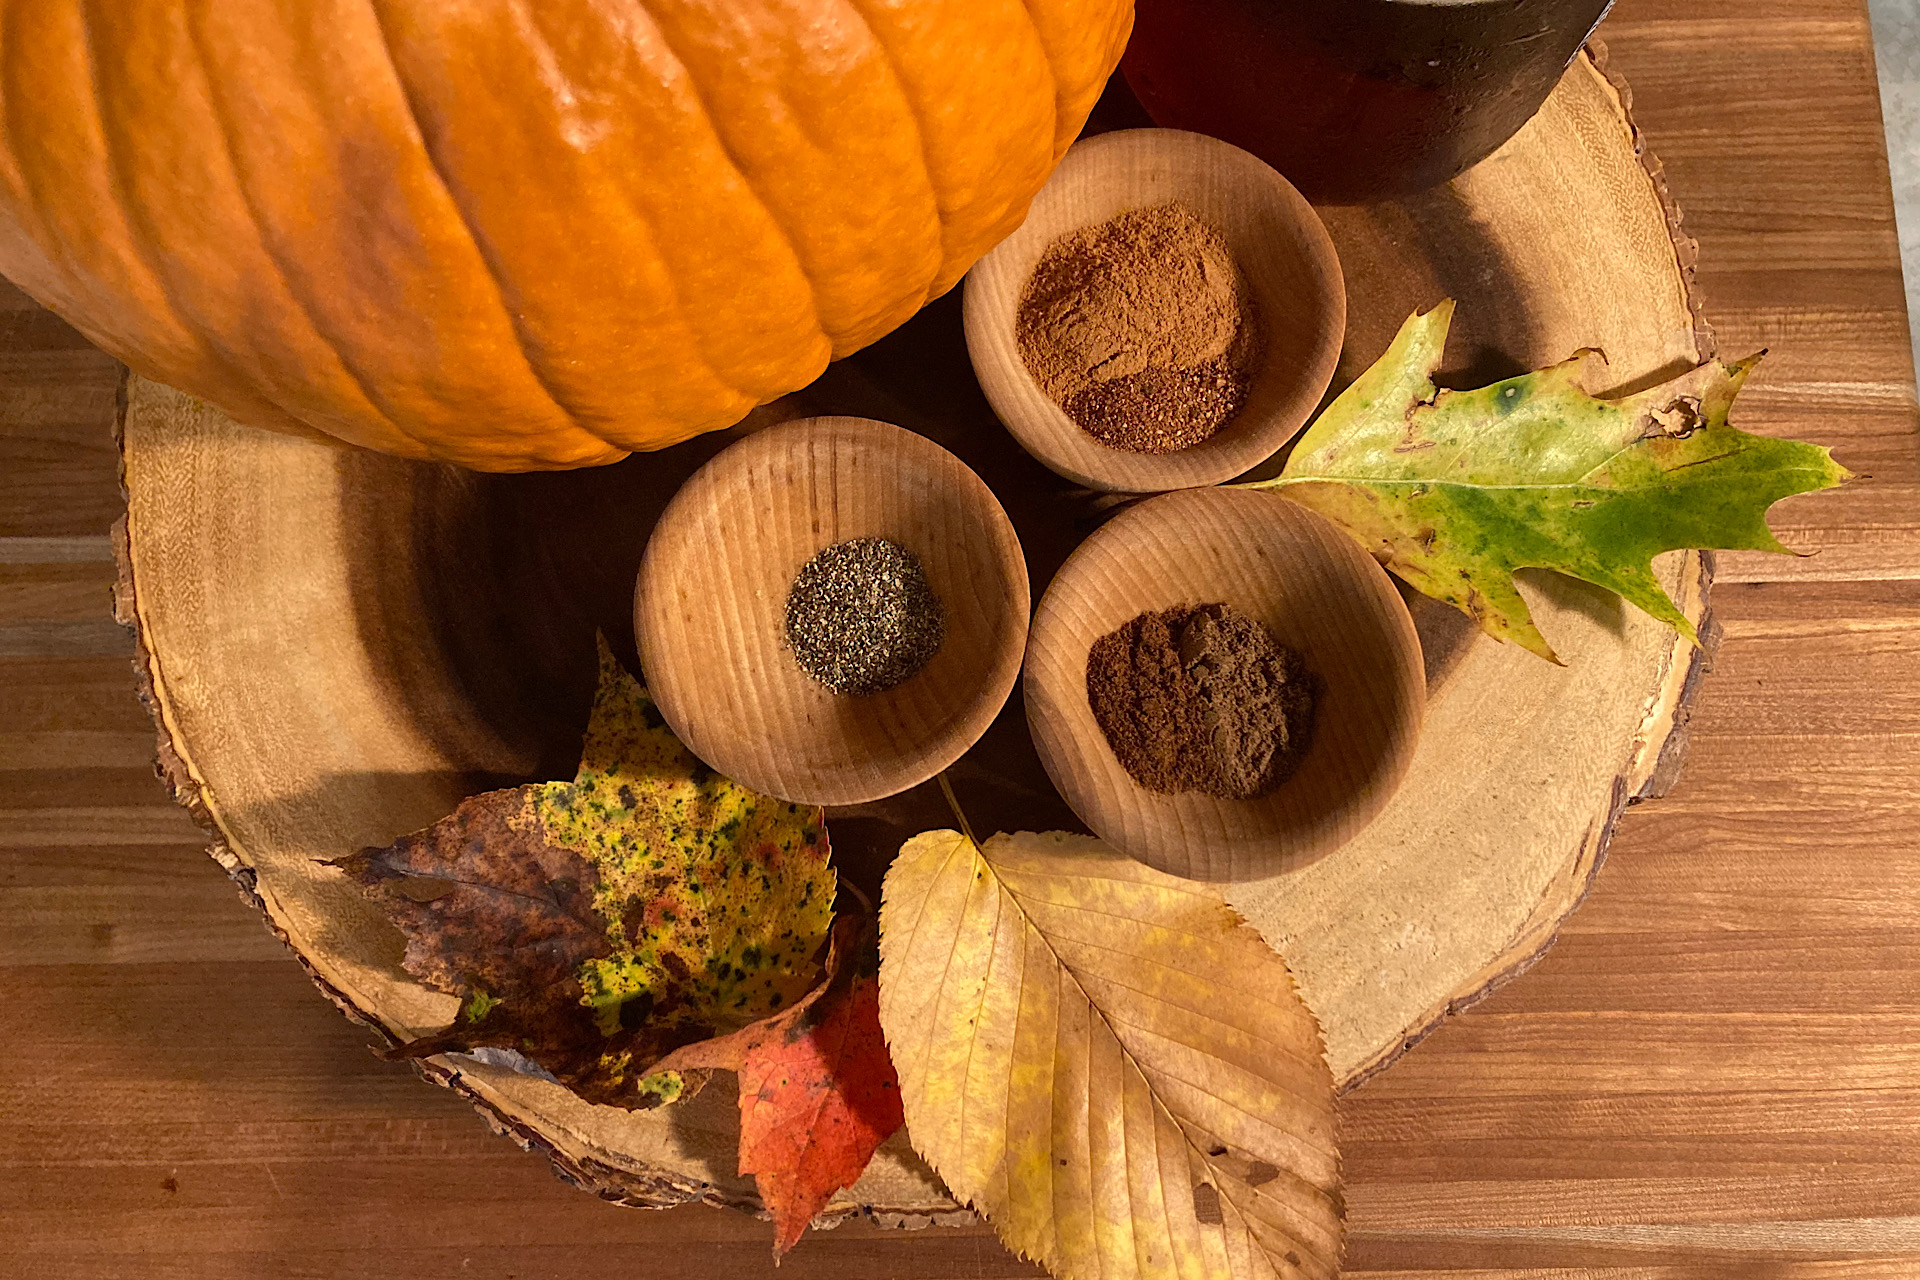
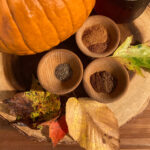
- 2 Tablespoons Cinnamon
- 1 Teaspoon Ginger
- 1 Teaspoon Nutmeg
- 1 Teaspoon Allspice
- 1 Teaspoon Black Pepper
- 1/3 Cup Maple Syrup
Instructions
- Measure out dry ingredients and set aside.
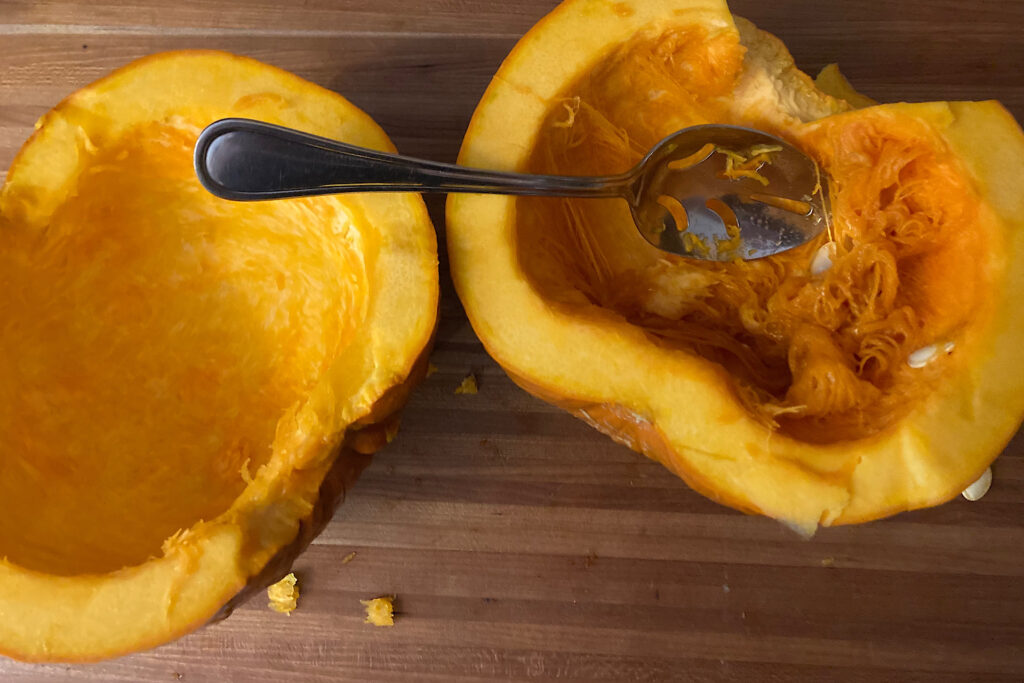
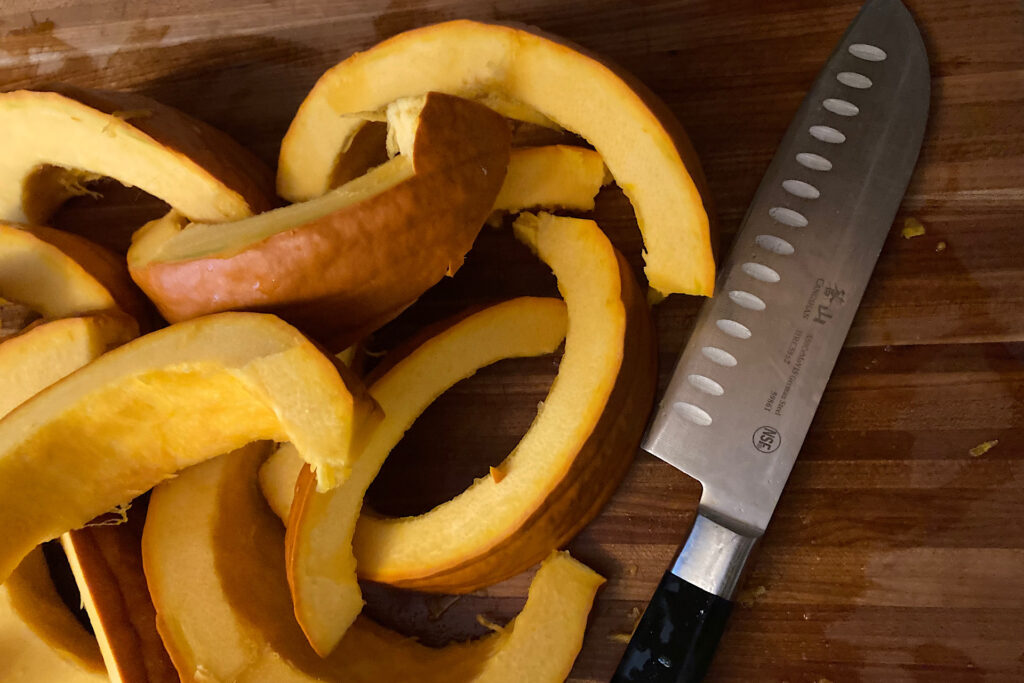
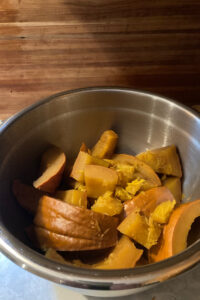
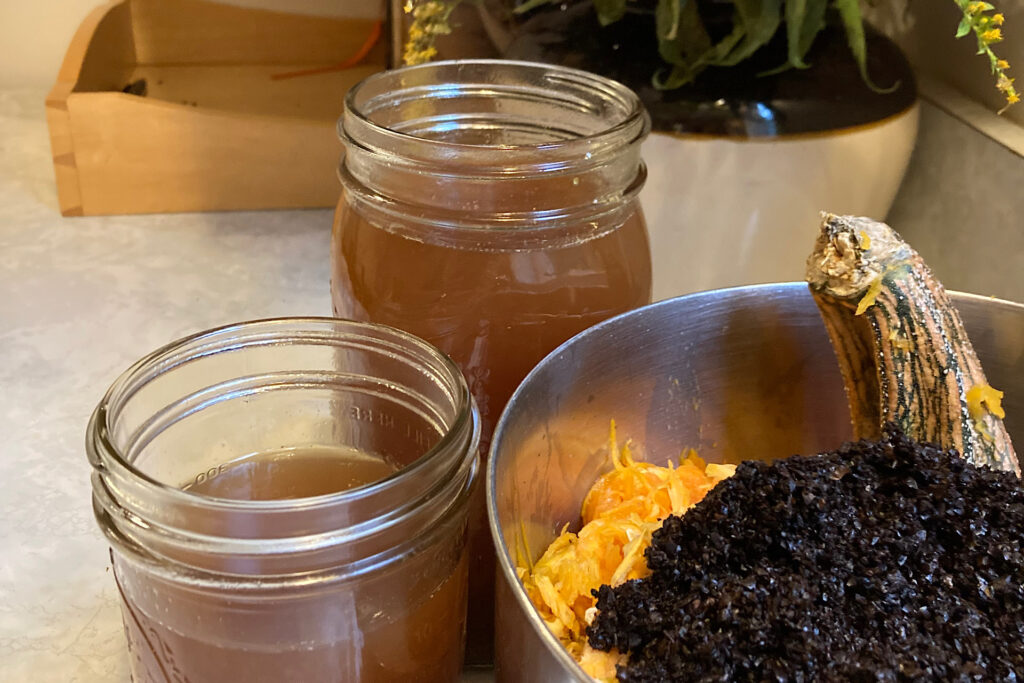
- Wash and dry the pumpkin. Cut in half and scrape out seeds and stringy material. Set the scrapings aside for use in Part 3 of this project. Cut stem from pumpkin halves and cut each half into slices.
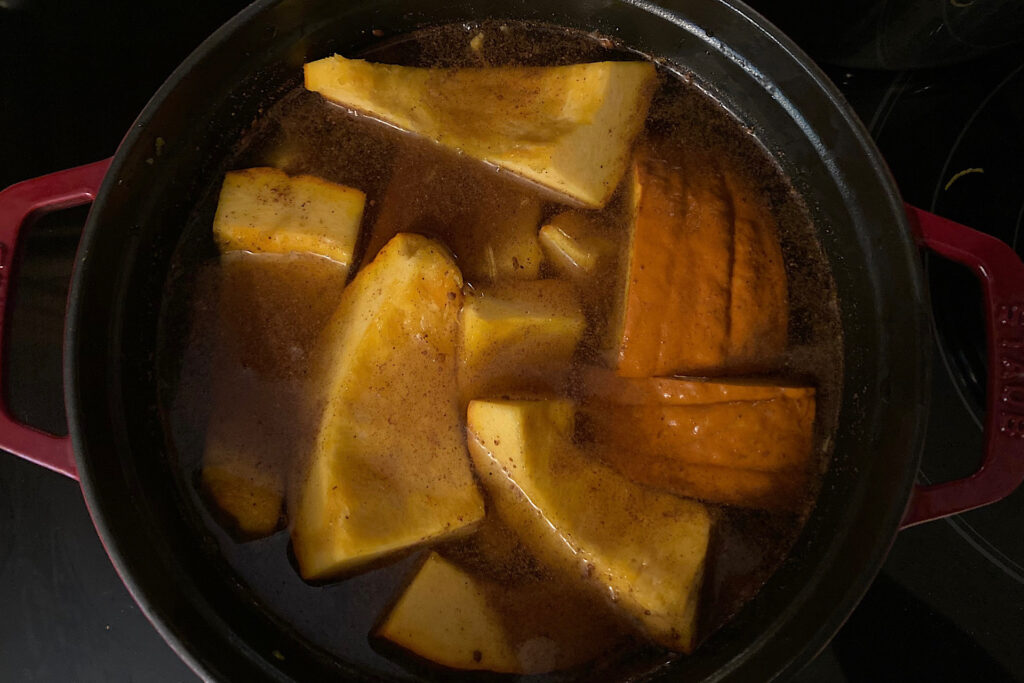
- Pour 8 cups of water into the eight quart cooking pot. Stir in spices and maple syrup. Add in pumpkin slices and simmer on low until slices are fork-tender.
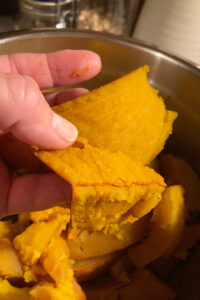
- Remove pumpkin slices and set them aside for Part 2 of this project. Continue simmering the spiced water as long as you would like to enjoy the scent. Cool and store in the refrigerator or freezer if you prefer to reheat and enjoy the fragrance later.

Glazed Pumpkin Spice Crumble Muffins
Easy pumpkin muffin recipe with hint of salt in crumble topping and maple glaze.
Equipment
- 1 measuring cup set
- 1 Measuring Spoon Set
- 1 nested mixing bows (small, medium & large)
- 1 muffin tin and muffin papers
Ingredients
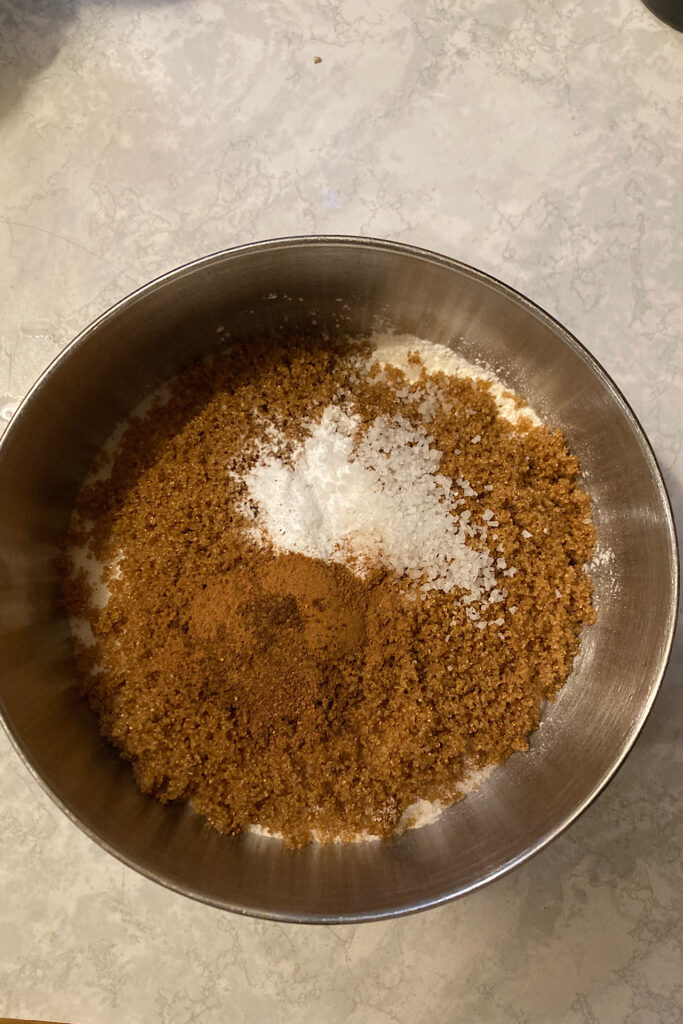
- 1 3/4 cup flour
- 1/2 cup light brown sugar
- 1 cup sugar
- 1 teaspoon baking soda
- 1/2 teaspoon salt
- 2 teaspoons cinnamon
- 1/4 teaspoon nutmeg
- 1/4 teaspoon ground clove
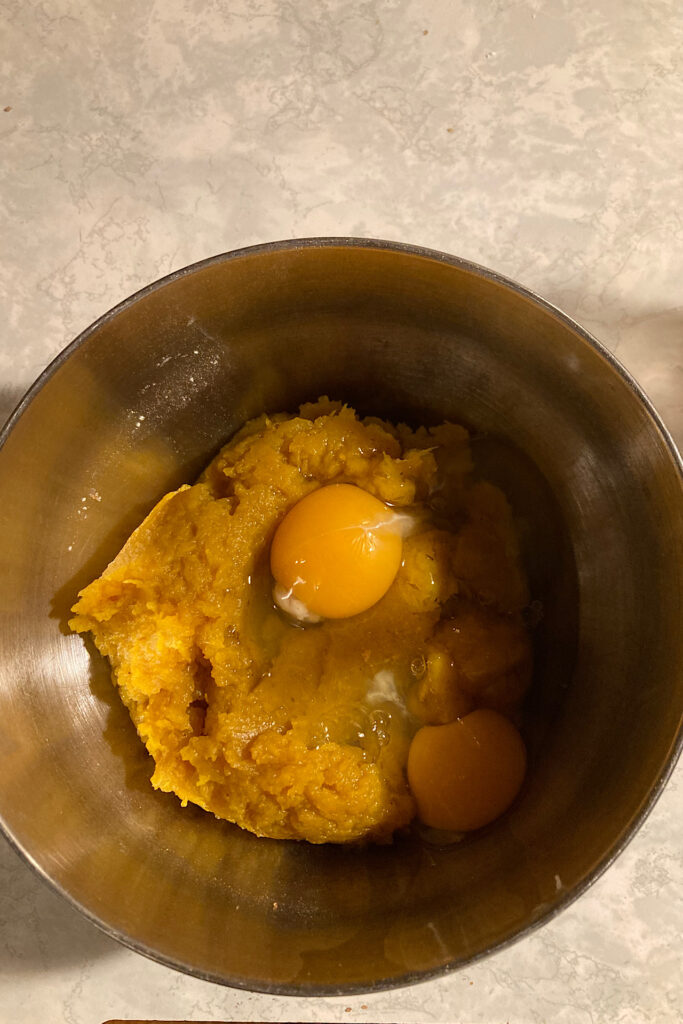
- 2 eggs
- 1/2 cup melted coconut oil
- 2 cups fresh pumpkin from pumpkin spice simmer recipe in part 1 of this project
- 1/2 cup chocolate chips
Instructions
- Set paper liners into the 12 cups of the muffin tin. Preheat oven to 350.
- In the large mixing bowl, measure out dry ingredients (flour, sugars, spices baking soda and salt. Whisk them together until well blended.
- In the medium mixing bowl, combine wet ingredients (eggs and pumpkin). Slowly pour in the melted coconut oil until well incorporated. Stir in the chocolate chips until evenly distributed.
- Spoon the wet mixture into the dry ingredients. Mix until it just comes together. The less stirring, the better.
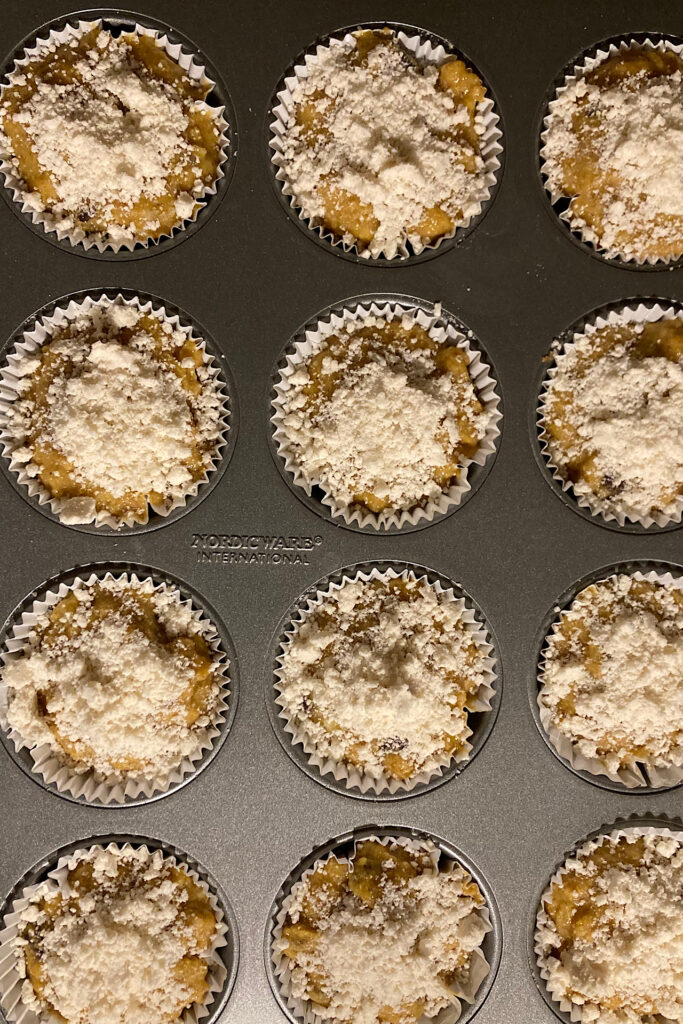
- Spoon batter until it fills each muffin liner almost to the top.
- Sprinkle with crumble topping.
- Bake for 20 minutes and check. Mine took a few more minutes (approx 25), but it will depend on your oven. Muffins are done when a toothpick inserted in the center comes out clean. Remove from tin when you can handle them and let cool completely on a baking rack.
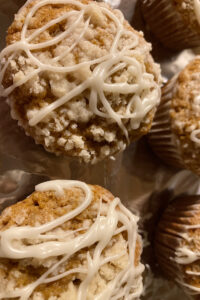
- Once completely cool, drizzle with glaze.
Crumble Topping
- In small bowl, mash the following with a fork until a uniform crumble forms: 3 Tablespoons, Flour, 1 Tablespoon Sugar, 1 Tablespoon coconut oil (solidified), 1/8 Teaspoon salt.
Maple Glaze
- In a saucepan, melt 2 Tablespoons of butter. Stir in 1 1/4 Cups of powdered sugar until smooth. Add 1 Tablespoon of maple syrup and enough water (add 1 teaspoon at a time) to reach desired consistency.
Dried Pumpkin Seeds for Birds and Wildlife
No waste pumpkin spice project saving seeds for wildlife
Equipment
- 1 Baking Sheet
- 1 Sheet parchment paper
Instructions
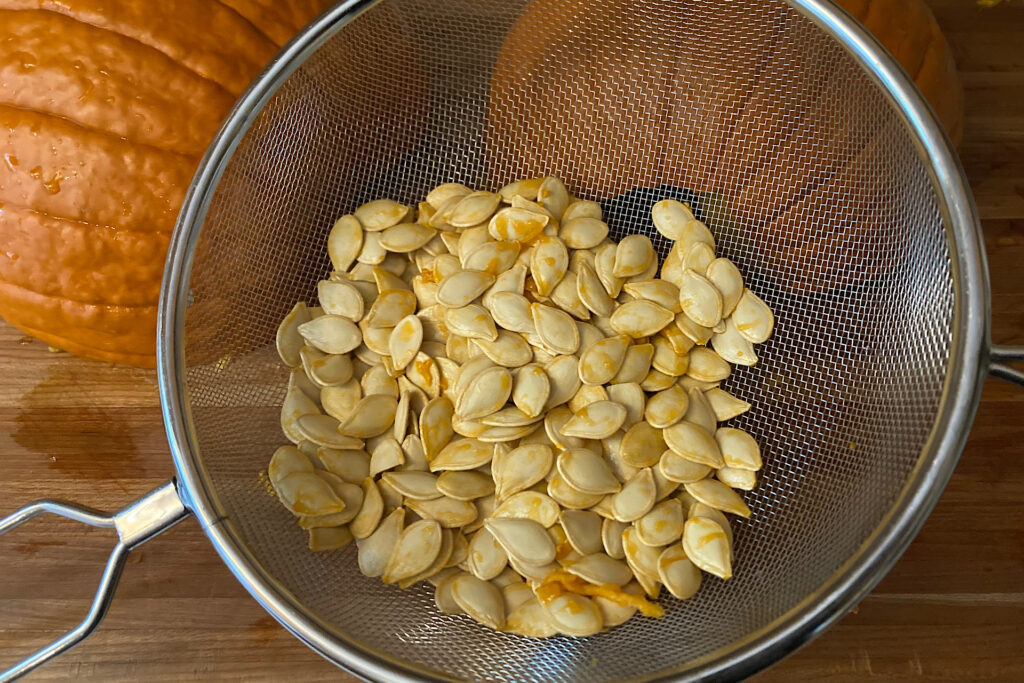
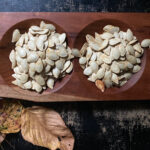
- Remove pumpkin seeds from stringy pulp. Rinse them in a colander and spread evenly on a sheet of parchment paper laid on a baking pan.
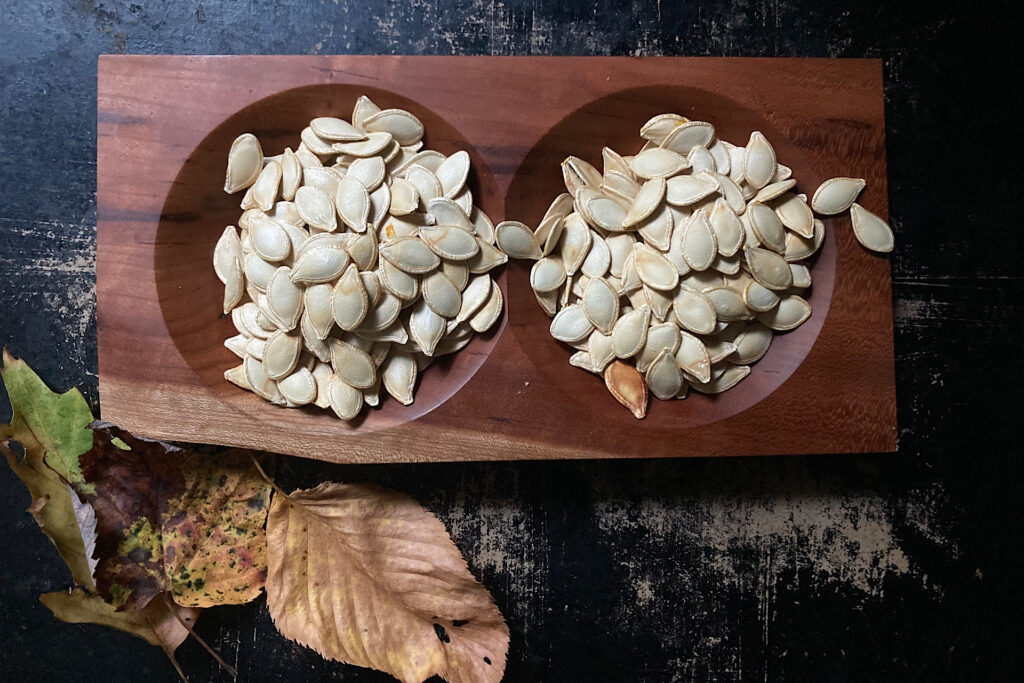
- Let seeds dry in a 200 degree oven; stirring occasionally to thoroughly dry. Check for dryness after about a half hour in the oven. Scatter for birds and wildlife.