By following a simple seasoning process, I now have a set of virtually non-stick cast iron cookware in my kitchen! If you’re like me, you intentionally avoid preparing meals and baked goods in cookware lined with chemically-coated surfaces; yet you struggle with food sticking to your stainless steel pots and pans. If that’s the case, I’m happy to share a few tips with you to bring your cast iron up to the task.
Advantages
Let’s first review some of the advantages of opting for non-stick cast iron as a workhorse in your kitchen:
Cast iron is highly durable.
Compared to other cookware, it is a very affordable purchase.
If maintained properly, a good set of cast iron can last a lifetime.
Cast iron retains its temperature longer than other materials and won’t produce temperature spikes.
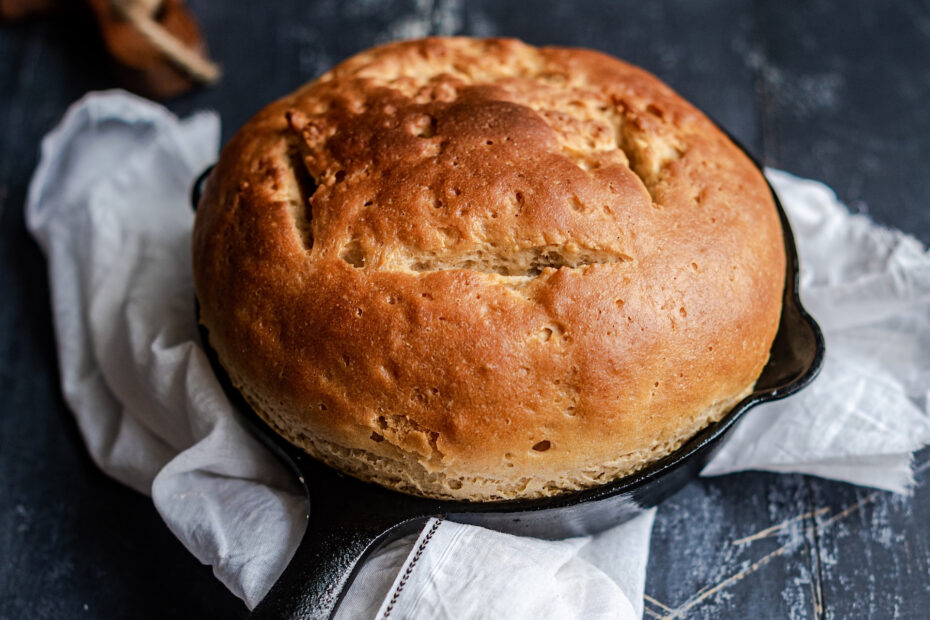
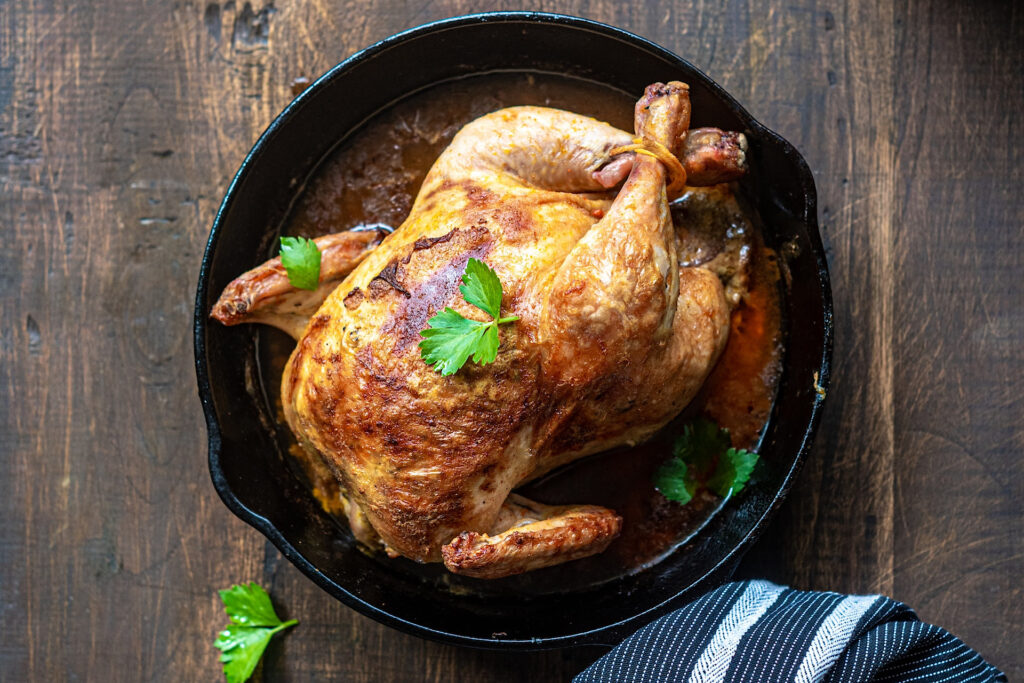
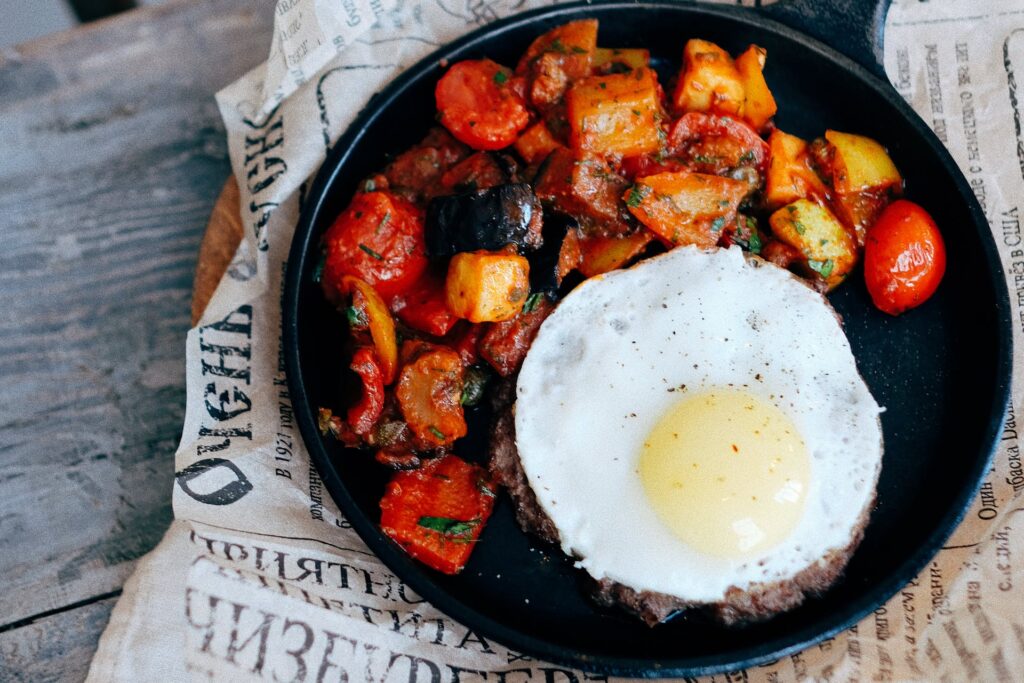
You are able to sear, fry, bake roast or braise with cast iron.
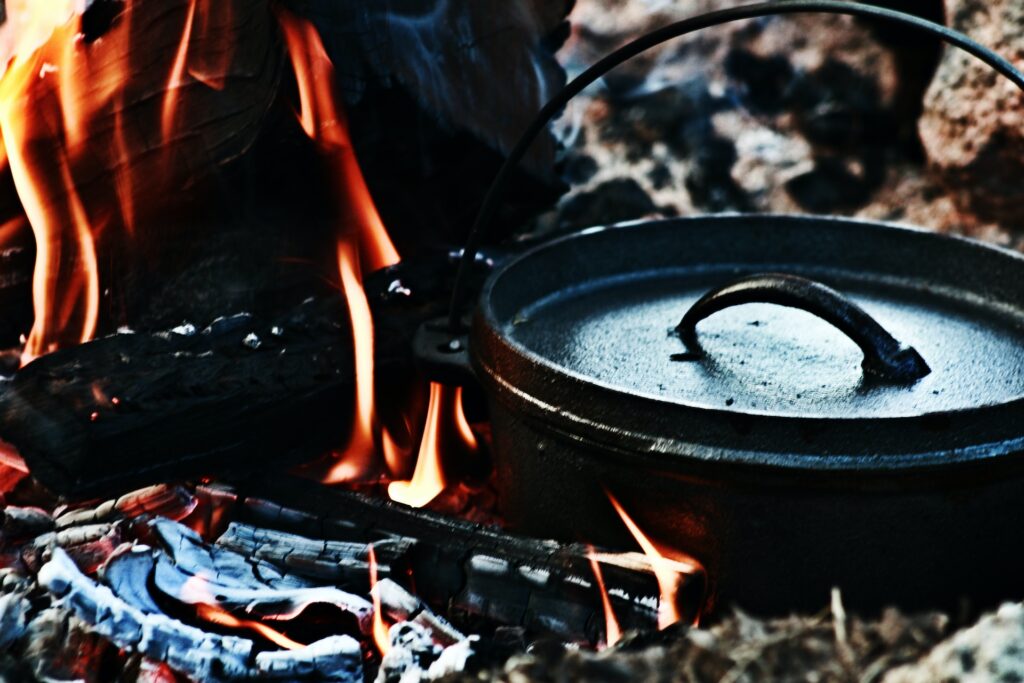
Cast iron pots are suitable for stovetop, oven, gas grill or even wood fire cooking.
And, again, it is virtually non-stick if seasoned properly.
Disadvantages
Now it’s time to look at some of the disadvantages of choosing cast iron cookware:
If not properly maintained, cast iron will rust. Fortunately, the simple seasoning process I’m about to share will prevent this.
Cast iron is heavy. It may not be appropriate for people with weight-bearing limitations.
Light proteins (eggs & fish) stick to cast iron’s uneven surface. This will not happen if your pan is seasoned properly.
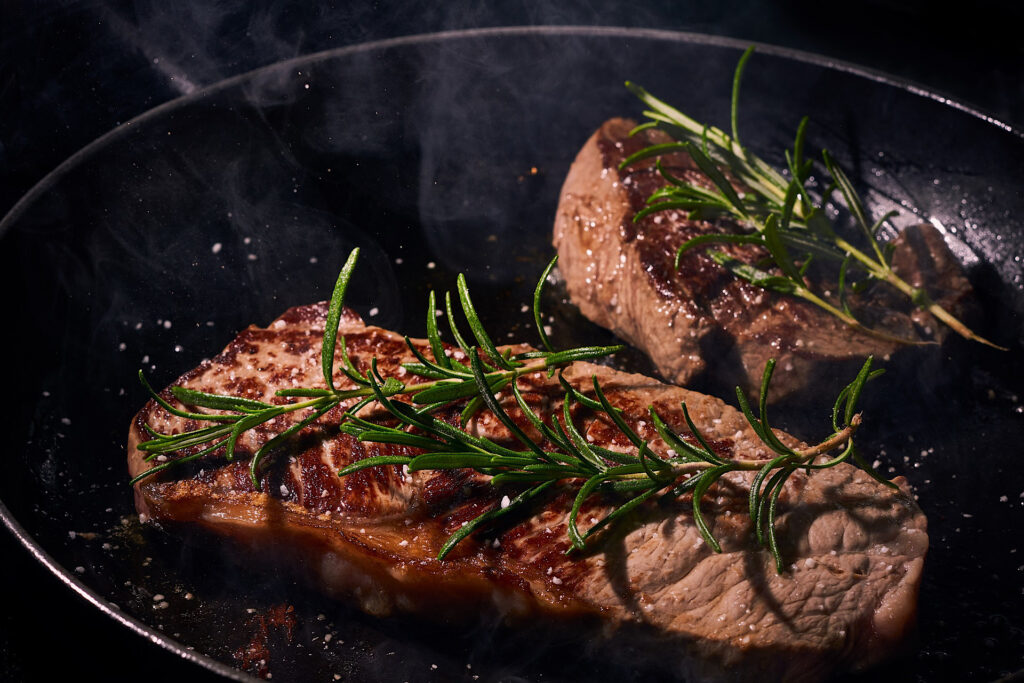
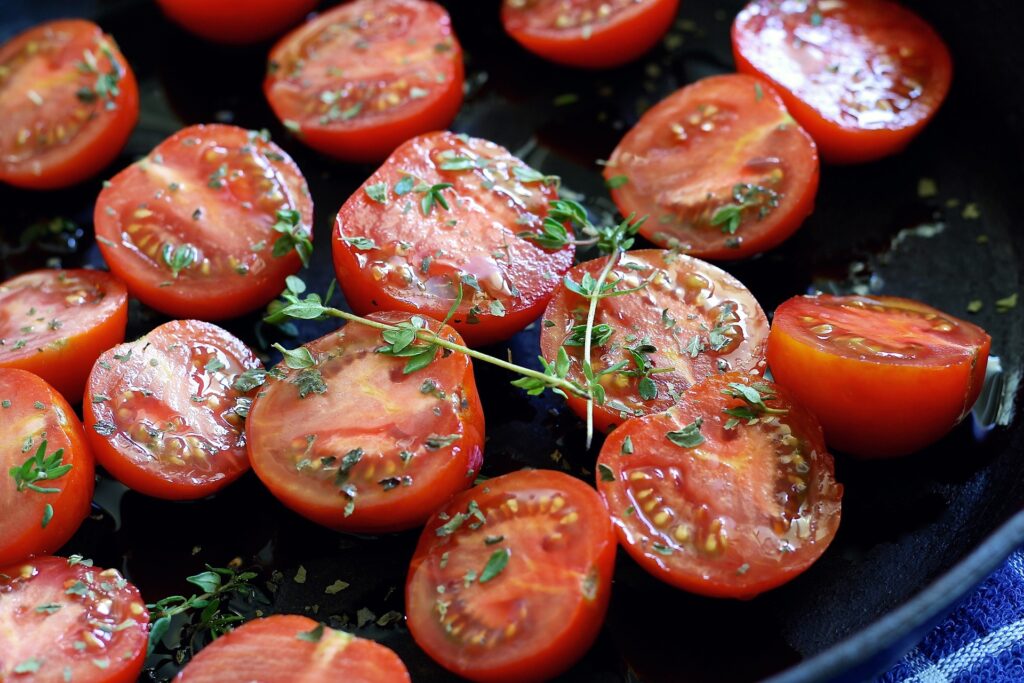
Acidic foods take on a metallic taste when prepped in cast iron. Foods such as tomato, citrus and vinegar will strip away the seasoning on a cast iron pan. Personally, I avoid cooking acidic foods in my non-stick cast iron. America’s Test Kitchen claims, however: …”an acidic sauce can afford a brief stay in a well-seasoned pan with no dire consequences.” They report 30 minutes of simmering before a metallic taste can be detected.
Seasoning Steps For A Non-Stick Cast Iron Surface
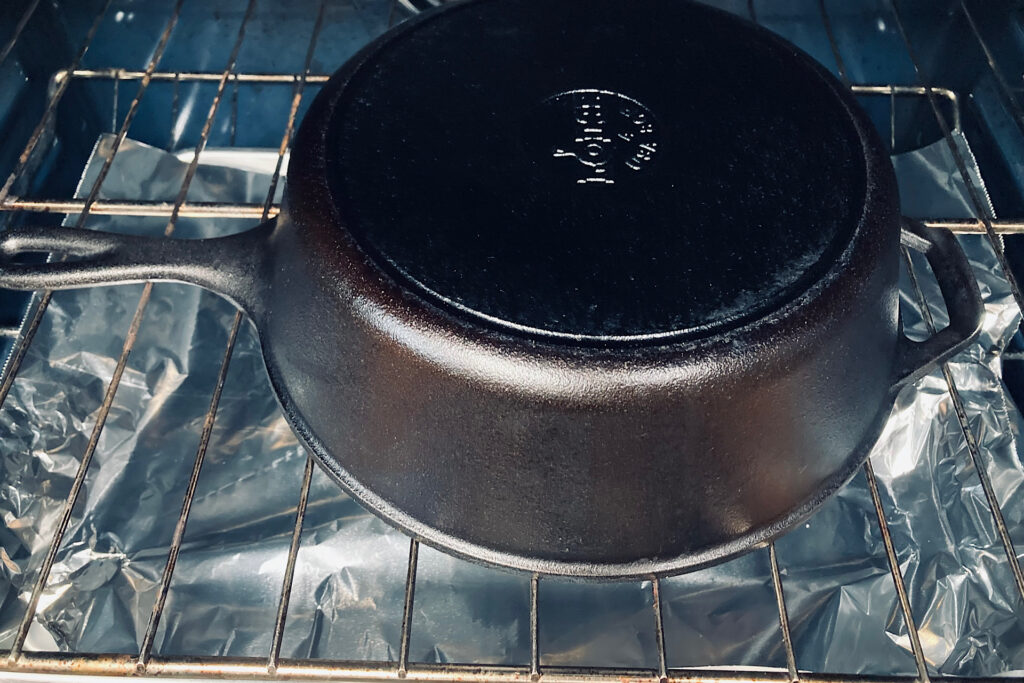
This truly is a simple process, but there is some science behind it. To the eye, a properly seasoned cast iron pan will have a shiny, black patina. To achieve this, you will need to apply a thin coat of unsaturated oil over all surfaces of your pan. This includes inside, outside and the handle. Next, the oil coating must be exposed to high heat in the oven. A two-part process takes place during this time: polymerization and carbonization.
Polymerization: This is achieved in the oven by heating that thin layer of unsaturated oil on the cast iron’s surface until it dries. When the polymerization process is complete, it will be difficult to remove that layer of oil.
Carbonization: To complete the seasoning, the oil must also be heated slightly beyond it’s smoke point. This will lay down a rich, black, carbon matrix.
This two-part process of polymerization and carbonization creates an impermeable surface that coats all the pores and crevices of the cast iron surface.
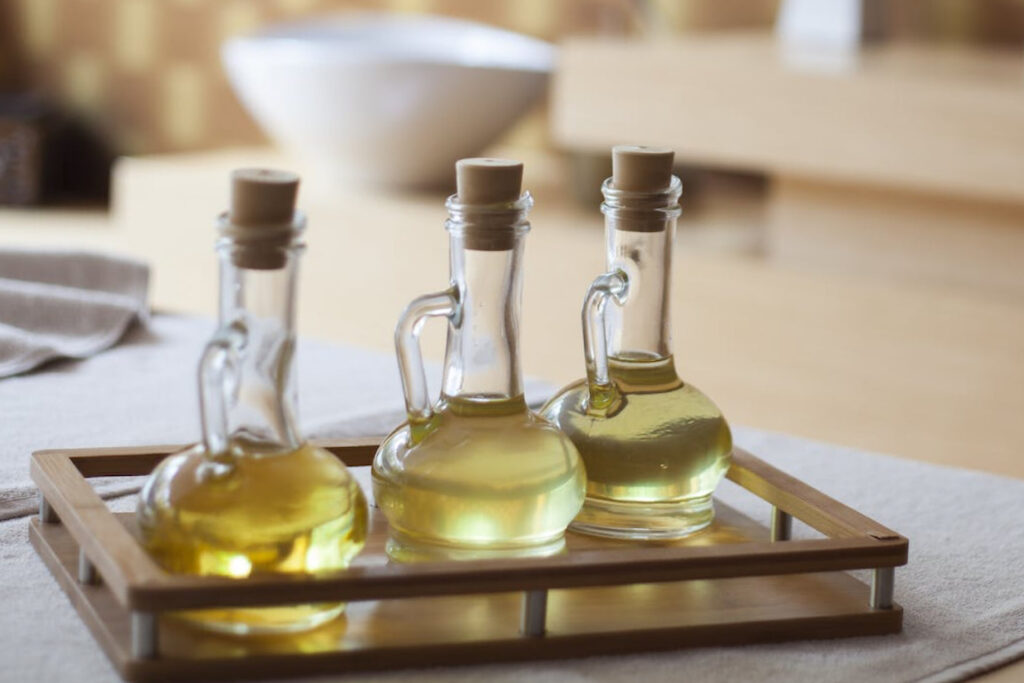
Which unsaturated oils should I use to coat my cast iron?
You can use grapeseed, flaxseed or canola oil for this process. I used grapeseed and was very pleased with the results.
Also, be sure to use a very thin coat of oil. With a thick coat, you may achieve polymerization, but the carbonization process may be affected. Your pan may be sticky.
What should my oven temperature and timing be for this process?
Oven temperature should be 400-500 degrees Fahrenheit. You will want to place your pan upside down on the oven rack at this temperature for 1 hour. After that, you can allow it cool in the oven. Placing the pan upside down prevents any oil from pooling where the sides and bottom of the pan meet. Place a sheet pan covered with aluminum foil underneath to catch any drips.
If you are intrigued by the science and want to dig deeper, you might be interested in this article: “Science of Cast Iron Coooking.”
Maintenance of Seasoned Non-Stick Cast Iron
It’s worth saying if you would like your cast iron pan to have a slick, glassy, non-stick coating, it is recommended to bake multiple “very” thin coats of oil onto your cookware’s surface. It is also suggested to repeat a seasoning coat annually.
I did one seasoning process at the outset. But, each time I use my pans, after cleaning and drying, I apply a very thin coat of oil and heat them on the stovetop and let them cool before putting them away. They are non-stick and have retained their glassy finish. I do, however, think it’s a good idea to repeat the in-oven seasoning annually.
Cooking Utensils
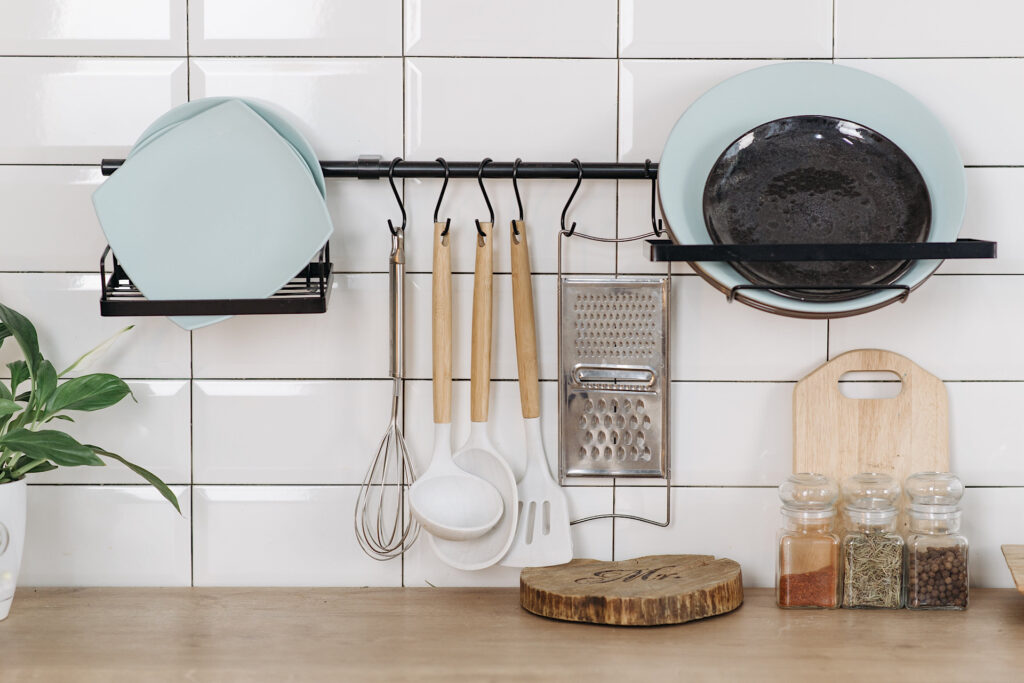
I prefer to use wooden or silicone utensils with my cast iron cookware. Field Company Cast Iron recommends a thin slotted spatula for delicates like fish. In my research, most companies, including Lodge Cast Iron will tell you you can use wood, silicone and even metal.
You should, however, take care with metal. Cutting or chopping with knives or metal spatulas, and scooping with metal spoons can scar the seasoning surface.
Another item you might want to have on hand is a cast iron skillet handle cover. It’s important to note that the handle gets hot not only in the oven, but on the stovetop. You can check out America’s Test Kitchen recommendations for best handle cover recommendations.
Cleaning Tips
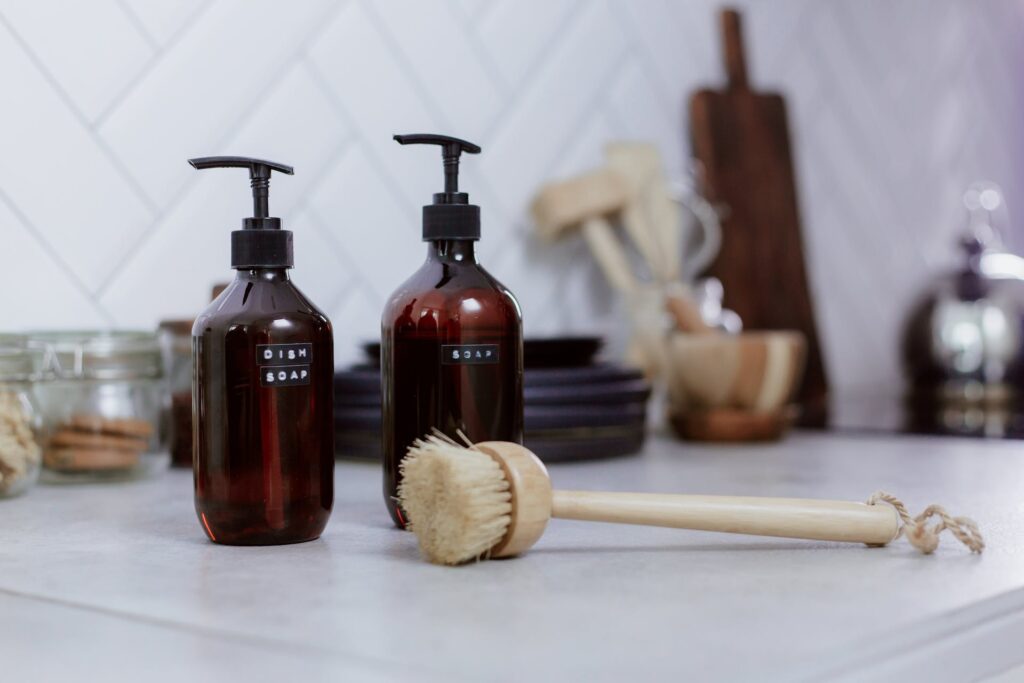
When your pans are nicely seasoned, you won’t have any trouble cleaning them. Contrary to popular belief, it is ok to use hot water with a mild soap and a non-abrasive sponge to clean your pans. I do this after each use, and have not experienced any problems.
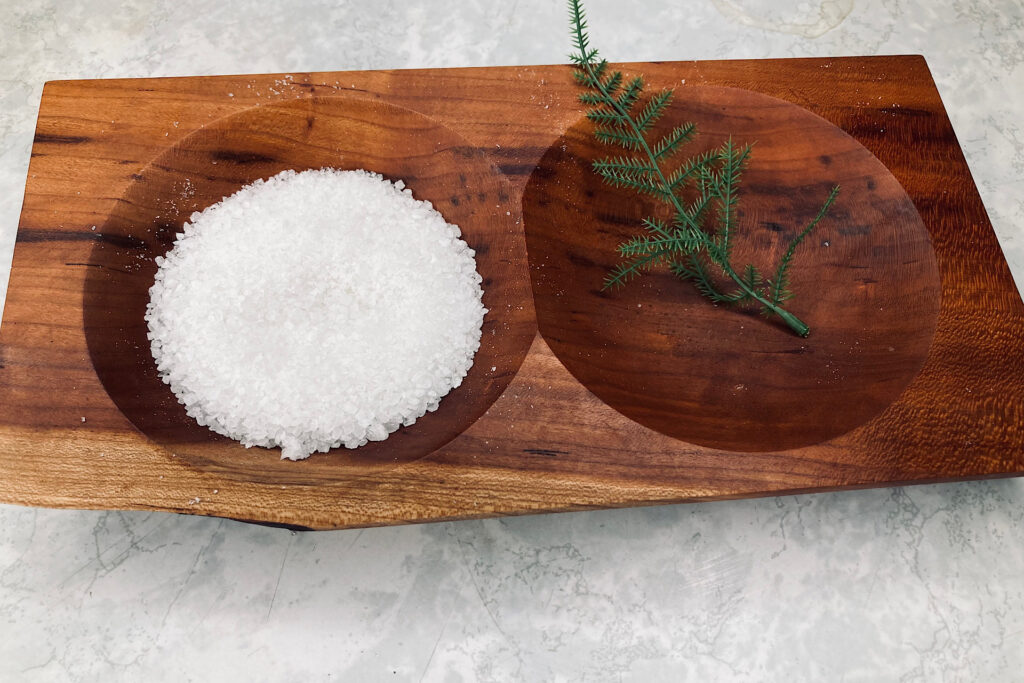
If you have stuck-on bits, you can use a bit of kosher salt and and a gentle scrub brush to remove any debris. After rinsing, dry them thoroughly. Some sources recommend drying pans in the oven at 200-300 degrees to evaporate moisture, then re-coat with a very fine layer of oil before storing. As I mentioned earlier, I thoroughly dry mine with a dish towel, then give them a very thin coating of oil on the inside surface and heat them on the stove top until I see a little smoke rising. I turn off the heat, remove them from the burner, and let them cool before storing them.
Storing Seasoned Non-Stick Cast Iron
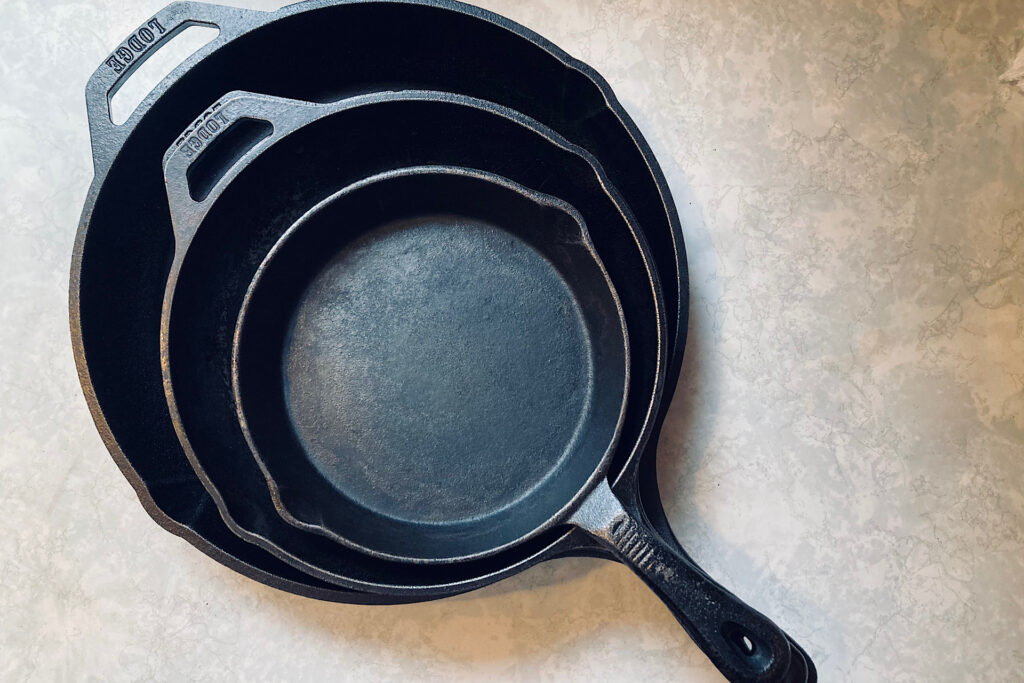
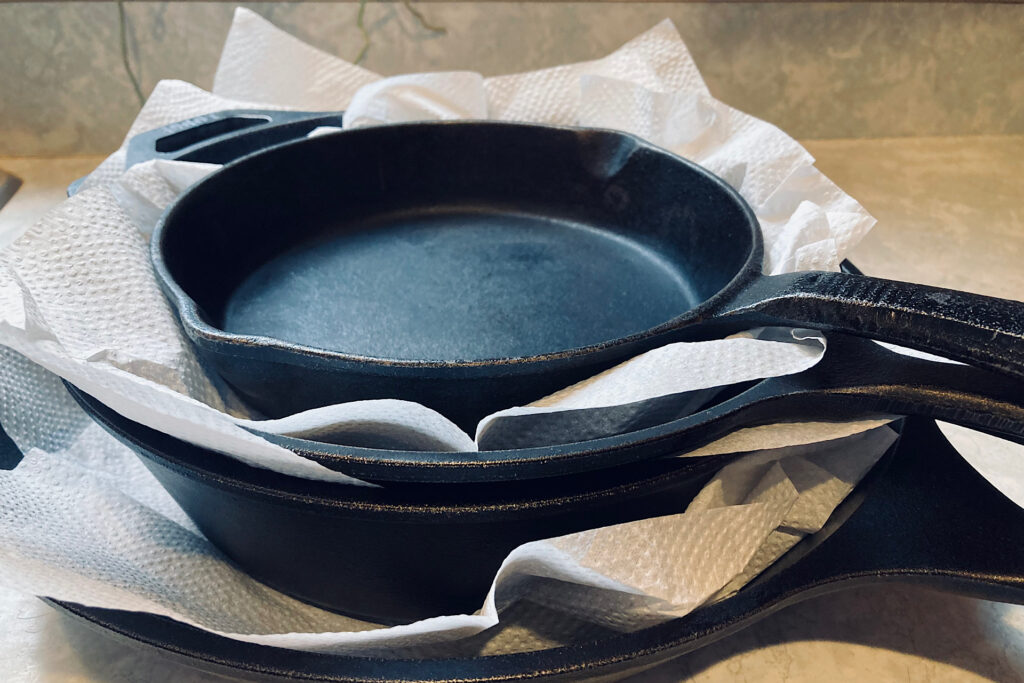
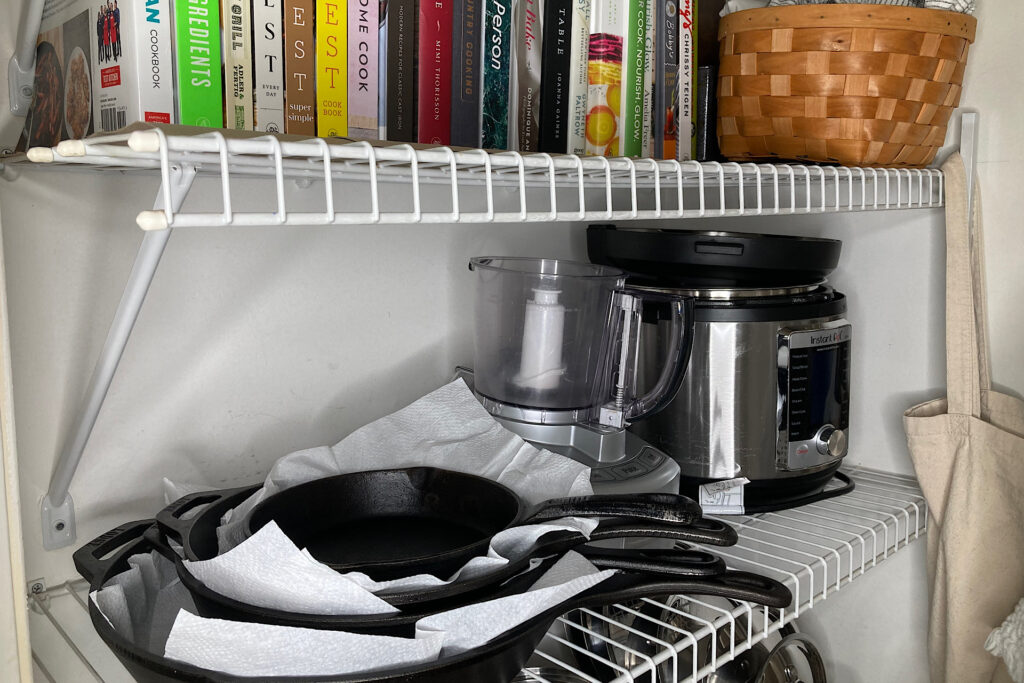
To keep non-stick cast iron seasoning in good condition, you can stack cookware with paper towel layers to prevent abrasion from rubbing. I’ve included some photos of mine below so you can see the rich, black patina and how I stack them in the pantry.
Another handling tip I’d like to include is that you can use cast iron cookware on glass or flat cooktop surfaces. You just need to handle pans carefully so that you do not drop them (like any other heavy item) on the cooktop’s surface. You should also avoid sliding your cast iron pan to avoid scratching the glass. Make sure that the bottom surfaces of your pans are free of excess oil and debris. It’s also a good tip to warm your cast iron slowly and then increase the heat. For the record, I have a glass top stove and have no complaints.
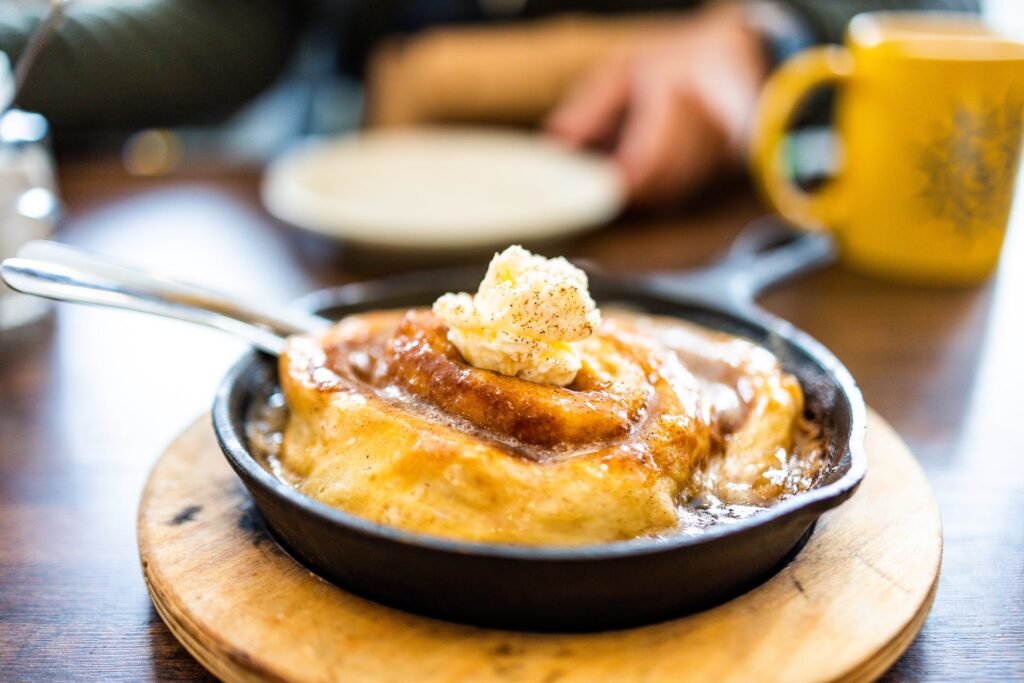
I hope I’ve piqued your interest in the non-stick qualities of well seasoned cast iron. There are a variety of recipes from main dishes to desserts that you can explore and enjoy with your non-stick cast iron cookware. Share your favorites with me in the comments!
Related Posts:
If you’re interested in other kitchen equipment you may enjoy these articles using a silicone tray for clear, decorative ice cubes: