Skip to content
Home » Crispy Crust Cast Iron Pizza

Crispy Crust Cast Iron Pizza

shaping pizza crust on rolling mat

This crispy crust cast iron pizza is a weeknight tradition for us.  It comes together very quickly when you have pre-made dough and tomato sauce on hand.  It can also be a satisfying weekend project if you prefer to craft your own homemade dough and sauce.  This is my husband’s creation and I love it because it captures that crispy pizza parlor crust with very little fuss.

What to Have on Hand

Fortunately, you do not need a pizza oven to yield a crispy crust.  If you are lucky enough to have one, I envy you!  We own a glass cooktop with an electric oven, and have had great success with this method.  That being said, this process will shift easily to electric, gas or induction cooktops where you may have more temperature control than we do.

The basics to have on hand for this crispy crust cast iron pizza are:

  • A  cast iron skillet with a fairly large bottom.  Our skillet bottom measurement is approximately 12 inches.  
  • Olive oil to coat the interior bottom and sides of the skillet.
  • Rolling pin with a clean surface to roll on.  We use a washable rolling mat.
  • Pizza dough and pizza sauce (either store-bought or home-made).  We typically use frozen Whole Foods pizza crust.  I’ll move it from freezer to refrigerator the night before we plan to make the crust. Day of, I’ll set it on the kitchen counter to come to room temperature approximately 2 hours before we plan to get started.  The dough is much easier to stretch when I do this.  We often use leftover homemade pasta sauce for our topping, but you can certainly use store-bought.  As a side note:  you’ll need less sauce than you think; only a few tablespoons will do the job.  
  • Mozzarella cheese.  We prefer whole block mozzarella, which we slice, and sometimes will substitute burrata.
  • Any other pizza toppings that appeal to you.  We like to add fresh basil and sometimes sliced peppers.
balls of raw dough and rolling pin
jars of homemade tomato sauce in wooden tray
Stacked cast iron cooking pans on countertop

Dough Prep

If you can spin dough by hand, I applaud you!  (And, you can skip this step.)  The rest of us will rely on a rolling pin and our stretching skills:

  • First, flour the surface you intend to work on so that the dough won’t stick to it.
  • With your floured hands, gently work and stretch the dough until you have a disc shape.
  • Lay the dough disc on the floured work surface.  Use a floured pin and your hands to roll and stretch the dough to the thickness  and diameter you want.  We typically stretch dough approximately 2 inches larger than the diameter of the skillet bottom so we can shape a crust around the edge.  Once you are close to the shape you want, you can dampen your hands with water to keep the dough from sticking to you while working it.
  • When you’ve achieved the desired shape and size, let the dough rest for a few minutes on the work surface.  It tends to shrink back when it rests.  You can move it back out again after it has rested.
raw pizza dough balls on towel
pressing out pizza dough on rolling mat

Cast Iron Pan Prep 

While the dough is resting, it’s time to prep your cast iron pan and preheat the oven.

  • Preheat the oven to 475 degrees farenheit.
  • Place the cast iron pan on the stovetop (dry) and set the temperature to low.  This will allow its surfaces to heat evenly and maintain temperature.
  • Once the pan is up to temperature, add a generous coating of olive oil and evenly distribute it on the bottom as well as the sides of the pan.  You can use a brush or a piece of folded paper towel to do this.  Just remember you are now working with a hot surface.
  • Now, increase the burner temperature to medium.
Cast iron skillet on glass top stove
oiling cast iron pan for pizza making
Oiled cast iron skillet for pizza making

Pre-Crisping Pizza Crust on the Stovetop

Lift the crust from your work surface and place it into the heated cast iron skillet.  My husband does this by gently draping the raw crust around the rolling pin and draping it into the pan.  

  • Once the dough is in the pan, the circumference will be a little larger than the pan bottom.  Use this extra to push to the sides to form a crust.
  • Bear in mind that the bottom of the crust is beginning to cook on the stovetop.  You’ll notice that the crust will begin to form some air bubbles on the bottom.  Pierce these bubbles with the tip of a sharp knife to allow the steam underneath to escape.  Don’t worry that the crust will leak.  It won’t.  These little pierce marks will re-seal themselves.  
  • You can also use the knife tip to gently lift an edge to monitor the bottom of the crust.  When you see it is hardening and a tad bit golden, it’s time to add the toppings.
piercing crust in cast iron skillet with knife tip

Topping & Baking

Now you’ve got the crispy part of your cast iron pizza underway, it’s time to quickly add the toppings.  Keep an eye on the bottom of the crust using the knife tip to peek under the edge.  You can turn off the heat and remove from the burner at any point.

  • Sprinkle a pinch of kosher salt on the dough.
  • Ladle and spread a scant few tablespoons of tomato sauce over the crust surface.  A little bit goes a long way for flavor – and will prevent the crust from soaking in too much moisture.
  • Add another pinch of kosher salt and pepper on top of the sauce.
  • Arrange the mozzarella and other toppings you’d like to add before you place the skillet in the oven.
measuring cup with tomato sauce
sauce spread on crispy cast iron pizza prep
mozzarella cheese slice layer in crispy cast iron pizza prep

Finished Crispy Crust Cast Iron Pizza

Place the skillet in the preheated 475 degree oven.

  • At 7 minutes, turn the skillet half way around in the oven for even cooking.
  • At 10 minutes, check the pizza and continue cooking until it reaches your desired doneness.  In our oven, this typically takes 10-15 minutes total.
  • Remove the skillet from the oven.  You can let it sit for a minute or two then remove it from the pan with a wide spatula.  It will come out in one piece as the bottom is crispy and will have some strength.
  • Place on a cutting board for another minute or two, garnish, slice and enjoy!  We typically add fresh basil leaves in that couple of minutes the pizza is sitting on the cutting board for a tasty garnish.  Here’s a secret tip for the basil:  gently roll the leaves between your palms to release some of their oils before placing on the pizza.
finished crispy cast iron pizza
crispy crust cast iron pizza on cutting board
Crispy Crust Cast Iron Pizza slices on white plate

Related Posts:

I hope you enjoy this crispy crust cast iron pizza as much as we do!  Let me know in the comments.  In the meantime, you might also be interested in this article on the blog.


Crispy Crust Cast Iron Pizza slices on white plate

Crispy Cast Iron Pizza

Simple and delicious crispy pizza from your home oven

Equipment

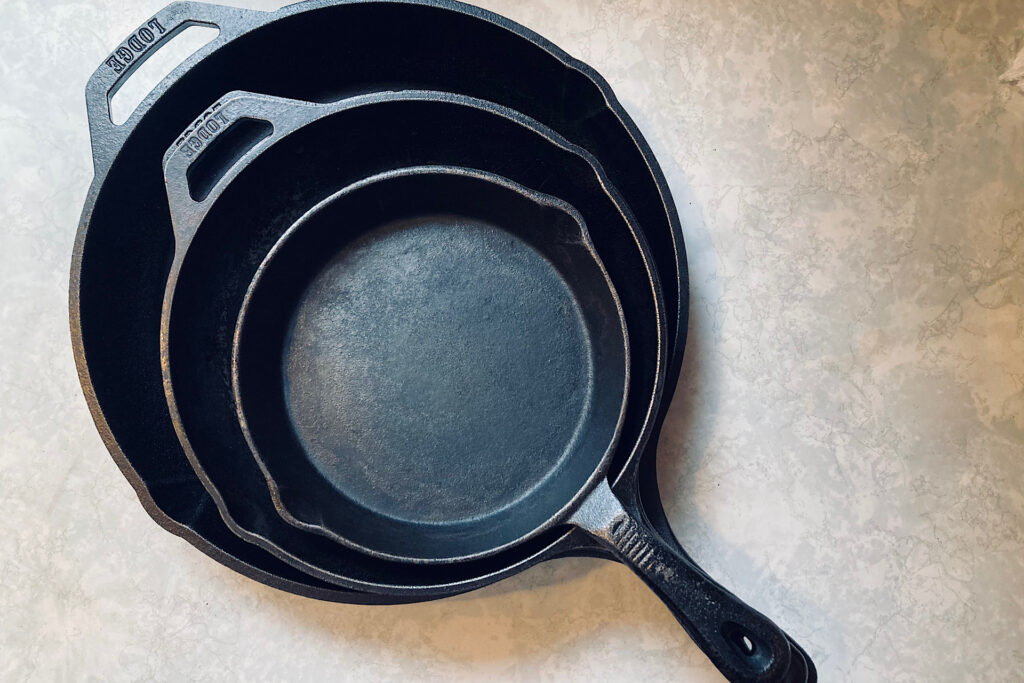
  • 1 large cast iron skillet
  • 1 Rolling Pin
  • 1 rolling mat or clean rolling surface
  • 1 kitchen knife & spatula

Ingredients
  

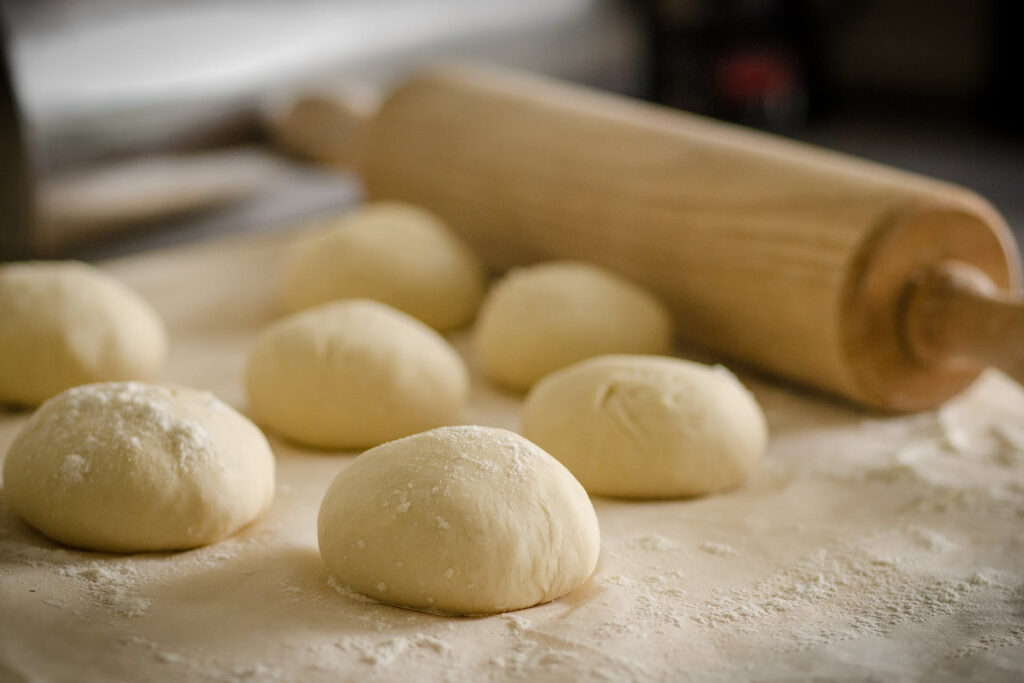
  • 1 package frozen pizza dough (or homemade dough if preferred)
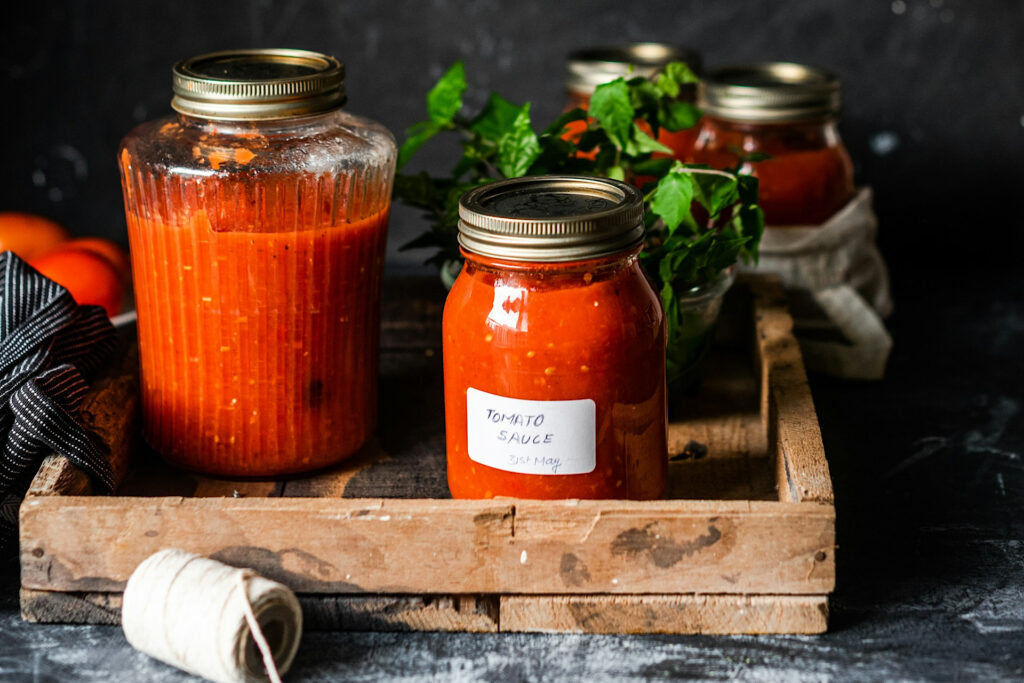
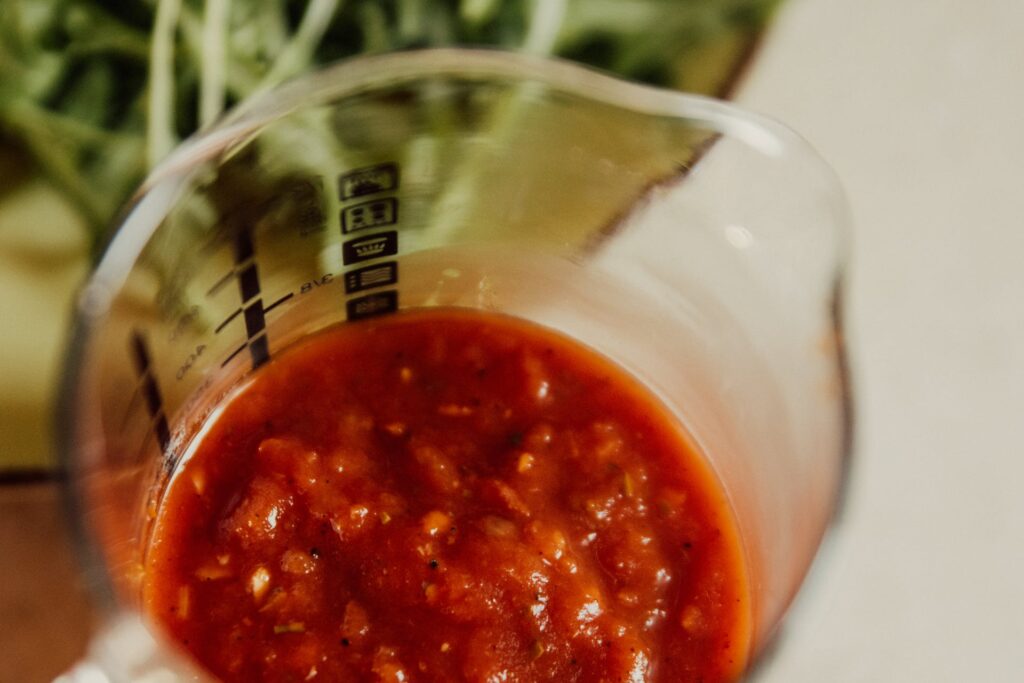
  • 1/2 cup homemade or jarred tomato sauce
  • 2-3 tbs olive oil to generously coat pan size
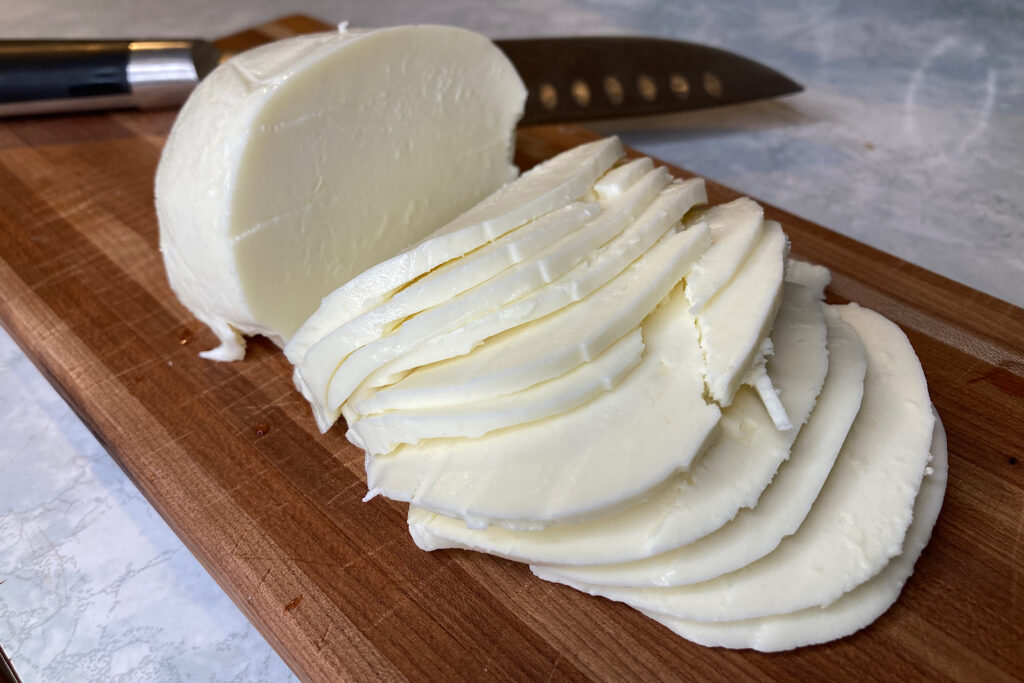
  • 8-12 oz. package mozzarella cheese
  • 6-8 leaves fresh basil and any other added toppings you like
  • 2 pinches kosher salt pepper optional

Instructions
 

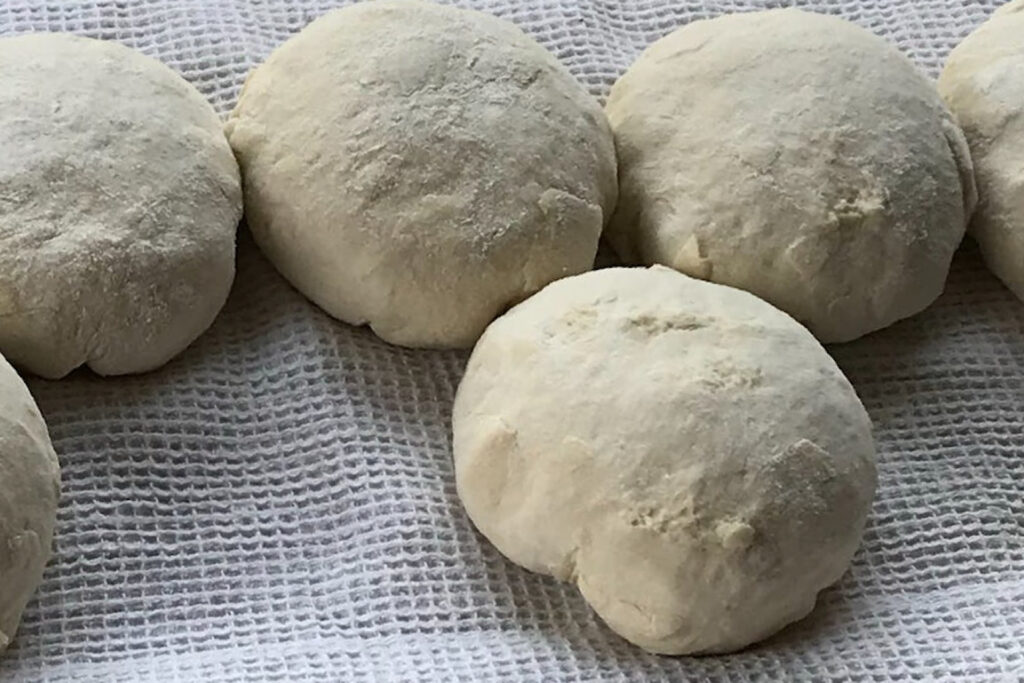
  • Thaw dough and bring to room temperature.
  • Preheat oven to 475 degrees farenheit.
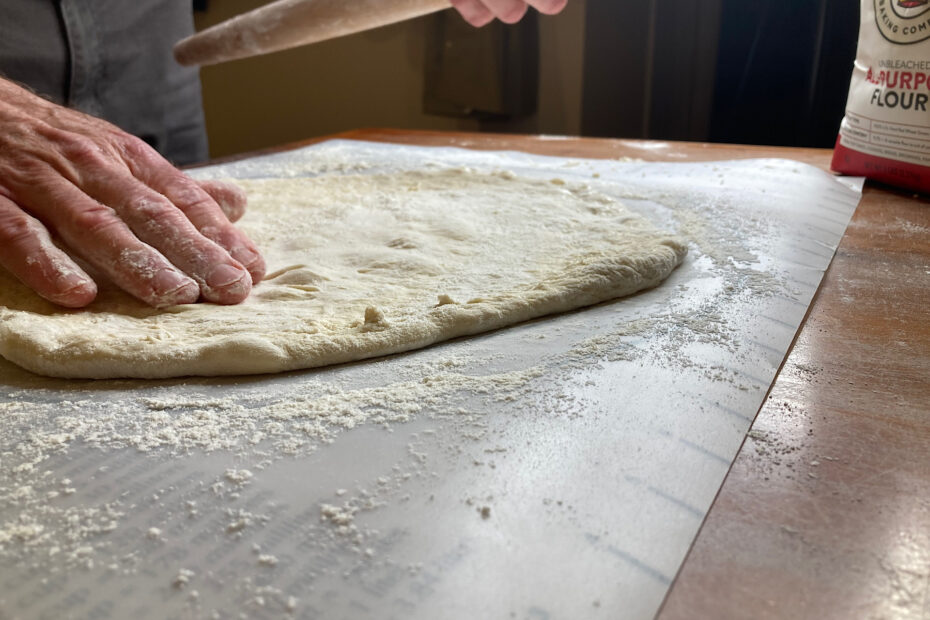
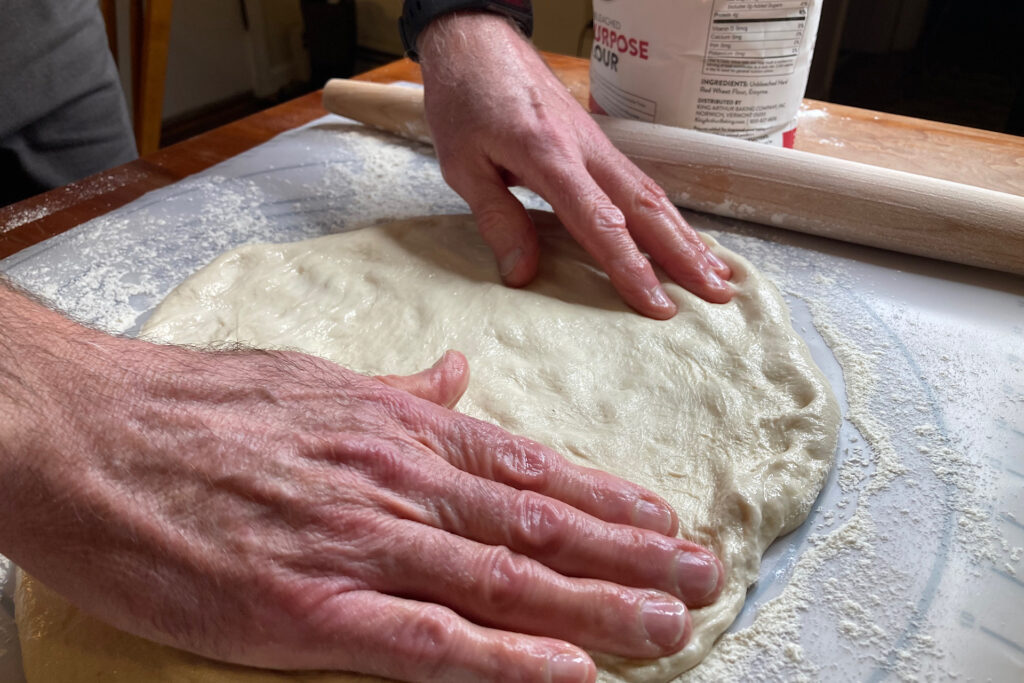
  • Flour work surface and using floured hands, gently work dough into a disc shape.
  • Place disk on work surface. Using rolling pin and hands, work dough into a shape approximately 2 inches larger than the bottom of your cast iron skillet.
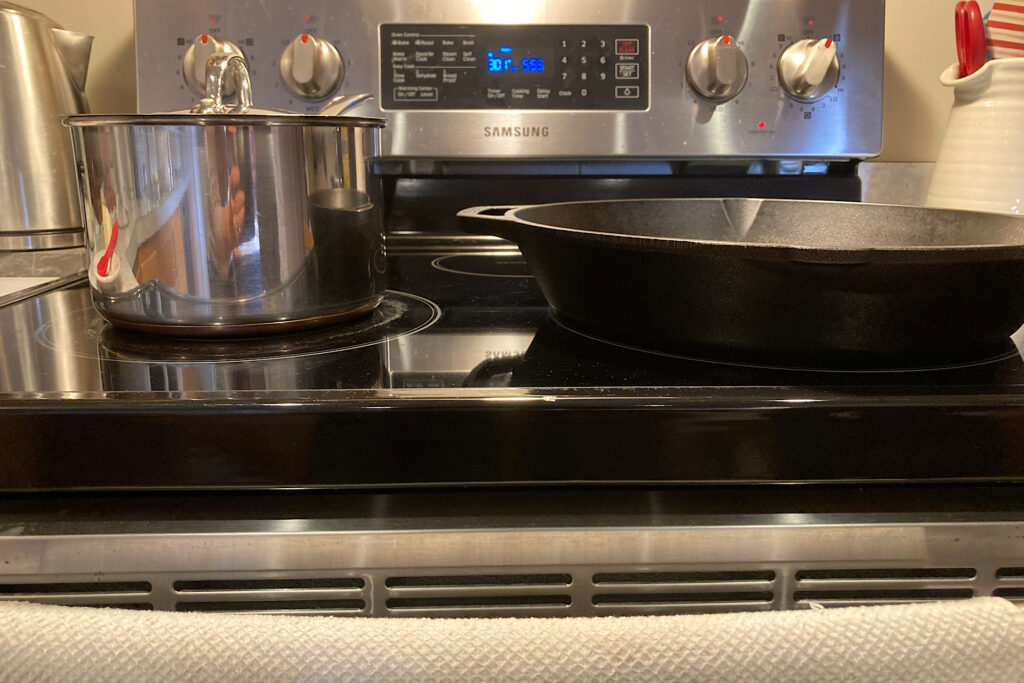
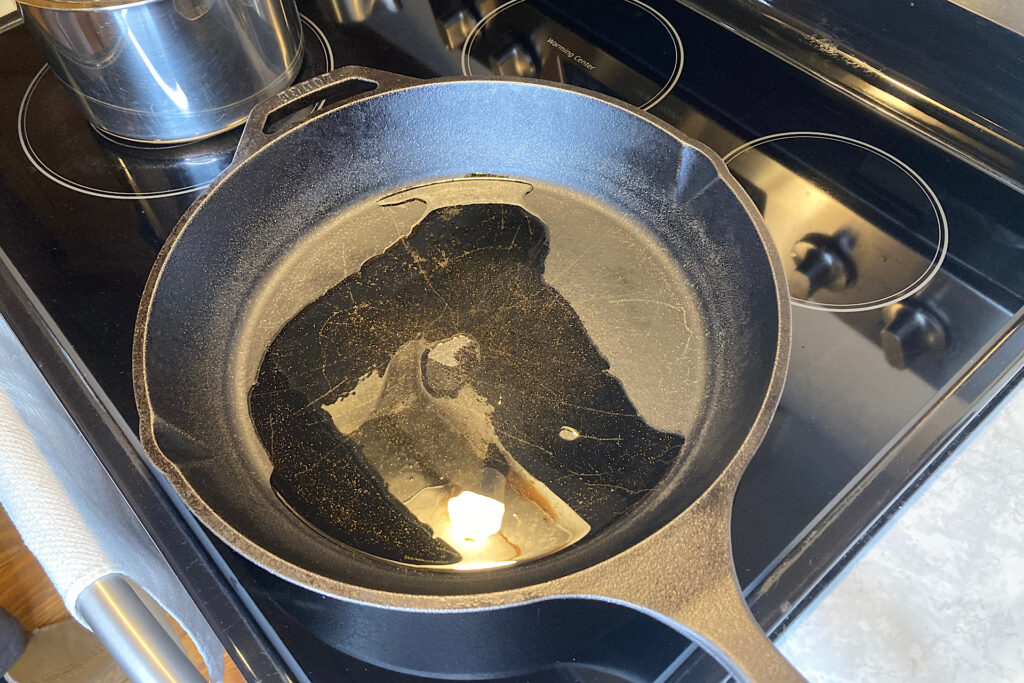
  • Let dough rest for a few minutes. While dough is resting, place dry cast iron skillet on stovetop burner on low.
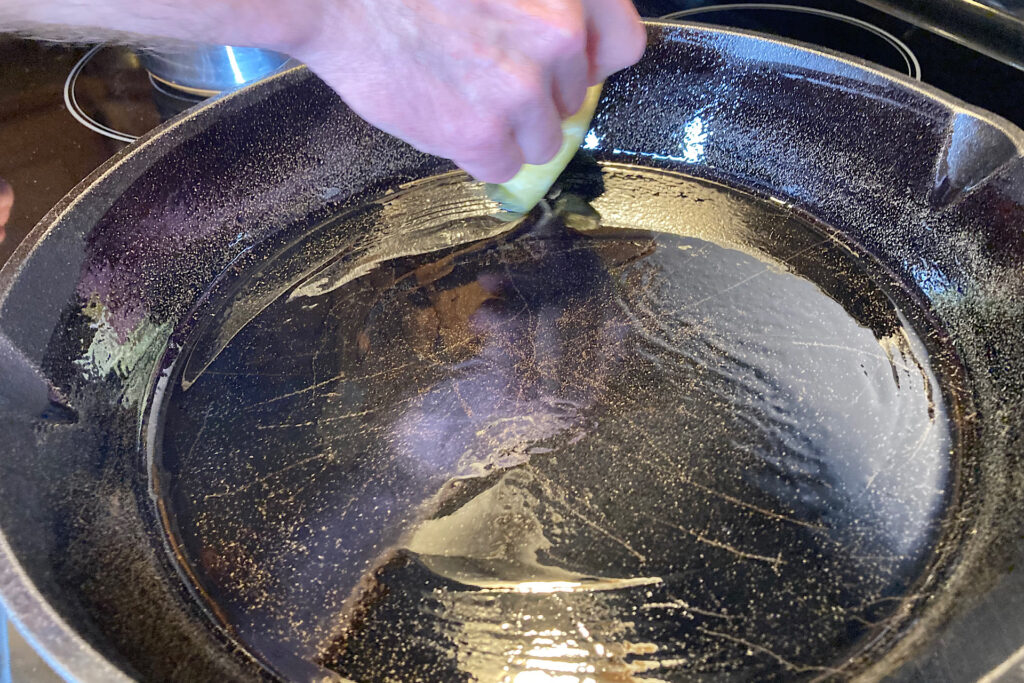
  • Once skillet is at even temperature, increase the heat to medium. Oil inside bottom and sides of pan generously.

Foundation for a Crisp Bottom

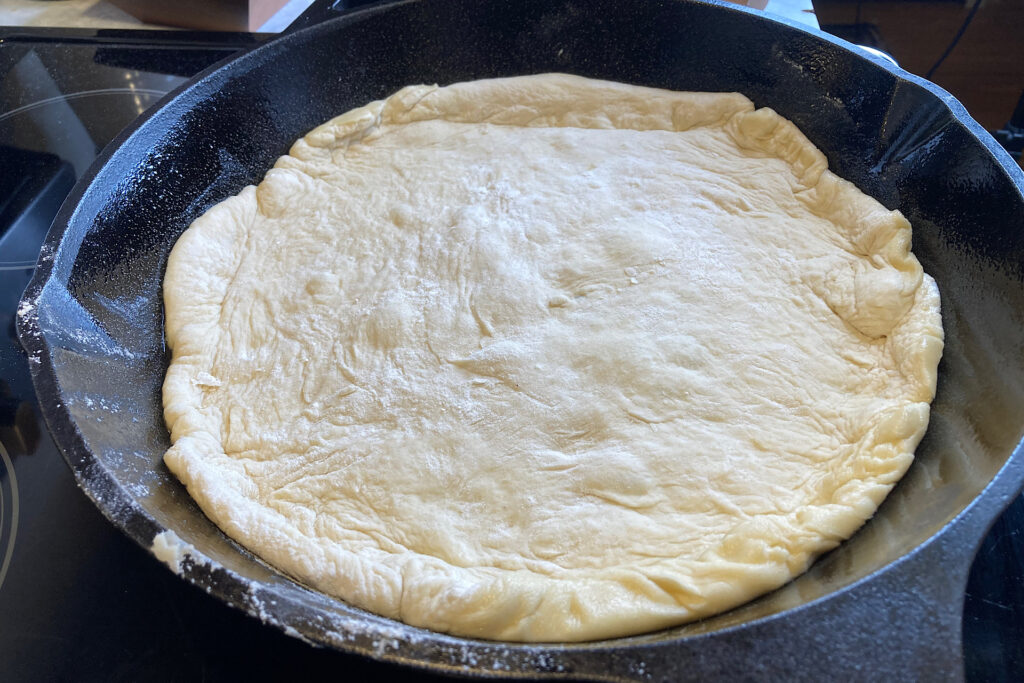
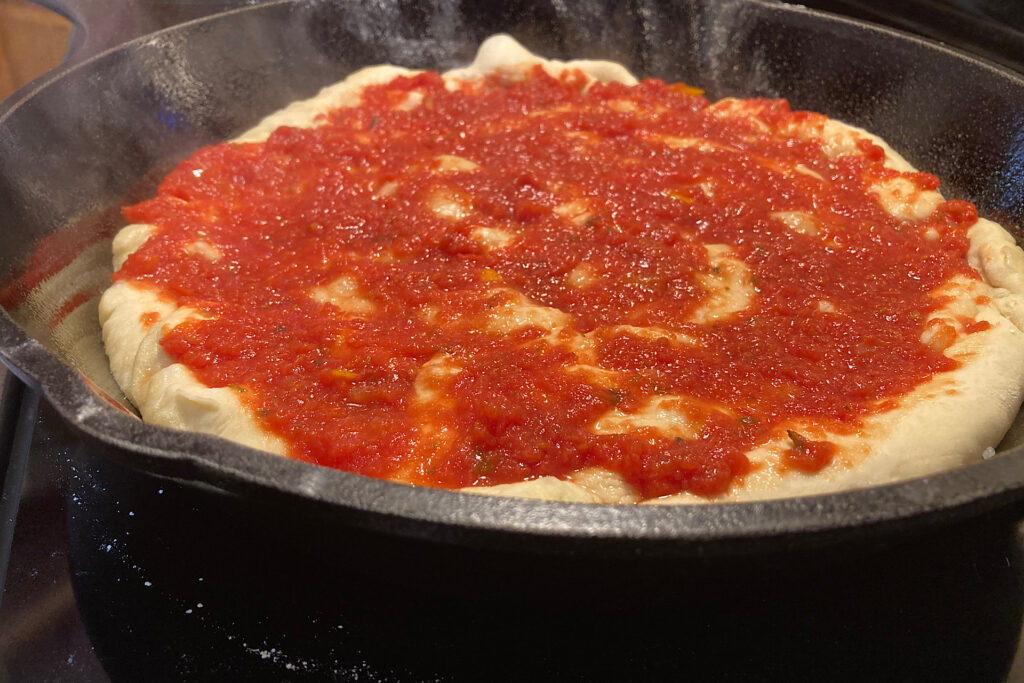
  • Lay dough evenly in bottom of pan. Use the extra dough at edges to form into crust rim.
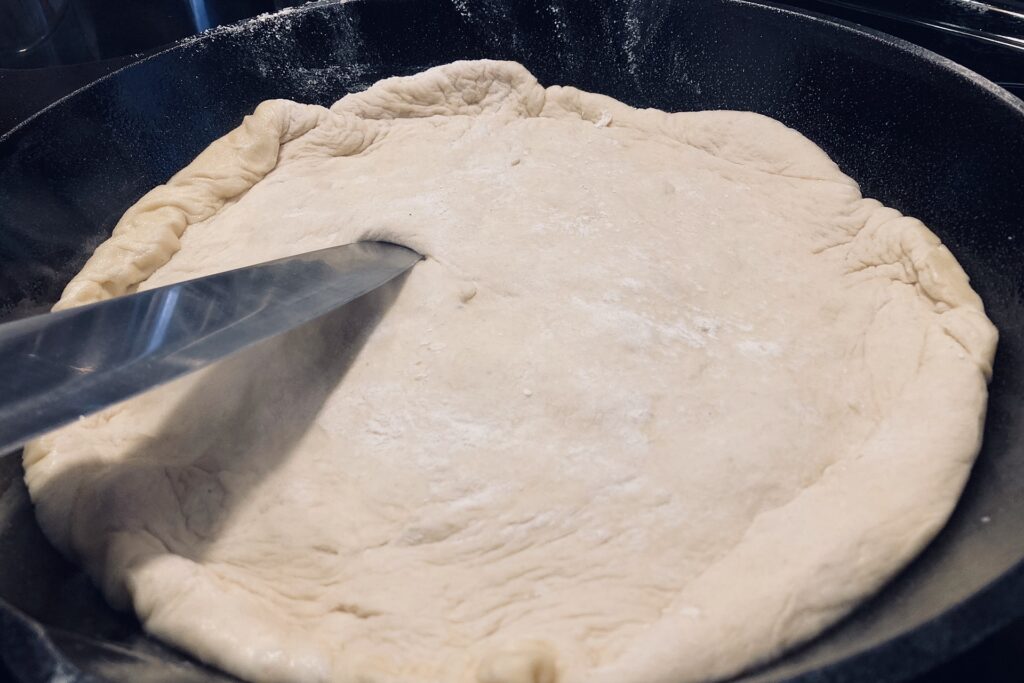
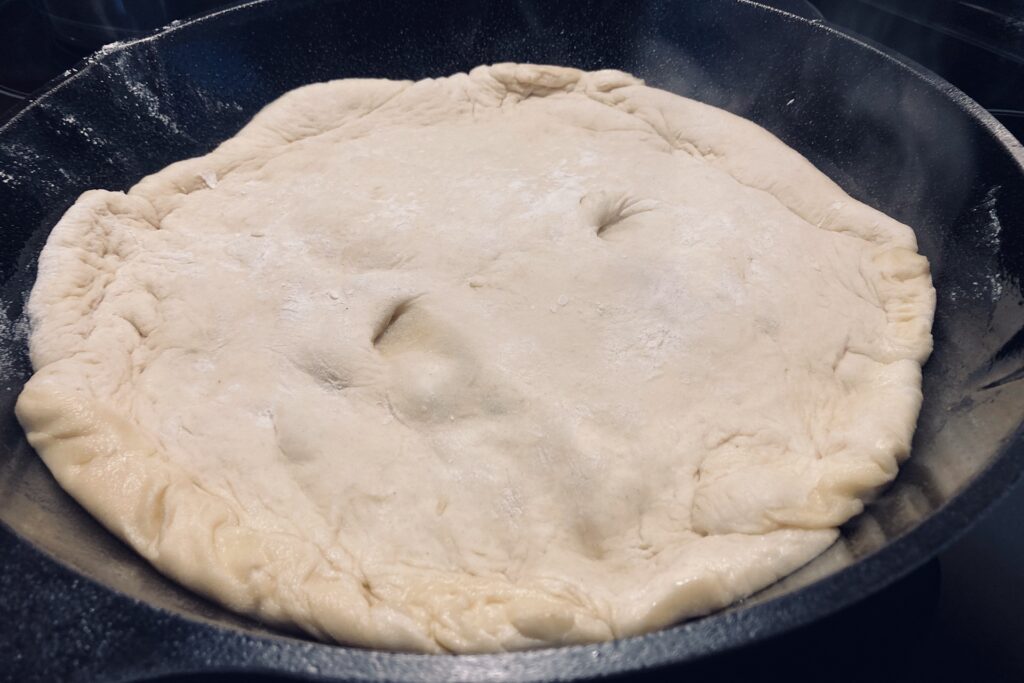
  • Watch dough begin to form bubbles in heated pan. Pierce the bubbles with a tip of a sharp kitchen knife.
  • Use the knife blade to lift the edge and check bottom of the crust. When it begins to crisp and become slightly golden start to add toppings.

Topping the Crust

  • Sprinkle dough with a pinch of kosher salt.
  • Ladle a small amount of sauce and spread evenly on the pizza crust. You'll be inclined to use more sauce than you need - approximately 1/4 to 1/2 cup will suffice. Add another pinch of salt and pepper.
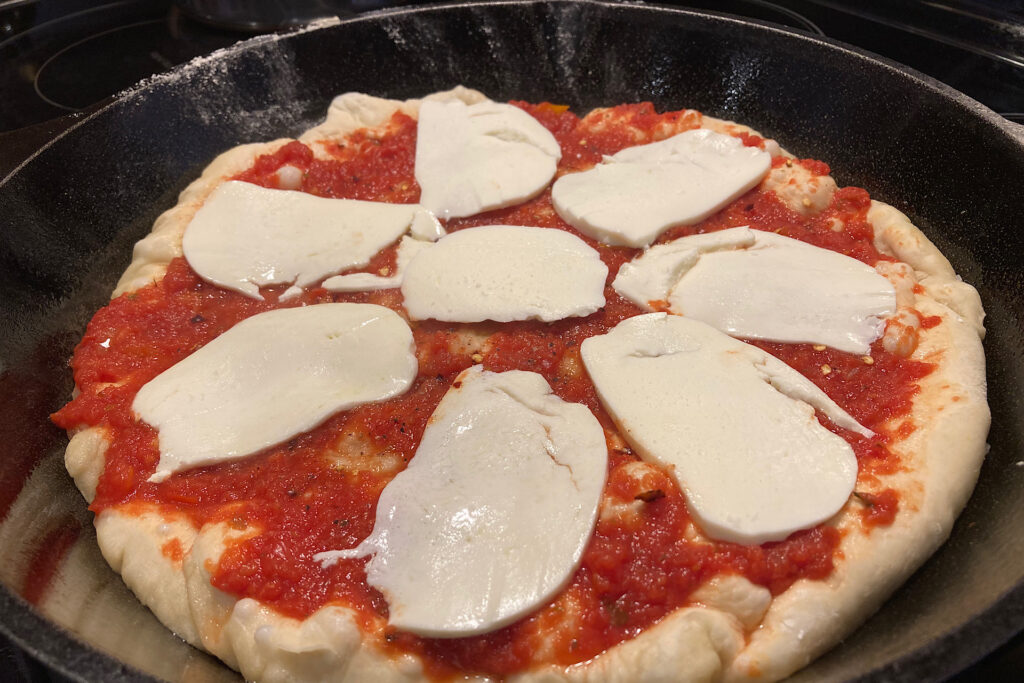
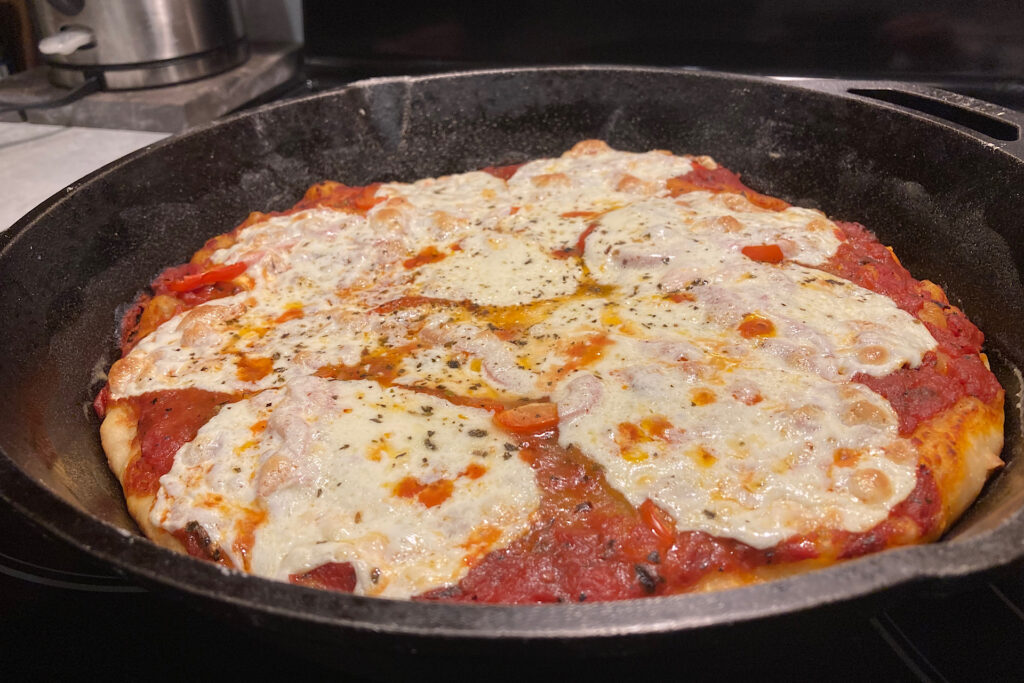
  • Lay toppings of your choice and mozzarella cheese slices on top of sauce layer.

Bake

  • Place skillet in the preheated 475 oven.
  • At 7 minutes, turn the skillet for even cooking.
  • Check again at 10 minutes. Continue cooking until desired doneness is achieved. The entire bake typically takes 10-15 minutes in our oven.
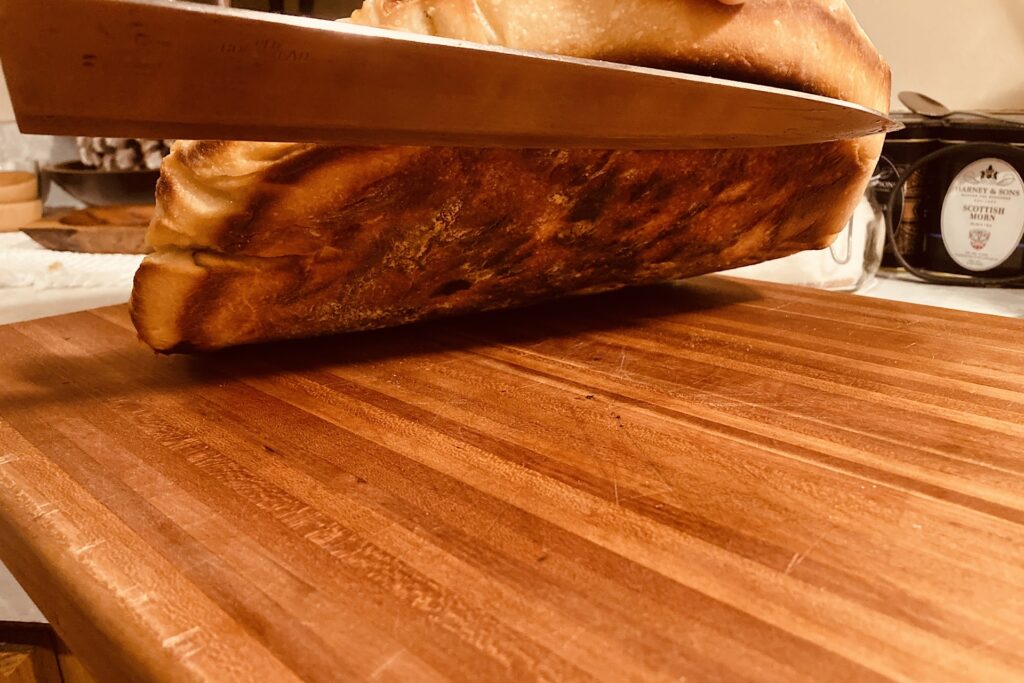
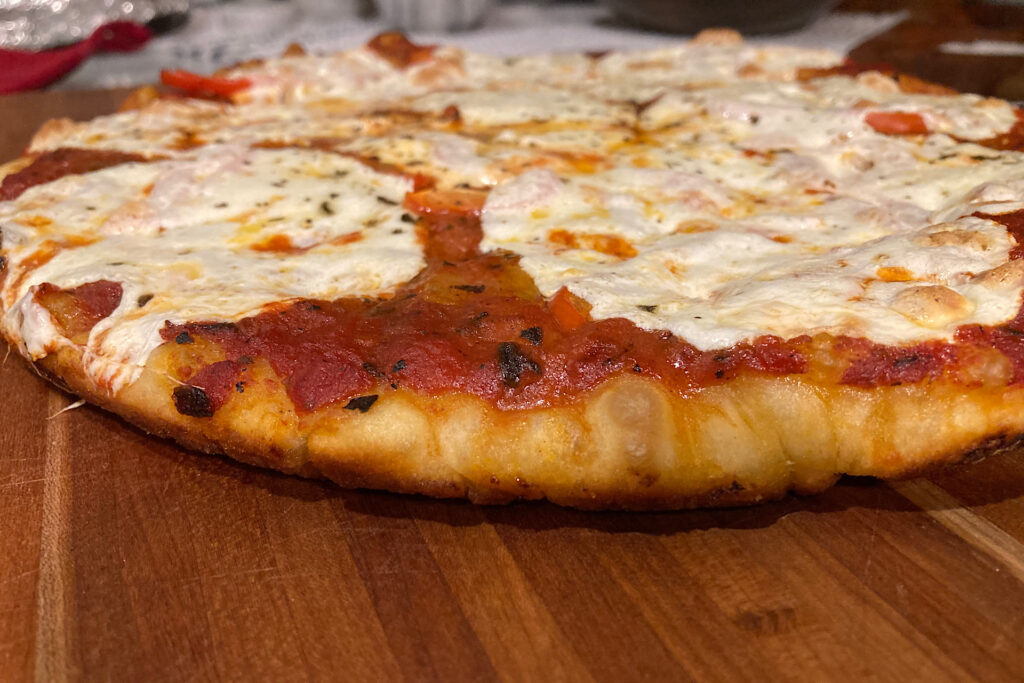
Serve

  • Remove skillet from oven. Let it sit for one or two minutes, then remove pizza with a spatula to a cutting board. Garnish with fresh basil leaves. Let set for another one or two minutes. Slice, serve and enjoy!
Keyword crispy crust cast iron pizza

Leave a Reply

Your email address will not be published. Required fields are marked *

Recipe Rating