This week’s project is starting tomato seedlings in Solo Cups. The promise of spring planting is right around the corner; prompting consideration of renewed garden plans and makeovers. If you’ve gotten to know me, you know I’m a life-long learner. I jump in with both feet and thoroughly research whatever project I’m about to embark on. Although I’m no stranger to gardening, I’m always eager to up my game. Whether it’s planning, prep, efficiency, nurturing or harvesting; I hope my explorations will “weed out” some of the less helpful information out there and provide you with useful tools. Today, I’m working on producing strong, healthy tomato seedlings.
Come bloom with me!
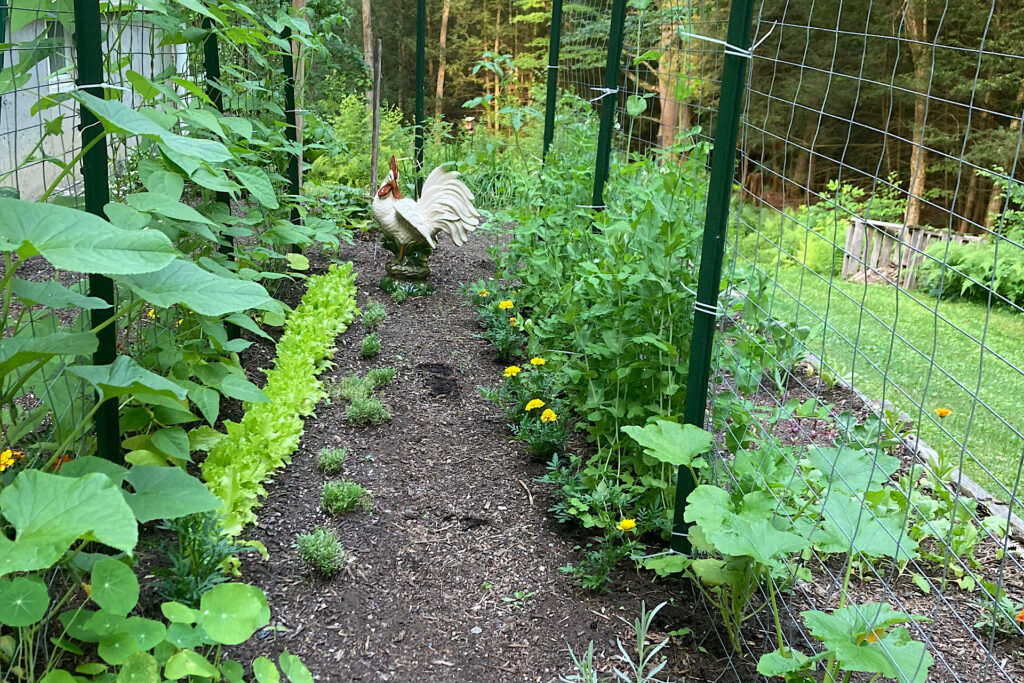
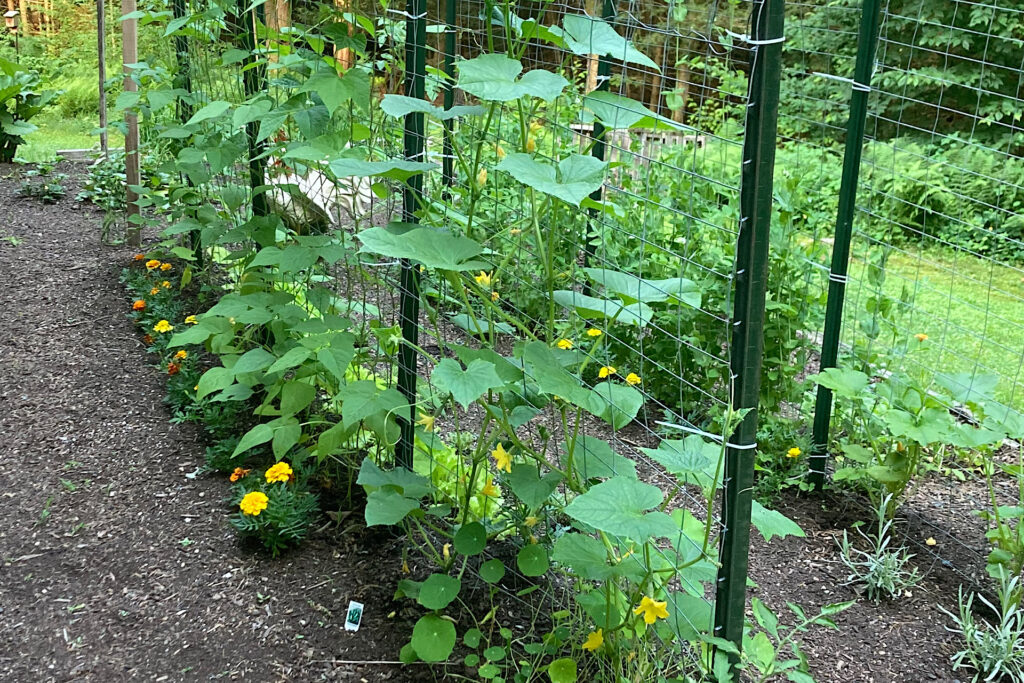
I’ve been gardening for several years; and each year I add a new experiment. Two years ago it was a DIY arched trellis so I could grow vertically. It was an quite experience walking through it with cucumbers hanging above our heads! I loved it and I will do it again. Last year, I began planting flowers as companion plants to deter certain pests as well as attract beneficial insects. I’ve included a photo below of my trellis with cucumbers starting to climb the panels as well as marigold blooms among my snap peas. (The rooster is ceramic – not an invader!)
This year, I’m choosing to grow tomatoes from seed. Following the newer USDA standards, I live in Zone 5b and may have a shorter growing season than some of you. I typically purchase established tomato plants from the nursery and experiment with a few different varieties. Unfortunately, buying robust, mature plants at the nursery is pricey. Last year, I selected tender, young tomato seedlings as my starters. Overall, my cherry tomatoes did well, but my slicing and paste tomatoes were lackluster and produced very little before first frost. Thus, my research gene has kicked in and this time around, I’m planning to start my own plants early and narrowing my focus on growing tomatoes well.
I’m happy to share some of the gardeners I followed for advice so you can pick up valuable tips from them as too. I encourage you to see what they have to offer; you won’t be disappointed. My plan for tomato seedlings this year captured info and techniques from all of them. I’ve listed links to their YouTube channels for you. They are no particular order of preference:
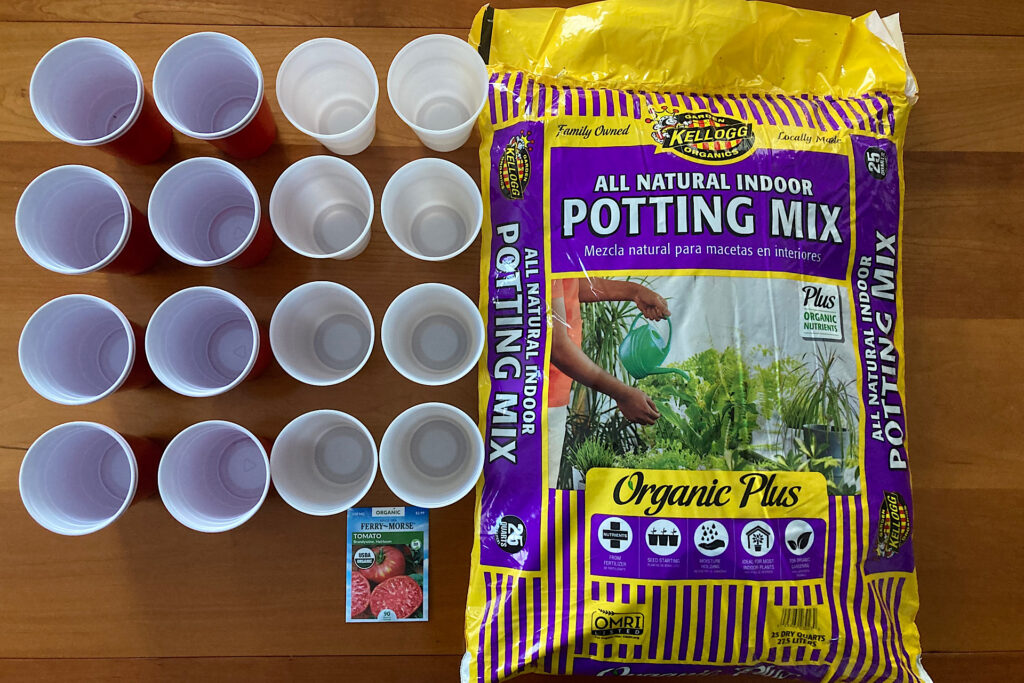
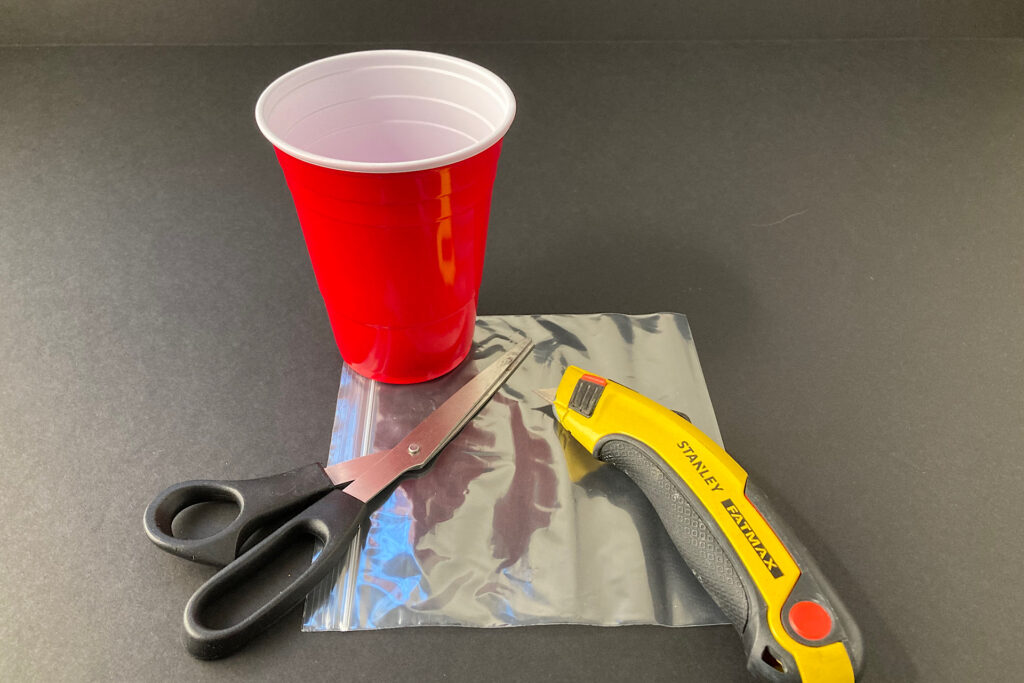
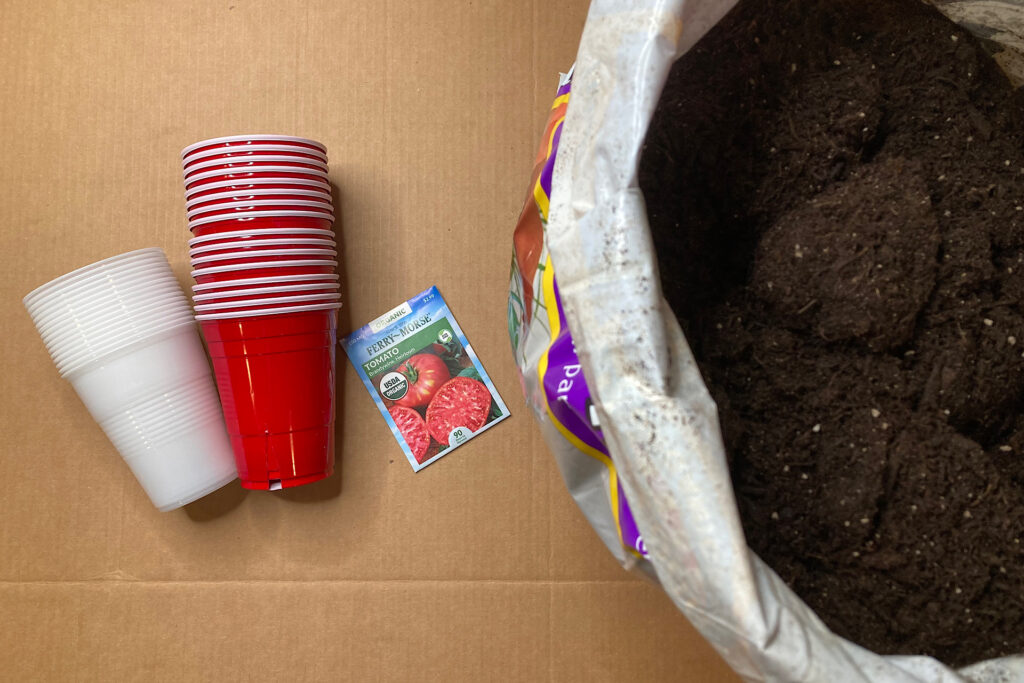
One of the important tips my research uncovered is that bottom-watering tomato seedlings is key. If you do not have access to a greenhouse and are short on space indoors, try this Solo Cup technique. You won’t have to up-pot your seedlings in larger vessels as they grow. Below is a list of materials and tools you’ll need to get your tomato seeds started:
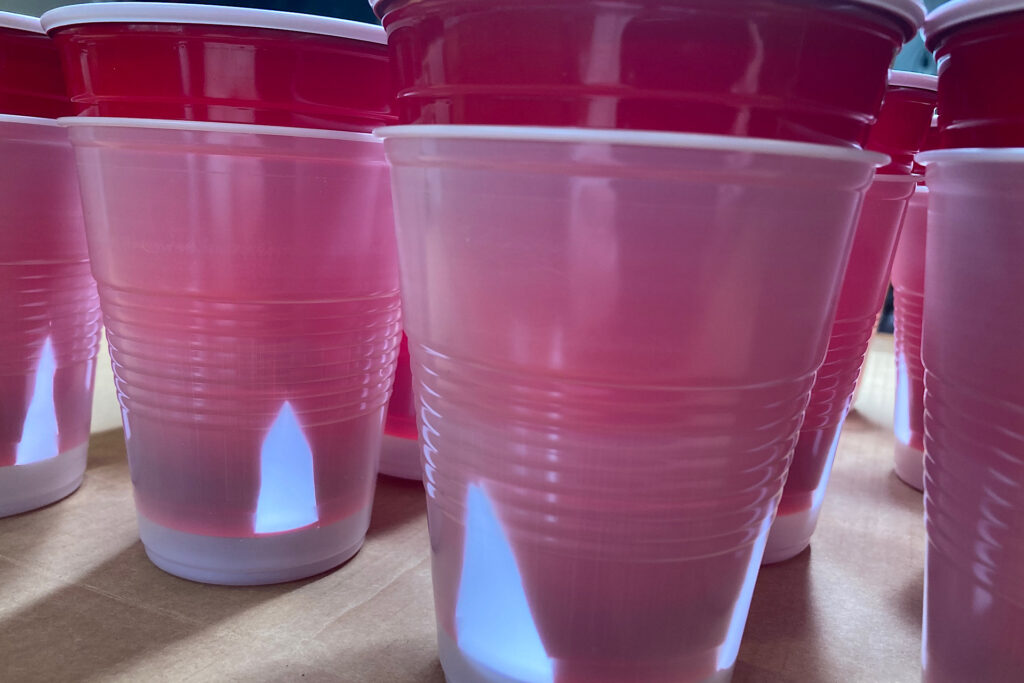
Solo Cups (I used sixteen 18-ounce red cups and sixteen 16-ounce clear cups) – you will want clear cups on the outside of this double-cup method so you can see bottom water levels. (When the red cup is inserted inside the smaller clear cup, space is left at the bottom for a water reservoir. You can easily monitor water levels through that clear outer clear cup)
Indoor Potting Mix – (commercial mixes are sterilized and free of pests, disease and weed seeds)
Tomato Seeds – (see Seed Selection section of this article to determine what works best for you)
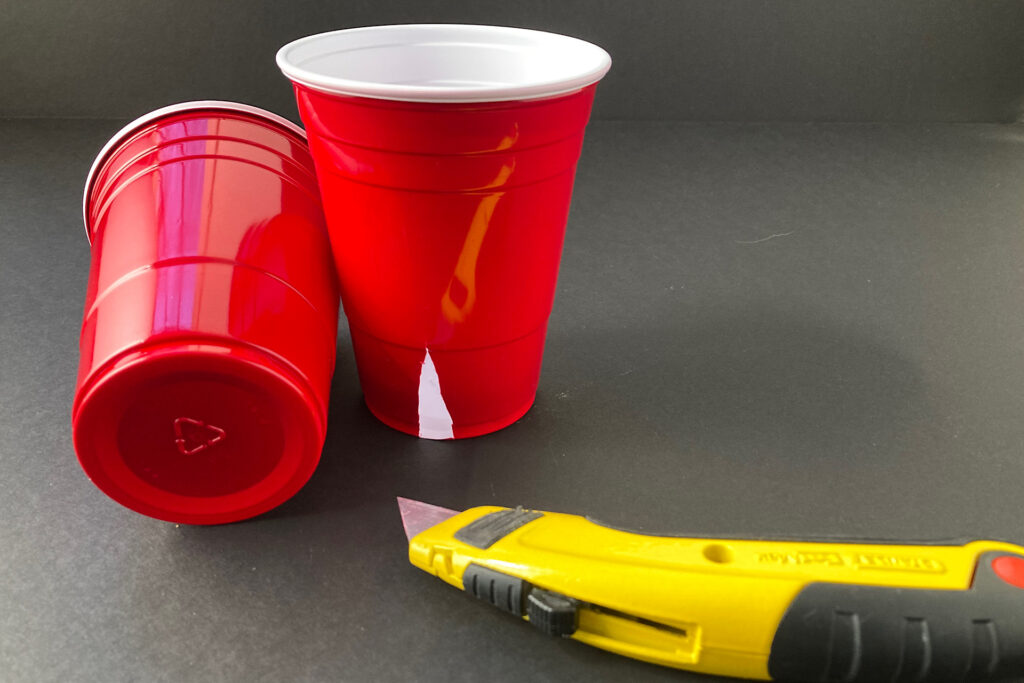
Utility Knife & Scissors – (to prep red cups for bottom-watering)
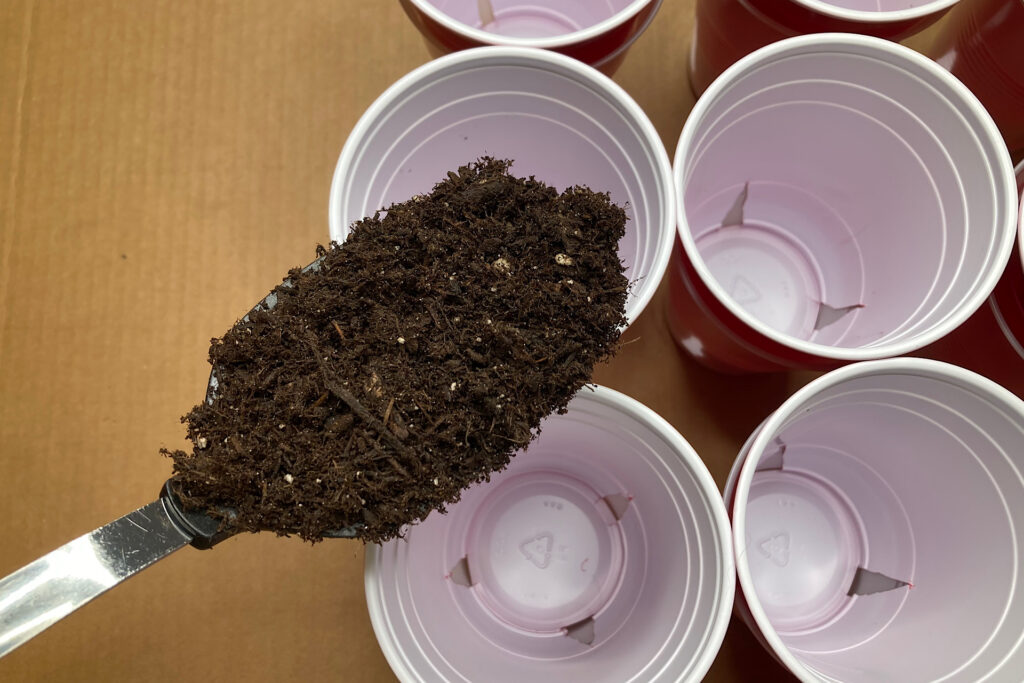
Spoon, Spade or Hands – (for filling cups with soil)
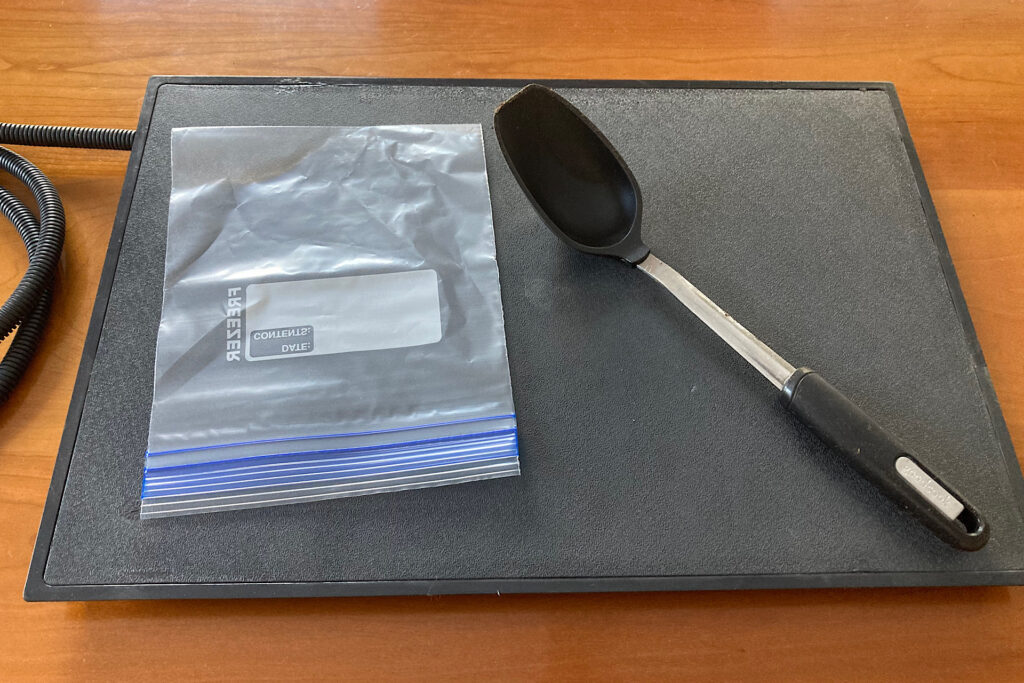
Plastic Sandwich Bags (for covering seed cups after planting)
Warming Mat (we keep the thermostat low in our house – if your indoor temps are above 70 degrees, you may not need one)
* Note – you can save and re-use the Solo Cups and plastic bags – ( re-use them after you have planted your seedlings outdoors in the garden)
Seed Selection
I’ve included the list below to help you choose the type and variety of tomato seed that will meet your particular needs. To begin, there are 3 different types of seeds to choose from. I’ll give you some simple basics to start you off. Please know that none of these seeds are GMO (Genetically Modified Organisms). GMO seeds are created in a laboratory for large-scale agriculture. You will not find them in your local home store or nursery.
Types of Tomatoes:
Hybrid – These seeds are touted as being disease-resistant and hearty. Hybrid seeds are created by a plant breeder crossing at least two parent plant varieties to produce an offspring that has the best trait of each parent. They are safe and not genetically engineered. Saved seeds from a hybrid plant, however, will not produce a replica of what you planted the year prior. But, instead, will produce a closely related variant of it. Hybrid seeds are best purchased each year for planting.
Open-Pollinated – These seeds produce plants that require either a pollinator insect, bird, wind, rain or a gardener’s hand to pollinate their flowers. You are able to save their seeds and they will grow true-to-type. Be aware, however, that cross-pollination can happen if a bee or a butterfly lands on one variety of tomato plant and then lands on another variety. If you plan to save seeds, you will need to isolate your plants.
Heirloom – These tomato seedlings are both true-to-type and open-pollinated plants. To be an heirloom tomato seed, it has to have been passed down from generation to generation. Over time, heirloom plants have naturally acquired desirable characteristics, such as disease-resistance and ability to adapt to certain climates.
Tomato Plant Categories:
Determinate: These tomato seedlings will grow to a determined height and size. They are typically referred to as “bush” tomatoes and top out at about 3 feet tall. They are the perfect seed to plant if you intend to grow plants in tomato cages. When they reach full height, they flower and produce a harvest of fruit at the same time. This is a good choice if you are thinking of canning as you can harvest all at once.
Indeterminate: This type of tomato will continue growing, flowering and bearing fruit until first frost. They can grow from six to twelve feet tall and can sprawl out. These tomatoes do well being staked or growing on a trellis. They produce more fruit than determinate plants, but it takes a longer time to harvest them.
Tomato Varieties:
Beefsteak: Very large, pumpkin shaped, slicing
Globe: Large, round, slicing
Oxheart: Large, heart shaped, slicing
Plum/Paste: Medium, oval shaped, “meaty” for canning and sauce
Cocktail: Medium, round, also known as “campari,” garnish and side dishes
Cherry: Small, round, salad and snacking
Grape: Small, grape-shaped, salad and snacking
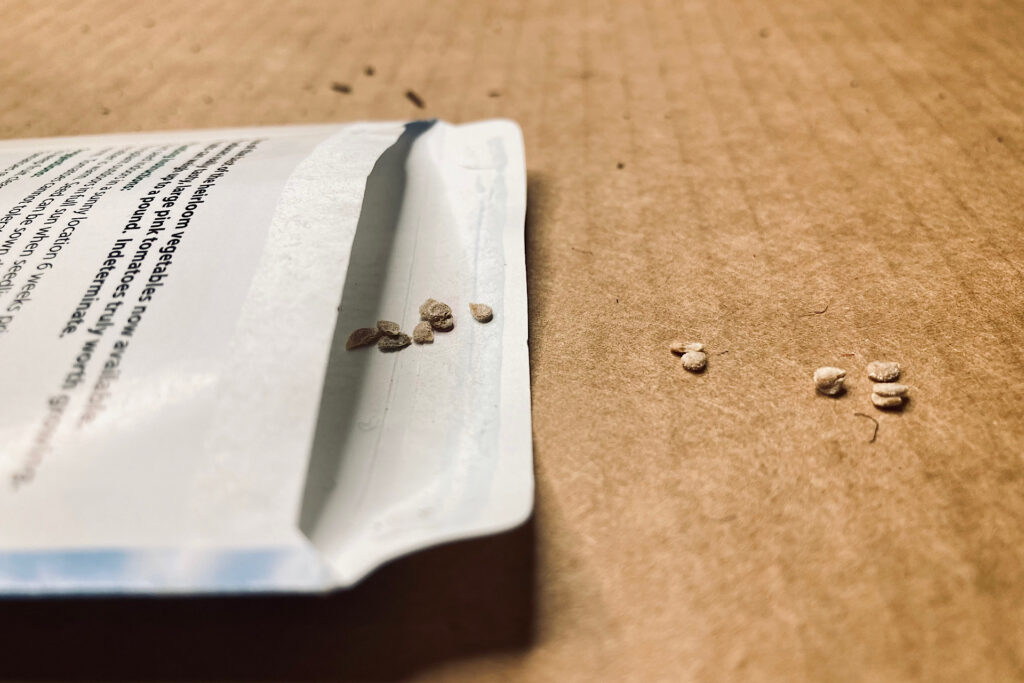
For this project, I chose heirloom slicer tomato seeds named “Brandywine.”
Prep Cups
Before planting, you’ll need to ensure that you can water your tomato seeds from the bottoms of your red Solo Cups. Set the clear cups aside; you will leave those intact.
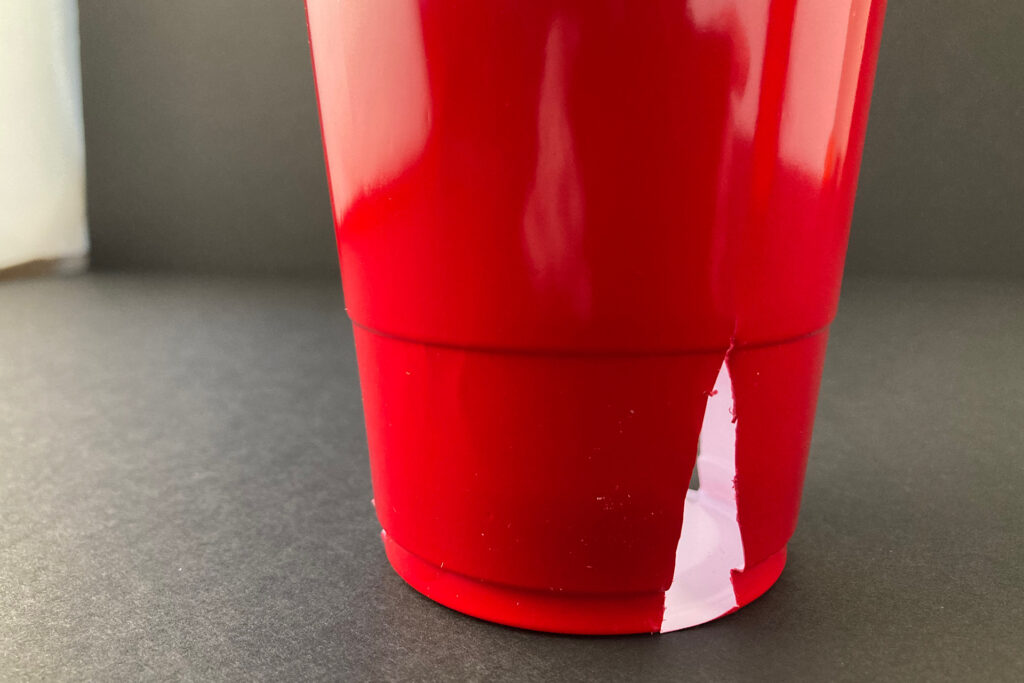
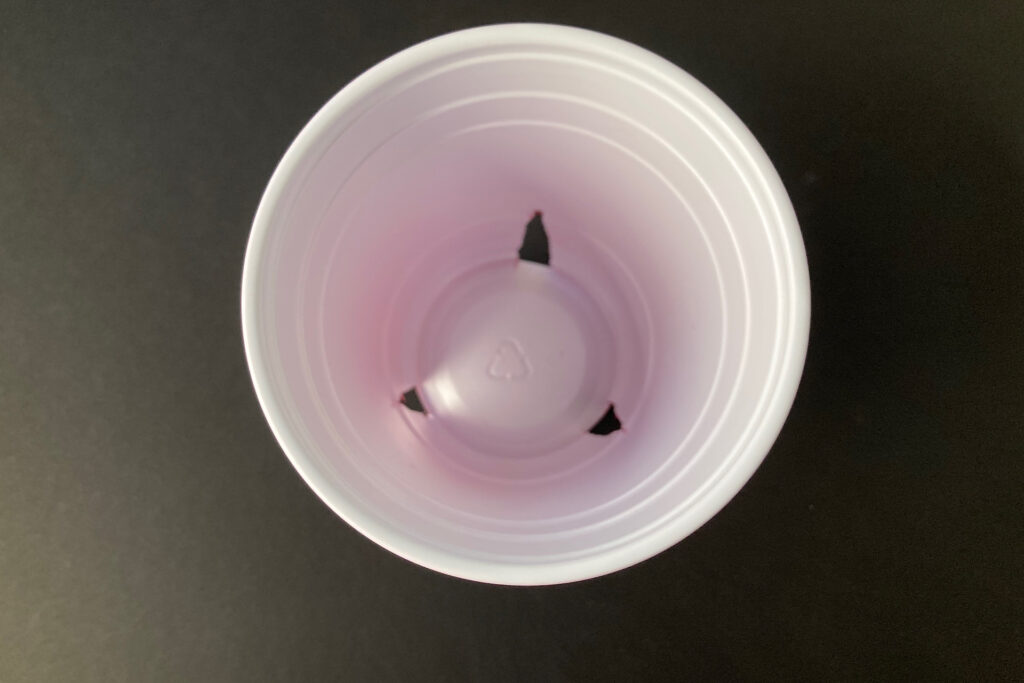
Using a sharp utility knife, pierce a red cup and slice down either side to form a triangle. The triangle should be approximately an inch and a half or so high. I used the second ridge on the cup bottom as a guide. Slice off the flat bottom of the triangle level with your work surface or snip it off with scissors.
You’ll space out three of these triangle cut-outs around the circumference of the cup’s bottom. If you look at the bottom of the cup, you’ll see a recycling icon – I spaced my triangles at each point of the icon.
Repeat this process for each cup you plan to plant in.
Planting Seeds in Soil
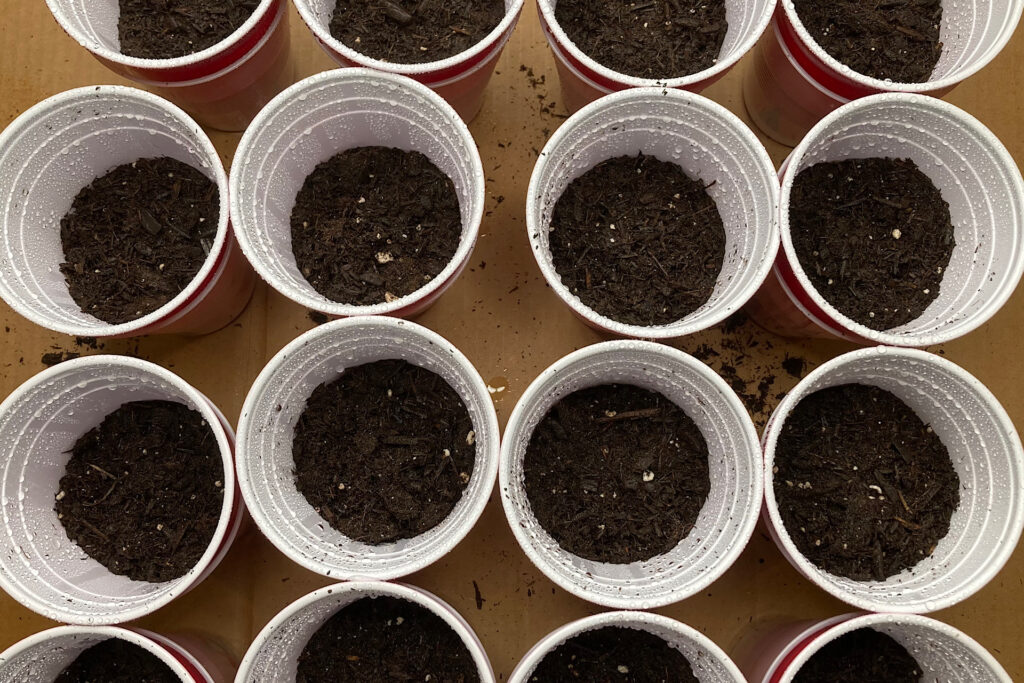
Now you can add the soil. Nestle each red Solo Cup inside of a clear one. This way, your potting mix wouldn’t spill out of the open triangles onto your work surface.
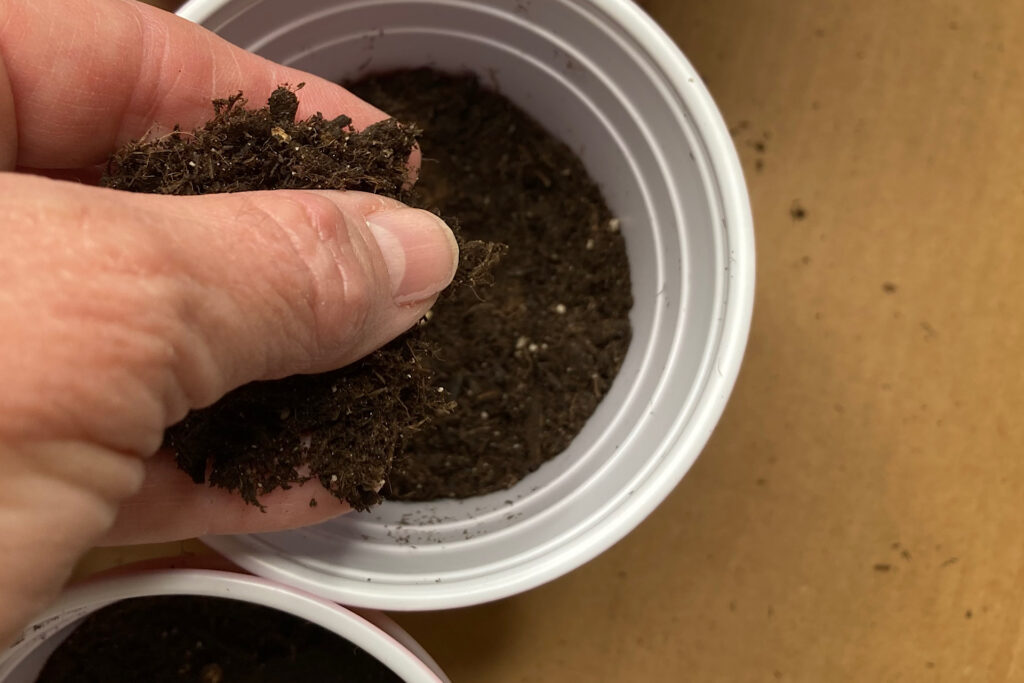
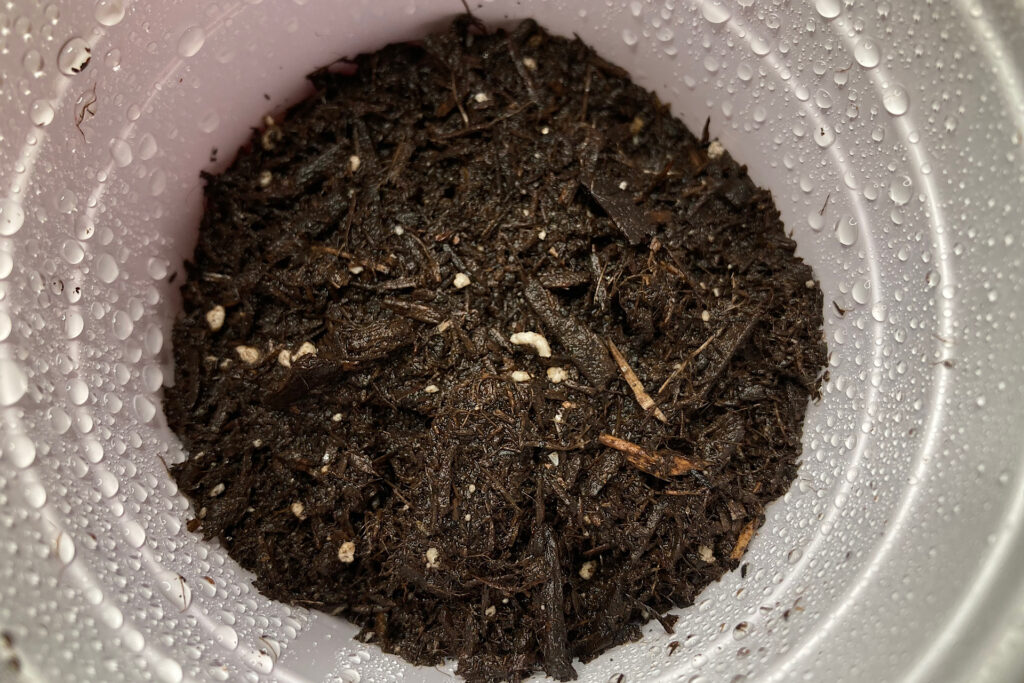
The soil should feel like a damp sponge. It shouldn’t be dried out – but you should not be able to wring water out of it either.
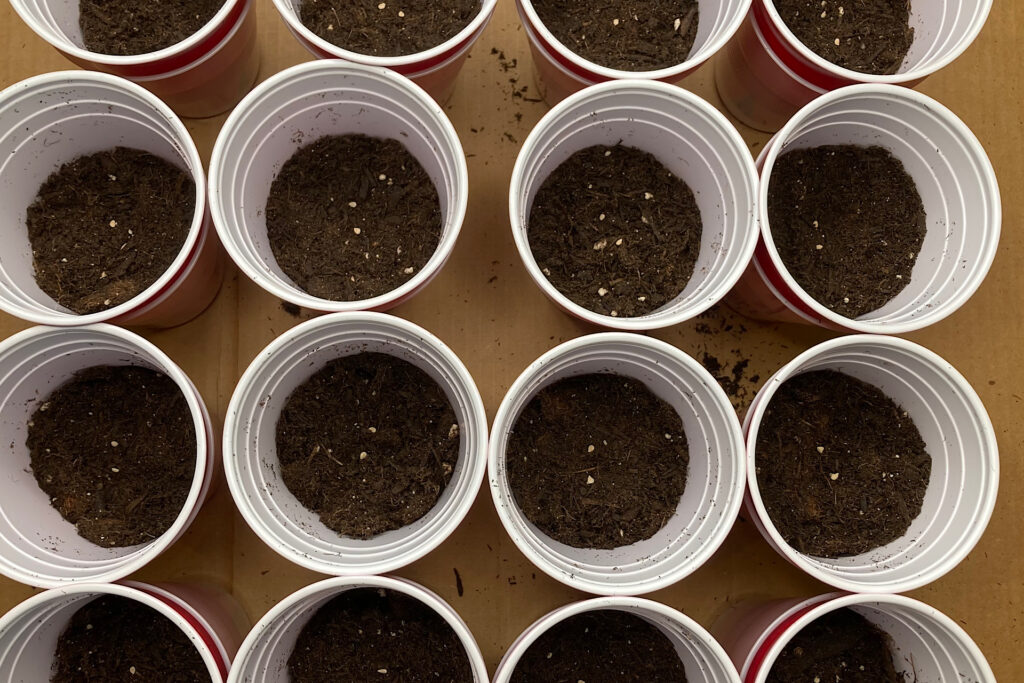
Fill each cup only half way full. Later, when the seedlings reach the rim, you’ll be able to add more soil to encourage additional root growth. I’ll address this in detail in another article as we move along.
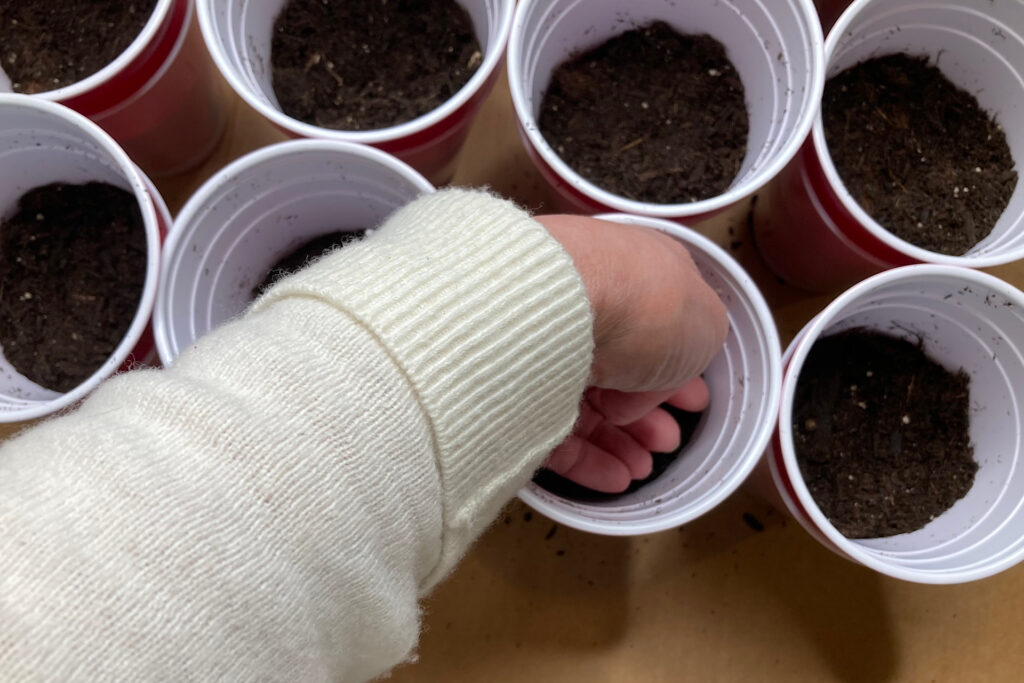
Once the cup is half full with soil, tamp it down gently with the back of your hand. Do not pack it in tight. A light touch is all you need.
The tomato seeds can be placed on top of the soil now. Add two seeds to each cup. Putting two seeds in will increase the odds that at least one of them will germinate and you will have a tomato seedling to grow.
If both seeds germinate, you can either snip one off after the second set of leaves appear, or you can tease the roots apart and re-plant the second one in it’s own container. Again, I will address this in a subsequent article when we move on to Part 2.
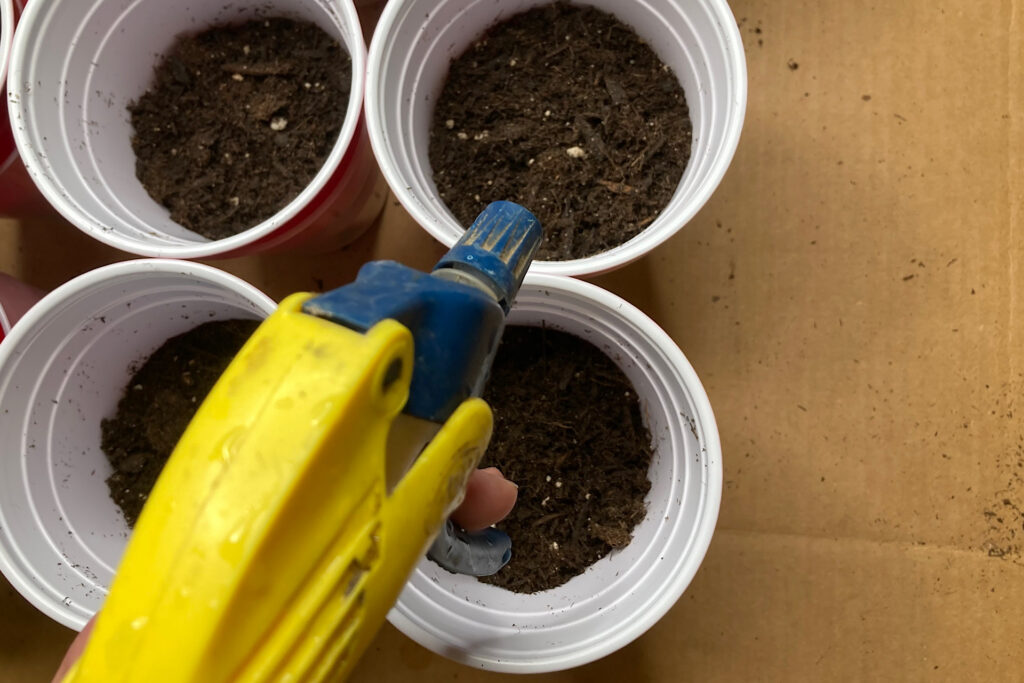
I’ve included a picture below using my pen tip to point out the seeds in my cup. Once all your seeds are in, sprinkle another 1/4 inch of soil over top to cover them.
Next, you’ll want to gently water your seeds in from the top. I chose to use a mister and lightly spray them.
You are not trying to soak the seeds or the soil. You only want to dampen that soil surface a bit so the seeds make good contact with the potting mix. Do not water heavily.
Watering and Covering Tomato Seeds
Now you will bottom-water. The reason this is important is that watering from the top can encourage fungus growth and gnats. When you water from the bottom, the soil will act as a wick and bring water upward; watering your seedlings from the roots up. This will encourage downward root growth in your cups as well.
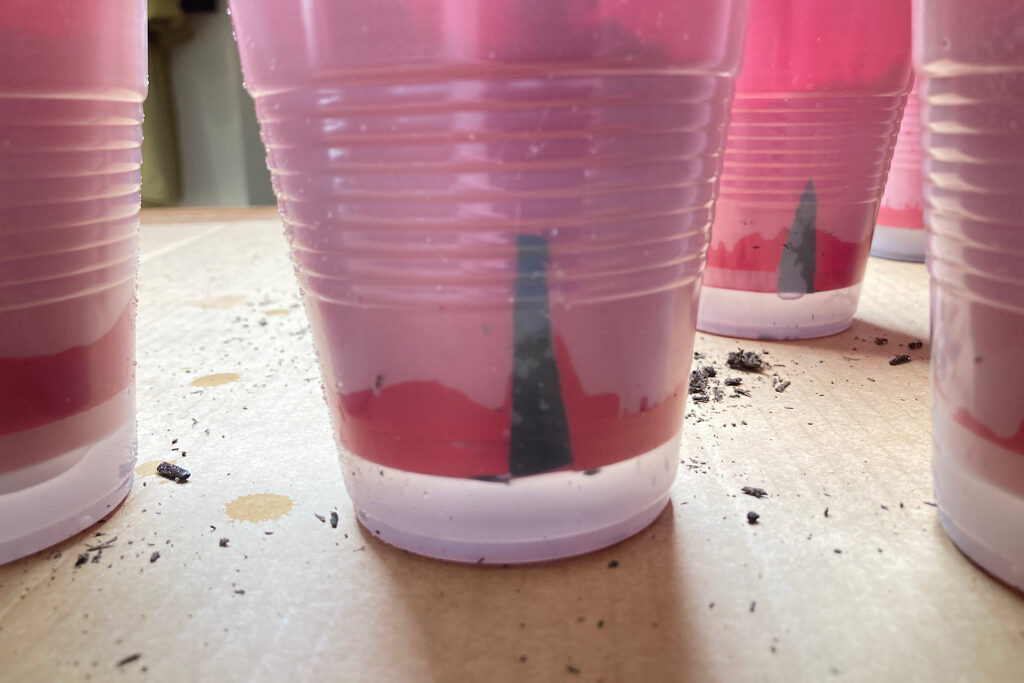
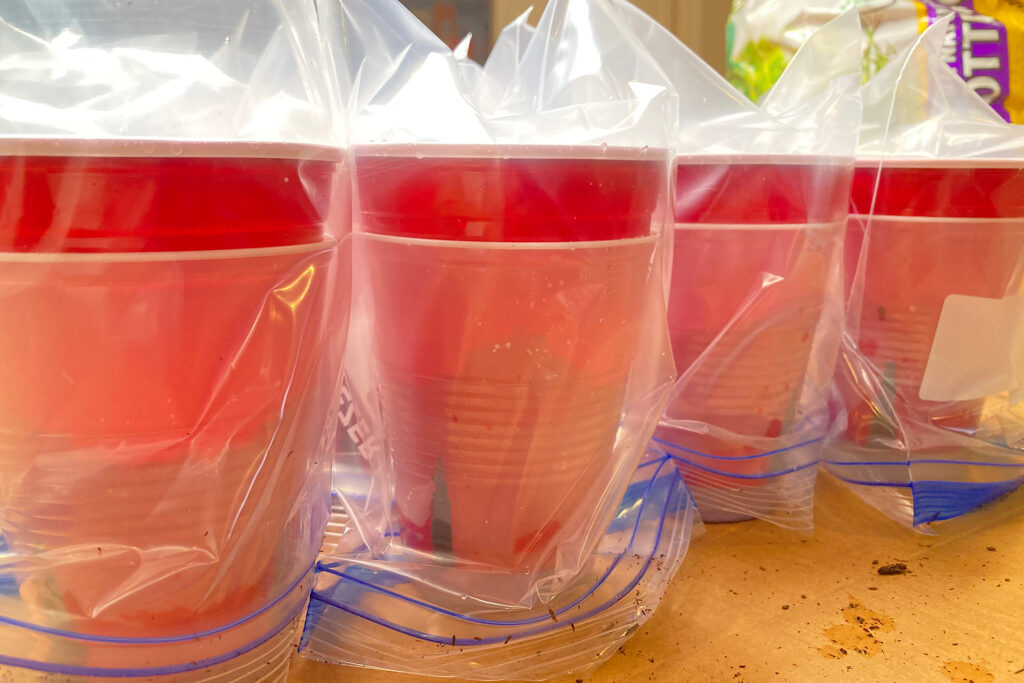
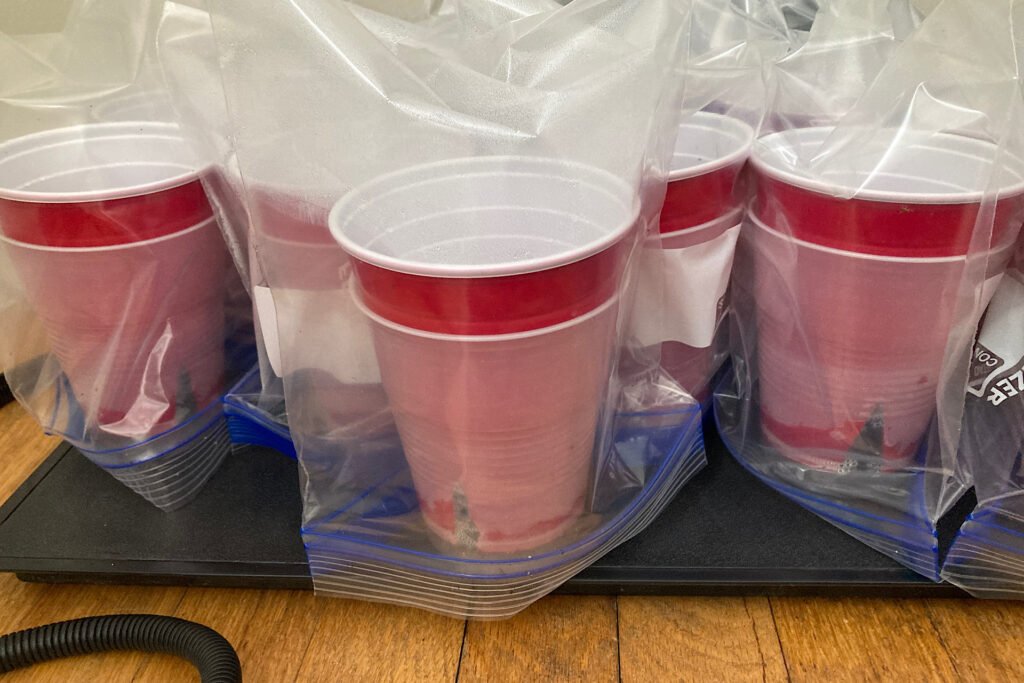
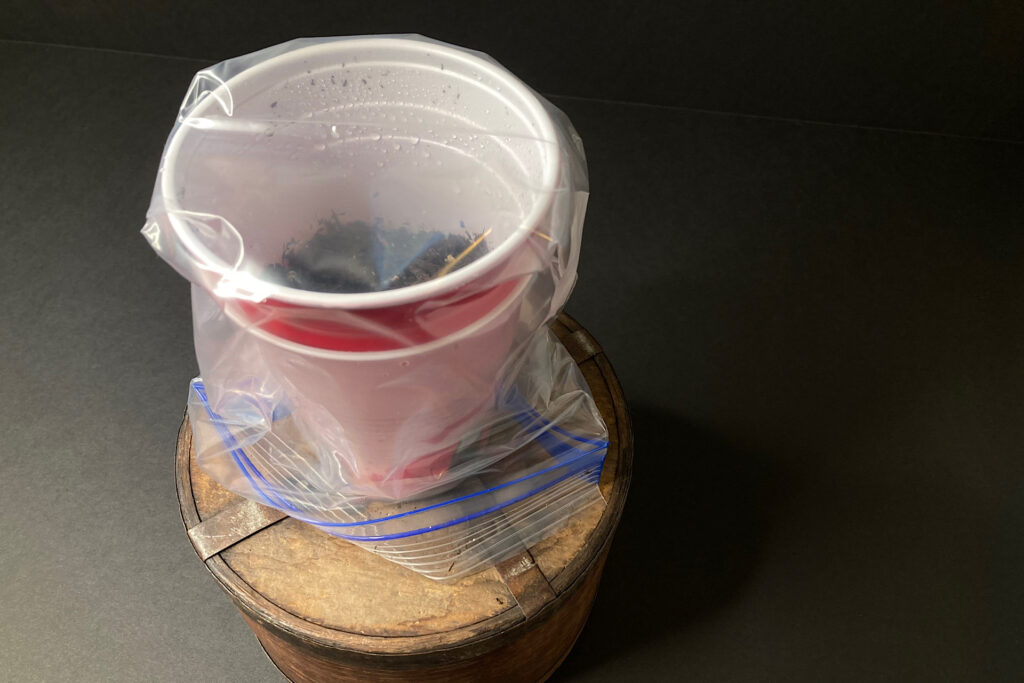
I selected the clear cup in a size smaller so when the red cup sits inside, it forms a gap at the bottom. This is where you will be able to fill a small reservoir of bottom water to wick up into the cup. Fill with enough water to reach about halfway up the exposed dirt triangles. Next Level Gardening, who I shared a link to above, calls this the “sweet spot.” You don’t want to overfill with water, but you also want to ensure that there is enough moisture available for growth. If you have over-filled past the sweet spot, you can easily drain off the excess.
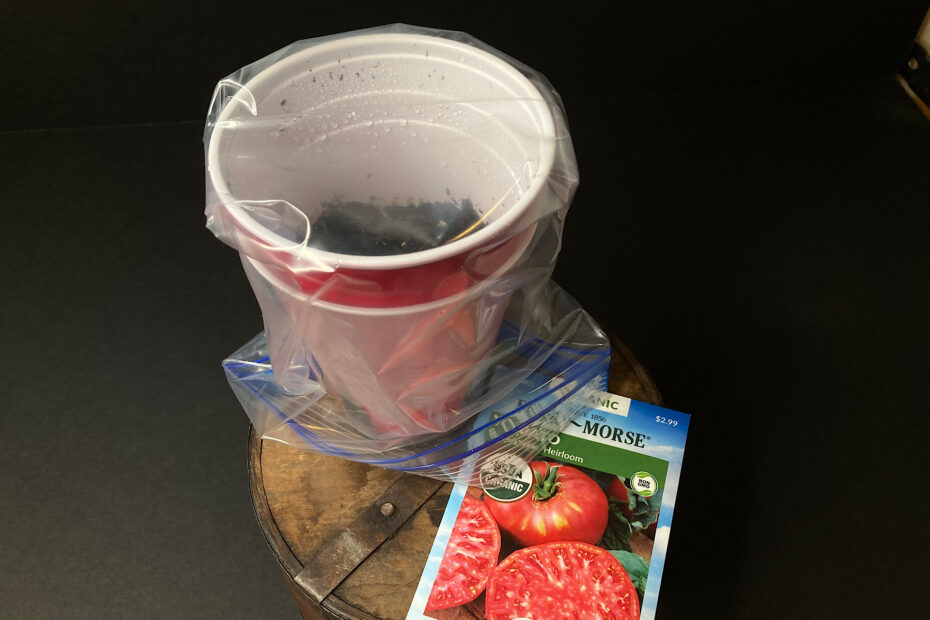
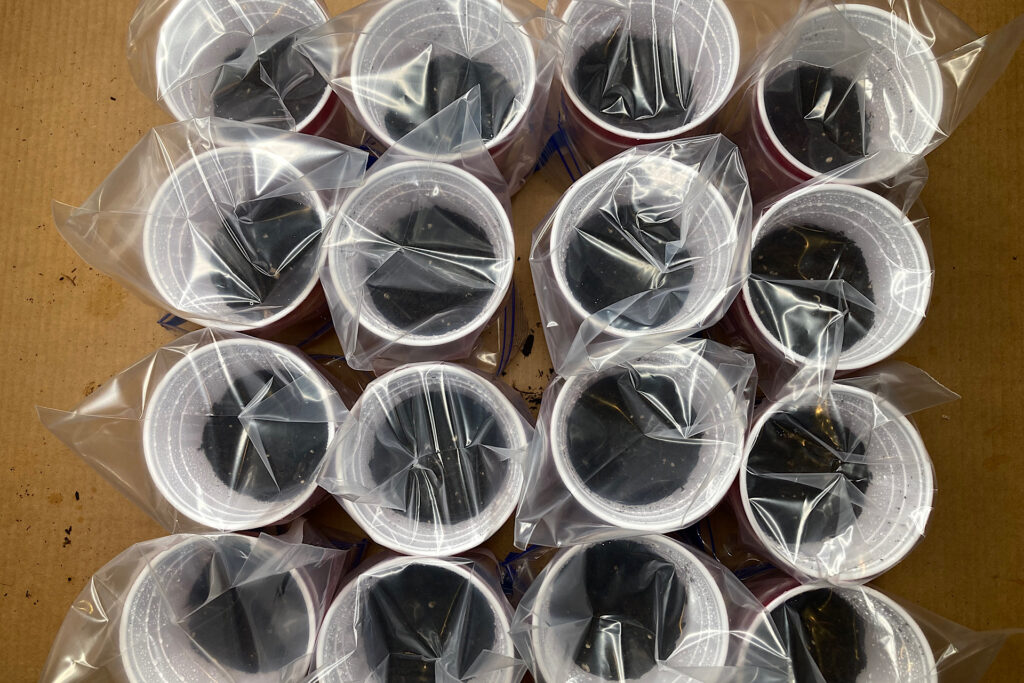
Lastly, you will want to cover the cups with plastic baggies to retain moisture (humidity) inside the cups so the top layer of soil doesn’t dry out. I placed my covered cups on a heat mat to aid in this as the temperatures in my house are too cool to produce a humid environment under the baggie. Tomato seedlings will germinate best at around 75 degrees and sunlight is not required for germination.
Now we wait
It typically takes 4-7 days for tomato seeds to germinate. Keep an eye daily on your water levels and the top of your soil mix to see if any seedlings are starting to come through. As soon as you see a seedling is coming up through the soil, remove the plastic bag. Your tomato seedlings can develop fungus or algae and may not survive if you keep them covered after they pop through.
I will address the next part of this journey in Part 2 – but when those seedlings pop, make sure you remove that bag, get them on a heat mat and expose them to light (either a growing light or a south-facing window that receives all day sun) and I’ll catch up with you then with more detail!
Resources
If you enjoyed this article you might also like these links:
Once the seedlings are 6 to 8 inches high. How often do you water? Do you continually leave the bottom cup with water in it or do you water from the top? When they start to get larger, I’m using two cut method with a marble in the bottom roots coming through. Should they continuously have water in the bottom cup? Thank you for any help.
Hi Shaun,
Thanks for your interest! I continue bottom-watering until the tomato plants are ready to go outside in the garden. Also, once the plants have grown above the rim of the cup, I add in more soil to about a 1/2″ below the cup rim to encourage more root development along the stem. As far as how often I water: my seedling under a grow light in my cool basement require less water than the sets I have in a reflective box in front of a south facing window. I usually water when the top of the soil feels dry to the touch and I can see that water at the bottom of the cup has all soaked in. When I refill, the bottom soil is still damp. If it feels soaked, I’ll wait another day or two. Hope this helps!
Thank you for your question! At this point in time, I don’t have tips to share on extending bloom time of a particular flower; but you’ve given me something to consider and research over winter months leading to next growing season. Happy gardening!


Once the seedlings are 6 to 8 inches high. How often do you water? Do you continually leave the bottom cup with water in it or do you water from the top? When they start to get larger, I’m using two cut method with a marble in the bottom roots coming through. Should they continuously have water in the bottom cup? Thank you for any help.
Hi Shaun,
Thanks for your interest! I continue bottom-watering until the tomato plants are ready to go outside in the garden. Also, once the plants have grown above the rim of the cup, I add in more soil to about a 1/2″ below the cup rim to encourage more root development along the stem. As far as how often I water: my seedling under a grow light in my cool basement require less water than the sets I have in a reflective box in front of a south facing window. I usually water when the top of the soil feels dry to the touch and I can see that water at the bottom of the cup has all soaked in. When I refill, the bottom soil is still damp. If it feels soaked, I’ll wait another day or two. Hope this helps!
How can I extend the blooming period of my favorite flowers throughout the season?
Hi,
Thank you for your question! At this point in time, I don’t have tips to share on extending bloom time of a particular flower; but you’ve given me something to consider and research over winter months leading to next growing season. Happy gardening!
in using red solo cups can you use potting mix about 1/3 in the cup then put about 2 inches of seed starting mix in and then plant the seed?
I haven’t tried that – but would love to know if it works for you. I typically use an organic potting mix in my cups. Let me know your results!