Skip to content
Home » Simple Star Anise Wreath

Simple Star Anise Wreath

Star Anise Wreath with Wooden Fir Trees and Vintage Clock

More and more, I discover that the beauty of life unfolds through the lens of the 5 F’s: Food, Family, Friends, Flora, and Fauna. As we approach the first day of winter, I invite you to join me in adding a touch of effortless enchantment to your holiday décor with this Simple Star Anise Wreath.

In today’s post, I’ll focus on a simple, last-minute touch that promises to deliver a dash of seasonal magic to your holiday décor.  This minimalist project is a delightfully effortless DIY that combines the charm of nature with the spicy warmth of the holidays.

With minimal supplies and steps, it won’t demand more than a few minutes of your time.  However, the end result embodies the essence of sweet and natural decor. Let’s infuse a quick bit of seasonal joy into our homes together—Come Bloom with Me!

What Exactly is Star Anise?

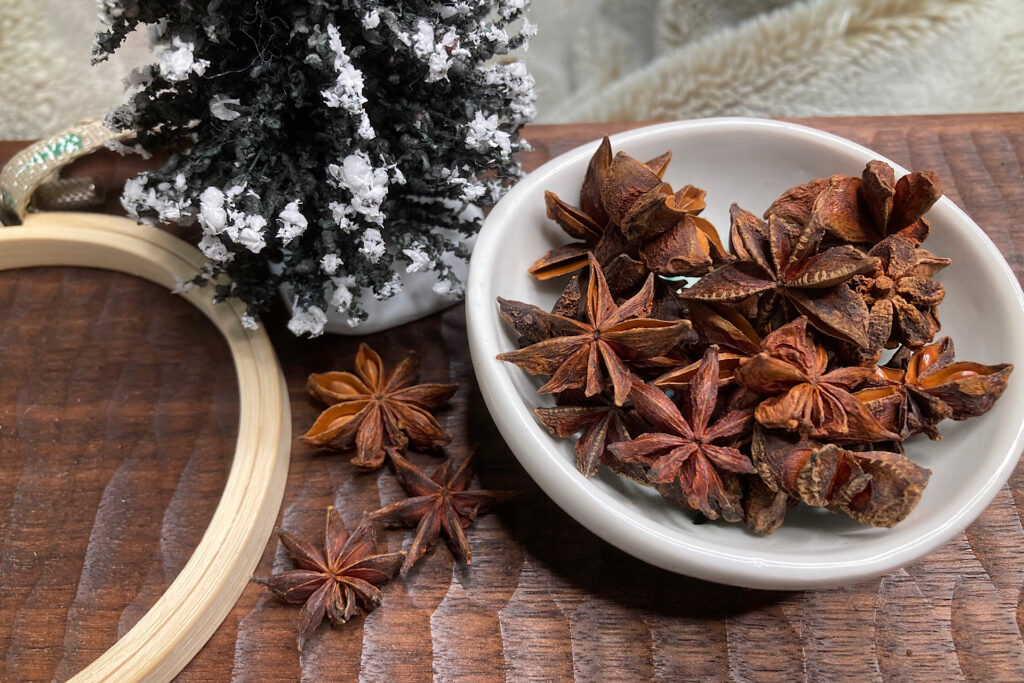
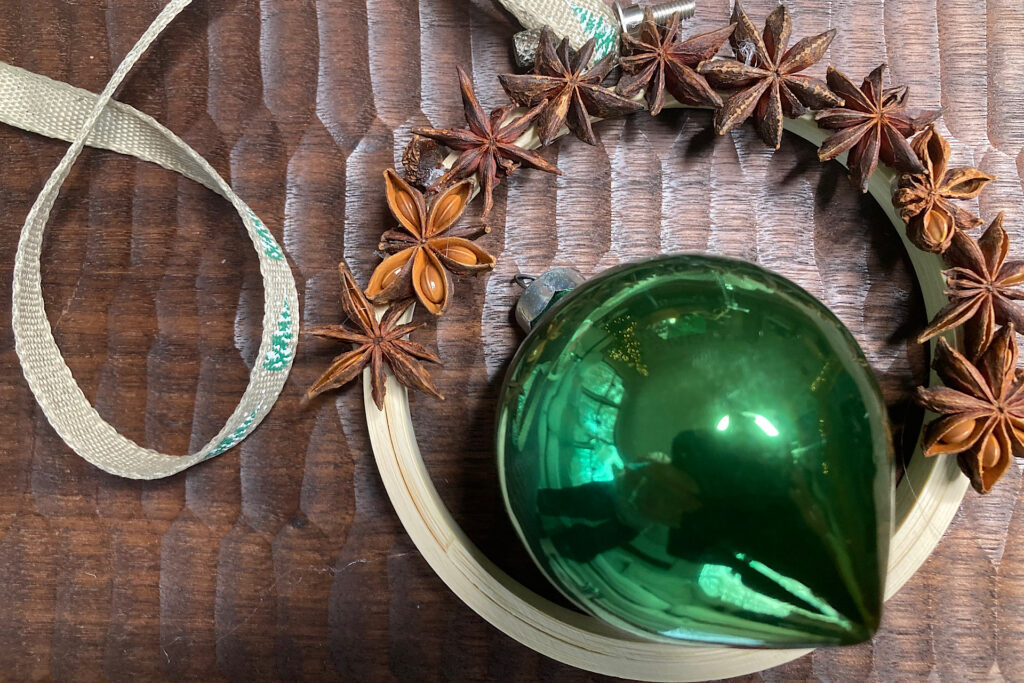
Star Anise might have caught your eye at the spice section in your grocery store, but it may remain a mystery in the realm of home cooking.  This star-shaped gem can add rich flavor to both savory and sweet recipes. The aromatic pod is produced by a small evergreen tree, native to southern China and Southeast Asia. Each arm of the star pod cradles a seed, and it will offer up the distinct flavor of licorice. Star anise can be purchased whole, ground, or as a concentrated extract. 

In my research, I came across a couple of fascinating tidbits: Star Anise should not be confused with the spice labeled as plain “Anise.” Although both bear the licorice-like essence in their flavor profile, they are entirely different species. As I mentioned above, Star Anise, with its origin story woven into the Chinese evergreen tree, spreads its influence across Southeast Asia. On the other hand, Anise seed, or “aniseed,” traces a heritage back to Egypt and the Eastern Mediterranean.  It is cultivated from the anise plant in the parsley family.

Lastly, I discovered a little  intriguing debate over pronunciation—ANN-iss or ANN-niece? Whichever you fancy, both are deemed acceptable; choose what rolls off your tongue easily!

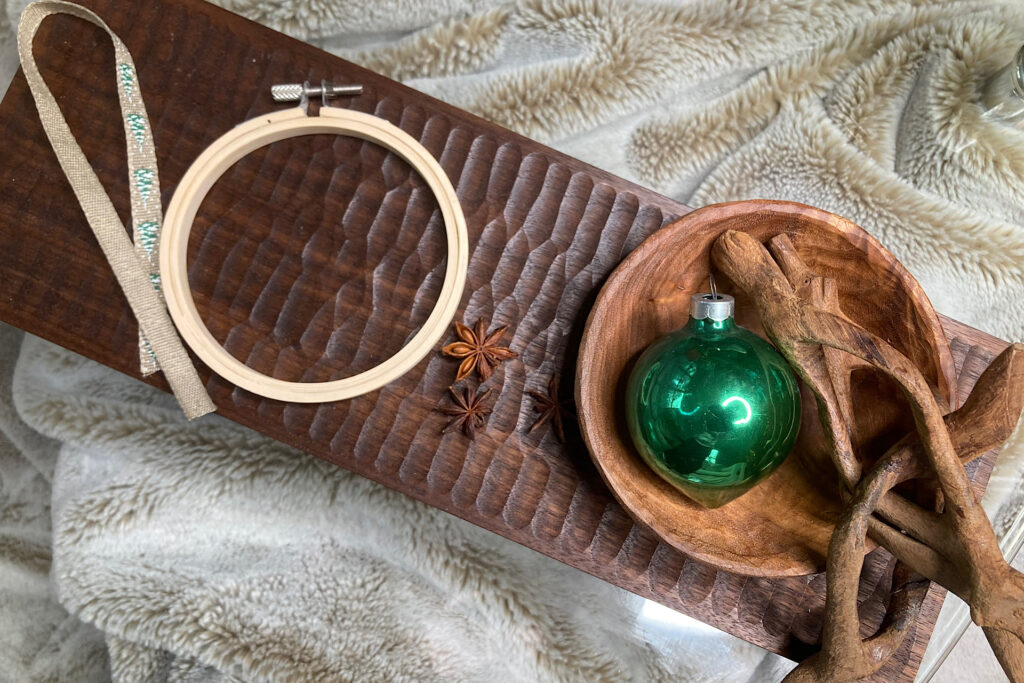
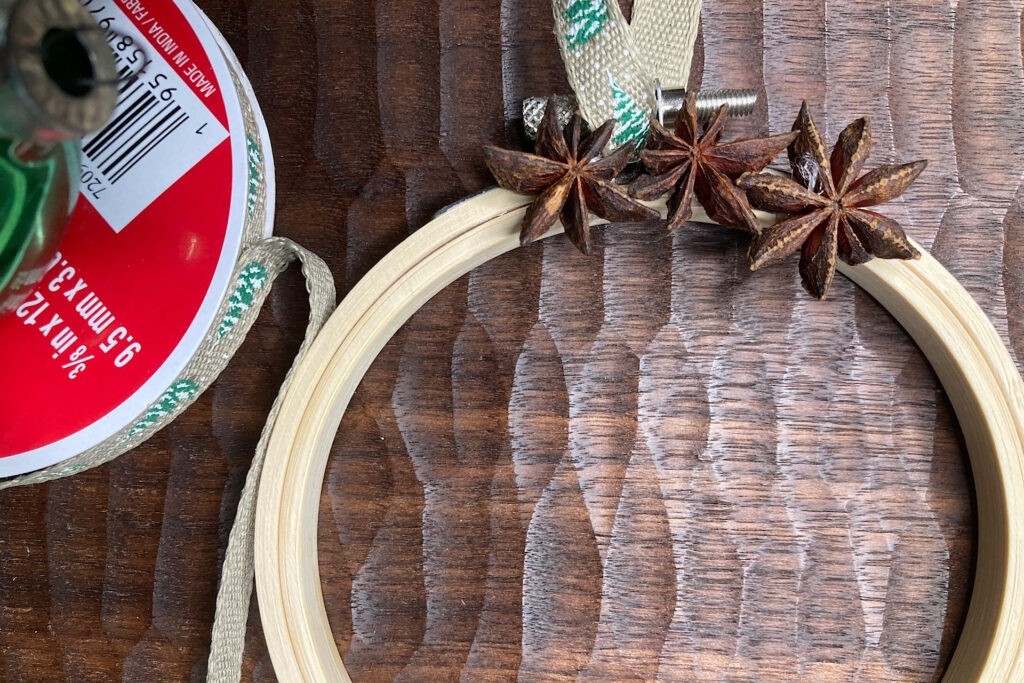
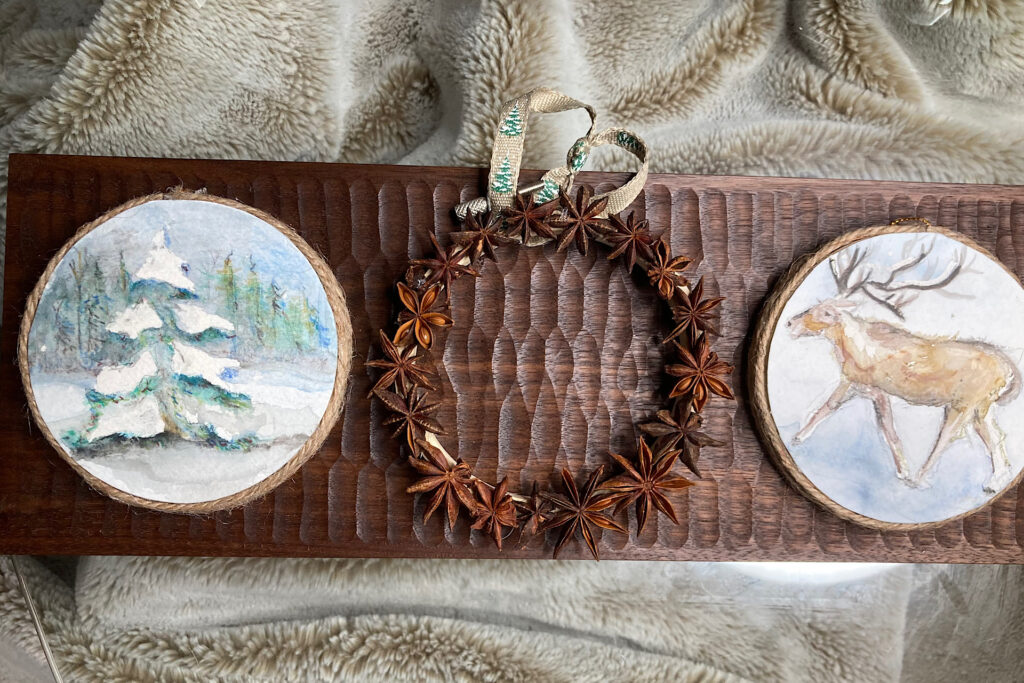
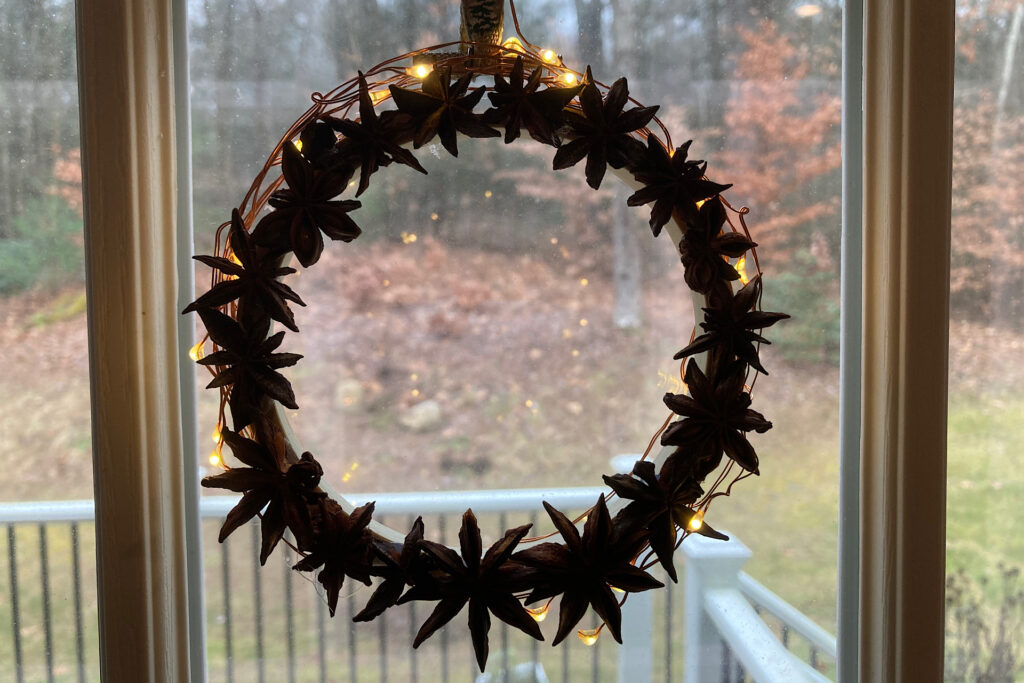
I like the idea of using spices in holiday décor; scent adds a wonderful layer to seasonal gatherings.  And, Star Anise is the fragrance “star” of this project.

Star Anise in Bowl with Small Embroidery Hoop and Christmas Tree

Here is a closer look of the seeds nestled inside the arms of the Anise Star.  They will add visual texture and character to your finished piece.

Simple Supply List

Only a few essentials will bring this project to life.

  • First on the list, of course, are the celestial Star Anise pods.  They are tiny treasures that fit nicely with a Christmas tree star theme. The pods can be a bit pricey; but, remember, this is a small-scale project.  I opted for a 0.6 oz. jar, and had 1/3 jar leftover when I completed my wreath.  I plan to experiment with the remainder of my pods in my kitchen recipes.
  • Next up, a simple embroidery hoop works nicely as a frame.  Mine was 4 inches in diameter and purchased for less than $2 from a local craft store.
  • And let’s not forget the festive touch—a spool of seasonal ribbon, also a budget-friendly find at under $2.
  • Lastly, you’ll need a glue gun to secure the Star Anise to the base.

I prefer a clean, simple design, but feel free to let your creativity bloom.  You can add a touch more nature to your wreath — dots of whole red peppercorns, whispers of  milkweed down, dainty twigs, or miniature pinecones will add organic allure. The craft store, as always, is a treasure trove of possibilities, inviting you to infuse personal touches into your own creation.

Pink Hot Glue Gun with sticks and Anise Seeds

Constructing A Simple Star Anise Wreath

  • If you are using seasonal ribbon or some other material to hang your wreath, you will want to loop it through the opening under the screw of the embroidery hoop first.  It is more difficult to attach it once the pods are in place.  I simply looped mine through and tied a little knot at the top.  Simple and sweet.
  • I did not mind the natural wood frame of the embroidery hoop peaking through here and there between the pods. You can opt to wrap your frame in twine or ribbon if you would like.  Use the hot glue gun to attach the twine or ribbon and continue winding until the hoop is covered.  Secure it at the end with another drop of hot glue.
  • Now it’s time to add the Star Anise pods.  I began at the top.  I first sorted through my pods for the flattest and pretties stars.  I chose smaller ones for the top.  I knew I would prefer larger pods at the bottom as they would appear visually “heavier,” making for a more balanced look overall.
3 Anise Stars Glued on Top of Embroidery Hoop

Symmetry

  • Continue building around the shape of your hoop foundation.  You’ll notice you can tuck an arm of a star in between the two arms of another.  Have fun and play so you achieve nice, even coverage.
  • Intersperse the pods that showcase their lovely seeds throughout your wreath.  They will add organic texture and character to your piece.
  • As you build, I recommend gluing a few pods to the right side of your frame and then switching over to glue a few pods to the left side.  This helps you maintain balance and keep an appealing circular shape
Star Anise Seeds Glued Half Way Around Embroidery Hoop with Christmas Bulb

Finished Star Anise Wreath

  • If you have been working from side to side to keep the circle balanced, your last task will be to fill in the gap at the bottom.  As I mentioned before, I saved my largest Star Anise pods for this.  Before gluing, place them on the frame dry to find your best fit.  You may need to add a spare arm or two from your spice jar to fill in any visible gaps.  It’s not hard and it’s not science, just use your eye.
  • If you have ever worked with a glue gun, you know that you will get “threads” of glue here and there that you will need to remove and discard.  If you’d like to add any other embellishments, now is the time to tap into your creativity.  In the end, I opted to wrap fine wire fairy lights around the back of my Star Anise wreath frame.  I’ll be tucking mine amongst greenery, so I can easily hide the battery/switch compartment in my décor.
  • If you like the ornaments displayed on either side of my wreath, I may be mentioning them in a future post.  They are another project I created with watercolor pencils; but, that’s for another day…
  • I also want to mention the tray I chose as the backdrop for this project.  I have the great fortune to live with an accomplished woodworker.  He produces one-of-a-kind, hand-carved items from cherry, maple, walnut and oak.  If you are interested in this piece or would like to view others, please mention it in the comments.  I’ll be happy to forward you photographs and pricing.
Anise Star Wreath with Watercolor Nature Ornaments
Lit Anise Star Wreath and Watercolor Reindeer Ornament

Displaying Your Simple Star Anise Wreath

I took a few moments to place my wreath in various spaces to give you a ideas/inspiration for placing yours.  It looked equally lovely in sparse simplicity as well as nestled in greenery and sparkle.

I hope this simple and effortless holiday décor project brings you joy!  Let me know how yours turns out in the comments!

Brass Reindeer with Star Anise Wreath
Anise Star Wreath with Greenery and Vintage Map
Star Anise Wreath with Wooden Fir Trees and Vintage Clock
Anise Star Wreath With Christmas Table Decor
Anise Star Wreath Hung in Window Pane
Holiday Mug with Star Anise Garnish

Leave a Reply

Your email address will not be published. Required fields are marked *