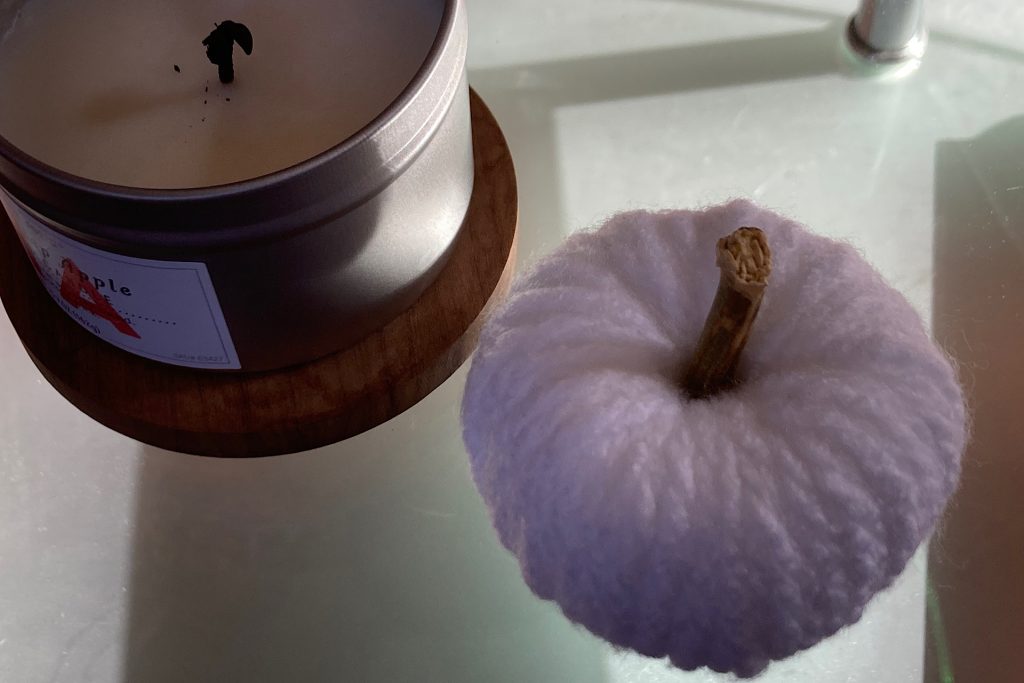
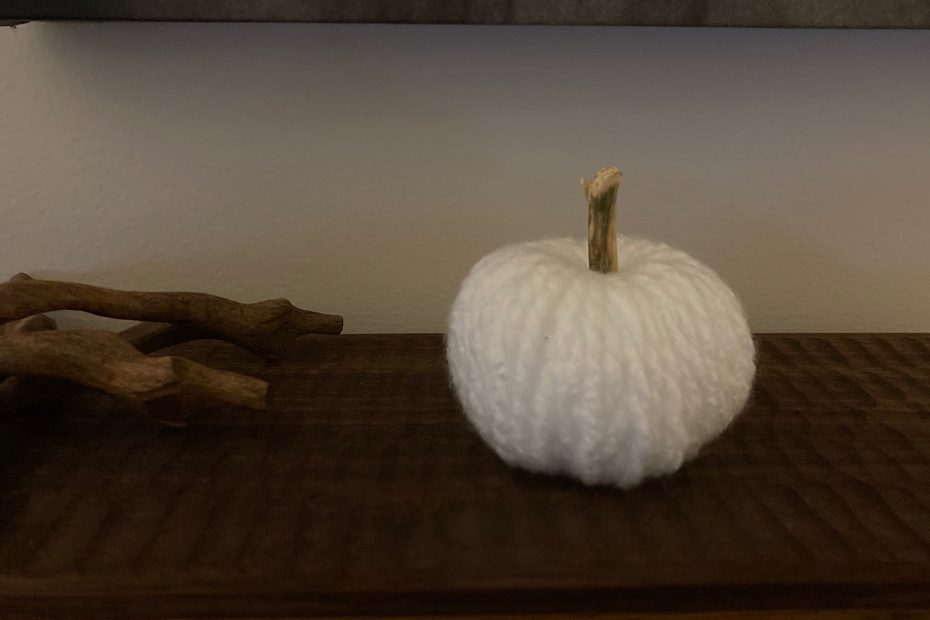
As the seasons shift from fall’s golden hues to winter’s frosty chill, there’s something special about decorating with simplicity. This DIY project for minimalist white yarn pumpkins offers a relaxing, cozy way to create décor that flows seamlessly through both seasons. With just a few basic supplies, you can make these charming pumpkins in a single afternoon, whether curled up on the sofa or enjoying coffee with a friend at the kitchen table. The soft white yarn brings a clean, understated charm to any space, making these pumpkins the perfect addition to your fall-to-winter decor.
Supplies You’ll Need
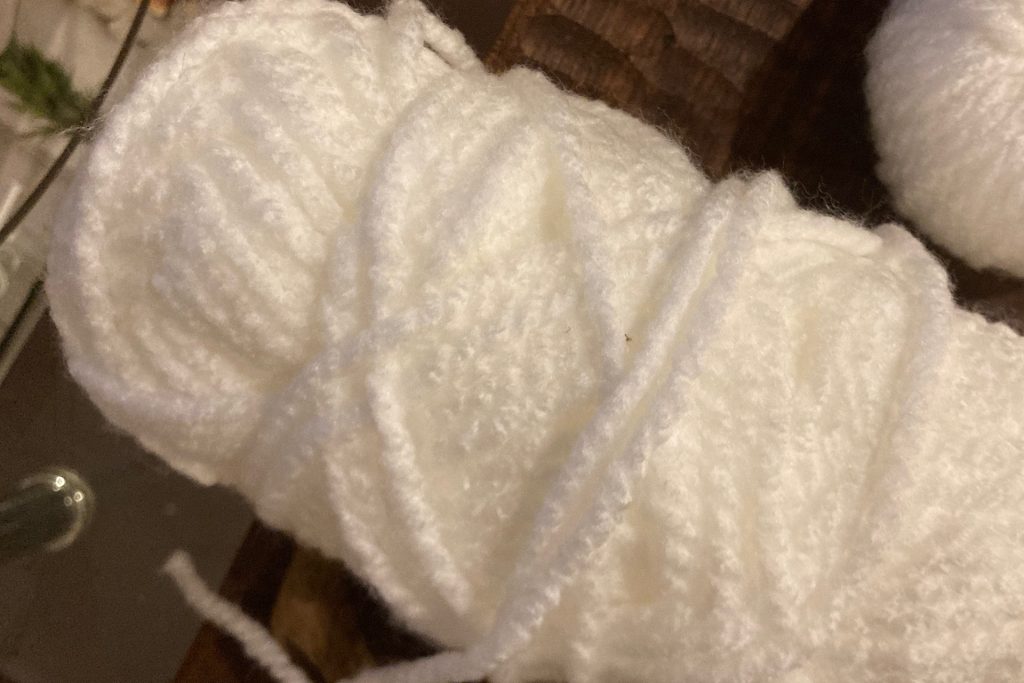
- White yarn
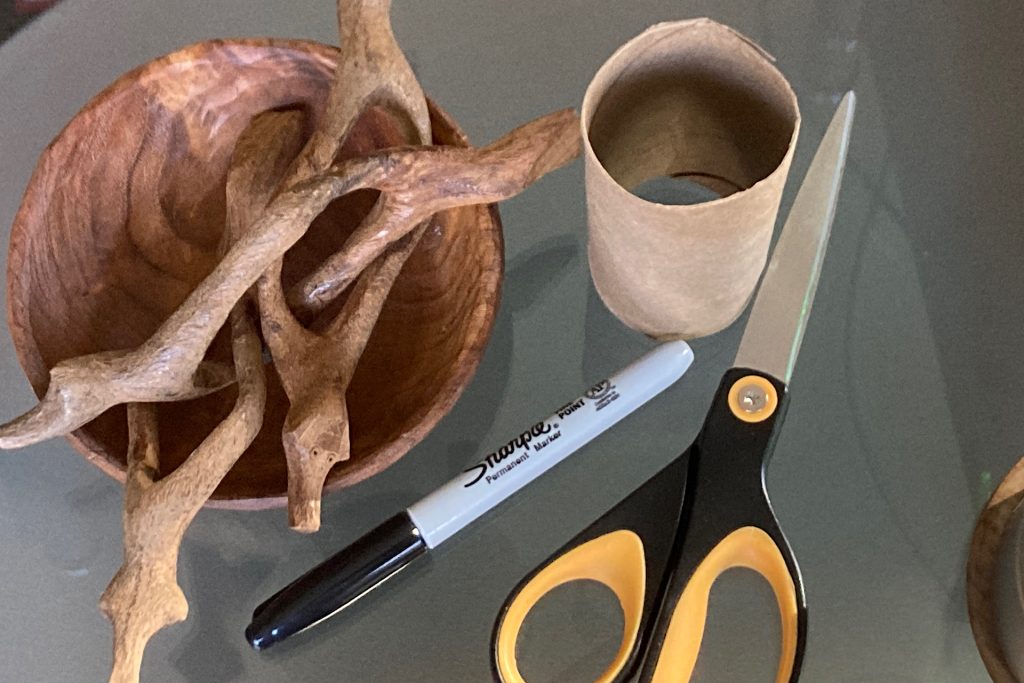
- Cardboard tube
- Pen for marking the tube
- Scissors
- A stem for the finished pumpkin
This craft is all about keeping it simple. You’ll only need a handful of supplies—most of which you might already have at home. I used some leftover white yarn from my Simple White Christmas Tree Wraps project (link available at the end of the post), making these pumpkins even more budget-friendly. For the cardboard base, I repurposed an empty toilet paper tube, though a paper towel tube or any similar cardboard piece will do just fine. No glue is required; wrapping and tucking the yarn around the tube is all it takes!
As for the stem, I went with a real mini pumpkin stem for an extra touch of authenticity, but twigs or even a cinnamon stick would work beautifully. Feel free to get creative with what you have on hand!
Getting Started
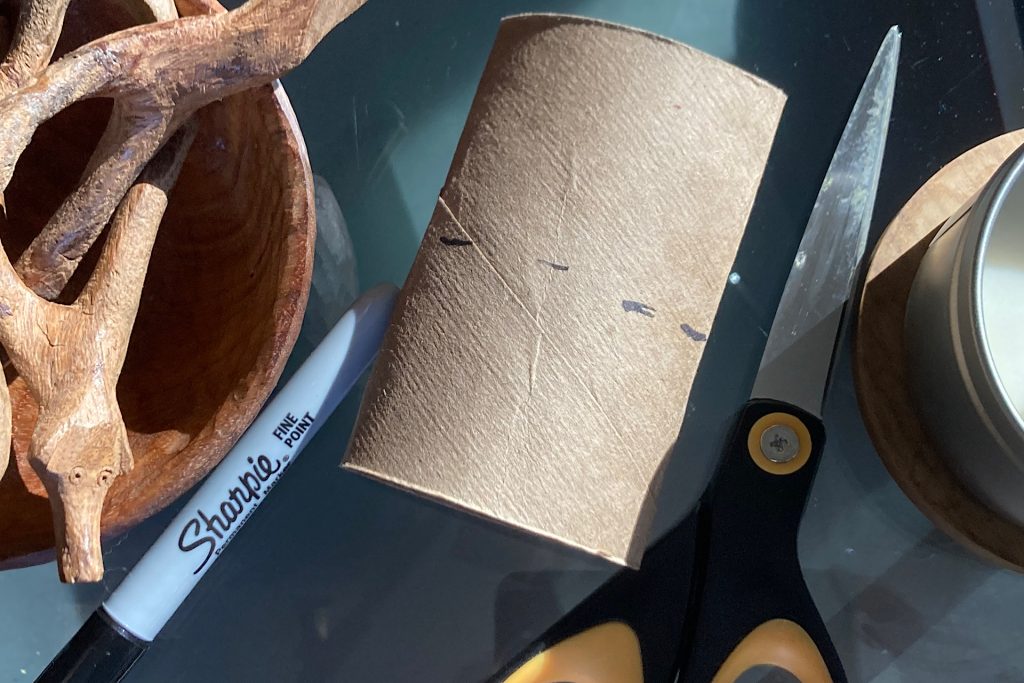
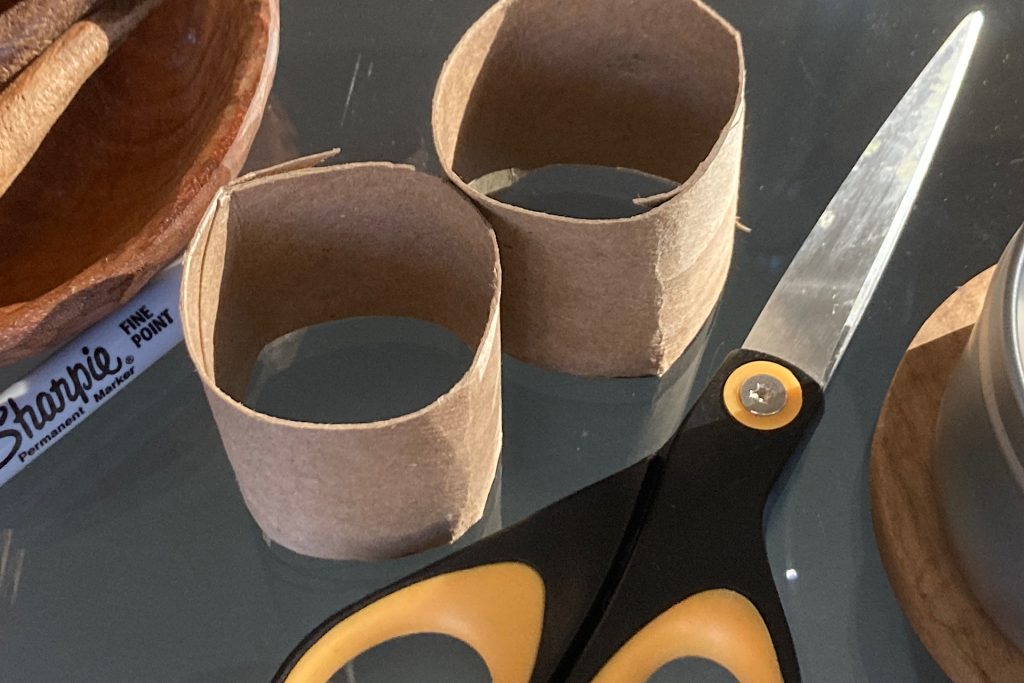
To begin crafting your white yarn pumpkin, you’ll want to size your cardboard tube. Using a 4-inch toilet paper roll cut in half works well to get a rounded, mini pumpkin shape. Mark the tube at the halfway point using a pen or sharpie, then cut along the line. You can pinch the tube flat at one point to begin the cut, then re-shape the tube back into a circular shape. If you’re using a longer tube, divide it as needed to achieve this mini size. The goal is to create a base that gives a petite, pumpkin-like shape without being too tall.
Keep in mind that shorter tubes produce a rounded pumpkin, while a longer tube will create a more elongated, squash-like shape. You can experiment with different lengths to make a variety of shapes. Once you’ve trimmed the tube, you’re all set for the next step in crafting your cozy, minimalist pumpkin!
Prepping the Tube
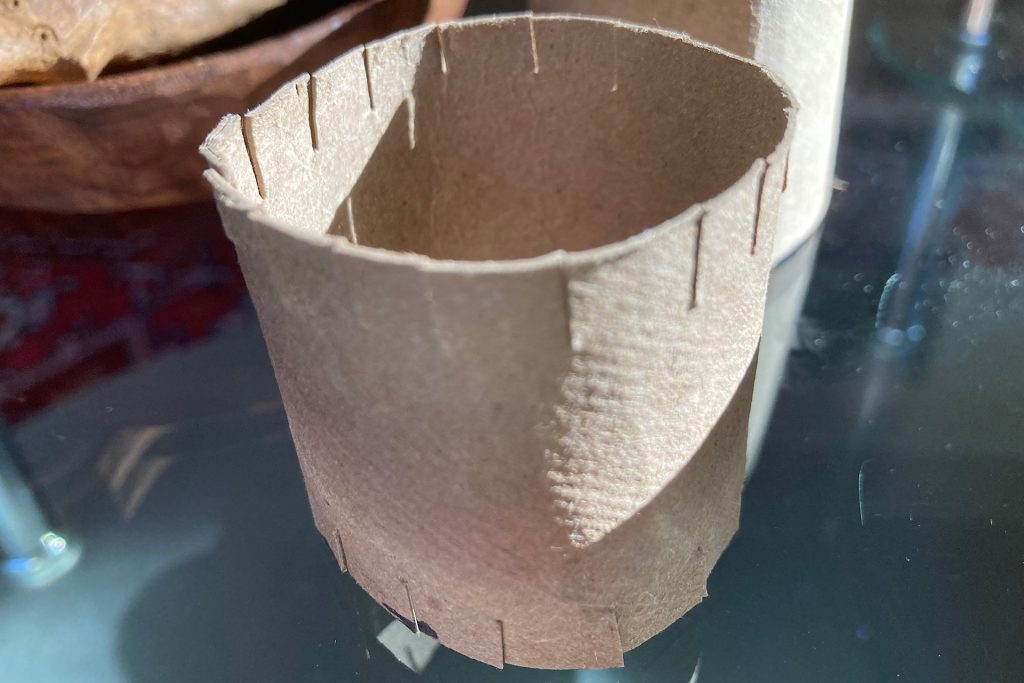
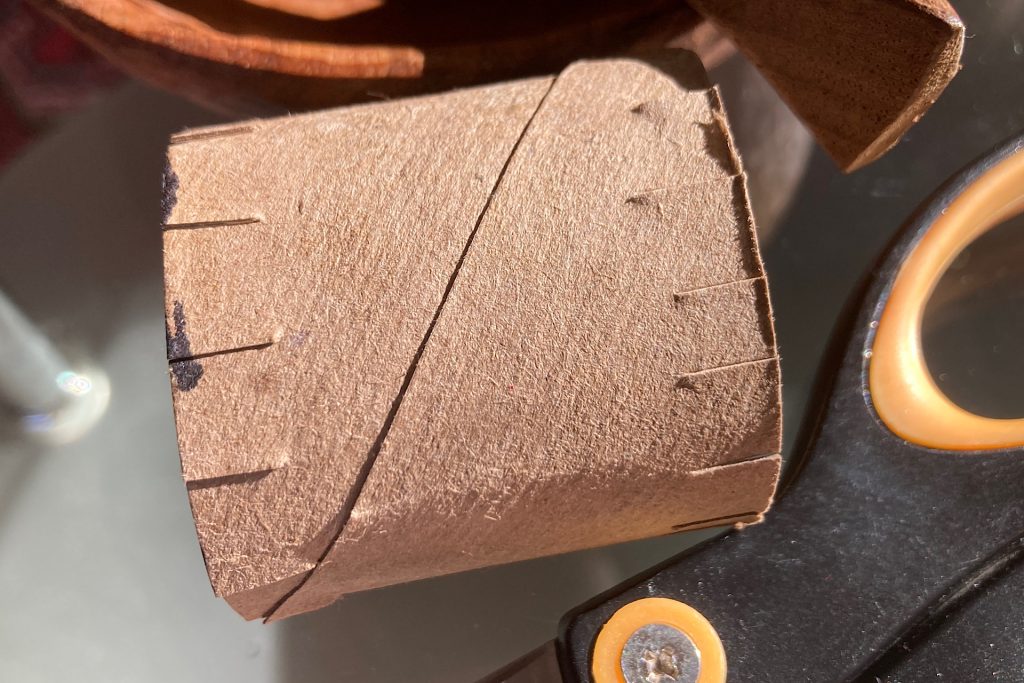
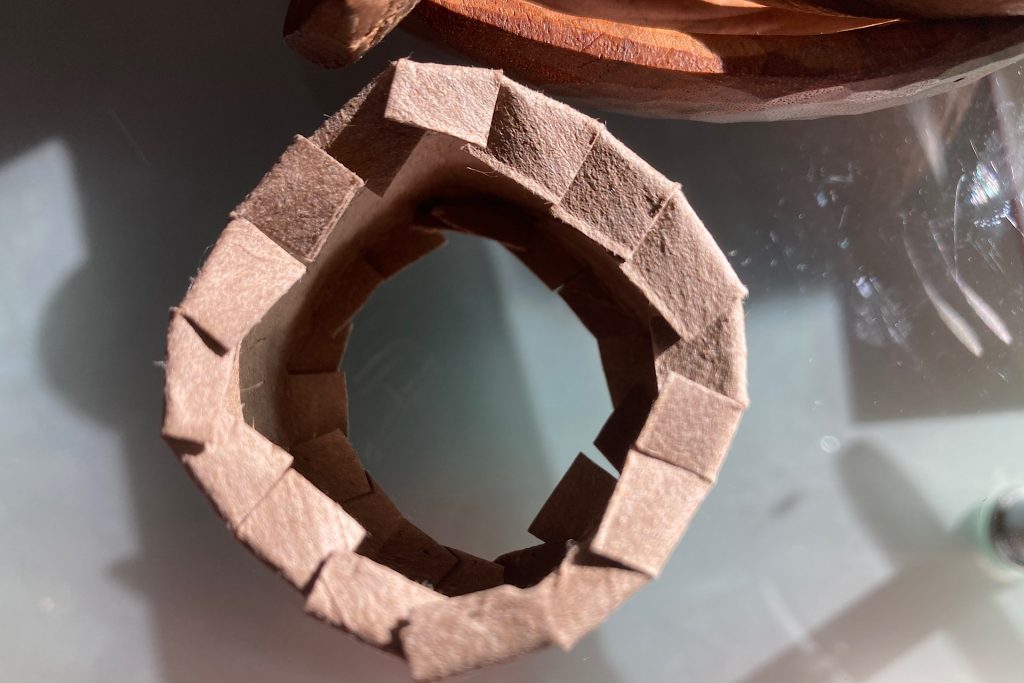
Now it’s time to start shaping the form of your white yarn pumpkins. Take your scissors and make small, evenly spaced snips around the perimeter of each open end of the tube. These cuts don’t need to be perfect; I aimed for about a 1/4-inch snip into the cardboard with a 1/4-inch space in between. These little cuts will help the yarn settle naturally into place as you wrap, giving your pumpkin a lovely, rounded shape.
With this simple step, you’re one snip closer to creating your own soft, white pumpkin!
Creating the Pumpkin Base
With your snips in place, the next step is to fold these little tabs inward. Think of them as tiny teeth or cogs that will give your yarn something to grip onto as you wrap and shape your white yarn pumpkin. Simply fold each tab toward the center, pressing them down until they create a slightly rounded base.
This step adds structure to the form and makes it easier for the yarn to stay in place as you wrap. (Check out the photo below for reference.) Once these tabs are folded, you’re ready to start crafting the cozy, minimalist pumpkin shape!
Wrapping Yarn Around the Base
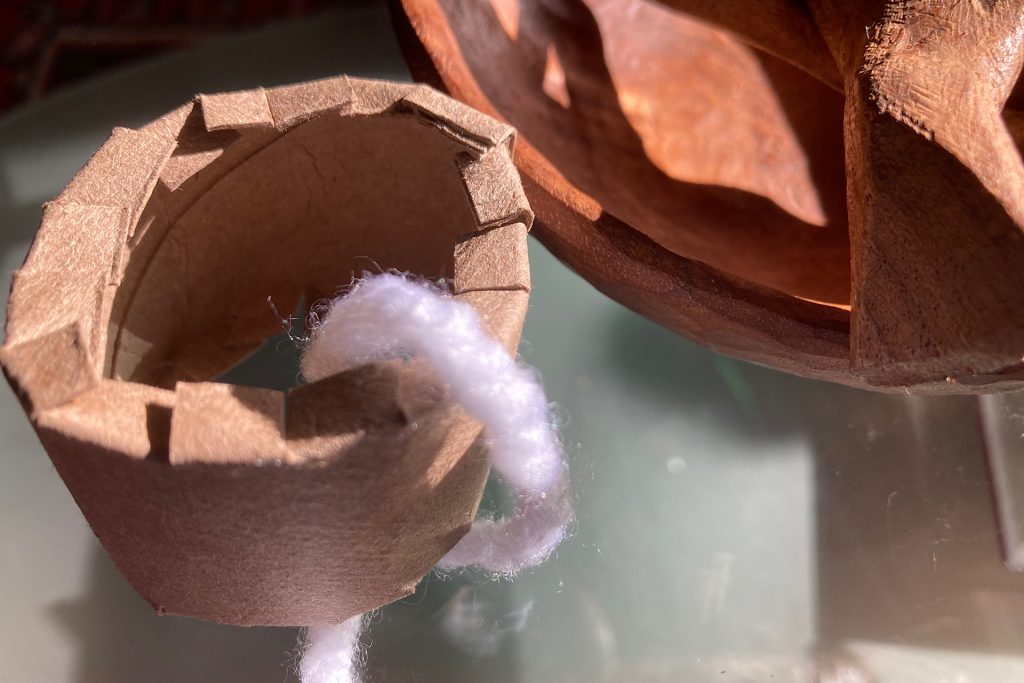
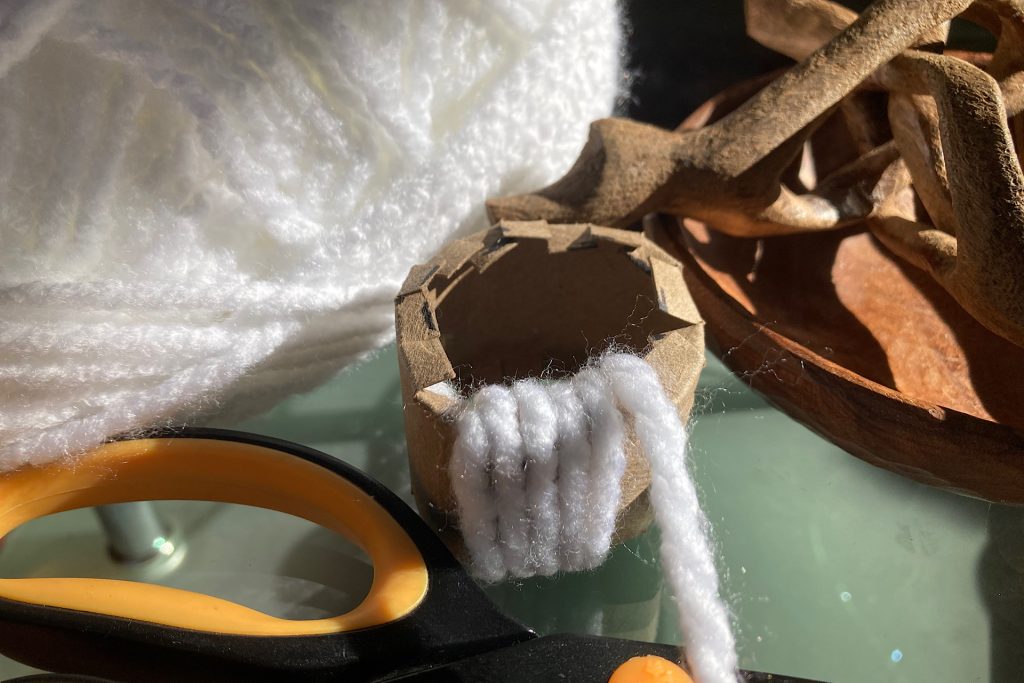
To start shaping your white yarn pumpkin, hold the end of a yarn strand against the inside surface of the tube, then begin wrapping the yarn around the outside of the tube, covering the cardboard. As you wrap, make sure to catch the loose end under the yarn layers to secure it in place.
One thing to keep in mind: you’ll need to cut a manageable length of yarn rather than threading a full skein through the tube. If you run out, simply start a new strand in the same way—tucking the end against the inside and wrapping over it to hold it securely.
As you continue, try to keep the strands close together, wrapping in an even, up-and-down motion. This will help create a full, seamless look that makes the pumpkin shape pop.
The Wrap Takes Shape
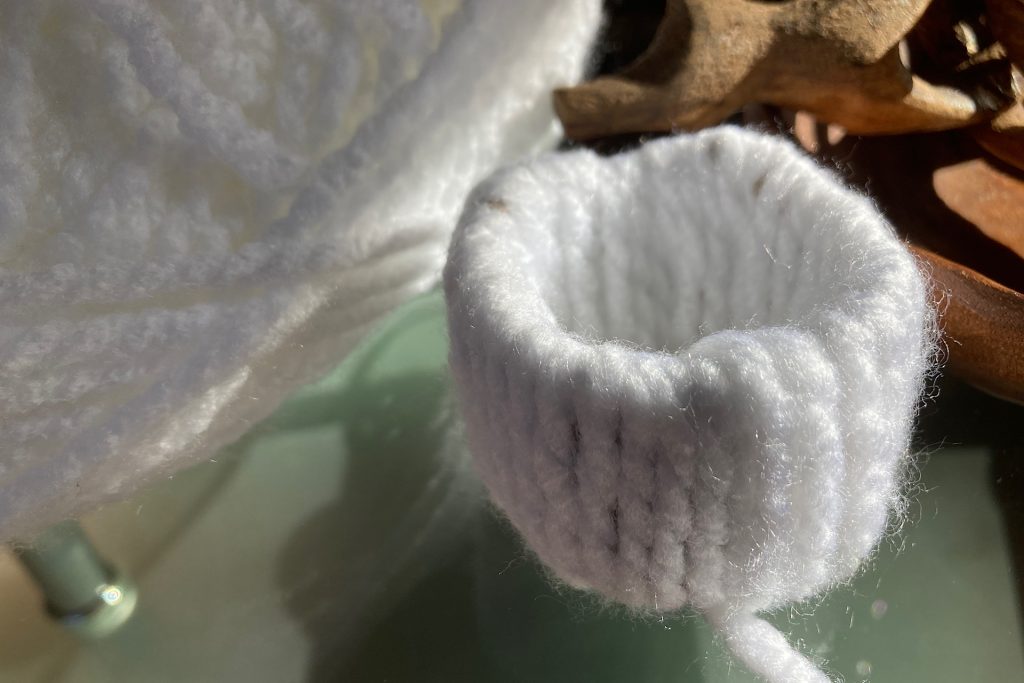
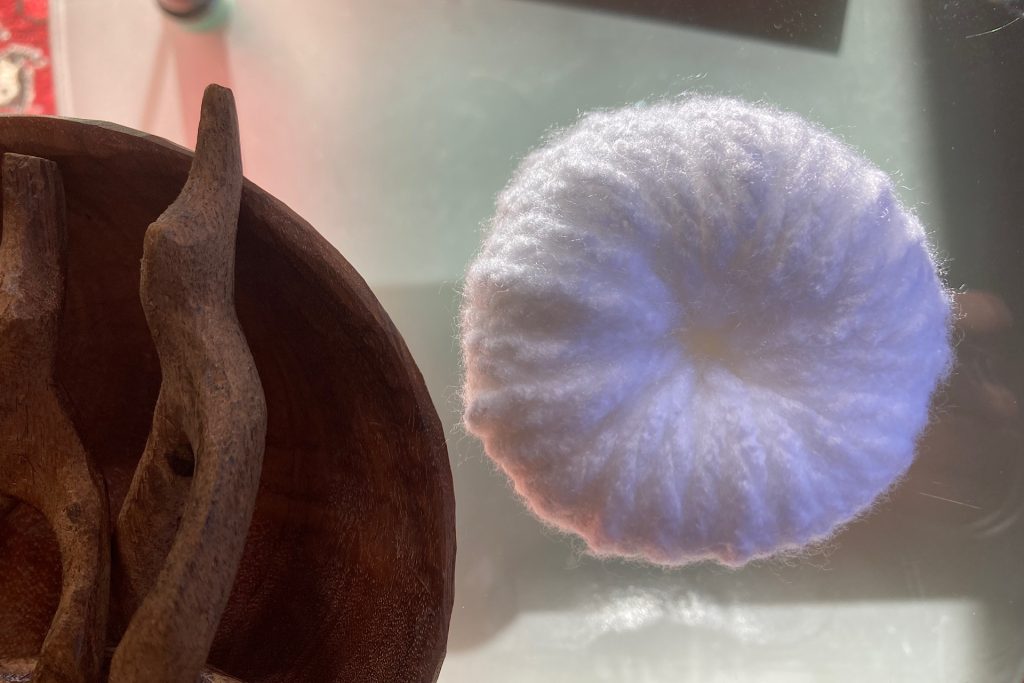
As you continue wrapping, you’ll see your white yarn pumpkin taking form! After covering the cardboard with one full layer, keep adding more layers to build up a rounded, full shape. I wrapped mine about four times around, making sure to keep the strands close together and in a smooth, even pattern. If you’re using a thicker yarn, you might reach that plump pumpkin look a little sooner.
When you’re satisfied with the shape, simply tuck the end of the yarn snugly inside the tube. The yarn should be snug enough to hold securely without extra help, creating a seamless finish. Now your cozy white pumpkin is really starting to come to life!
Finishing Touches for White Yarn Pumpkins
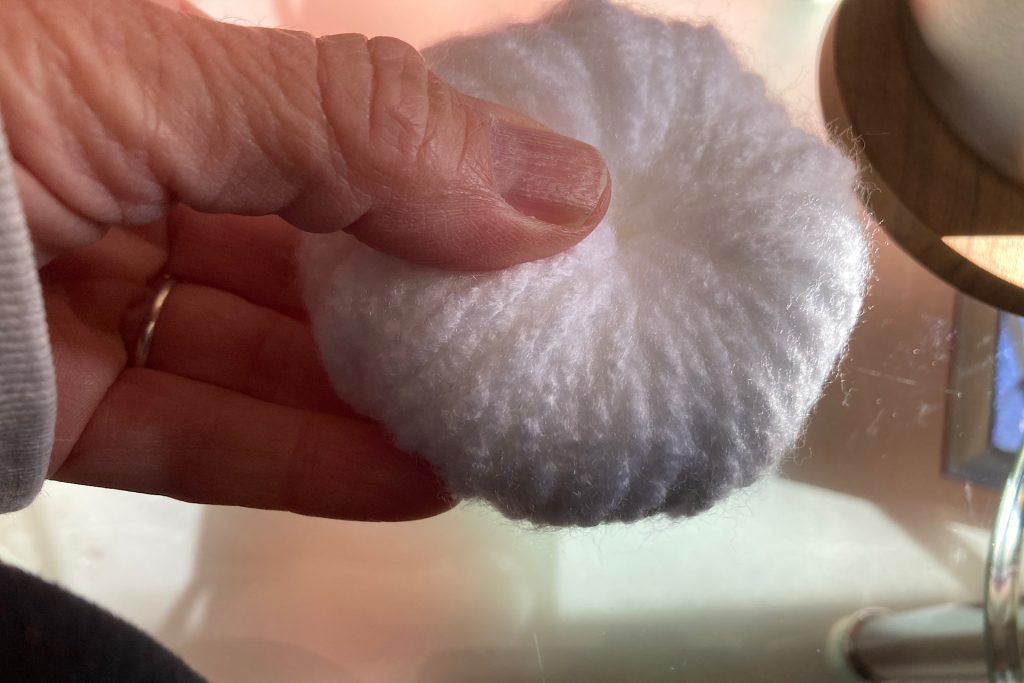
With the wrapping complete and your yarn end tucked in place, it’s time to give your white yarn pumpkin its final shape. Gently press all around the pumpkin using your thumb and palm, flattening it slightly for that classic pumpkin silhouette. Take your time to shape it until you’re happy with the look.
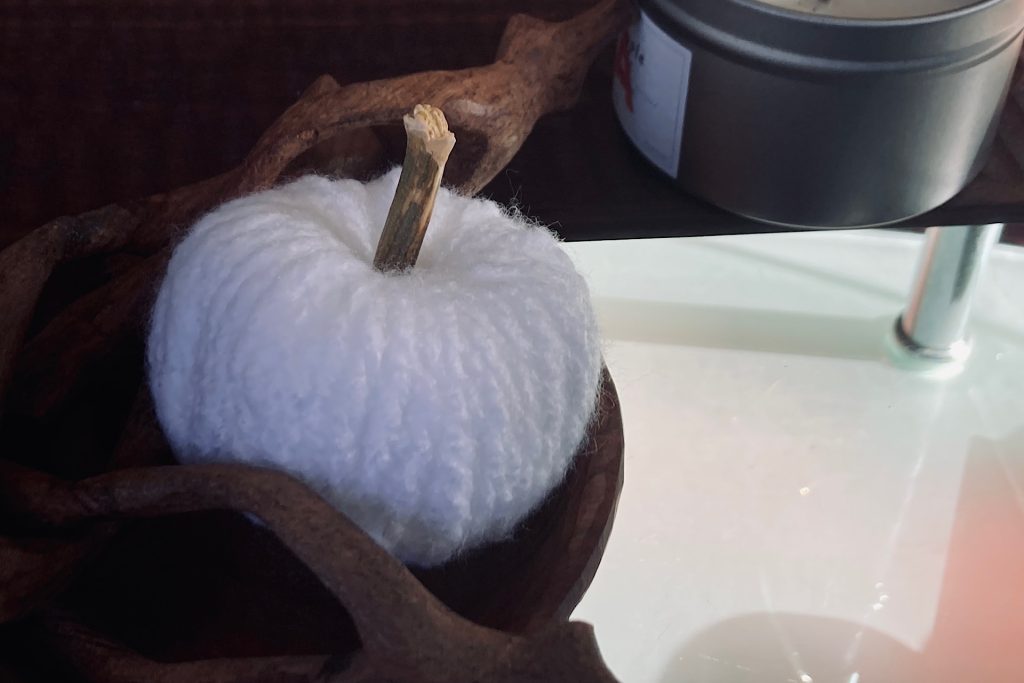
Now, add the finishing touch—a stem! I chose a real mini pumpkin stem for an authentic, rustic vibe, but feel free to get creative. Twigs, cinnamon sticks, or even a little twist of raffia can make lovely, unique stems. You could even add a touch of faux vine if you’d like. This final detail will bring your minimalist white yarn pumpkin to life, ready to cozy up your decor from fall to winter.
Thank You for Crafting Along!
I hope you enjoy making these cozy, minimalist white yarn pumpkins as much as I did! They’re a simple, satisfying project that brings a touch of seasonal charm to any space. If you give this DIY a try, I’d love to see how your creations turn out—feel free to share your photos with me. It’s always a delight to see the unique touches others bring to this craft!
If you’re looking for more seasonal inspiration, here are a few related projects you might enjoy:
- Simple White Christmas Tree Wraps – A perfect match for your yarn pumpkins, bringing a wintery, handmade touch to your decor.
- Create Winter Magic: Frosted Epsom Salt Candle Jars – Capture a snowy glow with these frosted candleholders, ideal for cozy evenings.
Subtle Autumn Color: Enamel-Dipped Pumpkins – Add a soft hint of autumn color to your decor with these charming, enamel-dipped pumpkins. They’re an easy way to celebrate fall with understated elegance.
Winter Wonderland DIY: Painted Birch Branch – Bring a touch of the forest indoors with painted birch branches that add a wintery, natural element to any room.
Thanks again for joining me on this creative journey—happy crafting!
