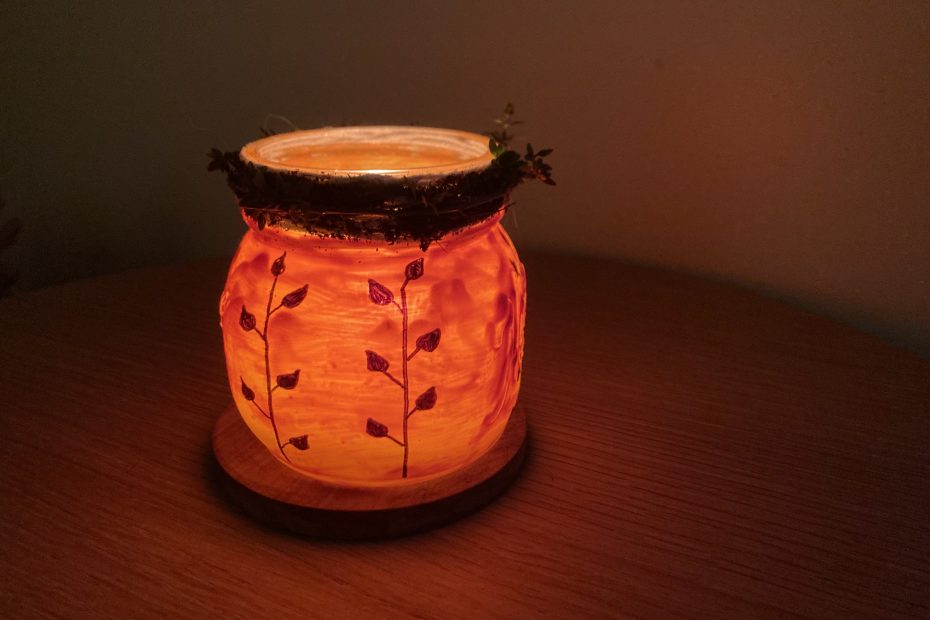
Fall is here, and if you’re looking for an easy, seasonal craft with rustic charm, these Fall Mason Jar Pumpkin Lanterns are just the thing! They focus on the simple elegance of a pumpkin shape without the spooky jack-o-lantern vibe. With a few mason jars, some cozy chalk paint, and a little creativity, you can create charming lanterns that add a soft, autumnal glow to your home. Whether you’re crafting with family and friends or on your own, this project is a delightful way to celebrate the beauty of fall—no carving required!
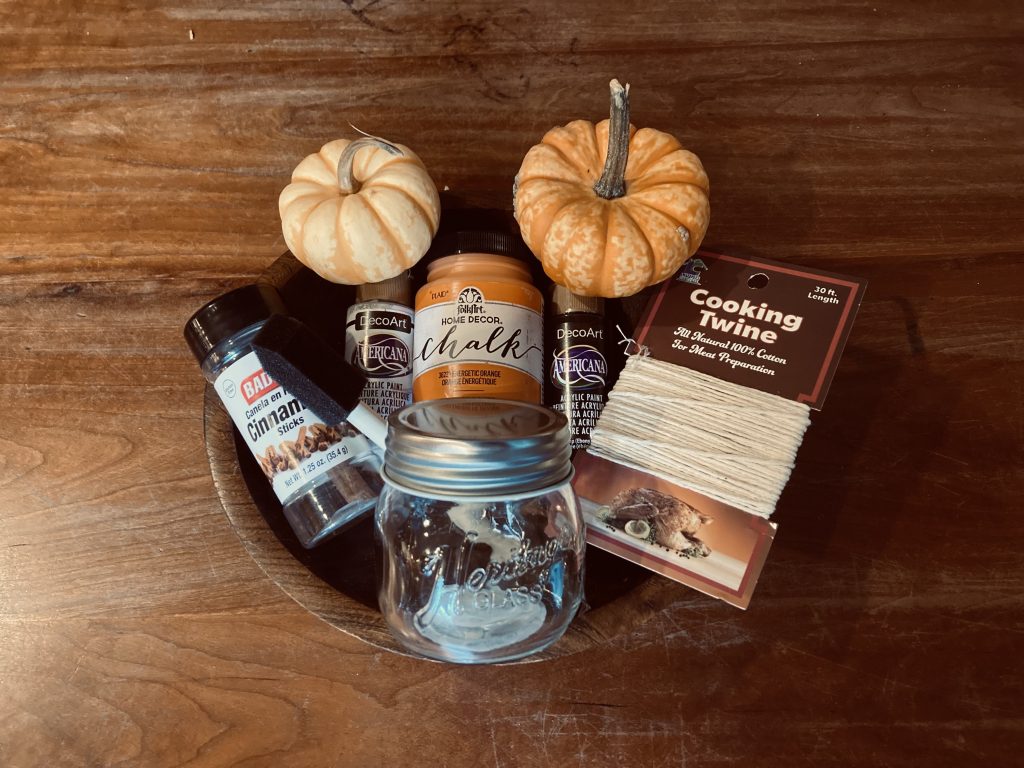
When it comes to color choices and embellishments, feel free to get creative—this is where personal preference makes it your own! For this project, I pulled from my own supply box and chose a warm orange chalk paint, kitchen twine, and a fresh thyme sprig to complete the look, but you can easily customize these details to suit your own style and taste. I’ve added links for my jar, orange chalk paint and foam brush if they appeal to you.
Prepping the Mason Jar for Paint
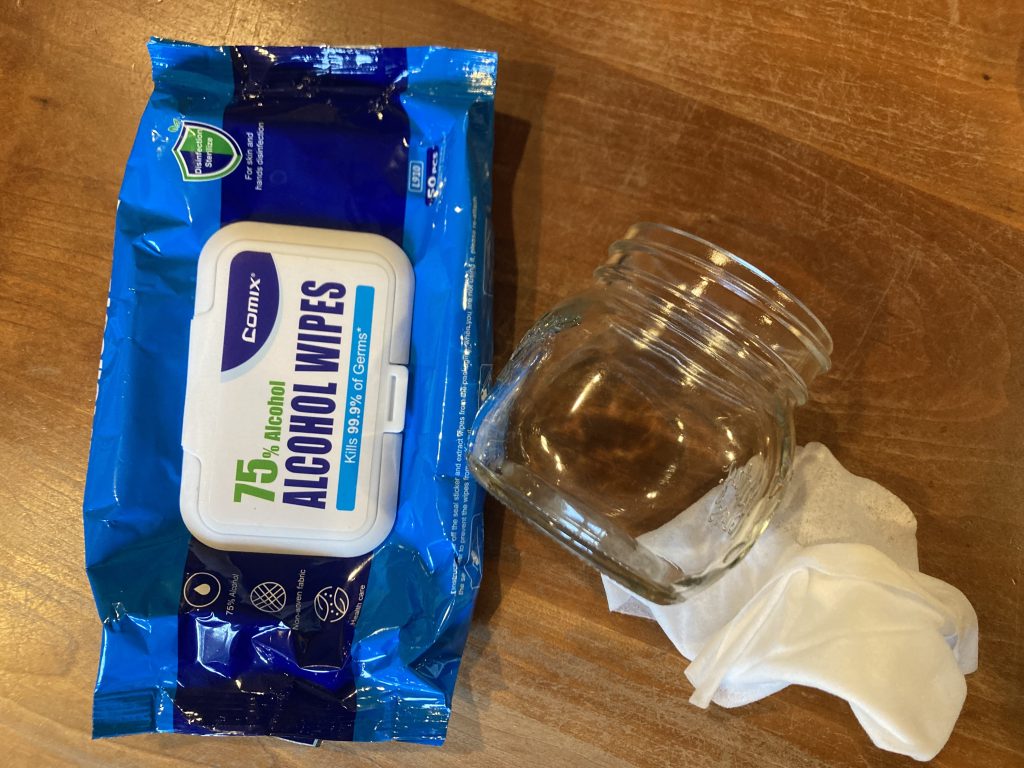
Before you dive into creating your Fall Mason Jar Pumpkin Lantern, it’s important to properly prepare the jar for painting. Start by removing any labels or stickers from the jar—especially those on the surface you’ll be painting. I didn’t mind leaving the label on the bottom, but anything visible needs to go! To get rid of any sticky residue and ensure a clean surface, I used alcohol wipes. They do the trick quickly and leave the jar spotless, allowing the paint to adhere evenly. The best part? The alcohol wipe prep dries fast, so you won’t have to wait long before jumping into the fun, creative part. Just make sure your jar is fully dry before you begin painting!
Applying the First Coat
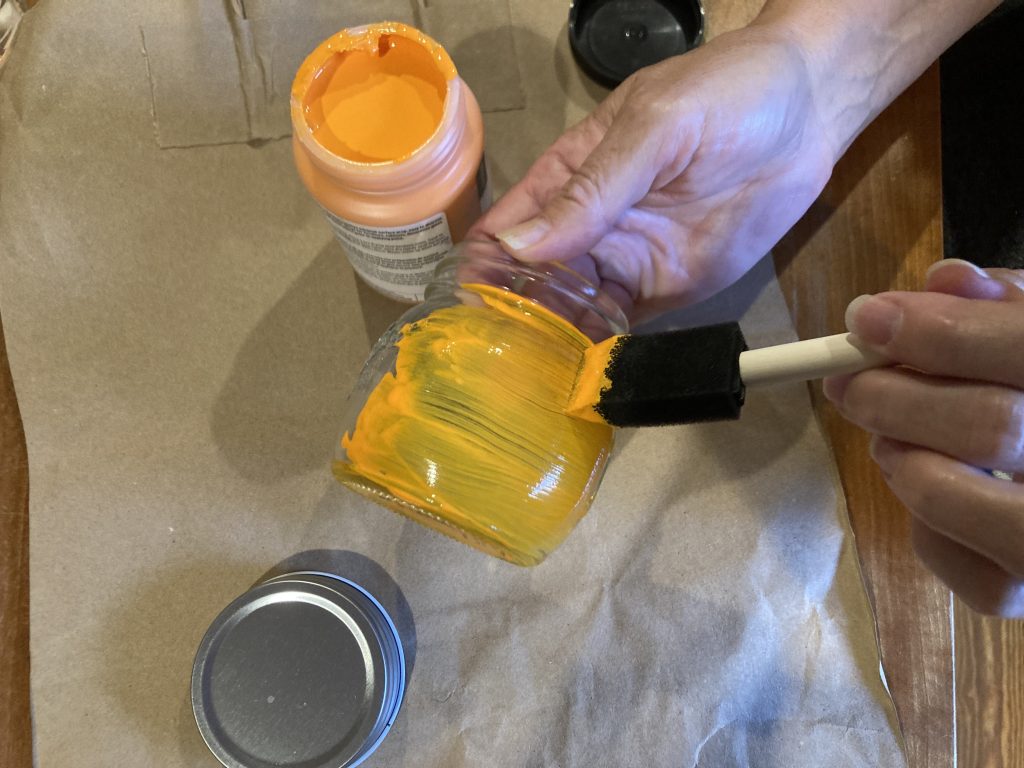
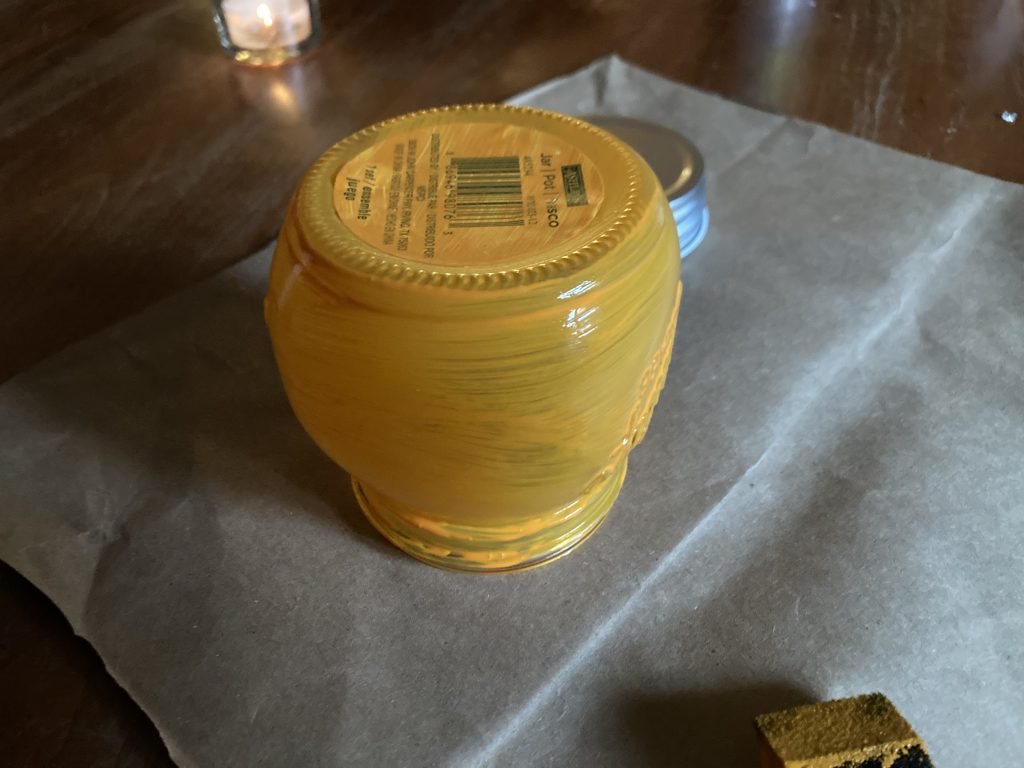
When it comes to painting your Fall Lantern, I find it easiest to slip a few fingers into the mouth of the jar. This gives you a good grip and makes it easy to turn the jar as you paint around the outer surface. Don’t be concerned if the chalk paint goes on a bit unevenly—it’s completely normal! The paint may look somewhat streaky and translucent at first, but that’s all part of the charm. This imperfect coverage will actually enhance the rustic look as the warm candlelight eventually shines through, creating a beautiful, glowing effect. Just enjoy the process and trust that the final result will be uniquely yours.
Once you’ve finished the first coat, be sure to set the jar aside and allow it to dry completely before moving on. It’s important to let the paint properly adhere to the glass without disturbing it by dragging the brush over a drying coat, which could cause lumps or smudges. Patience here will ensure a smooth finish and a nice rustic glow.
Additional Coats
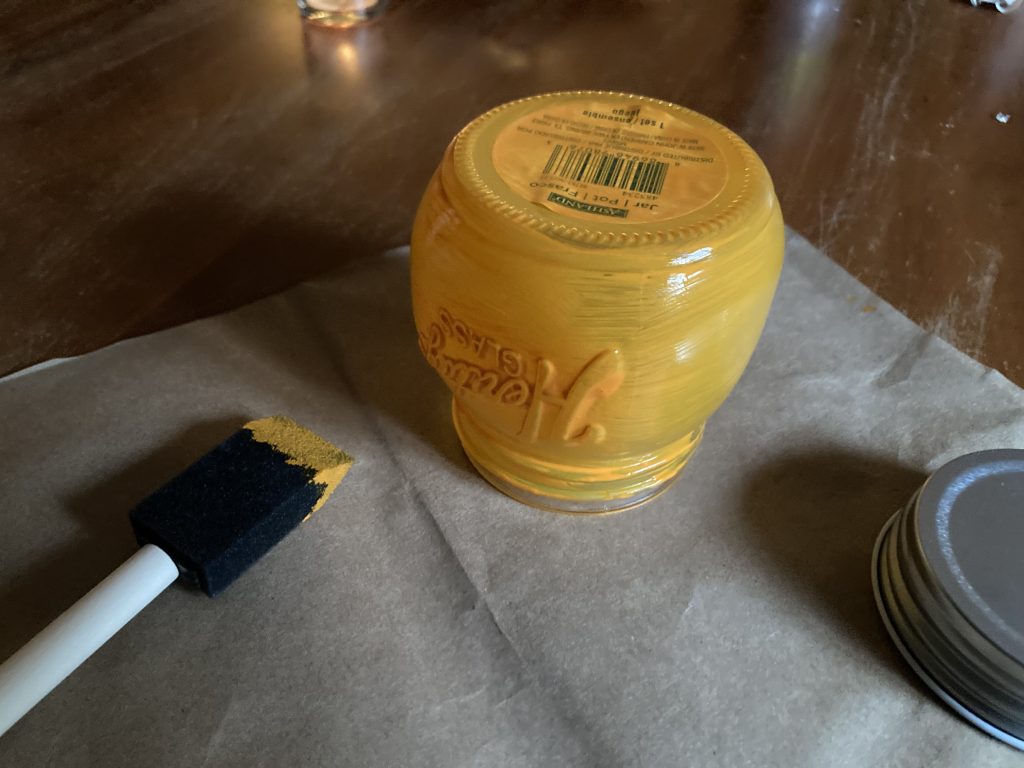
The number of coats you apply to your Fall Mason Jar Pumpkin Lantern is entirely up to you—it’s a matter of personal preference. For my project, I found that three coats gave me the look I was after. As you begin your second coat, you might notice that the sponge brush has a tendency to pull at the base coat in some areas, revealing the glass underneath. Don’t worry! Just smooth the paint gently, and resist the urge to keep going over the same spot over and over again, as this will soften the base coat and lift more paint. I’m considering trying a hair paint brush next time to see if it helps with this, but honestly, I love the rustic charm that comes with the uneven texture of chalk paint.
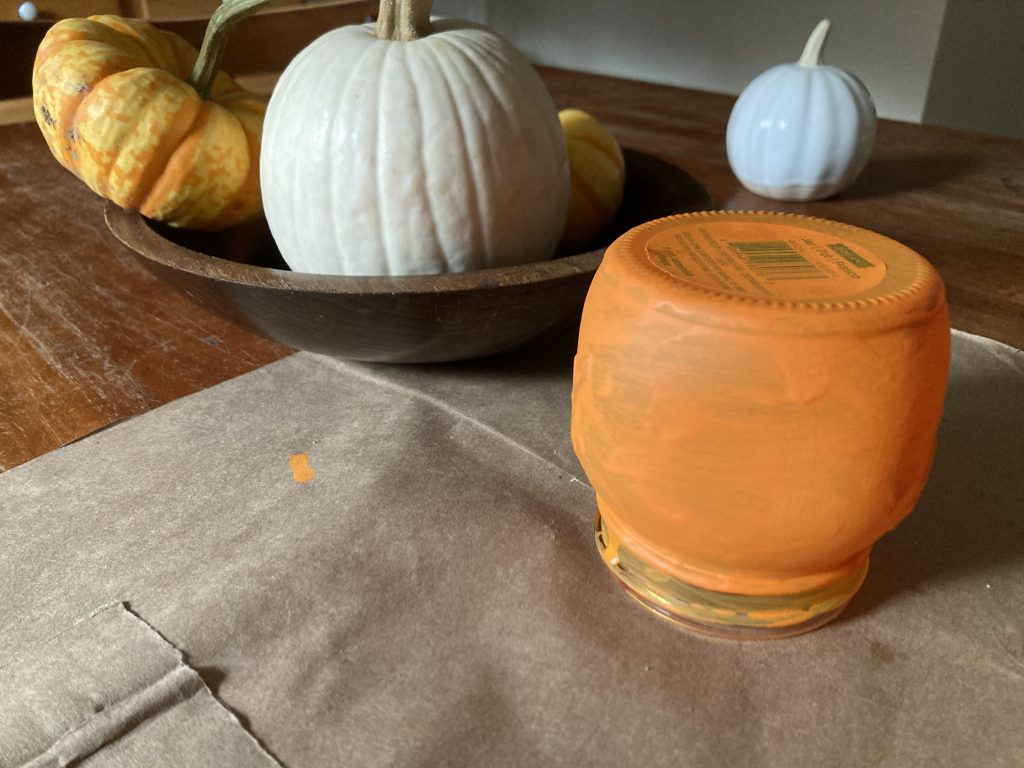
By the time I applied the third coat, the paint went on more evenly, but again, it’s important to avoid overworking any one area. The chalk paint can soak in and lift the previous layers if you go over it too much. Embrace the “messy-wonderful” nature of this project—the paint will be thicker in some spots and thinner in others, which actually makes the glow of the candle more interesting and unique when your lantern is finished.
Vine Pattern
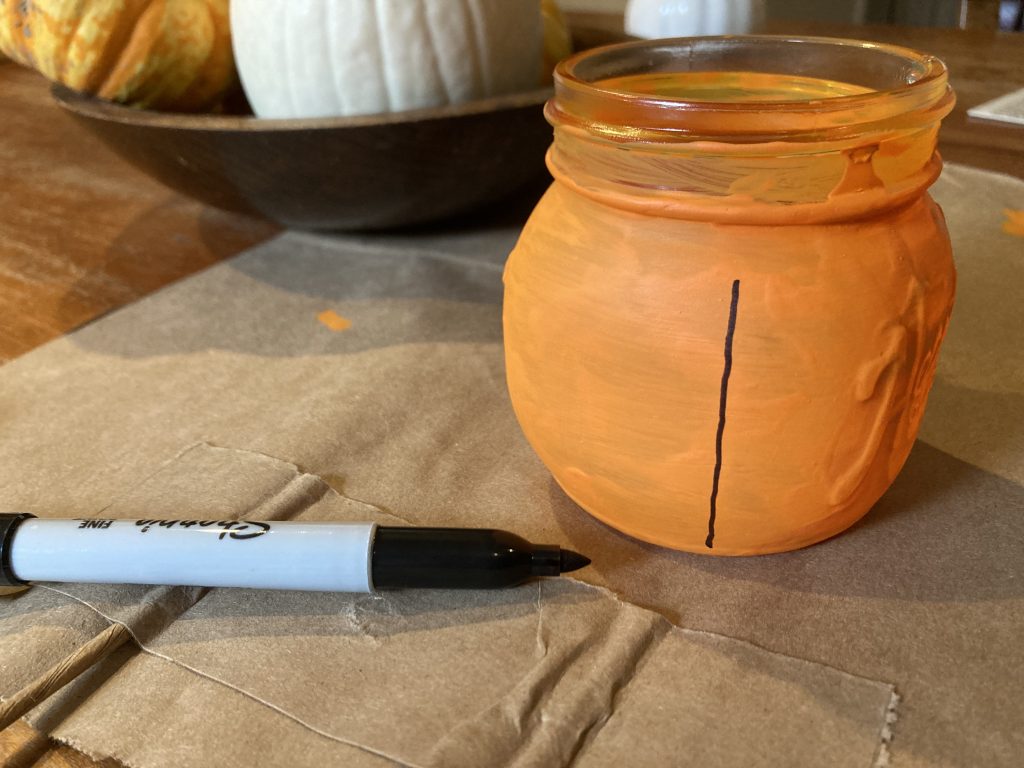
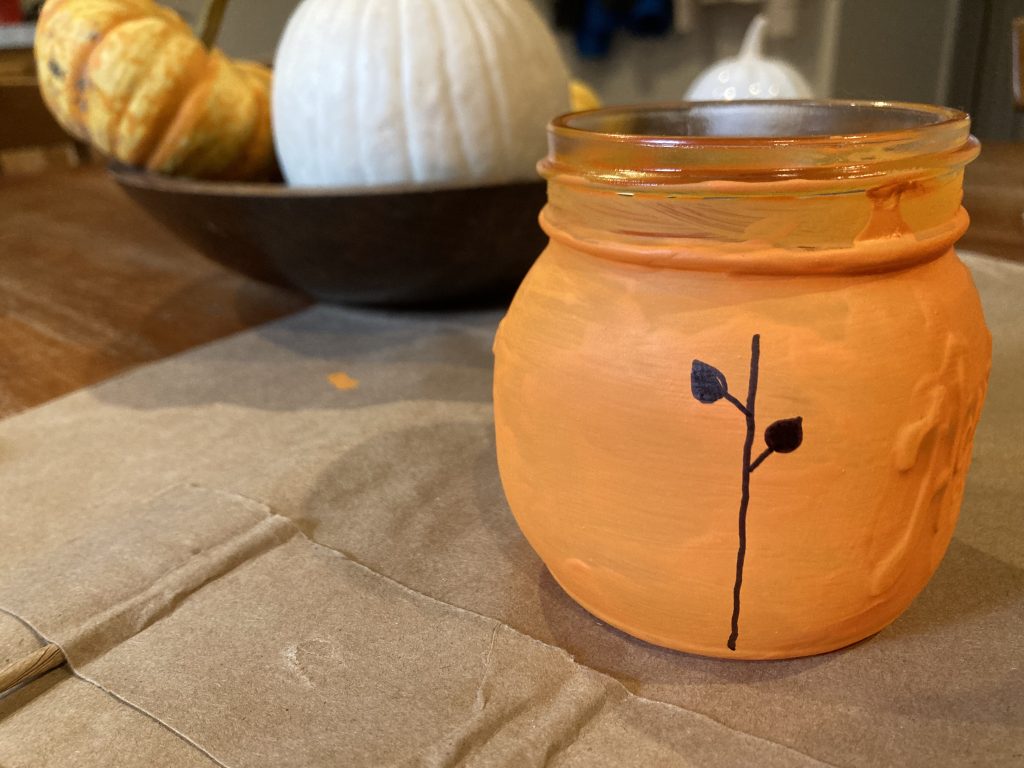
Initially, I considered using a thin paintbrush and black acrylic paint to create the vine pattern on my painted mason jars. However, I ended up deciding on a medium-tip Sharpie, and I’m glad I did! Using the Sharpie gave me more control and a steadier hand, making the application easier and more precise.
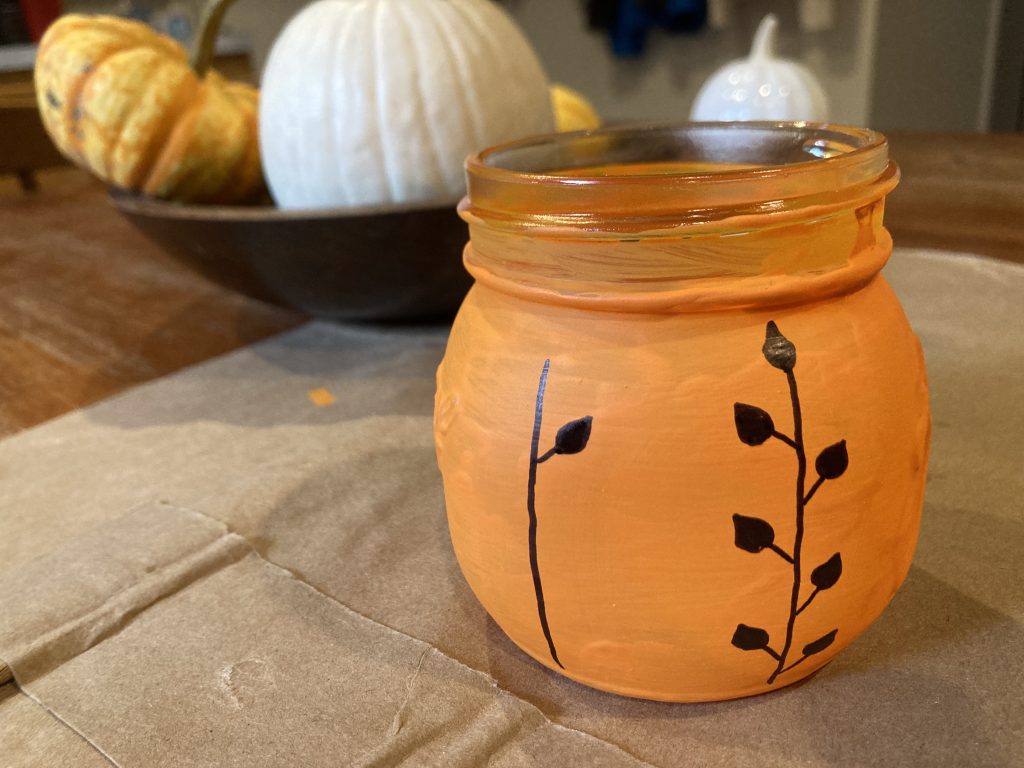
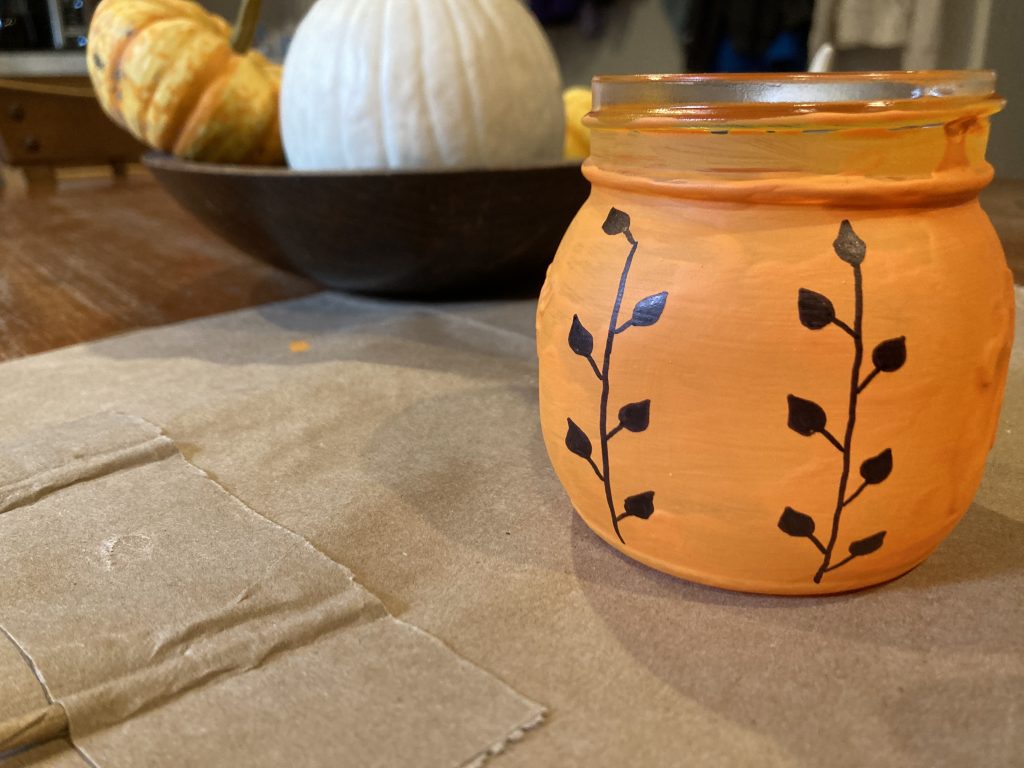
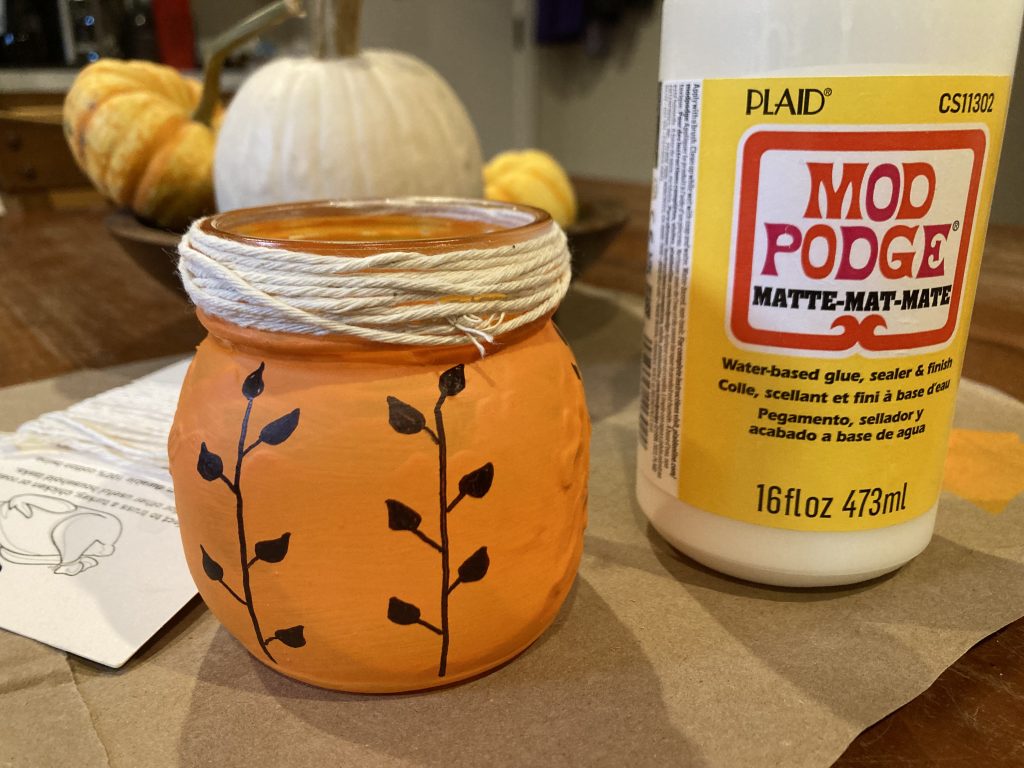
For the pattern, I simply drew straight lines around the jar, adding small pegs along either side. To create the leaves, I used a simple teardrop shape and filled them in with the pen to make them solid black. I chose to draw the vines on the sides where the raised logo in the glass is located, but instead of drawing over the lettering, I stopped my lines and leaves at the top of the letters and resumed them below. This creates the effect of the vines receding behind the lettering, without interfering with it.
Don’t worry—this design doesn’t require any special artistic skills. It’s just simple lines and teardrop-shaped leaves, so anyone can achieve this charming look with ease.
Finishing Touches
This is the part of the project where you can really let your creativity shine. One option is to decorate the jar lid as a pumpkin cap, perhaps using a piece of cinnamon stick as a stem and wrapping the lid with rustic twine. It’s a charming way to complete the look!
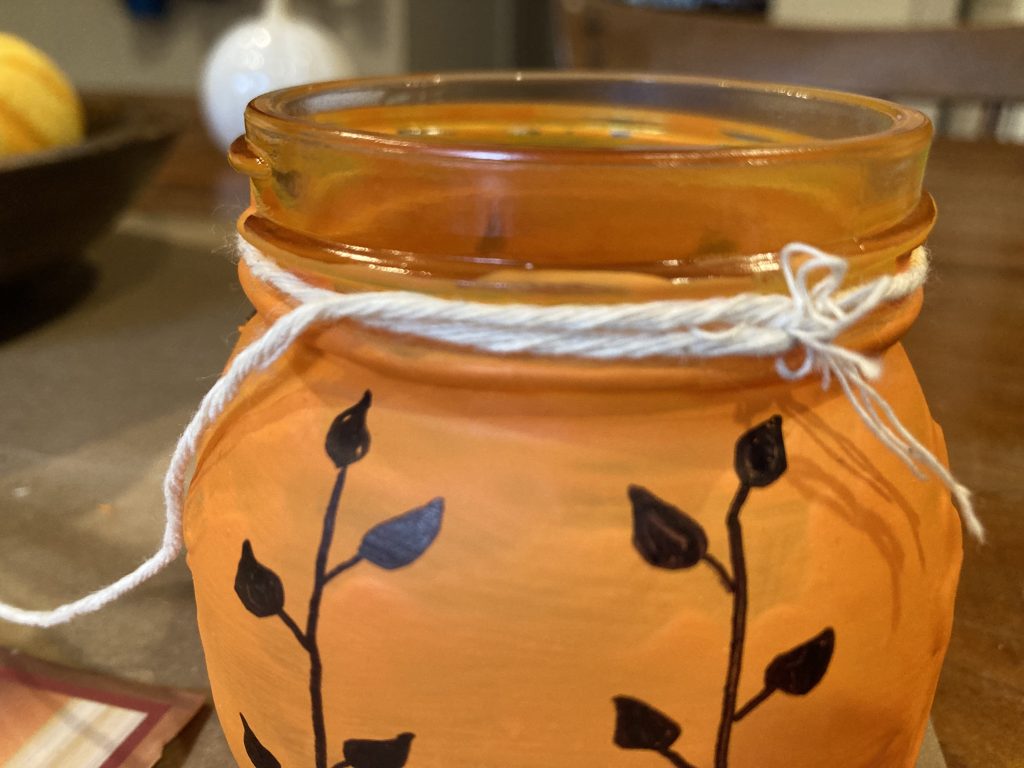
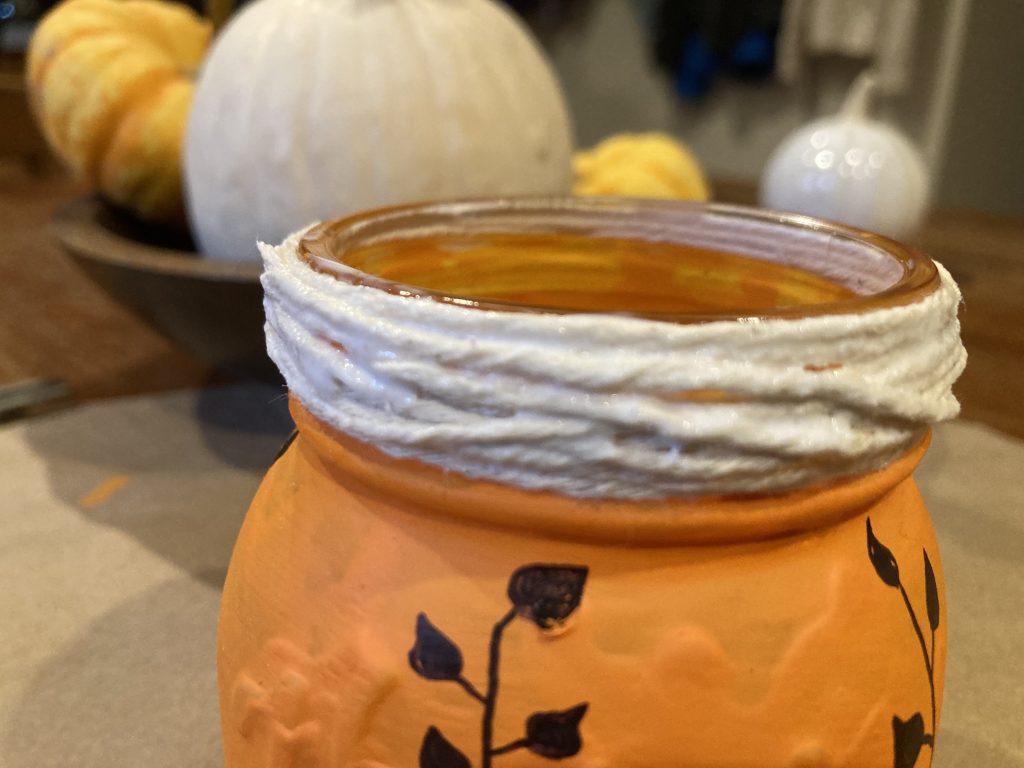
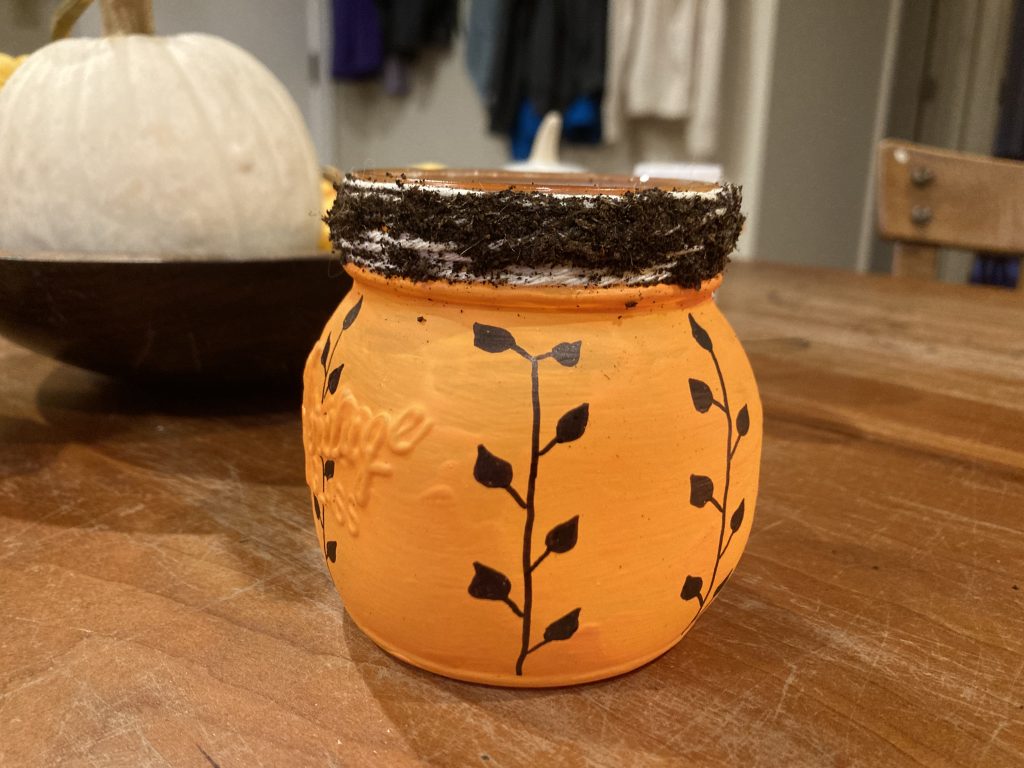
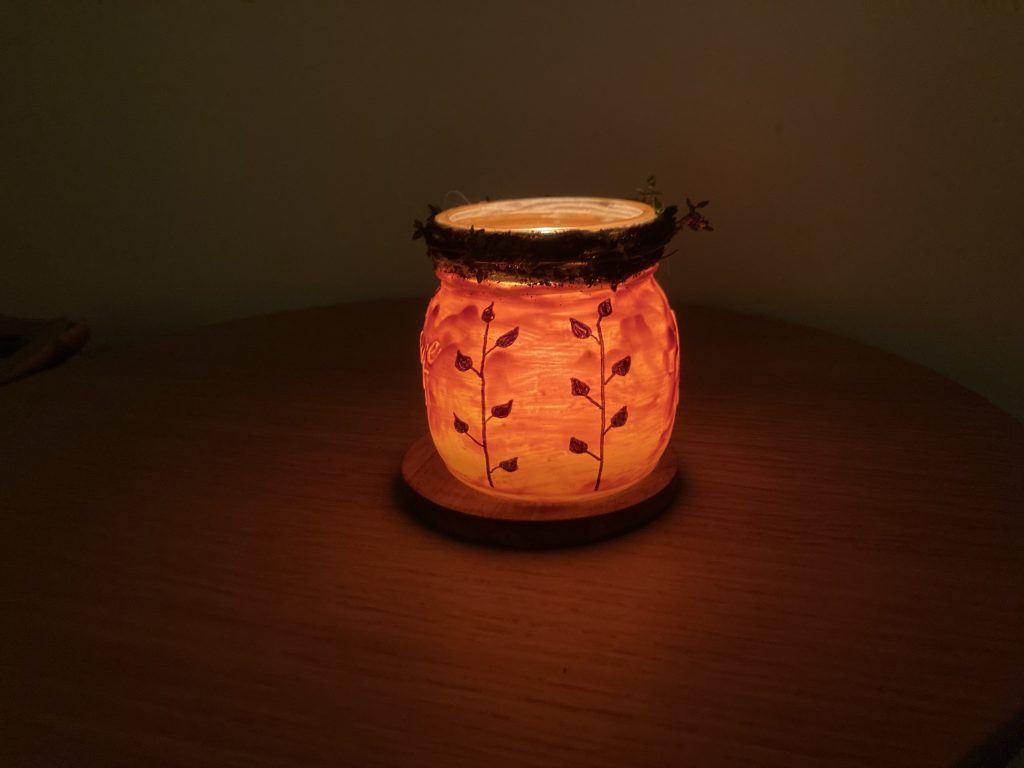
For my Fall Mason Jar Pumpkin Lantern, however, I chose to leave the top open so I could place a tea light inside. To add a decorative touch, I wrapped the mouth of the jar—where the lid screws on—with kitchen twine. I started by circling the opening with twine once and knotting it to hold it in place. Then, I continued wrapping around and around until the area was fully covered. To secure the loose end and arrange the strings exactly as I wanted, I applied a good coat of Mod Podge over the twine. At this point, I wished the twine were a little darker and wasn’t sure how to fix it. With some quick thinking, I pressed a small handful of clean potting soil into the damp Mod Podge, and it worked perfectly to give the twine a more weathered and natural look.
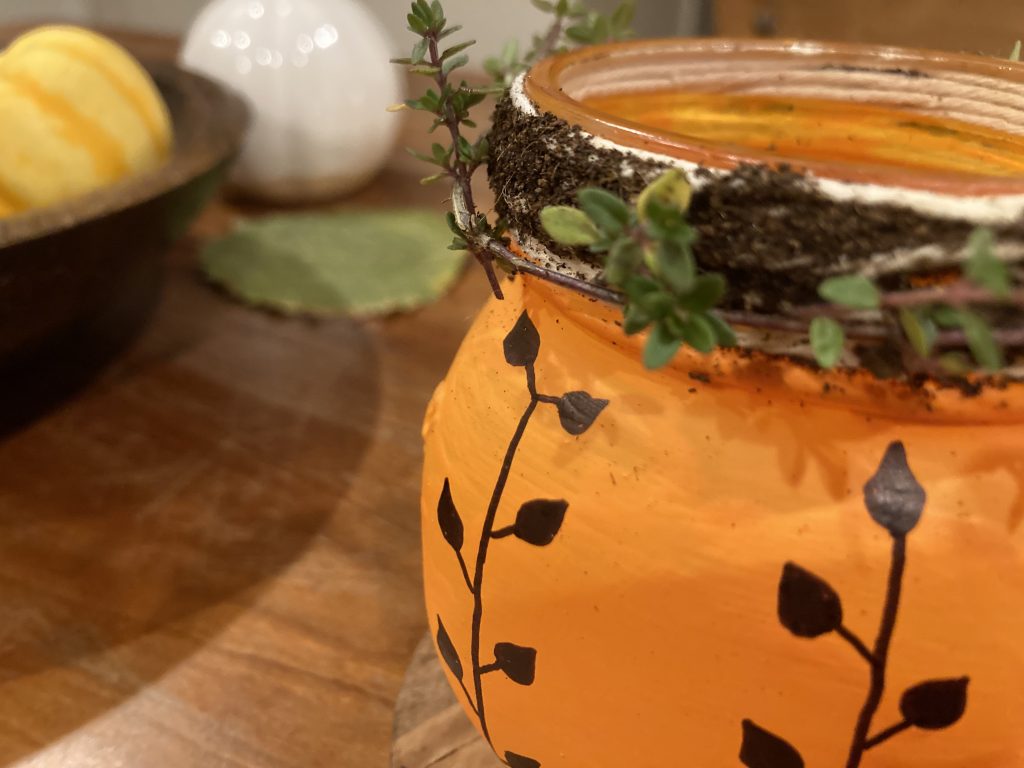
The soil came from my thyme plant pot, so I decided to add a sprig of thyme as a finishing touch. I cut a long piece, formed it into a small circle, and tied it off with brown thread. Then I slipped the thyme circlet over the jar’s mouth and tucked in a few more sprigs around the opening. I was really pleased with the result!
Feel free to take this part in your own direction. Whether you decorate the jar mouth or cover it, there are endless possibilities to make your lantern truly unique.
Light & Enjoy Your Fall Mason Jar Pumpkin Lantern
I hope you’ve enjoyed following along with this simple and fun craft to celebrate the beauty of the fall season. Whether you followed my steps or added your own personal touches, the most important thing is to have fun and let your creativity shine. Once your lantern is complete, place a tea light inside, light it up, and enjoy the cozy, rustic glow it brings to your space.
If you decide to create your own Fall Mason Jar Pumpkin Lantern, I would love to see what you come up with! Feel free to share your creations with me—there’s nothing better than seeing how others put their unique spin on a project.
Related Posts
If you enjoyed creating your Fall Mason Jar Pumpkin Lantern, I invite you to explore more of my autumn-inspired projects! There’s plenty to discover: Check out my related posts for more ways to celebrate the beauty of fall with simple, creative projects that you can enjoy with family and friends.