Skip to content
Home » Cinnamon Spice Baked Ornaments

Cinnamon Spice Baked Ornaments

Cinnamon Spice Baked Ornaments

These charming pumpkins are a unique twist on traditional cinnamon ornament bakes.  The recipe is simple and fun to put together.  It is a one-bowl mix with 3 easy ingredients:  spices, applesauce, and white glue.  After shaping and drying out in a low-temp oven, these Cinnamon Spice Baked Ornaments are ready to decorate and enjoy!

The dough recipe is appropriate for a variety of holiday craft themes.  These rustic little pumpkin shapes will carry well from early autumn through Thanksgiving.   Consider creating another batch to craft snowmen before the snow begins to fly.  The dough can also be rolled out for cookie-cutting ornaments, napkin rings and gift tags.

The finished product smells fantastic!  Refresh the scent with a drop of essential oil if it begins to fade.  Cinnamon fragrance is spicy and sweet; a popular choice for at-home aromatherapy.  We associate the scent with holiday memories, delicious desserts, and cozy living.  What could be better?

I particularly like this brand of cinnamon essential oil.  Cinnamon cassia is certified organic without additives or fillers. 

(Disclosure: Late Bloomer in Bakerville is a participant in the Amazon Services LLC Associates Program, an affiliate advertising program designed to provide a way for websites to earn advertising revenues by advertising and linking to Amazon.com )

Cinnamon Spice Baked Ornament in Pumpkin Shape
Cinnamon Spice Baked Ornament in Snowflake Shape

Mixing the Cinnamon Spice Dough

Measure the applesauce into a glass or metal mixing bowl. During cleanup, it is easier to remove residue from a nonporous surface. Stir the glue into the applesauce. When it is smooth, add the dry ingredients (cinnamon, clove, and allspice). Ginger might be a nice addition as well. Feel free to experiment with your own spice combination. If you do, adjust your measurements so you have the same total amount of dry to wet ingredient ratio.

Stir with a metal or silicone spoon until the ingredients come together into a soft dough. Again, it may be harder to remove the residue from a wooden spoon. You may need to use your hands at the end to bring it all together to form a ball. The mixture may be a little wetter than you expect, but it should still hold together well.

Ornament making glue and applesauce in mixing bowl
Spices in mixing bowl for ornament baking
Mixing spices, glue and applesauce for ornaments
Cinnamon Spice Baked Ornaments Dough

Much like cookie baking, these Cinnamon Spice Baked Ornaments are a fun project for young children to help with. All the ingredients are non-toxic, but they are not edible. Cinnamon used in cooking as a flavoring is very safe. Yet, swallowing a spoonful of dry cinnamon can cause breathing or asthma problems. And, of course, this recipe also contains glue. A simple solution is to pre-mix the ingredients. Then, little hands can help with the rolling and shaping. This way it is more like handling playdough than a baking project.

Forming the Pumpkin Shapes

Now that you have a large mound of dough, break off a piece to form a 2-3″ ball (think meatball-sized). Give the raw dough a firm squeeze in your fist before trying to roll it into an orb. It seems to remove a little moisture and help it come together better. Place each orb on a cookie sheet lined with parchment paper. Continue forming balls until all the dough is gone. This recipe should yield approximately 16 dough balls.

Rolled dough ball ornaments on cutting board

Once all the balls are lined up on the cookie sheet, it’s time to make them look like pumpkins. You’ll need to use a knife to score the tops. The scoring will emulate the ridges on a pumpkin shell. Press the knife about 1/8 to 1/4″ deep across the center of each dough ball. Don’t go too deep with the knife or they will split when drying. Now, lay the knife at a diagonal across the first line you made and score again. Make one more diagonal score in the opposite direction. Now the pumpkins will have six ridges.

At this point, you may want to dampen your fingers to smooth out any bumps or unevenness between the ridges. It requires very little water to smooth the surface. If you prefer, you can leave the imperfections to add a rustic vibe.

Scoring ornament dough
Knife scores on ornament dough
Knife-scored Cinnamon Spice Baked Ornaments

Adding Stems to the Pumpkins

Insert a cinnamon stick in the center of each pumpkin. I bought a small container of whole sticks and used a serrated knife to cut each stick into two or three pieces. If the diameter is too thick, insert the knife tip between the rolled folds to divide them lengthwise. Press the sticks far enough into the pumpkins so the dough grabs them, and they are secure. The pressure of inserting the cinnamon sticks will flatten the pumpkins out a little. This makes them look more like natural pumpkins and less like meatballs. Don’t press so hard though that they lose their plumpness.

Cinnamon sticks, cutting board and knife
Cinnamon Spice Baked Ornaments on parchment

Oven Drying and Decorating Cinnamon Spice Baked Ornaments

Now it is time to dry them out. First, you will need to put the baking sheet into a 200-degree oven for approximately two hours. I removed mine at the two-hour mark but placed them back into the oven on a ventilated rack for another ½ hour. This ensured the bottoms dried out. At the two-hour mark, they were firm enough that the rack didn’t leave an imprint on the dough. I used a pizza baking mesh, but a backing rack would work as well.

Once cooled, you can leave them as-is or add a little decoration. I chose the latter, but still wanted them to have an earthy, rustic appearance. I borrowed shreds of dry Indian corn husk and a stem of dry oat grass from one of my other fall arrangements. This is where you can get creative. For example, use fine copper wire to outline the ridges. Additionally, you can wrap it around the stem in curlicue vines for an artsy look. Tie pumpkins clothes-line style onto a length of buffalo-check plaid for country appeal. I chose my grandmother’s antique grain bucket to display them in. I would also scatter them around jar candles or group them on my kitchen counter cutting board.

Cinnamon Spice Baked Ornament in Pumpkin Shape
Pumpkins made from Cinnamon Spice
Bucket of Cinnamon Spice Baked Ornaments

Cookie Cutter Cinnamon Spice Baked Ornaments

Out of curiosity, I did make a second batch to test how the dough would roll out and cut with cookie cutters. It was easy to work with and would make beautifully fragrant ornaments. For this trial, I used a snowflake cutter. I made two holes in the center with a metal straw. I did this so I could thread ribbon through for tying onto packages or use them as napkin rings. Imagine opening a cinnamon-scented holiday gift! I also gave the flat shapes an extra half hour in the oven on the mesh rack to ensure the bottoms dried.

I’d love to hear if you make this dough and what you created with it. Enjoy the project!

Related Posts:

If you are interested in more DIY home fragrance options, visit these links:

Snowflake ornaments unbaked
Baked Cinnamon Snowflake Ornament

Handmade Holiday Home Fragrance: Cinnamon Spice Bake

Cinnamon Scented Shapes
Prep Time20 minutes
Drying Time2 hours 30 minutes

Equipment

  • 1 Non-porous mixing bowl and spoon
  • 1 Measuring cups and spoons
  • 1 Rolling pin (optional)
  • 1 Baking sheet lined with parchment paper
  • 1 Mesh screen or baking rack (Make sure it can withstand 200 degree oven heat)

Materials

  • 1 cup Unsweetened Applesauce
  • 1/3 cup White Glue
  • 1 1/2 cups Cinnamon
  • 1 teaspoon Ground Cloves
  • 1 teaspoon Allspice
  • 1/2 teaspoon Nutmeg
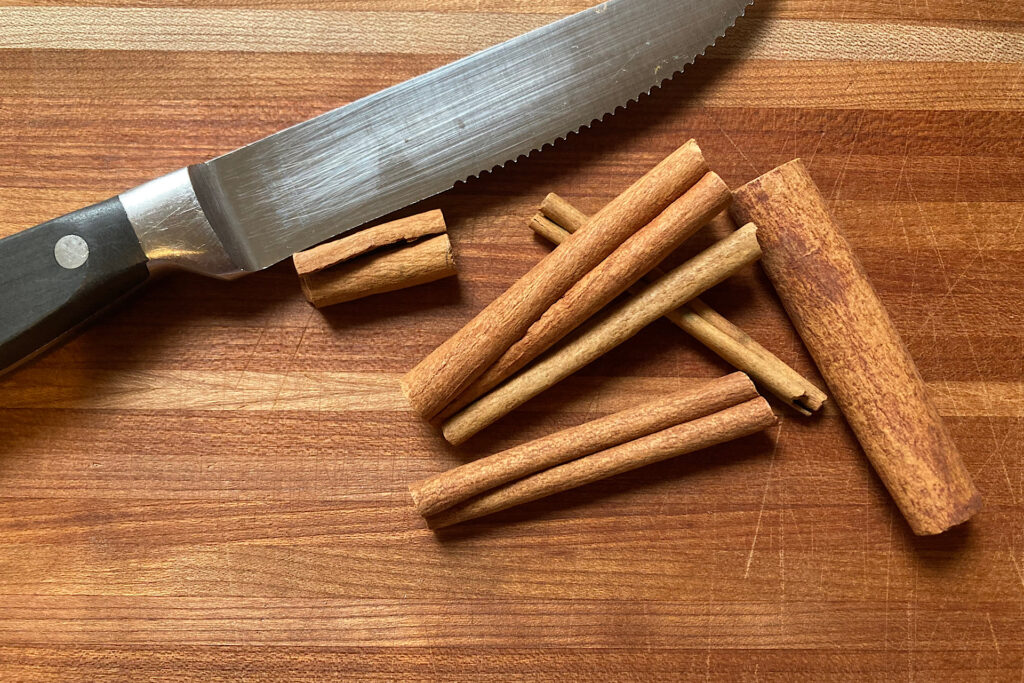
  • 4 Whole Cinnamon Sticks Cut into Pieces

Instructions

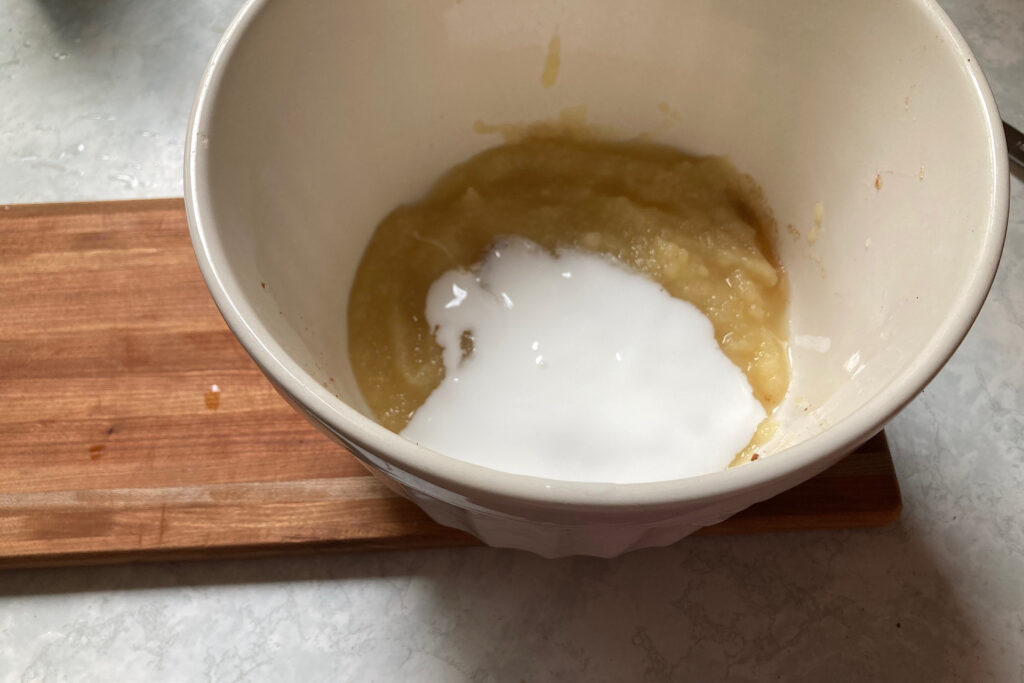
  • Measure applesauce into bowl. Add glue. Mix well with a spoon.
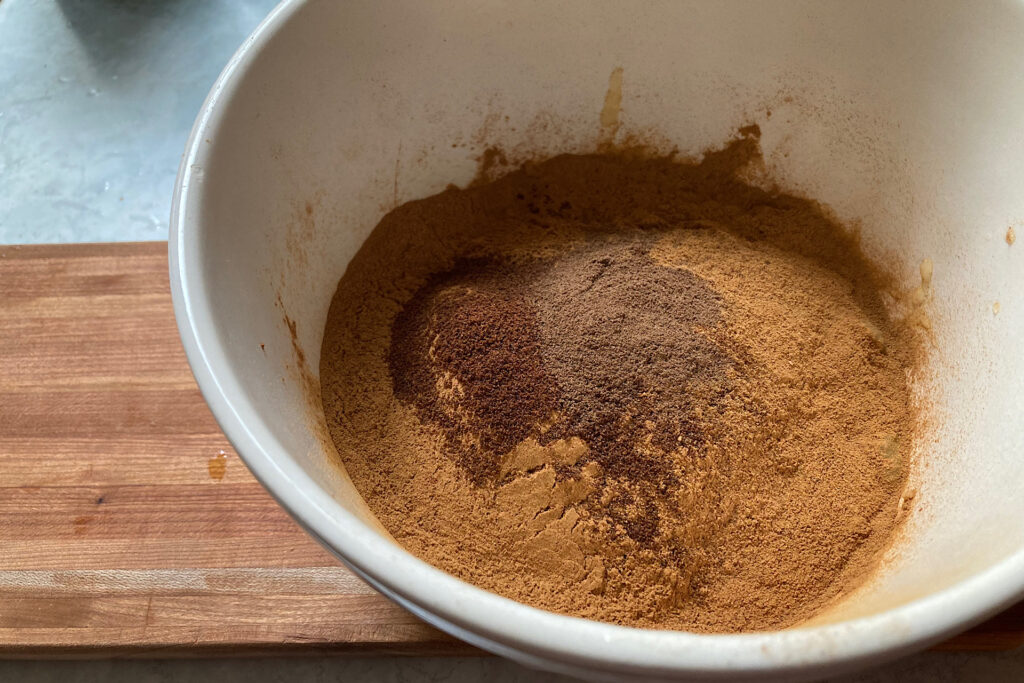
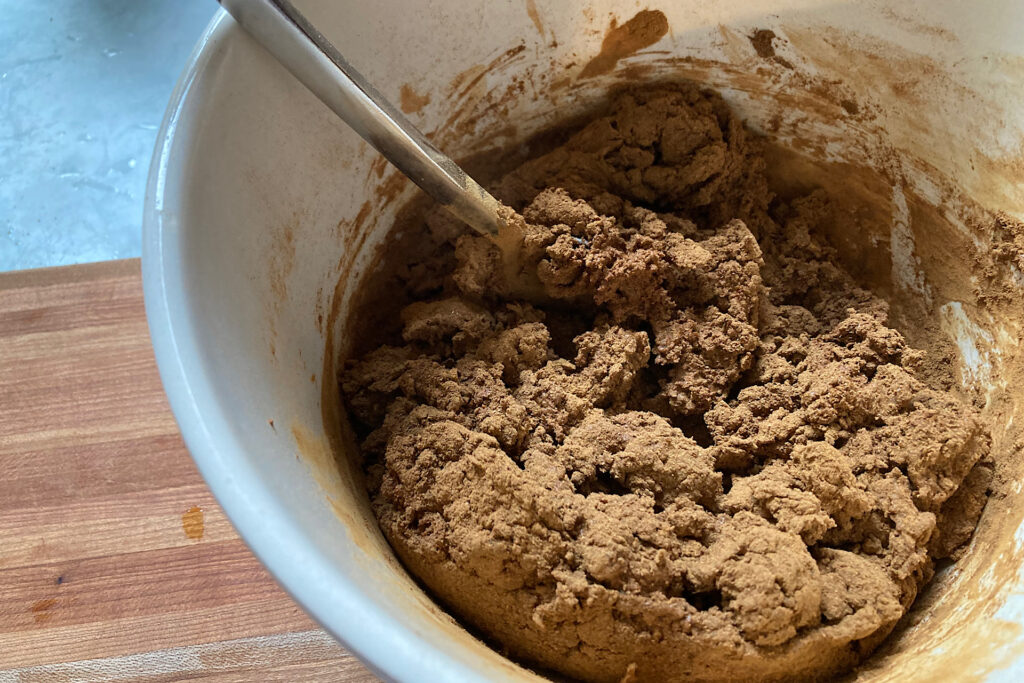
  • Add cinnamon, cloves, allspice and nutmeg to the bowl. Stir well until the dough comes together.
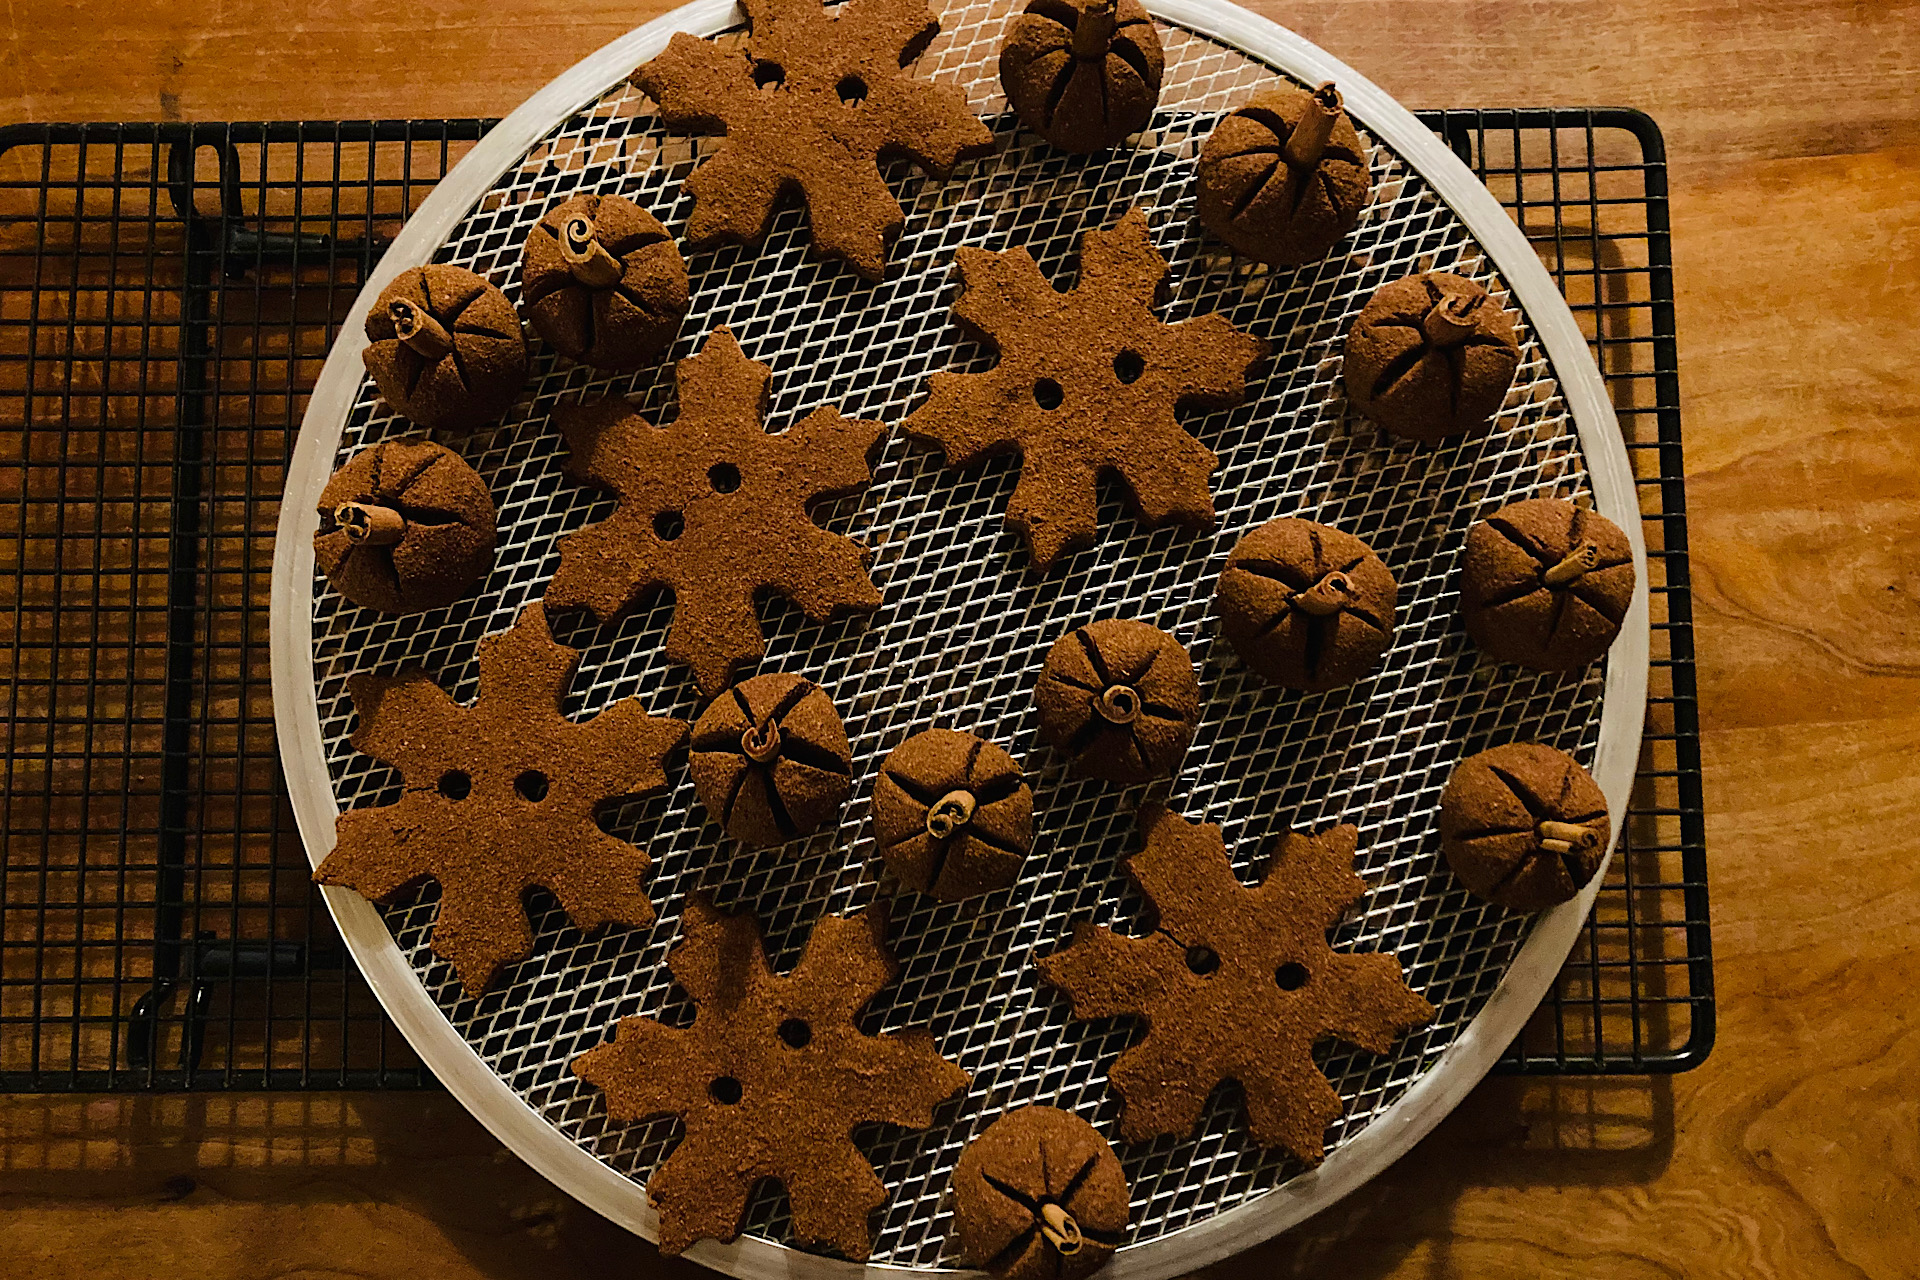
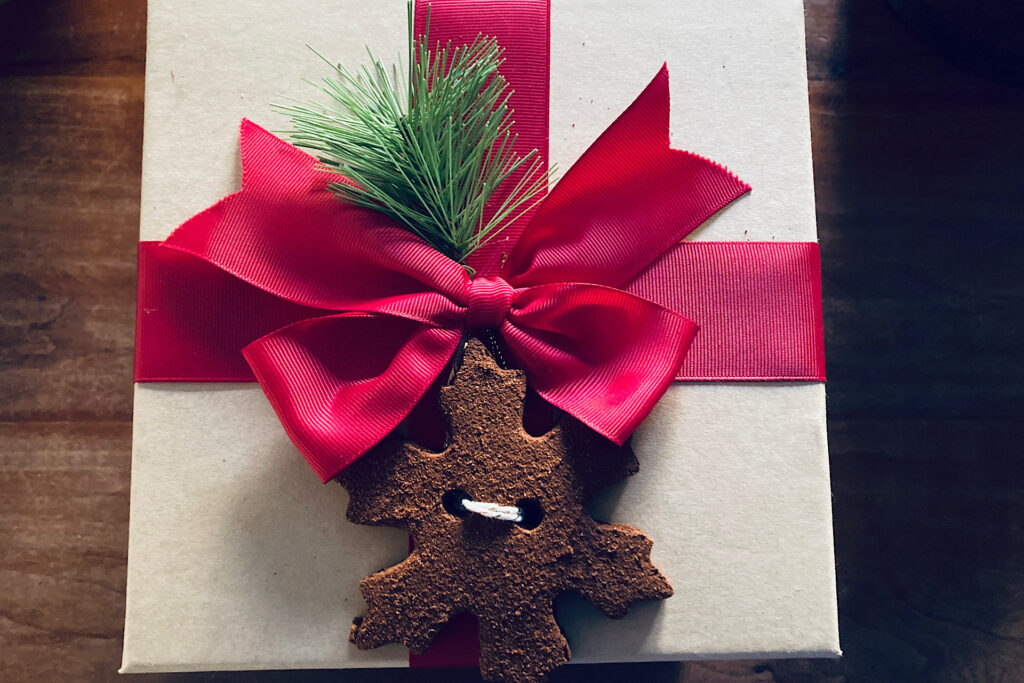
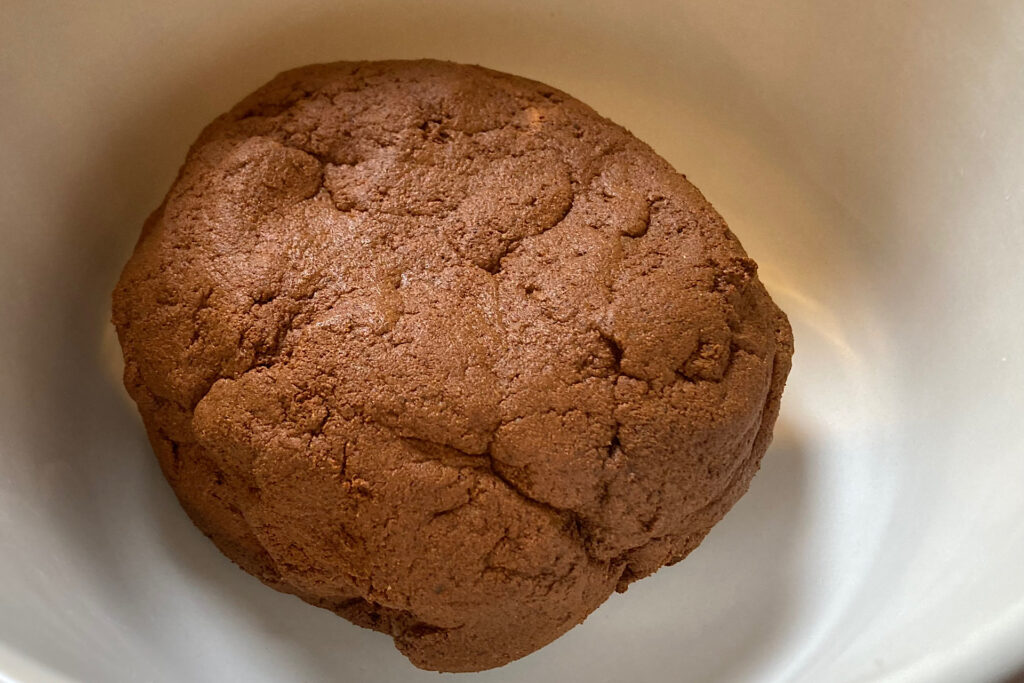
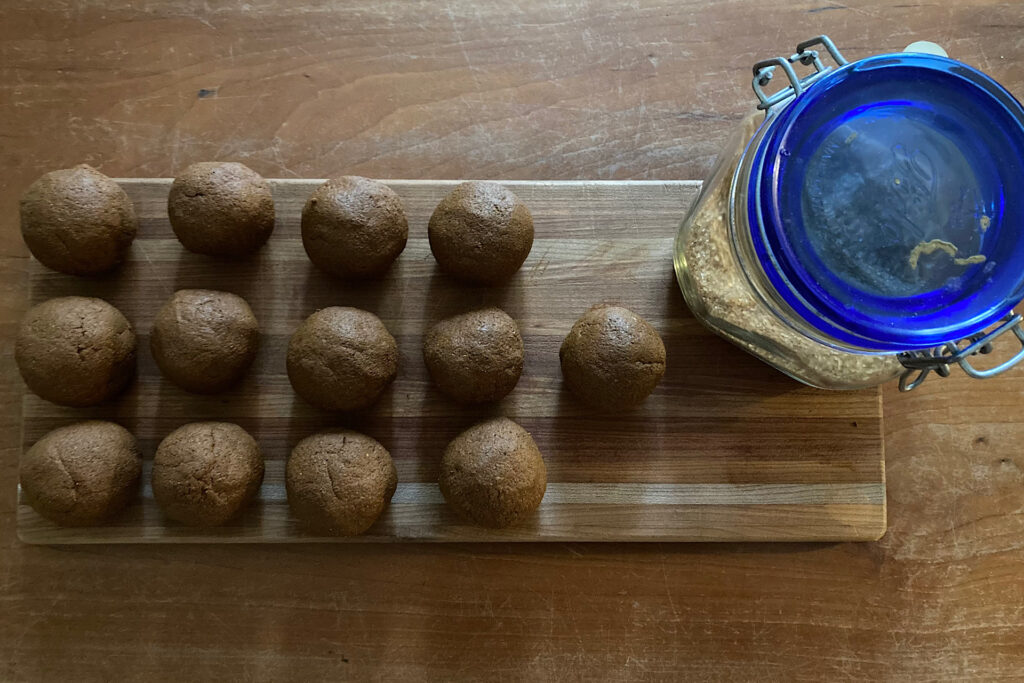
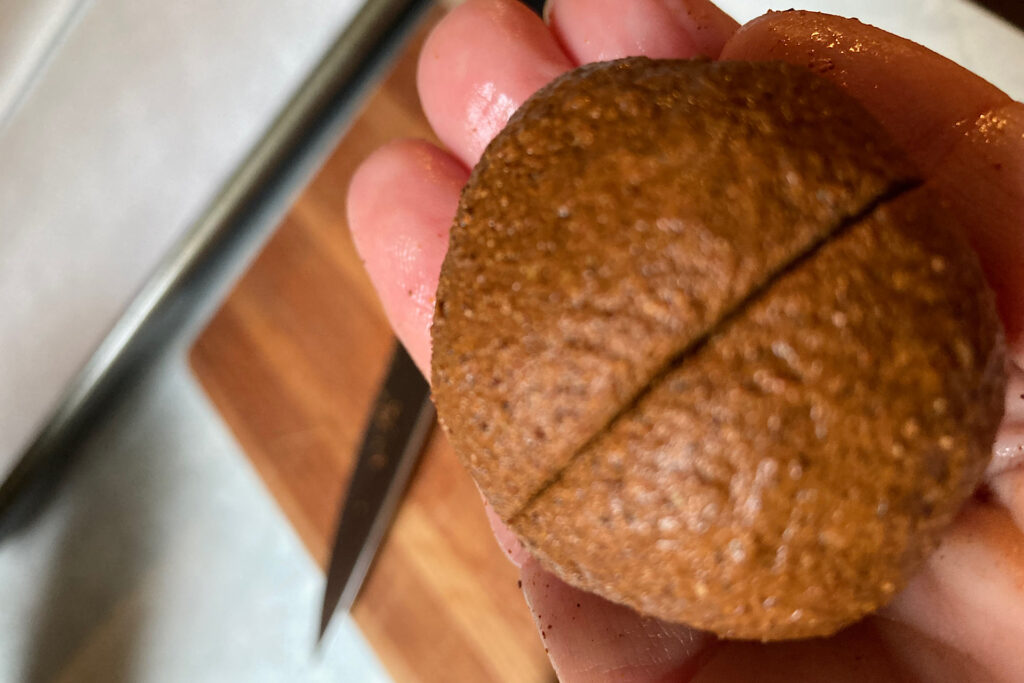
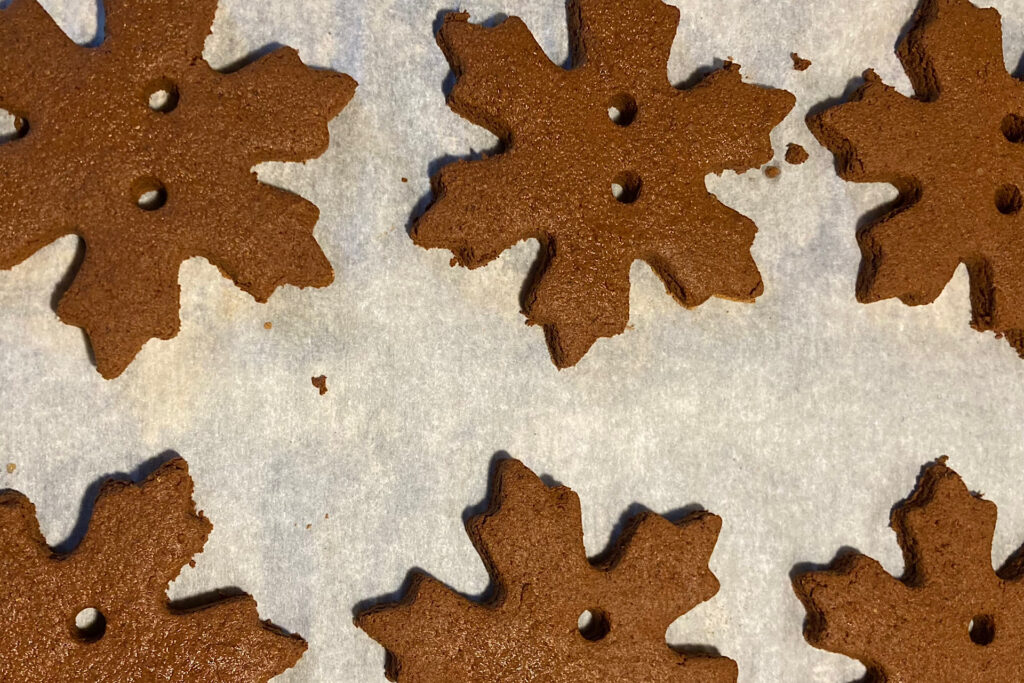
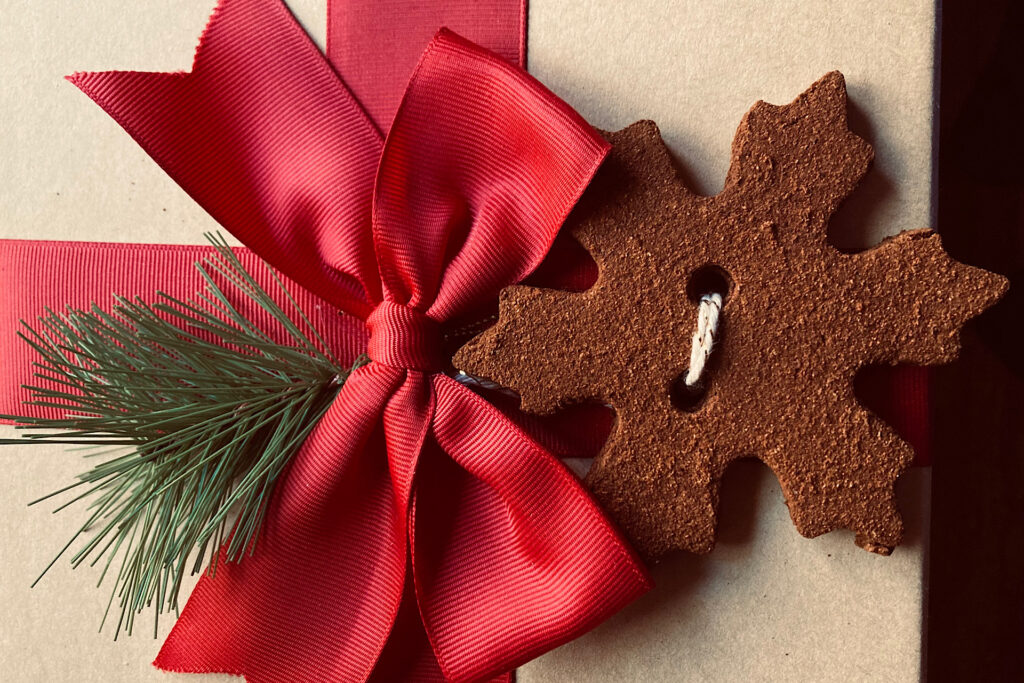
  • Break off enough dough to make 2-3" orbs. Squeeze in your palm to release excess moisture. Roll into a ball set aside until all the dough is used.
    Alternately, roll out with a rolling pin to about 1/4" thick. Cut with cookie cutters. If you would like to make holes for hanging or stringing, use a drinking straw to punch the holes.
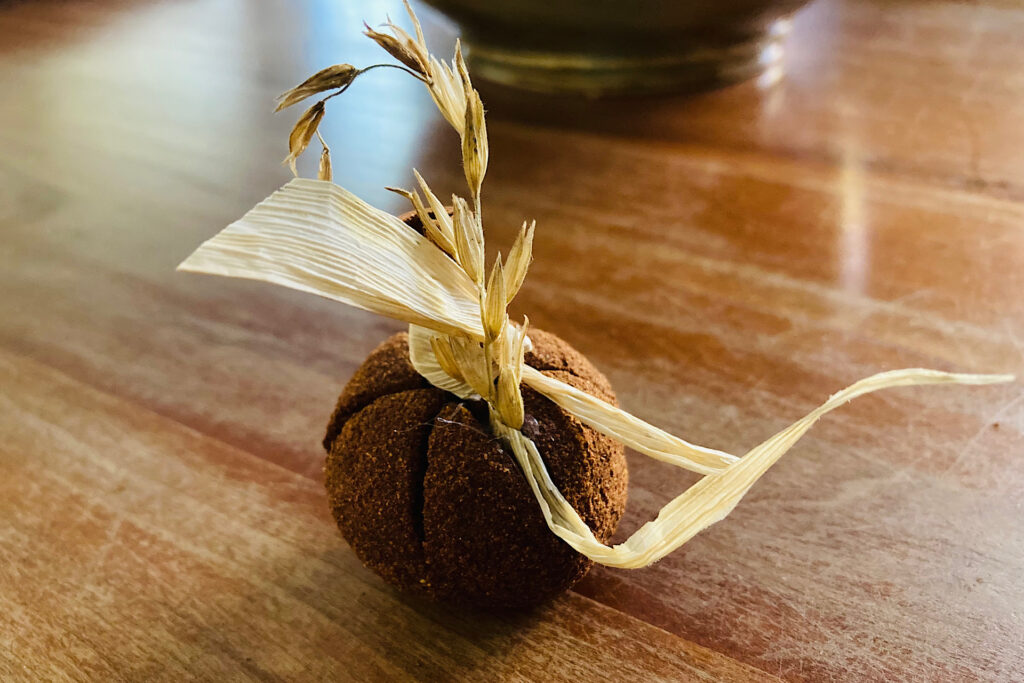
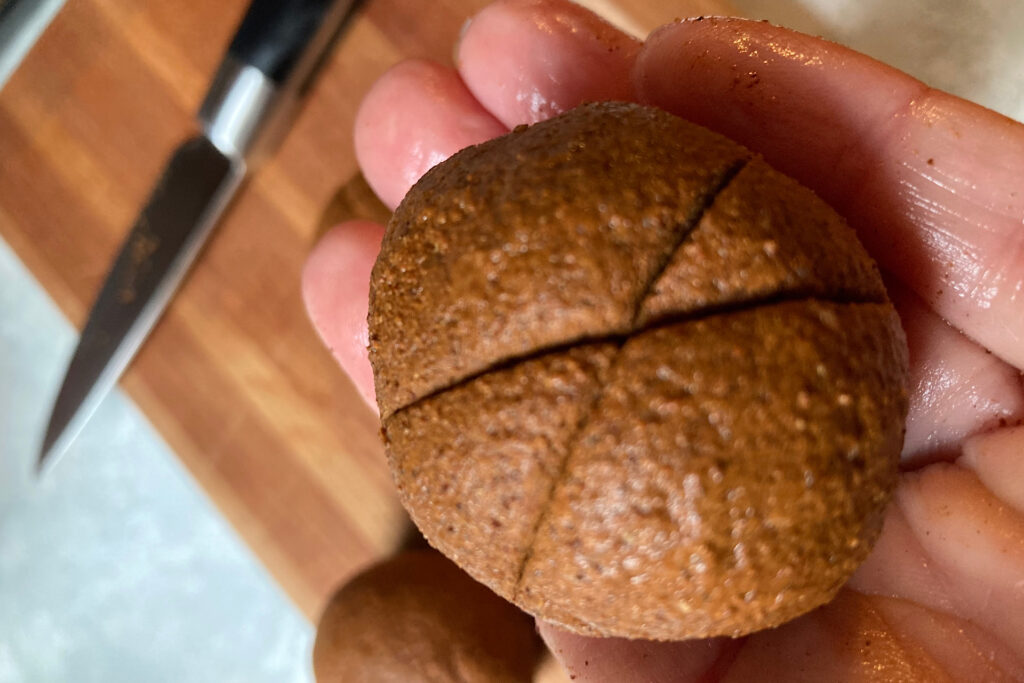
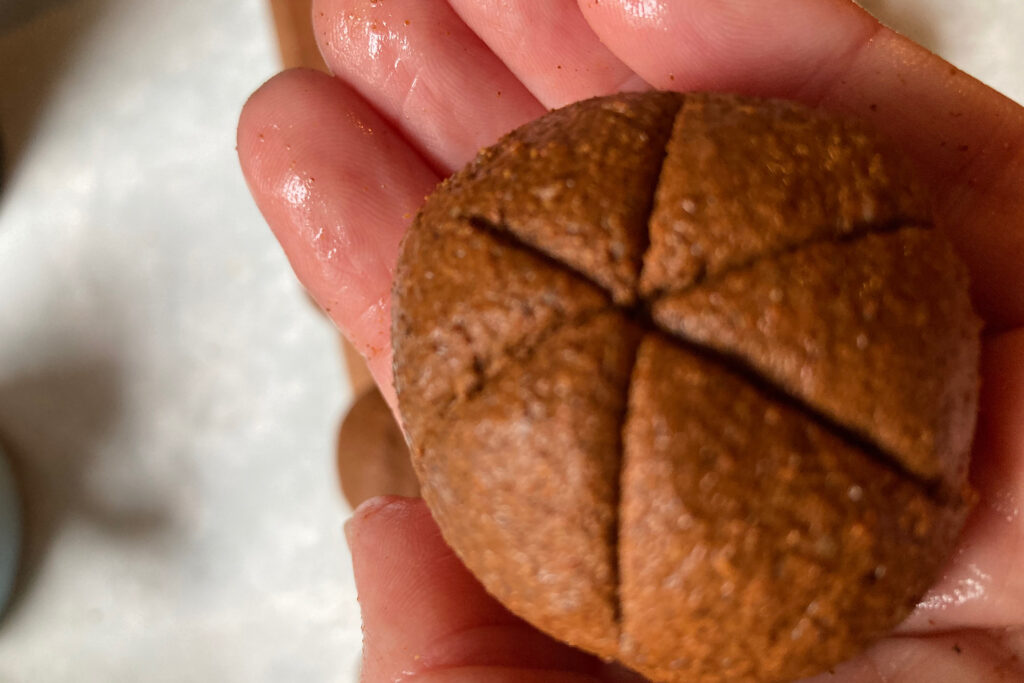
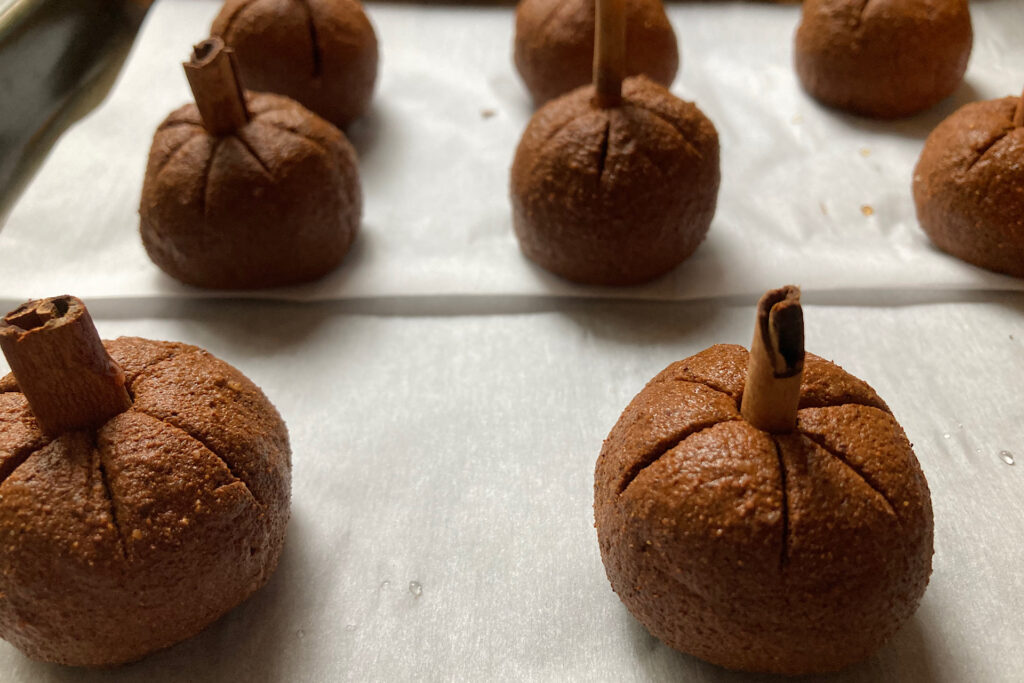
  • If making the pumpkin orbs. Score the top across the top - not too deep - don't go past 1/4" inch so they do not split when drying. Make a second score at a diagonal over the first one. Make the last score as an opposite diagonal. The orb will appear to have ridges like a pumpkin.
  • Insert a cinnamon stick in the middle.
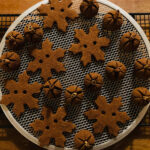
  • Place all pumpkins or shapes cut with a cookie cutter onto a cookie sheet lines with parchment paper. Let dry in a preheated 200-degree oven for approximately 2 hours. If they are still damp on the bottom, place them on a wire mesh or baking rack and put them back in the oven for another 30 minutes.
    Let cool.
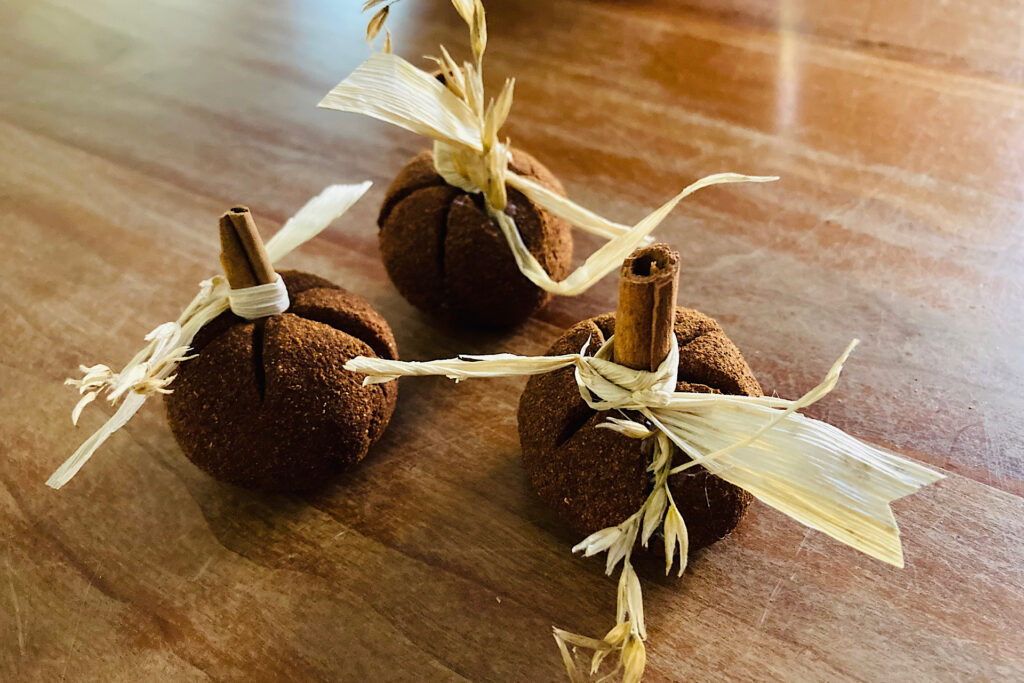
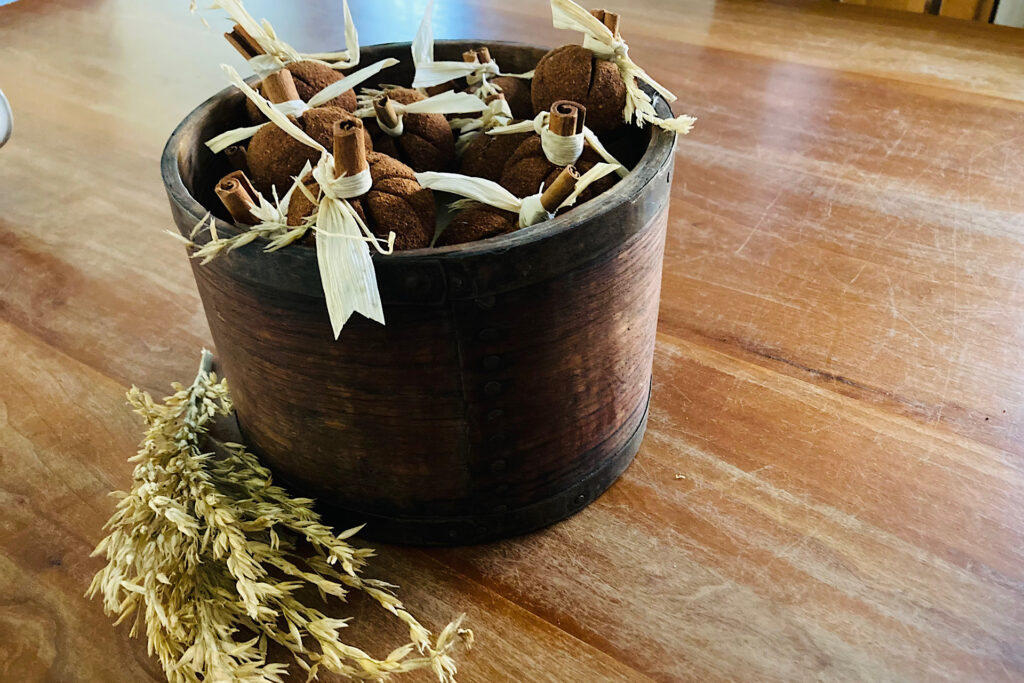
  • Decorate with however you choose or leave as is. If the pumpkin stems seem loose you can pull out the cinnamon stick and place a little hot glue in to secure them.

Leave a Reply

Your email address will not be published. Required fields are marked *

Recipe Rating