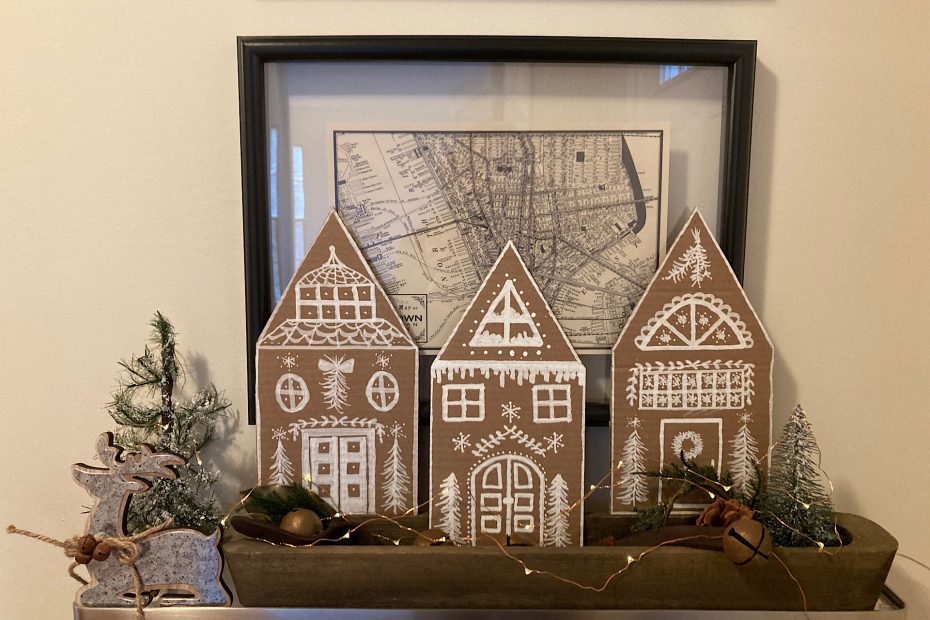
Who says gingerbread villages need to be baked? With just a few basic supplies—cardboard, a white chalk pen, and a sprinkle of imagination—you can create a charming cardboard gingerbread village to sweeten your holiday décor. This project celebrates simplicity, with easy-to-make shapes and minimal materials. Whether you choose to craft clean designs reminiscent of classic home-baked gingerbread or go all out with intricate Victorian-inspired embellishments, these whimsical creations are perfect for adding warmth and charm to your winter décor; and they are as fun to create as they are to display!
Gather Your Basics: What You’ll Need
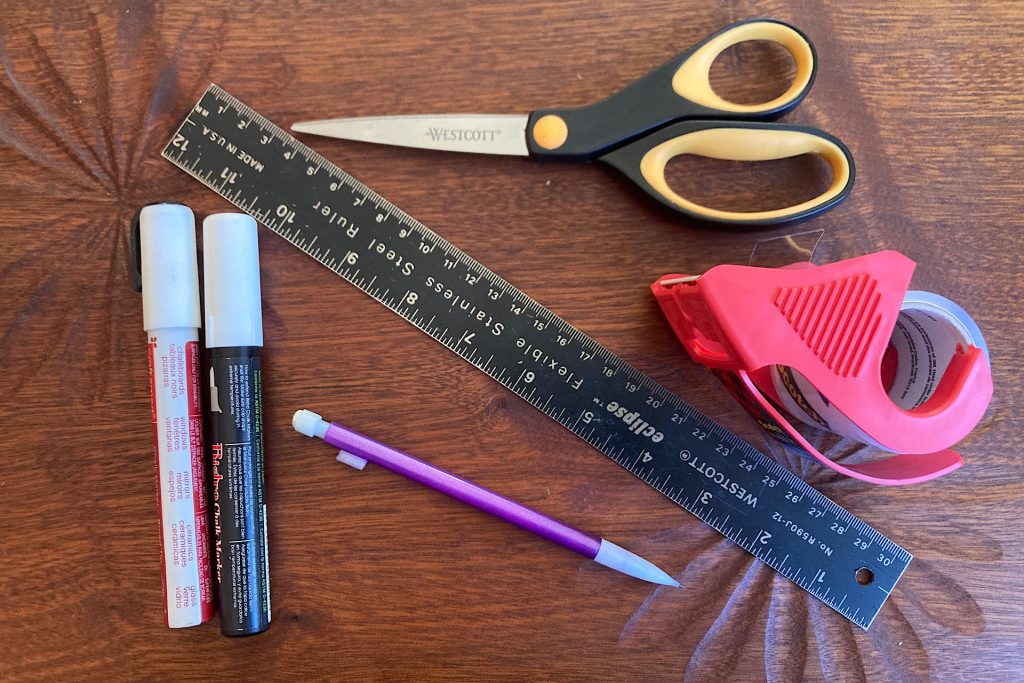
The beauty of this DIY project lies in its simplicity—you don’t need much to create a charming cardboard gingerbread village. Gather these essentials:
- Ruler
- Pencil
- Scissors
- White chalk marker pen (here is a link to the one I used)
- Cardboard (shipping boxes like those from Amazon work great!)
This project is an excellent way to upcycle cardboard shipping boxes, which seem to multiply during the holiday season. I used the unprinted, clean side of the boxes for crafting my houses, keeping the design crisp and display-ready. These flat, two-dimensional houses are the perfect canvas for creativity. Add a touch of whimsy and make the design your own.
Shaping Your Cardboard Gingerbread Village
With the holiday season comes a flurry of deliveries—and those cardboard boxes piling up at your door are the perfect building blocks for your gingerbread village! Upcycling these shipping boxes not only reduces waste but also adds a touch of sustainability to your project.
Start by deciding the size of your village buildings, which may depend on the boxes you have on hand. For my village, I created three two-story houses, a barn, and a garage. Here’s a guide to the sizes I used:
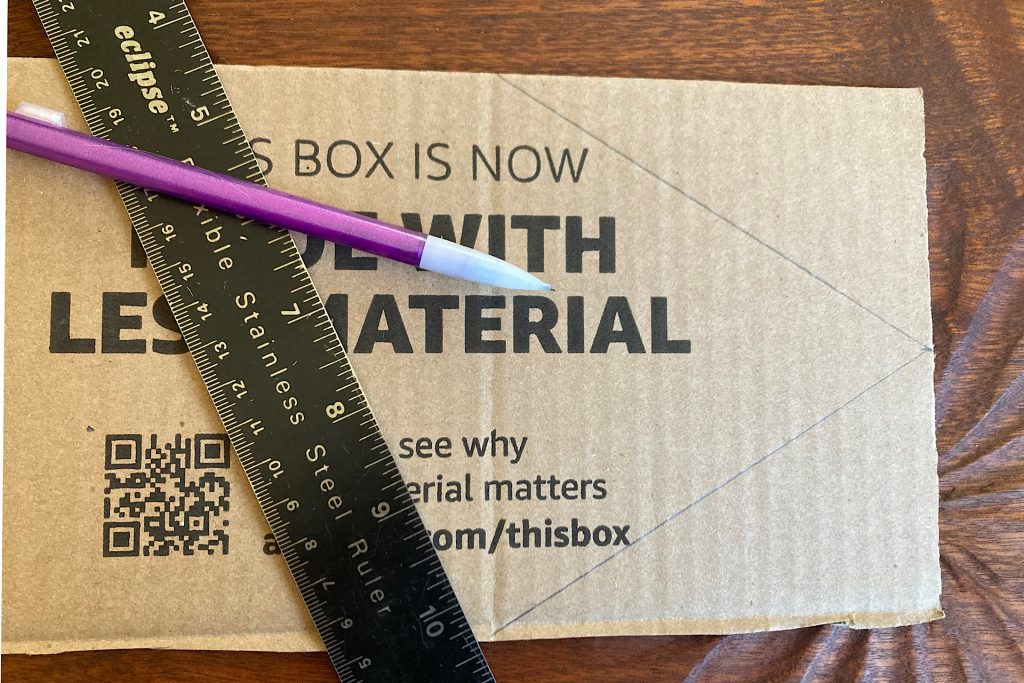
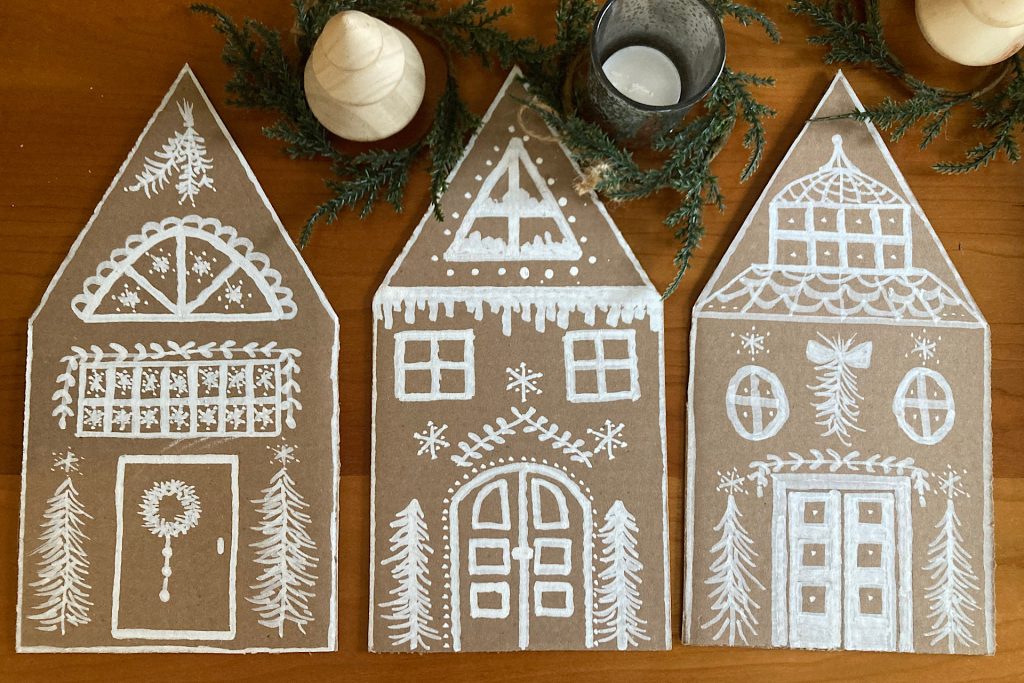
- Houses: Rectangles measured 5 ½ inches at the base and 6 inches high. For the roof peak, I measured 5 inches up from the center of the rectangle and connected this point to the top corners with slanted lines about 5 ½ inches long.
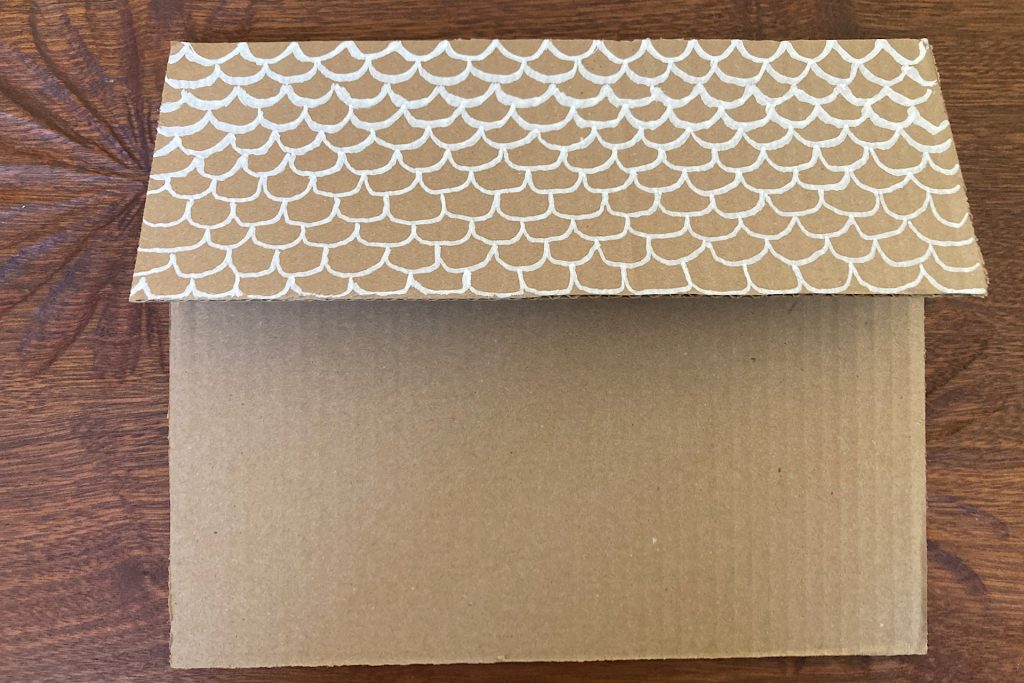
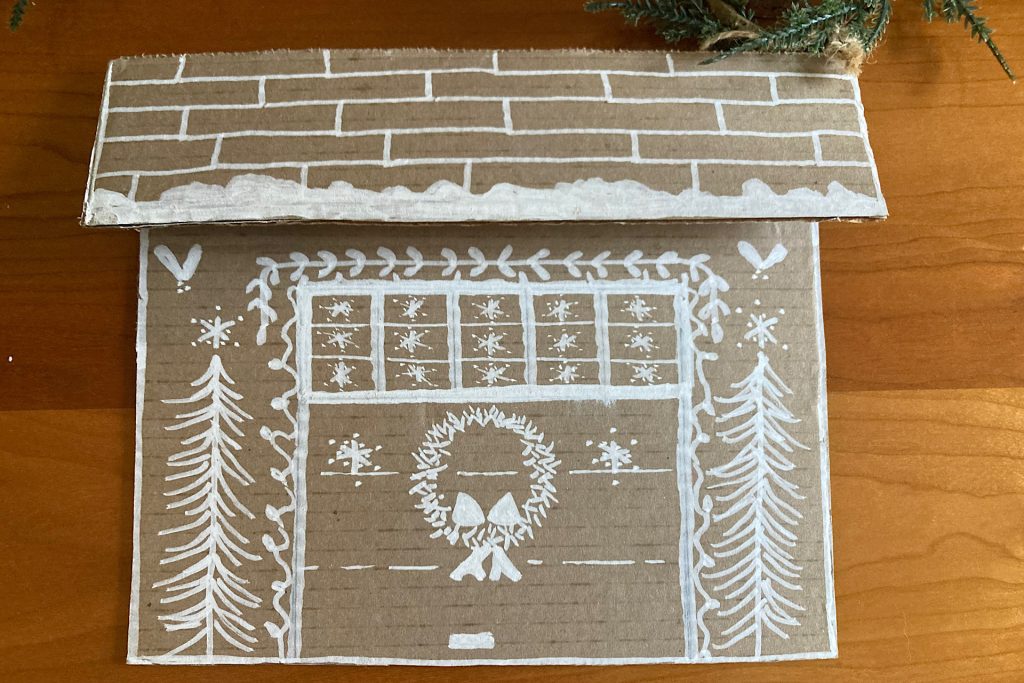
- Garage: 9 ¼ inches at the base and 7 ½ inches high, with a separate roof measuring 10 ¼ inches at the base and 2 ½ inches high.
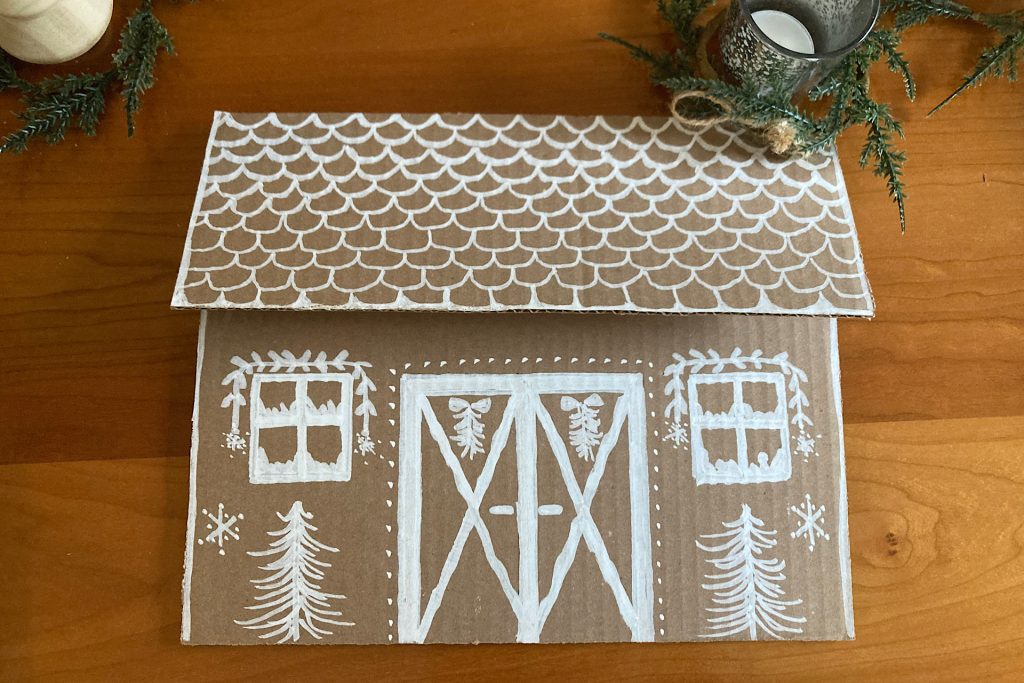
- Barn: 10 ¾ inches wide and 8 ¾ inches high, with a separate roof 10 ¾ inches wide and 4 inches high.
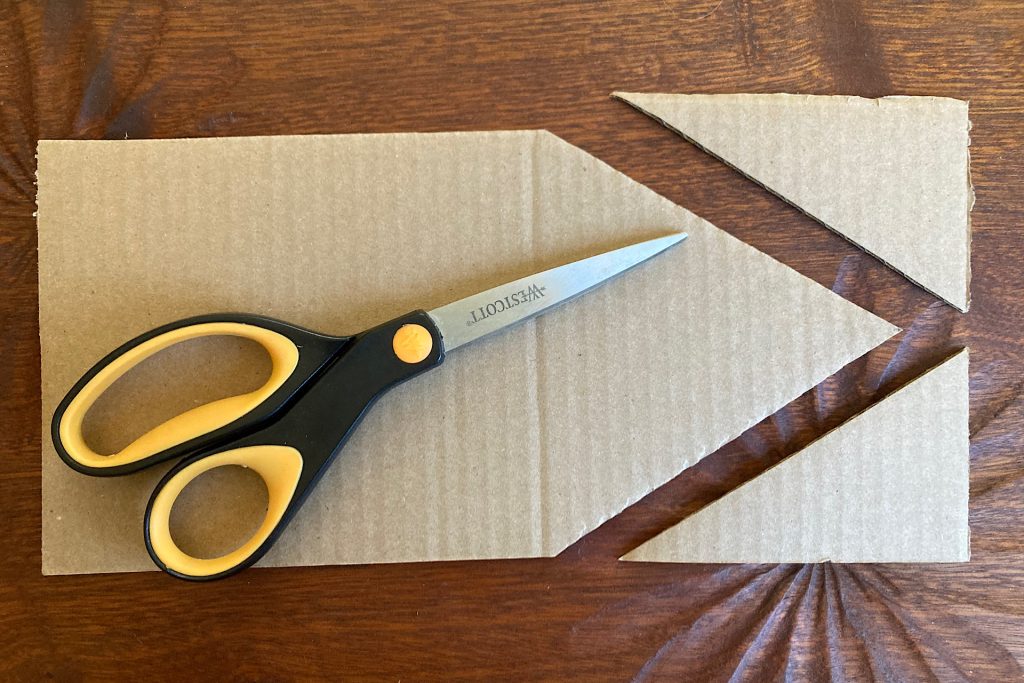
Using a pencil and ruler, lightly sketch your building shapes directly onto the cardboard. Consider sketching your lines on the printed side of the cardboard to keep the clean, unprinted side free from marks. For cutting, I found sharp scissors effective, but a box cutter on a safe surface works just as well for thicker material. Take your time—it’s like designing the foundation of a charming winter wonderland!
Creating Realistic Overhangs for Garage & Barn
A slanted roof adds depth and realism to the buildings in your cardboard gingerbread village, and crafting one is easier than you might think. By creating separate roof pieces that attach at an angle with a slight overhang, you can elevate the charm of your DIY village.
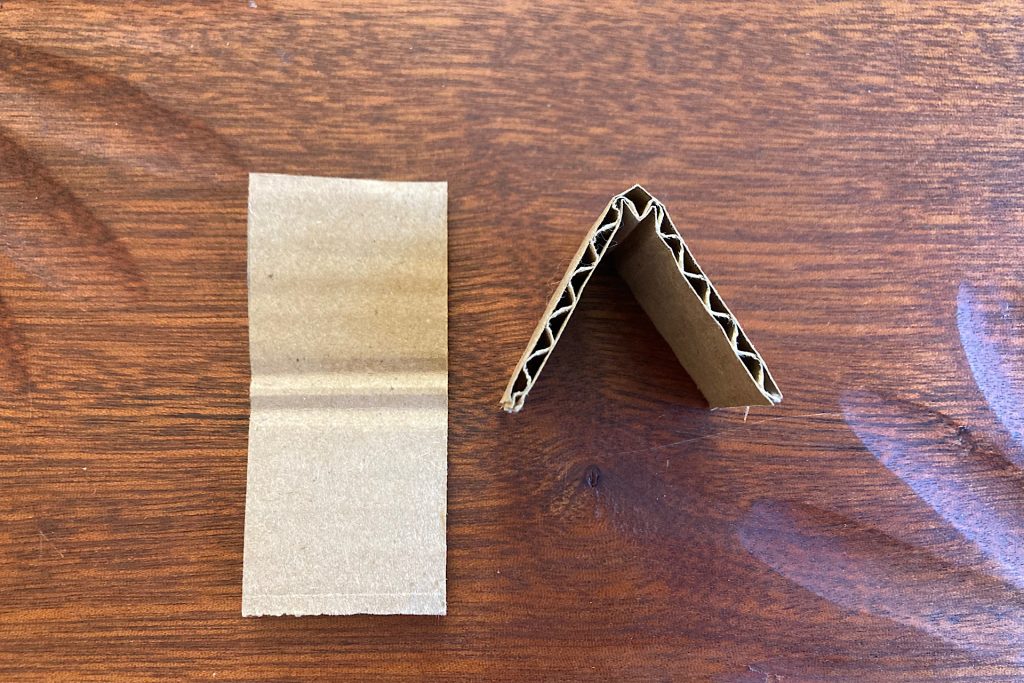
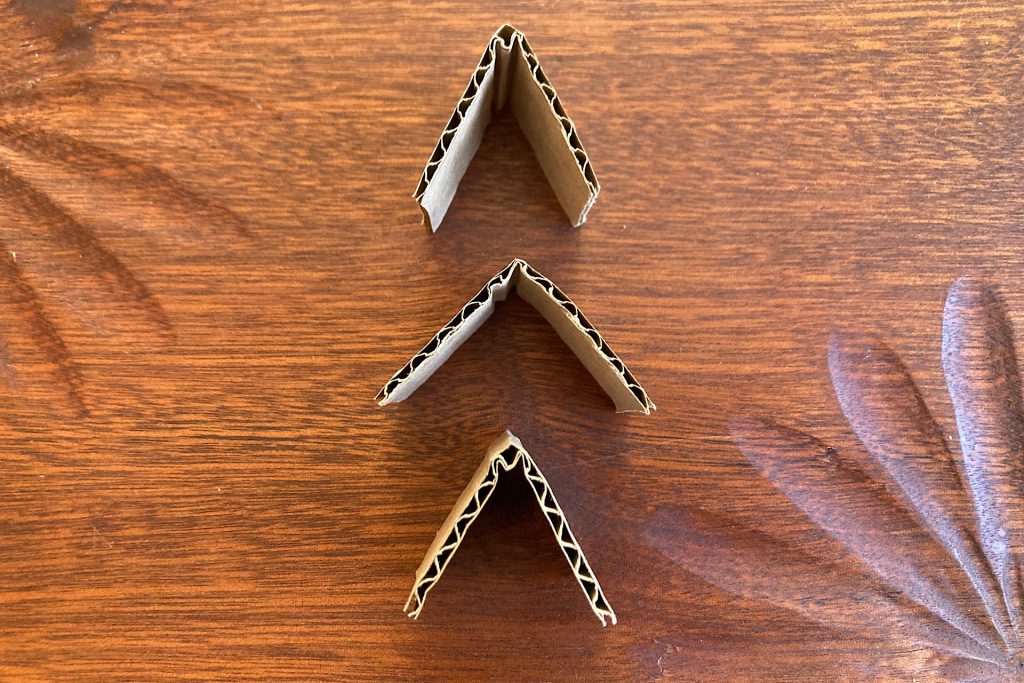
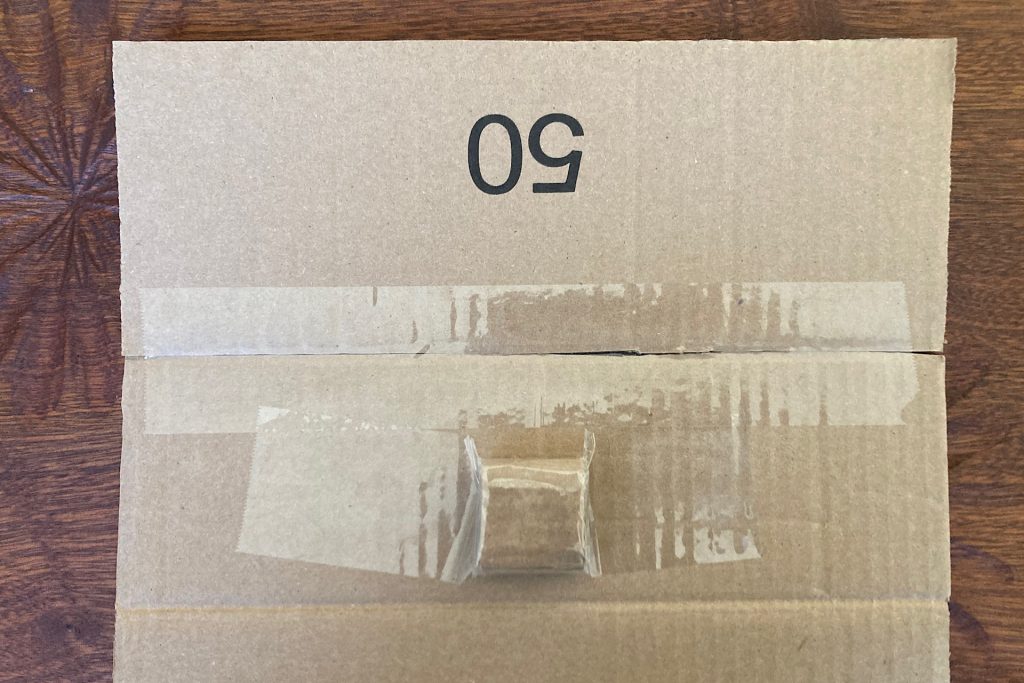
To achieve this, I started by taping the long edge of the roof piece to the top edge of the building rectangle. To ensure the roof didn’t sit flat, I used a simple spacer. Here’s how I made it: I cut three small rectangles of cardboard, folded each in half, and stacked them together to form a sturdy little cube. Wrapping the stack in tape secured its shape, and I attached this cube to the building rectangle. This spacer allowed the roof to rest at an appealing angle, slanting outward for a cozy, welcoming look.
This extra touch of detail enhances a simple village design that your family and friends will adore.
Frosting Detail: Decorating Your Cardboard Gingerbread Village
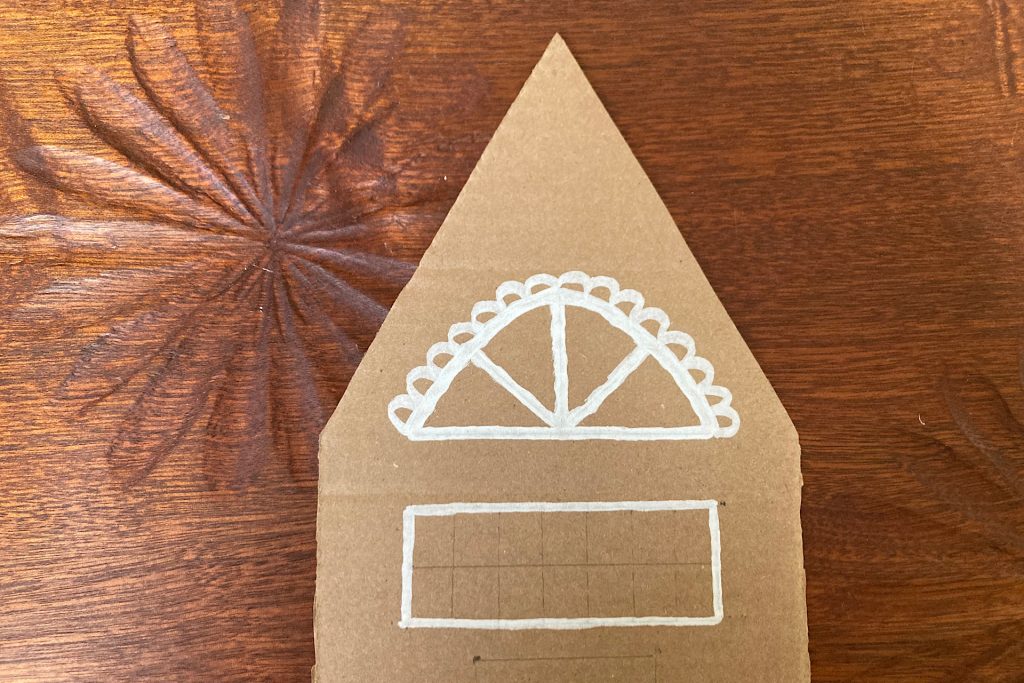
Now comes the part where your cardboard gingerbread village truly comes to life—decorating! All you need is a pencil, a white marking pen, and a sprinkle of imagination. Begin by lightly penciling in the windows, doors, and other features of your houses and barn. This step ensures that everything looks balanced before you commit to the design.
Once satisfied with your layout, trace over the pencil lines using your white marking pen. Think of the pen as your frosting piping bag, turning simple shapes into magical details. Add whimsical touches like snowy window casings, wreaths, garlands, or even a line of pine trees. The beauty of this project is its simplicity—no need to be an art major! The designs are meant to resemble the charming icing lines on a classic gingerbread cookie.
Embrace the imperfections; they are what make each piece unique and endearing. Remember, the magic of a gingerbread village lies in its cozy, handmade charm. Have fun and let your creativity guide you!
Little Touches, Big Charm: Decorating Your Village
Your cardboard gingerbread village is a blank canvas ready for personality and charm. Below, I’ve included photos of my own pieces to spark your creativity. Feel free to replicate them or use them as inspiration to craft your own unique designs—there’s truly no wrong way to decorate!
Experiment with windows—round, square, or arched all have their own cozy appeal. Play with roof tile shapes, trying square patterns, half circles, or even triangles for variety. Trees can take on any style you like, from elegant, wispy pines to full, bushy firs or even minimalist bare branches. For doors, add a touch of holiday cheer with wreaths, bows, or swags of greenery.
I aimed to make each piece in my village a little different, just like a real neighborhood. If you want to add extra magic, sprinkle on glitter or Epsom salt for a snowy sparkle that catches the light. Whether you mimic my designs or go in your own direction, enjoy the creative process and make each detail uniquely yours!
Perfectly Finished Cardboard Gingerbread Village
As you add the final touches to your cardboard gingerbread village, step back and admire your handiwork. Whether you followed my designs or crafted something entirely your own, your village is a reflection of your creativity and holiday spirit. Remember, it’s the unique imperfections that give each piece its charm and personality.
If you enjoyed this project, you might love exploring other festive crafts on Late Bloomer in Bakerville. Check out:
- Sweet Simplicity: White Cardstock Holiday Stars
- Create Winter Magic: Frosted Epsom Salt Candle Jars
- Simple Yarn Christmas Tree Wrap
- Winter Wonderland DIY Painted Birch Branch
Happy crafting, and may your home be filled with holiday cheer!
