Once December fades into January and the holiday décor is neatly packed away, our homes can suddenly feel a little bare—and a little tired—just as winter settles in for the long haul. I often find myself waiting for spring to bloom while still facing weeks of snow, icy temperatures, and quiet winter days. During this in-between season, I love adding a few simple touches that celebrate winter itself, bringing warmth, texture, and soft light indoors. These DIY parchment paper lanterns offer a cozy way to embrace the snowy weeks ahead and add a bit of non-holiday winter wonder to home decor.
A Few Basic Supplies
This project has an element of simplicity and the supplies are not an exception You may already have everything you need on hand, making this an easy winter project to start right this moment.
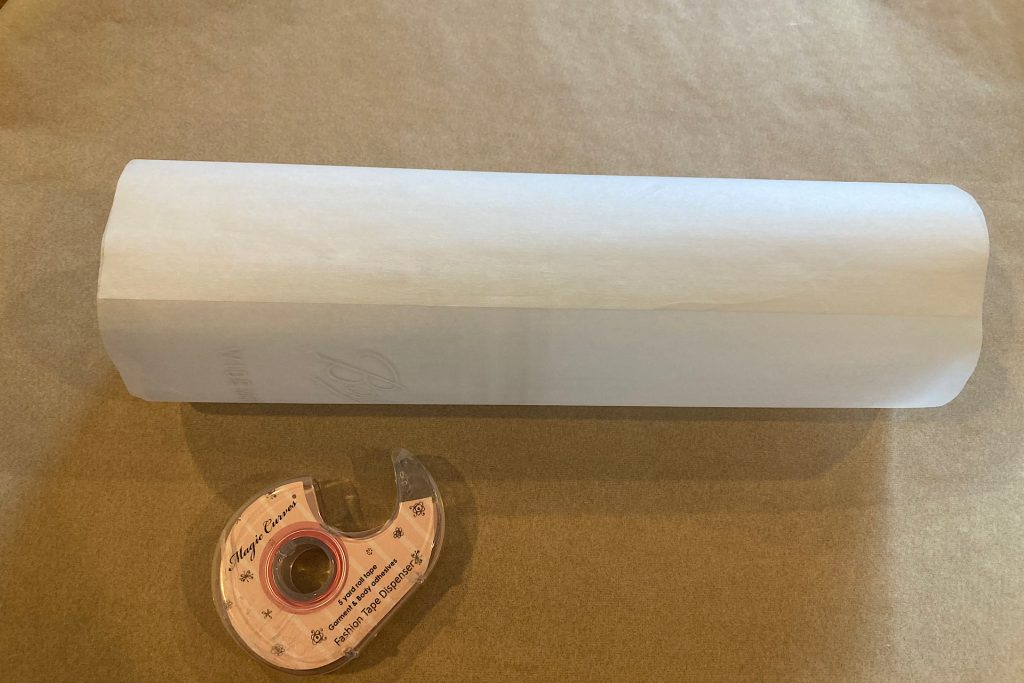
Parchment paper — I chose a soft, wintry white for a clean winter look
Scissors — for light trimming, if needed
Double-sided tape — to secure the parchment paper seam
A circular glass jar or container — round surfaces work best for shaping the paper
While experimenting, I found that rectangular glass containers tend to put extra stress on the tape seam, causing it to pull apart as the paper is shaped. A round jar allows the parchment paper to fold and wrinkle naturally, creating the soft, lantern-like effect.
Measuring and Cutting the Parchment Paper
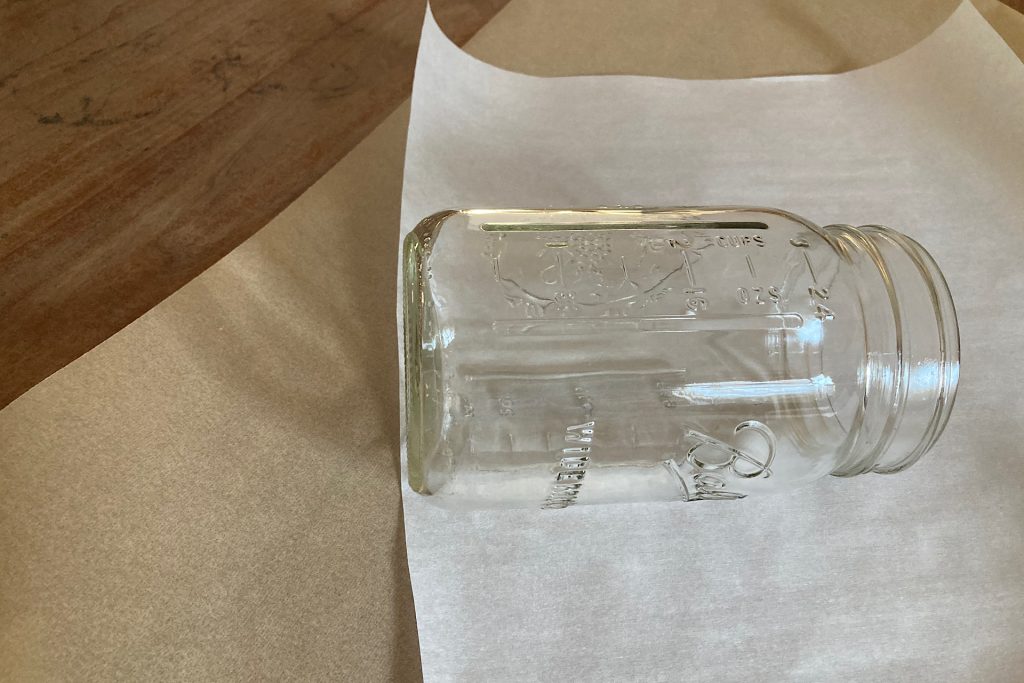
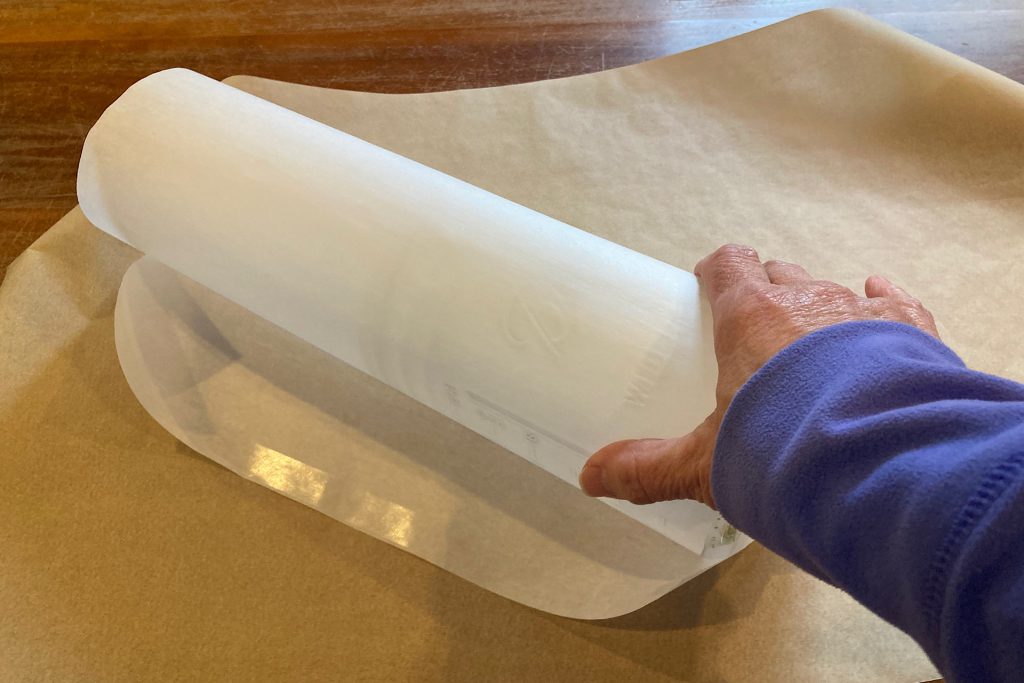
To begin shaping your DIY parchment paper lanterns, start by cutting an oversized sheet of parchment paper from the roll. Working with extra paper makes the process easier and allows for the soft folds that give these lanterns their character.
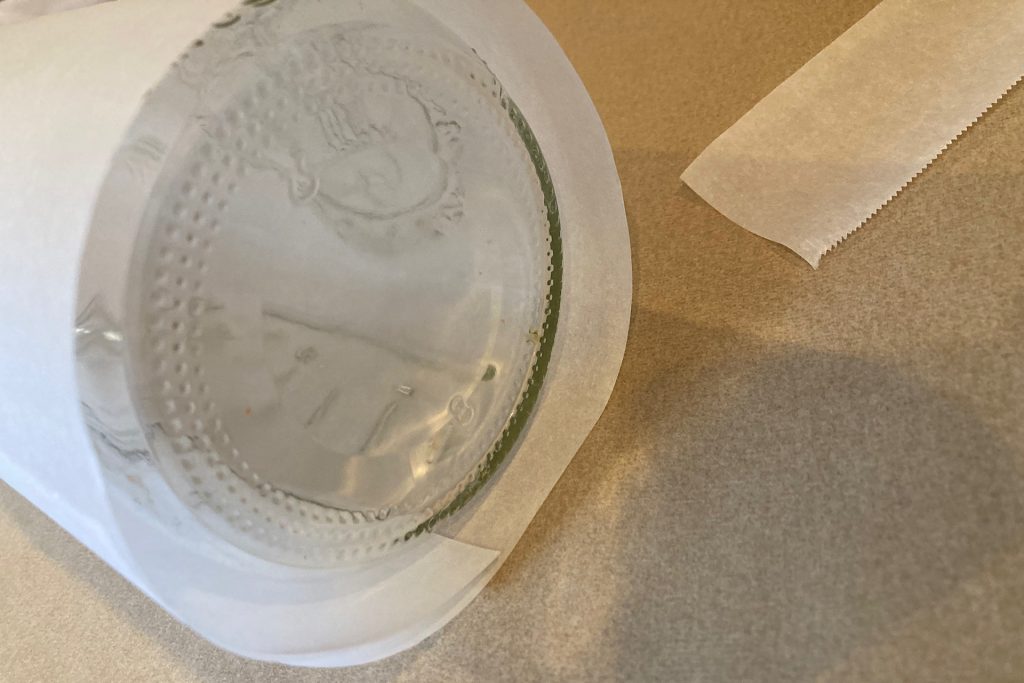
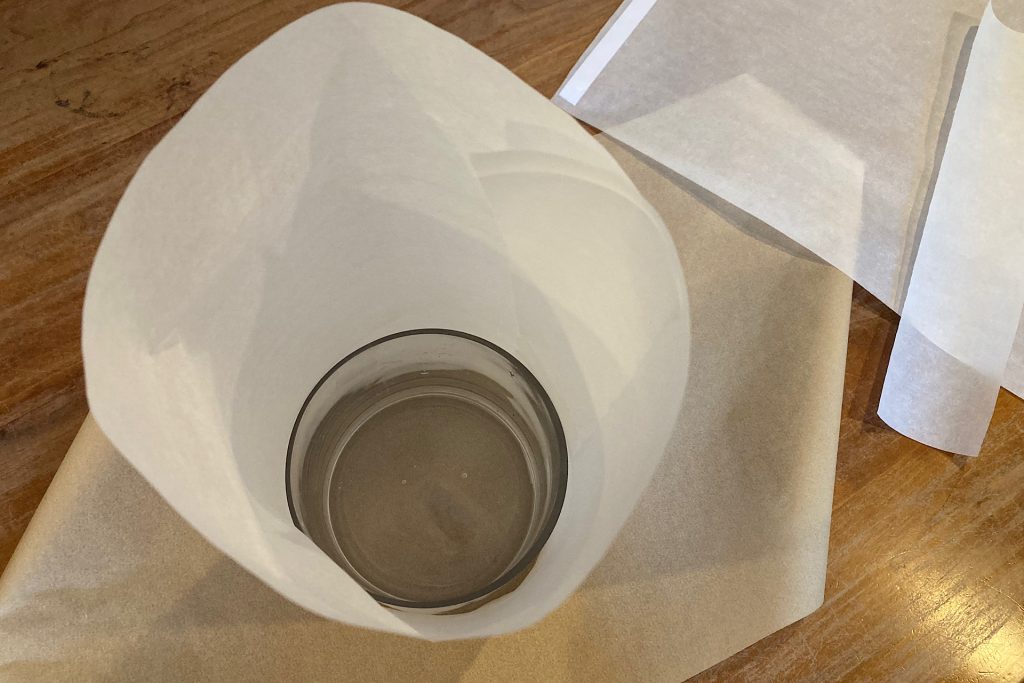
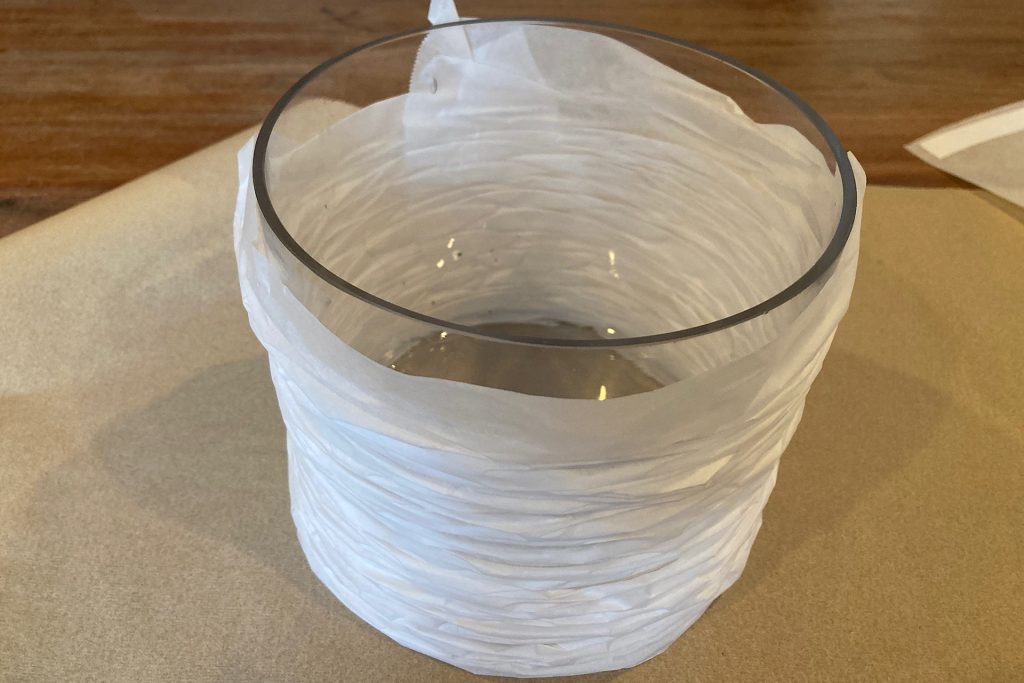
Place your glass jar or container along the edge of the parchment sheet. Keep it straight as you begin to roll the paper loosely around it. This step is important—if the parchment paper fits too snugly, it won’t have enough room to wrinkle and fold as you shape it around the container. I’ve included a photo to show the bit of space left between the jar and the paper.
Once you’re happy with the fit, trim the parchment paper to match the loose circumference of the container. Leave a bit of extra room for overlapping and taping. Do not trim the height of the paper. Leaving the parchment long will allow you to push and fold it down the sides of the jar later. This creates the soft, lantern-like texture that gives these winter lights their cozy glow.
Securing the Parchment Paper to Your Jar
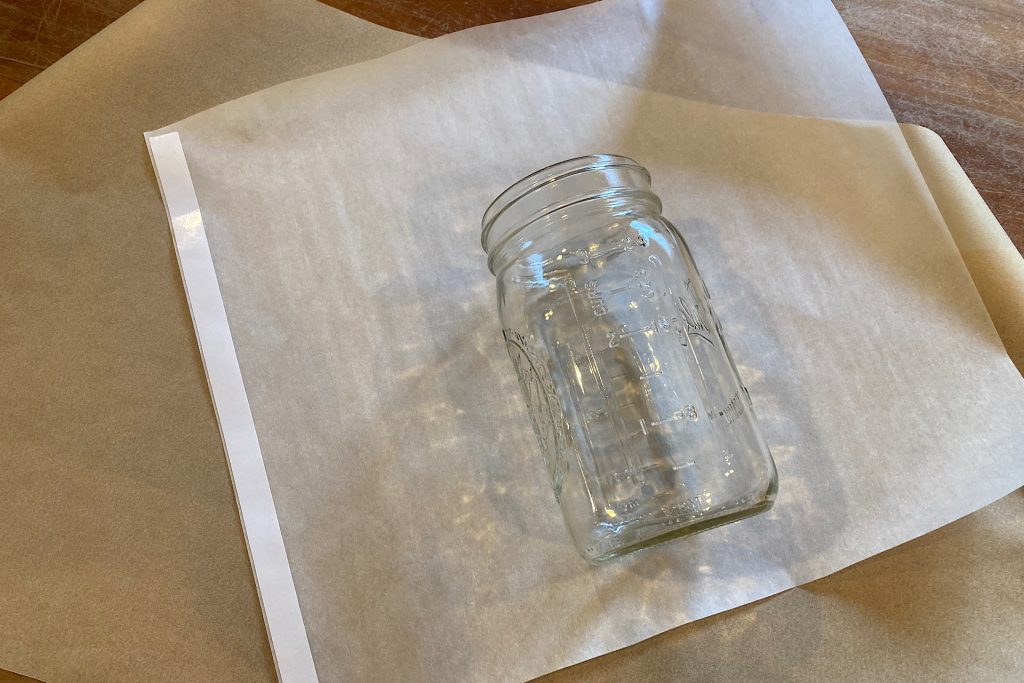
Now it’s time to attach your parchment paper to the container, creating the base for your DIY parchment paper lanterns. Begin by laying a strip of double-sided tape along the long side (height) of the parchment. Press firmly and smooth it with your fingers—because parchment has a naturally slick surface, taking a little extra time here ensures a strong hold.
Once the tape is in place, position your jar along the edge of the parchment so it stays straight as you roll the paper loosely around it. When you reach the other edge, carefully peel off the backing from the tape and secure the parchment from top to bottom, smoothing as you go.
Because the paper is still loose around the jar, you can easily slide the container out of the paper sleeve at this point. You can place your hand inside the parchment tube, and make sure the tape is well adhered. Then, simply slide the parchment tube back over the jar. Taking these extra steps now will make shaping and folding the paper in the next steps effortless.
Creating Soft Folds and Wrinkles
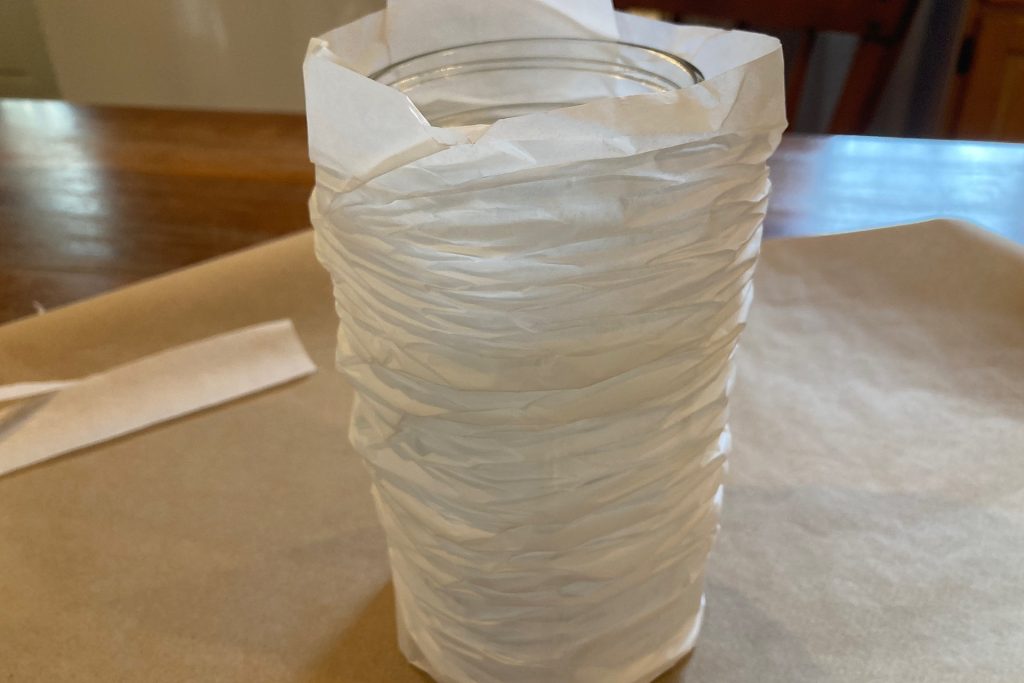
Now comes the most fun part of making your DIY parchment paper lanterns—shaping the soft folds and gentle wrinkles that give each piece its unique charm. With your container standing upright, the parchment will extend well above the rim. This extra paper is what allows the beautiful folds to form.
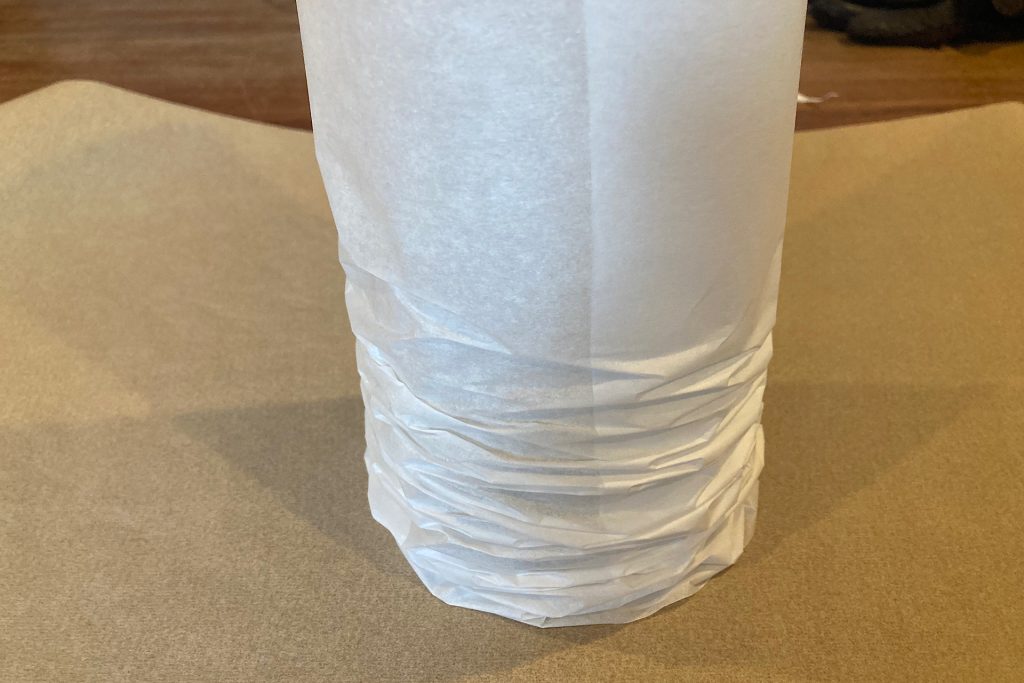
To begin, cup your hands around the circumference at the bottom of the container. Keep one of your hands over the taped seam to avoid stressing it. Now, using both hands, gently push the paper down along the sides of the jar. Once the paper is compressed, move your hands slightly higher and press down again, always protecting the seam. Continue this process all the way up the jar until the paper is fully compressed.
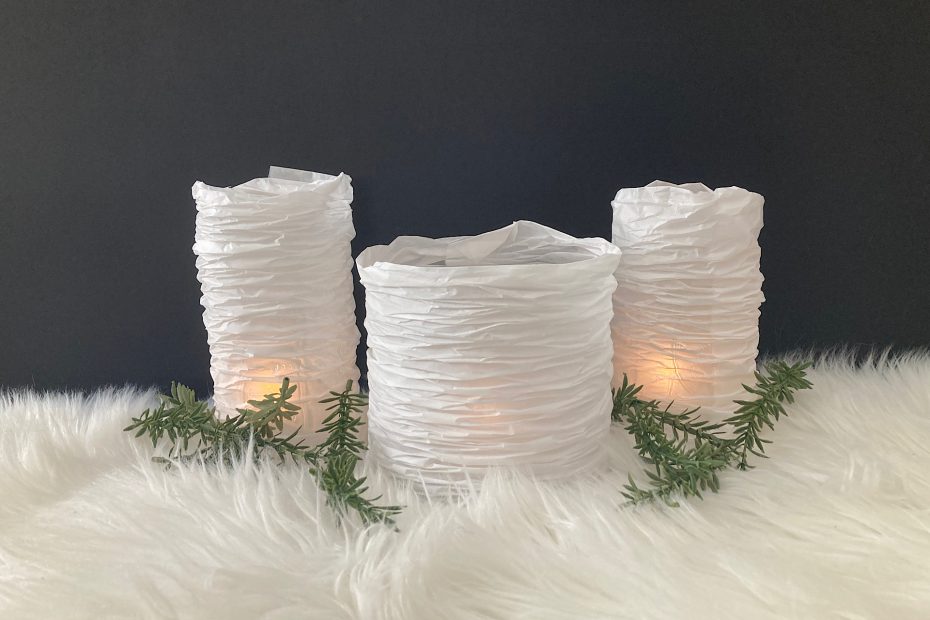
When you’re finished, the paper will likely sit below the jar’s rim. Simply pull the top of the parchment back up and adjust the folds until you’re happy with the look. You will keep the glass container inside the parchment form so it remains stable and keeps its shape. The result is a soft, textured lantern that radiates a cozy winter glow. Perfect for adding warmth and charm to your home during the snowy months.
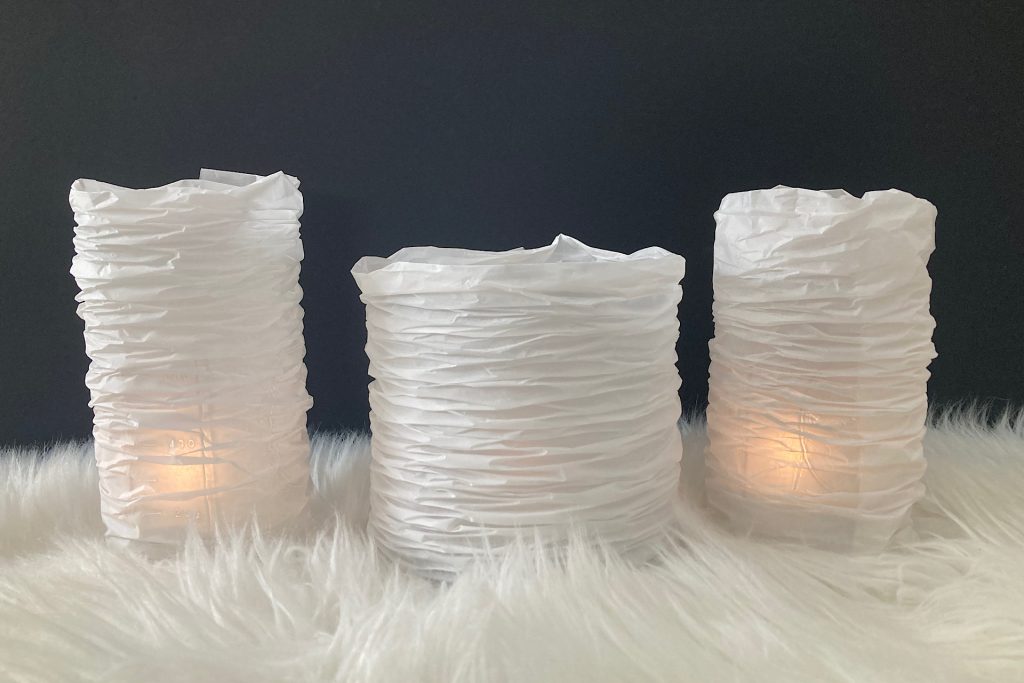
Illuminating Your DIY Parchment Paper Lanterns
Once your lanterns are shaped, it’s time to add light and bring them to life. For a safe, cozy glow, I recommend using either a small battery-powered candle or a string of tiny battery-powered lights inside the parchment container. The parchment paper is oven-safe and heat tolerant, so a real tea light candle can also be used—but always place it on a heat-safe surface and never leave it unattended.
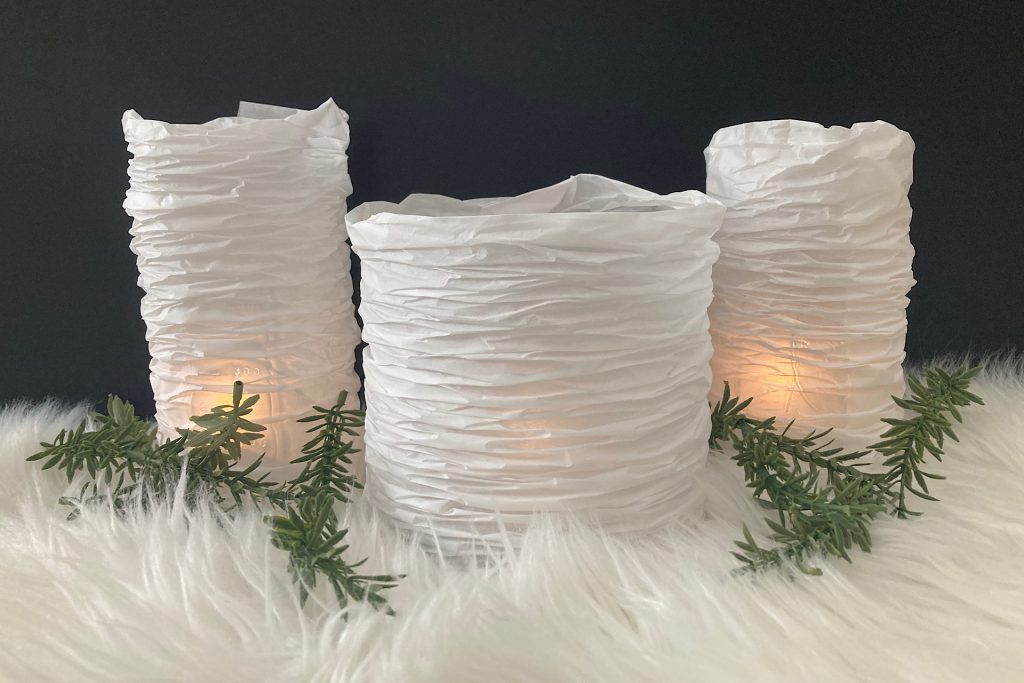
With battery-powered lights, you can get creative by arranging other wintery decorations—pinecones, faux snow, or greenery—around your parchment lanterns to create a beautiful seasonal vignette. These soft glowing DIY parchment paper lanterns are perfect for adding warmth and texture to your winter home decor while celebrating the quiet beauty of snowy days.
Share the Glow
You Might Also Enjoy
If you loved creating these cozy DIY parchment paper lanterns, here are a few more projects and ideas you might enjoy: