There is something so tender about holding a tiny hand and knowing how quickly these moments pass. The next time my grandchildren come to visit, I have a very special project waiting for us — a simple piece of fingerprint bird art that will turn their tiny prints into sweet little birds perched on a hand-drawn branch. We’ll use my son’s fingerprint, his wife’s fingerprint, and their two babies’ fingerprints to create a family keepsake that captures this fleeting season of life. I think it’s a fabulous way to pause during a very busy time, gather around the craft table, and create something meaningful for the future. What I love most about this project is its sweet simplicity — no artistic talent required, just love, laughter, and a few watercolored fingertips.
What You’ll Need
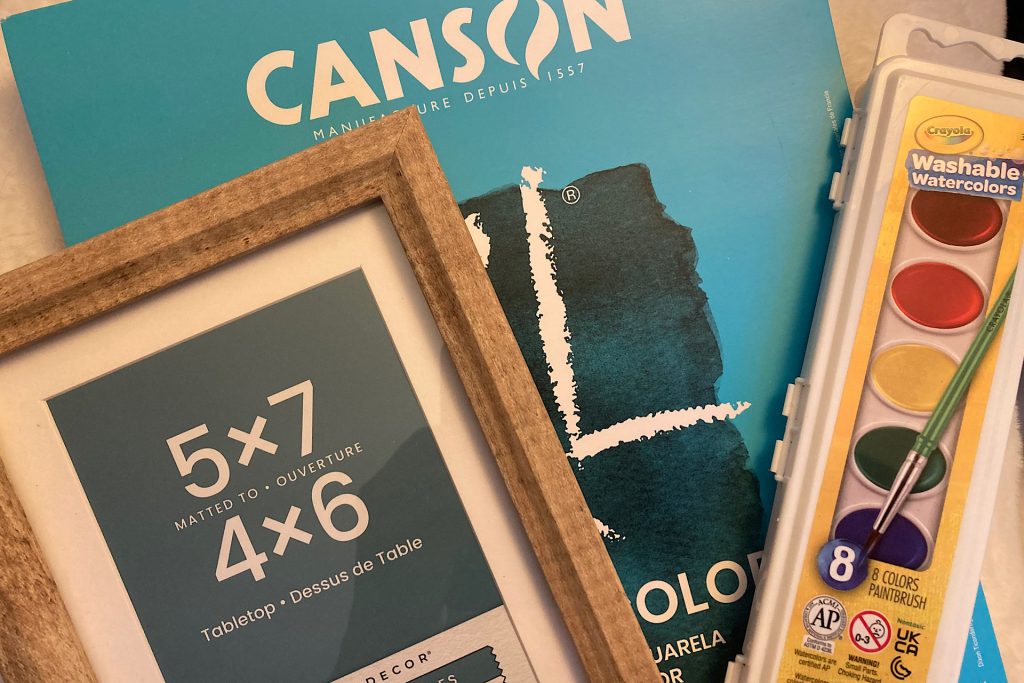
This sweet fingerprint bird art project proves that you don’t need a long supply list or fancy tools to create something truly meaningful. Just a few simple items are all it takes to turn tiny fingerprints into a family keepsake you’ll cherish for years to come. You may already have most of these items at home, and if not, they’re easy to find at any local craft store. I purchased everything new and spent less than $25 total.
Supplies:
Watercolor paper – sturdy enough to handle paint and fingerprints without warping
Basic watercolor set – I chose child-safe, non-toxic paints since little fingers will be doing the painting
Frame – to turn your finished fingerprint bird art into a keepsake you can display and treasure
You’ll also need a paintbrush, which usually comes included in most watercolor sets. While the paints are labeled non-toxic, the color bricks are small, so this is definitely a supervised project to keep curious little mouths paint-free!
A Little Playful Practice Before You Begin
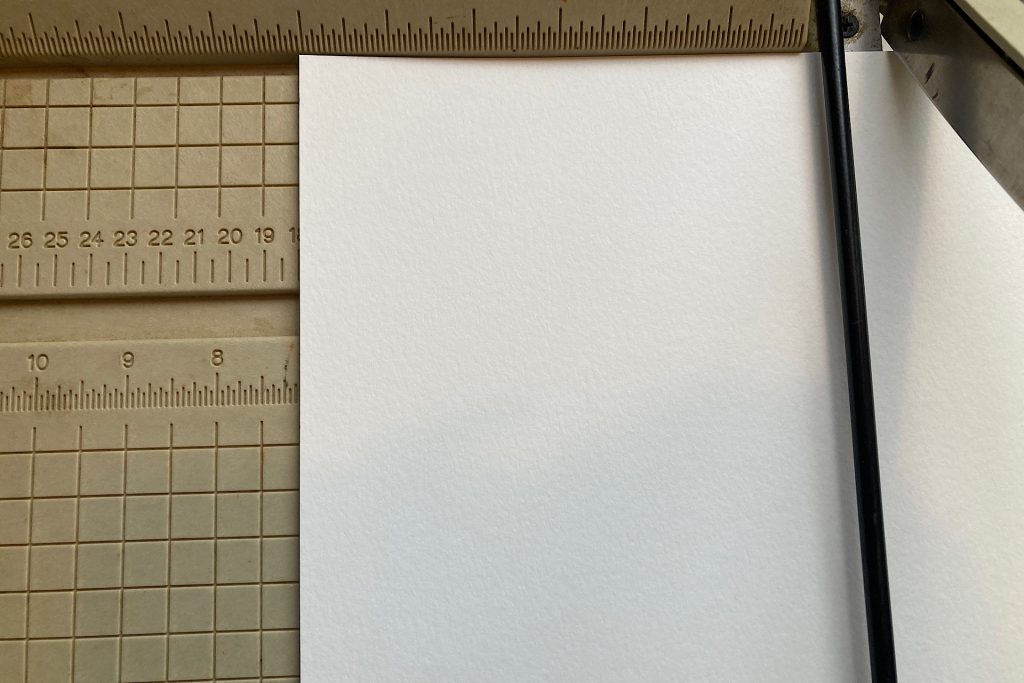
Before starting your final fingerprint bird art piece, a little bit of playful preparation goes a long way. Depending on the size of your frame, you’ll want to cut your watercolor paper to fit. I chose a 5×7 frame and used a paper cutter to trim my paper to size.
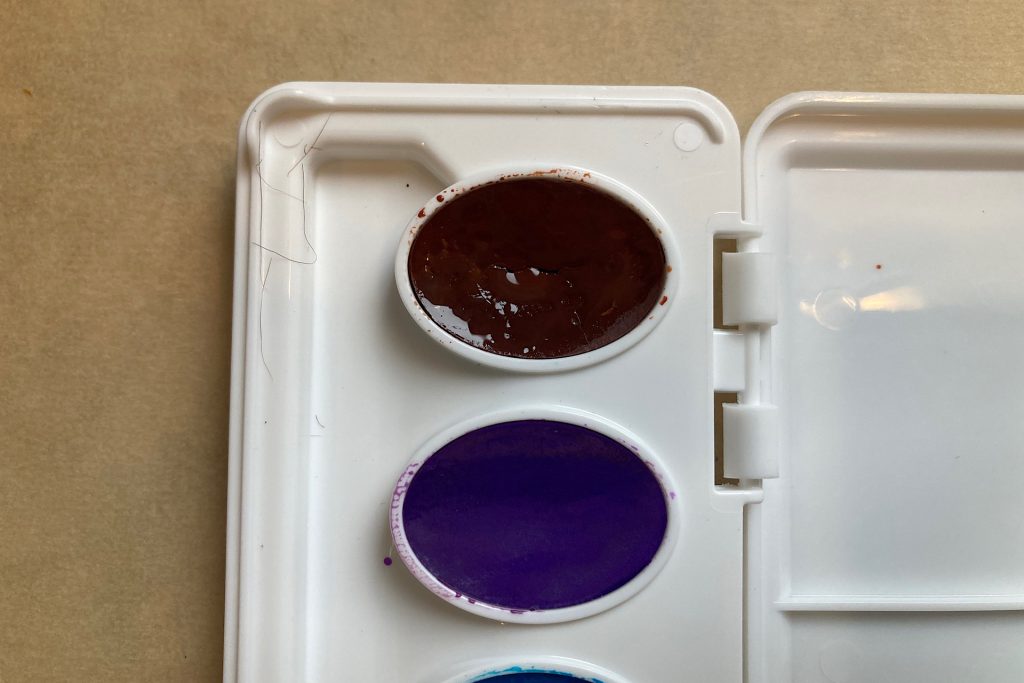
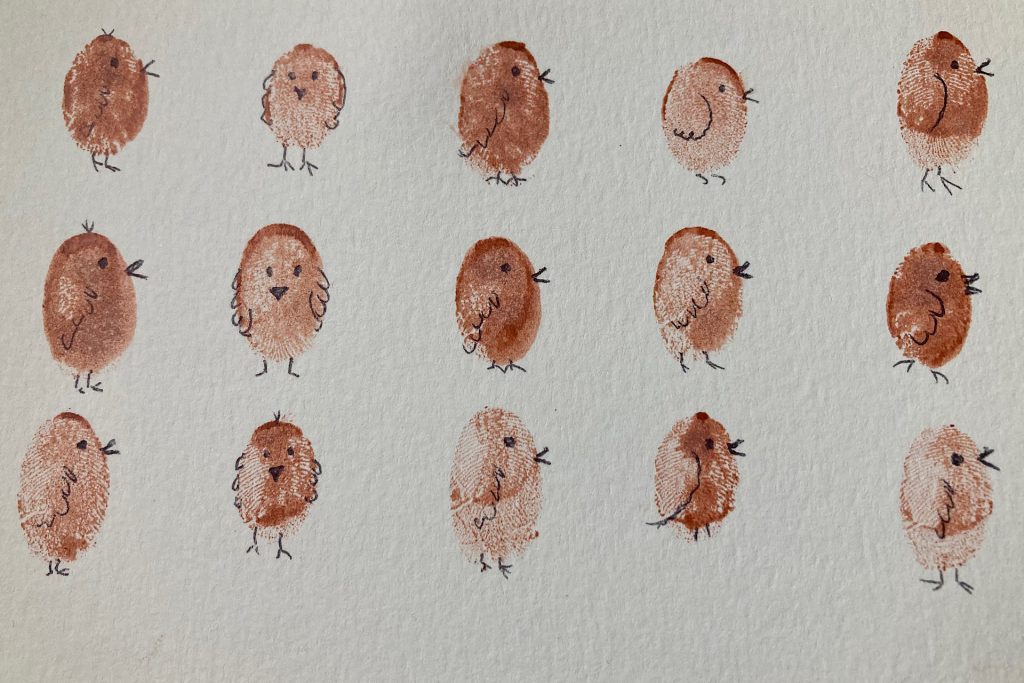
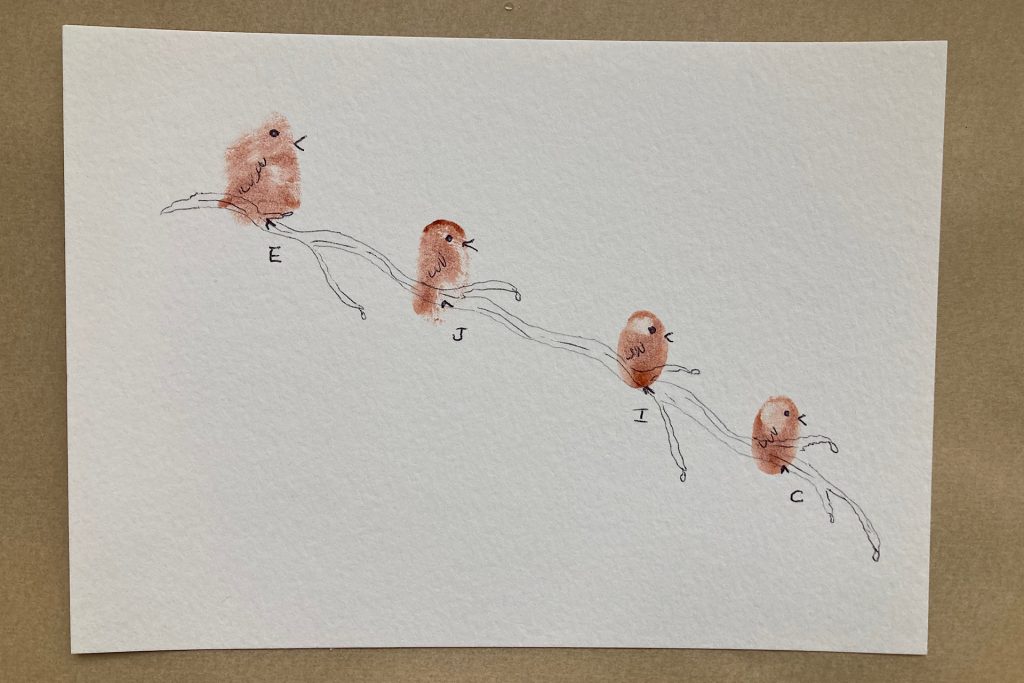
Next comes the fun part — getting a feel for your materials. I dipped my watercolor brush in water and moistened the brown paint brick in my palette. Then I gently pressed and swirled my fingertip on the wet paint and made a few practice prints on a scrap piece of watercolor paper. You can experiment with lighter and darker impressions, even pressing your finger more than once to watch the color soften with each print. Once the fingerprints dried, I played with adding simple ink details — just a few lines for eyes, beaks, wings, and feet. This little playtime helps you decide how bold you like your color, which direction your birds should face, and how much detail feels just right.
Creating Your Fingerprint Bird Art Keepsake
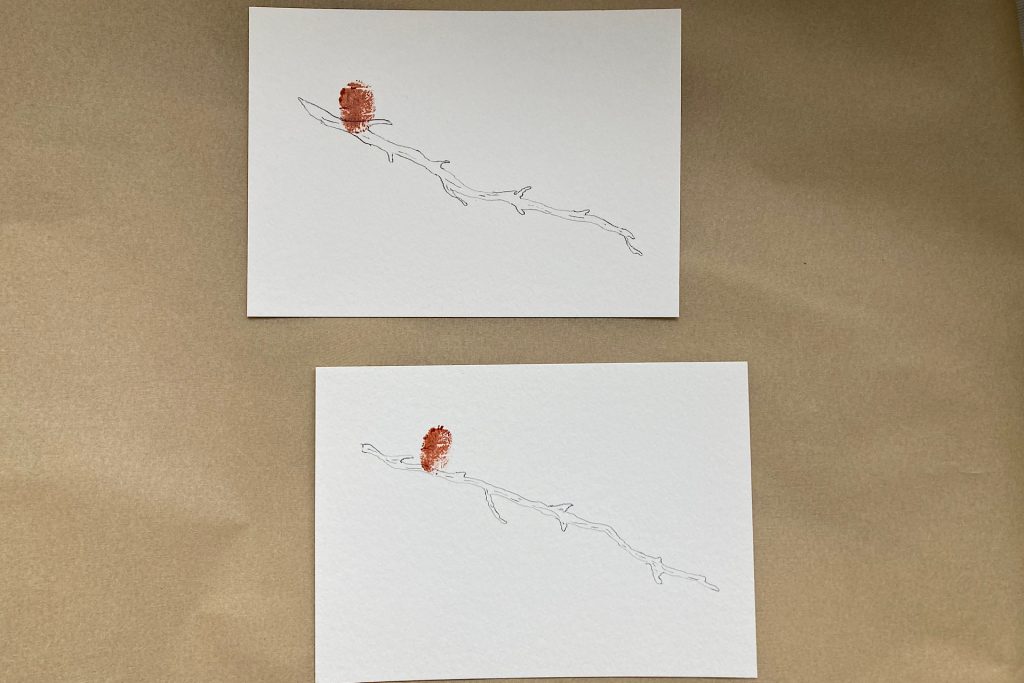
Now we’re ready to have some fun with the finished piece. Because these are so simple to do, I made a few 5×7” samples at the same time so I could pick the one I liked best in the end.
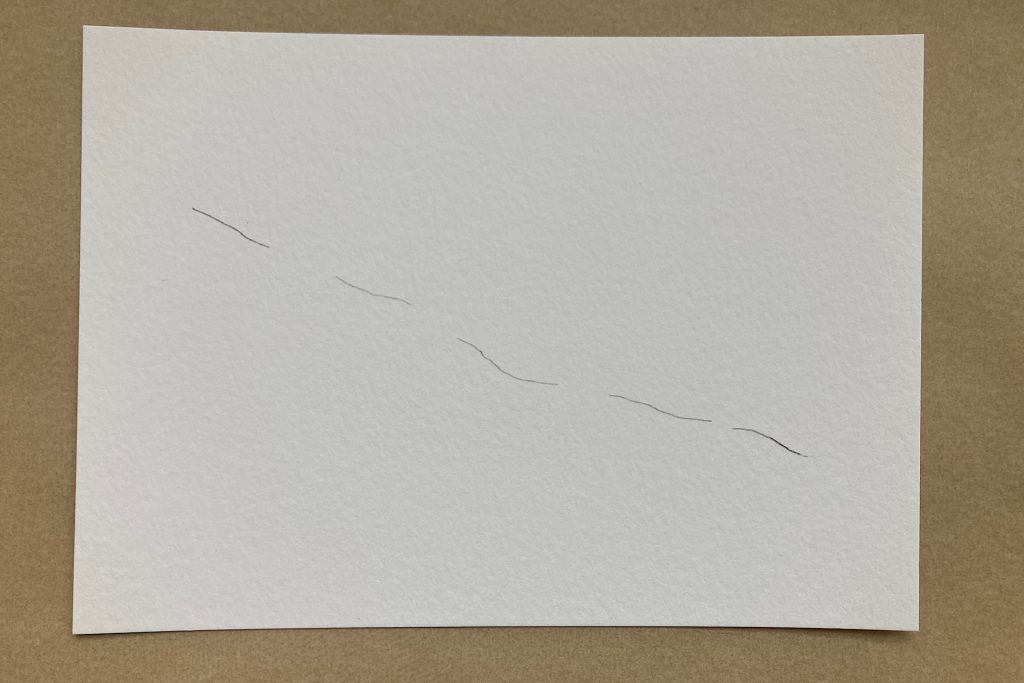
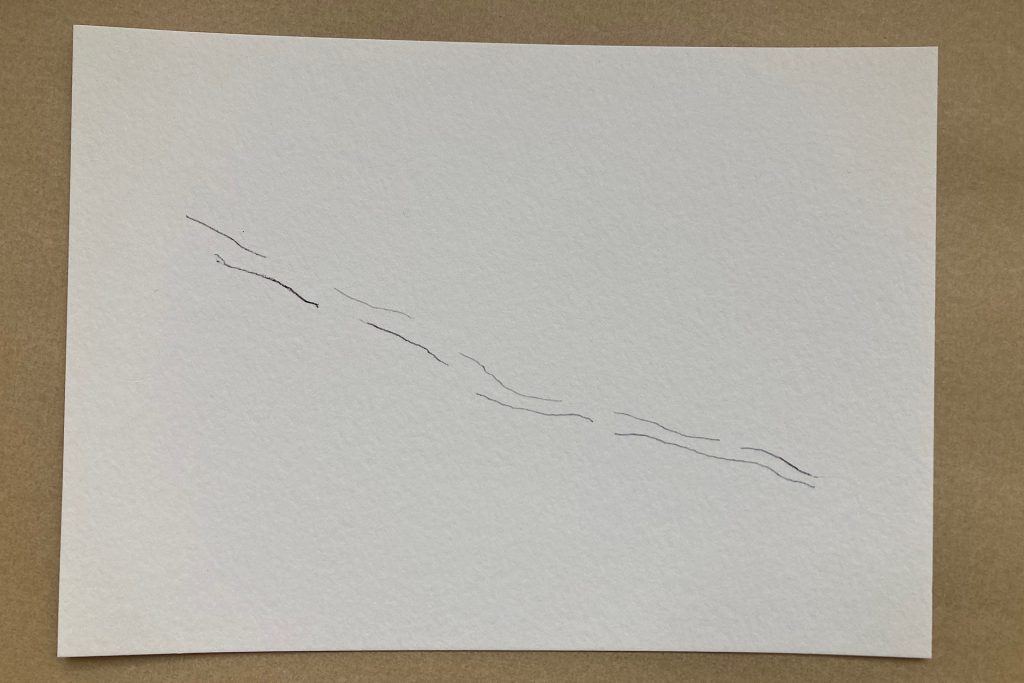
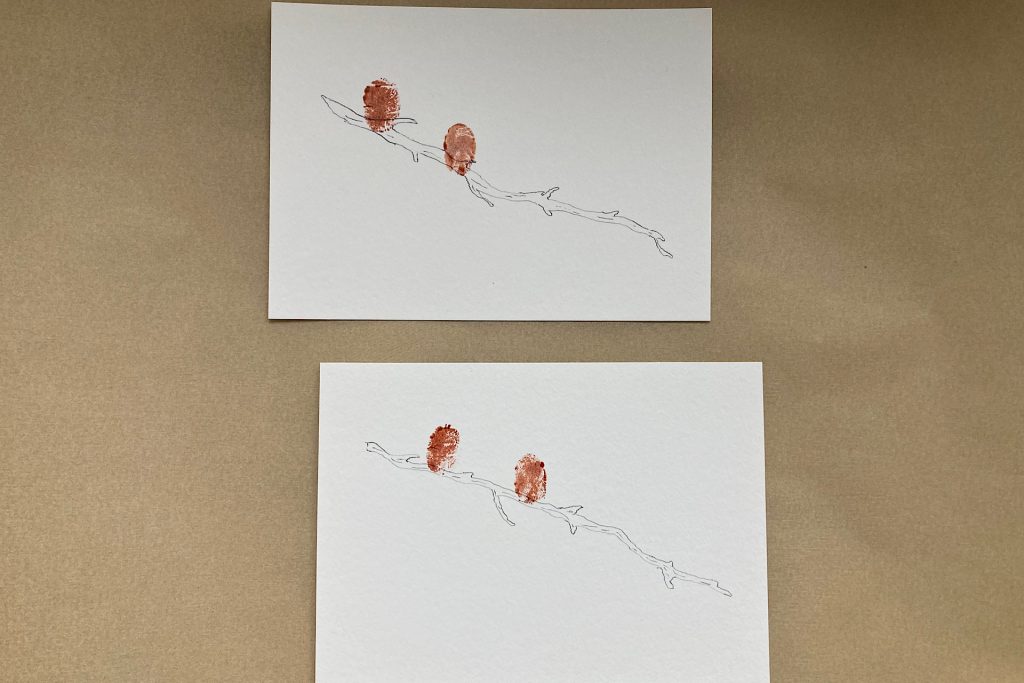
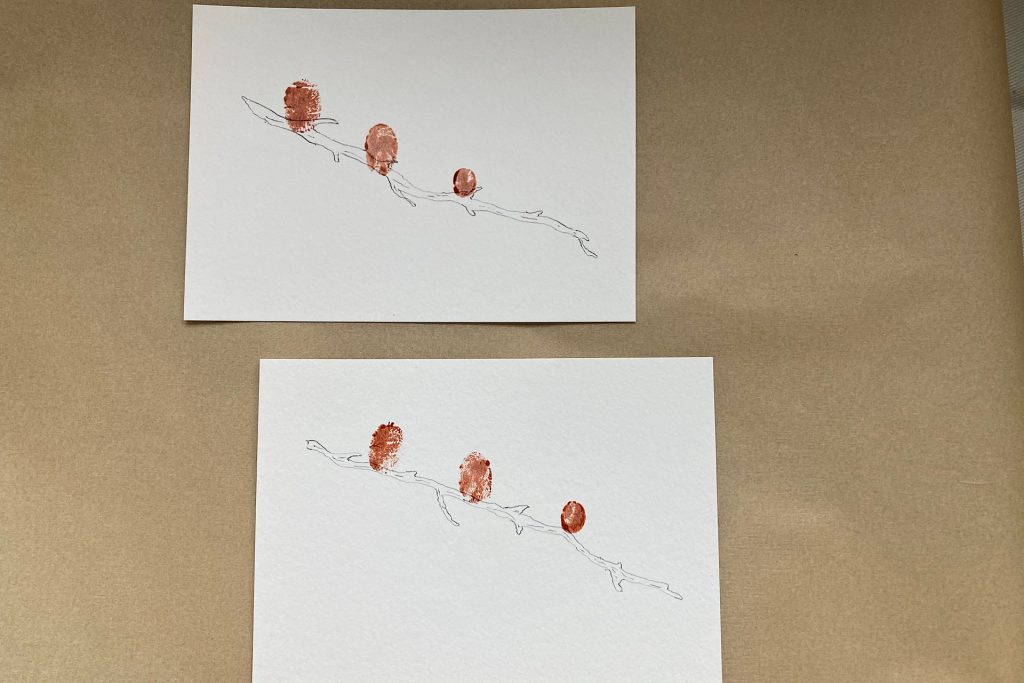
Using my pre-cut watercolor paper, I began by drawing a branch using a few diagonal strokes, a couple of lines underneath, and some tiny twigs and nubs to give it that natural, branch-y feel. (I’ll share photos so you can see just how simple this part really is.)
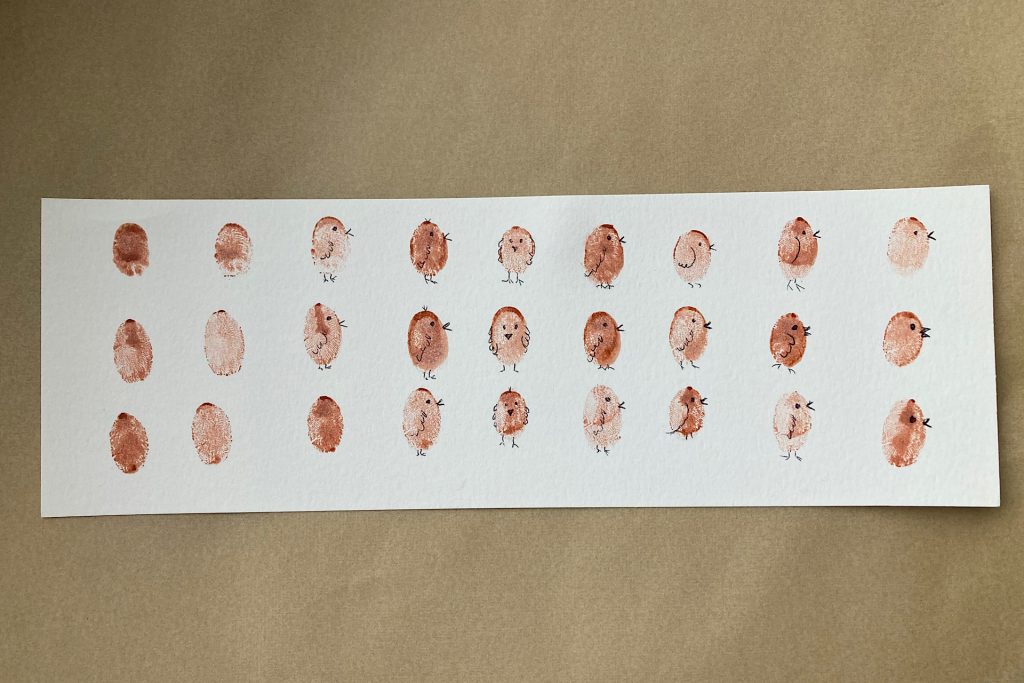
Next came the fingerprint birds — added one at a time. I used my thumb for the top bird, dipping and swirling it on the wet watercolor paint brick. Because I had already practiced, I knew just how much paint I wanted on my thumb and whether I needed to press once or twice on a scrap paper before committing to my final piece.
For the second bird, I used my index finger, again adjusting the color density just the way I liked. For the second bird, I used my index finger, again adjusting the color density just the way I liked. The third bird was made with my pinky finger, following the same process,
The fourth bird on my branch was also created with my pinky. To make this keepsake even more personal, I added the initial of each person under their bird. It’s a simple touch, but it beautifully marks whose fingerprint created each little bird, turning the piece into a truly meaningful family memory.
Finishing Touches: Framing Your Fingerprint Birds
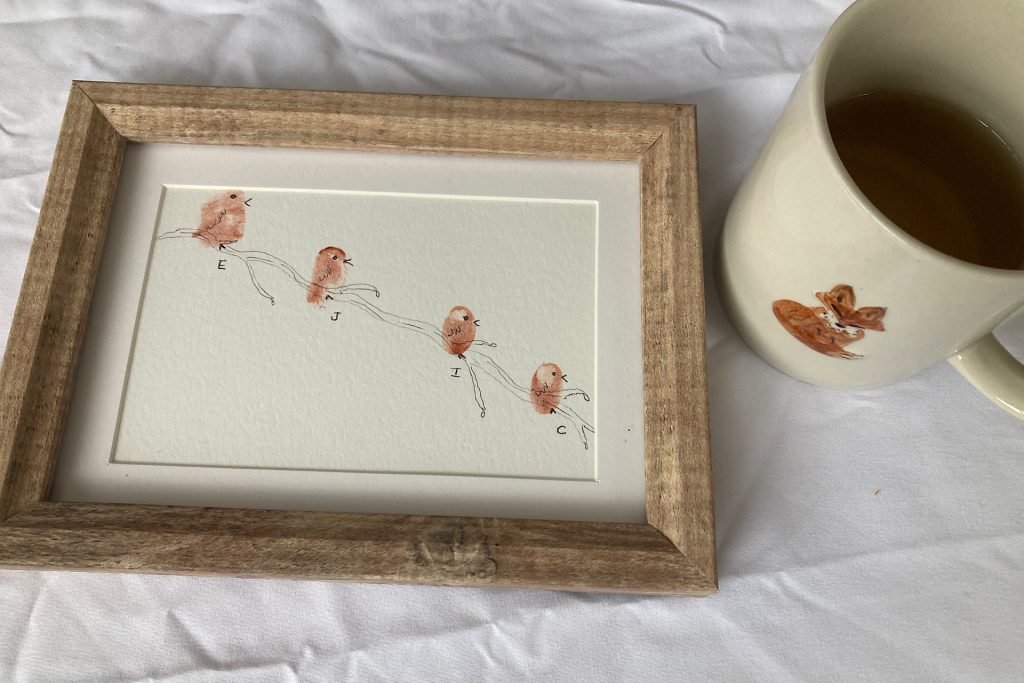
Once my fingerprint bird art pieces were finished, I had the pleasure of choosing my favorite for framing. I love how each print is just a little bit different, giving every tiny bird its own personality and charm.
My chosen watercolor piece slipped easily into my 5×7 frame, and I used the border insert that came with the frame to keep the paper from resting directly against the glass. It’s such a simple detail, but it really helps protect the artwork.
I can’t wait to create this fingerprint bird art with my son and his family; each of them will add their own fingerprint to the branch — a little family of birds, created together and captured forever.
I adore the sweet simplicity of this project and If you try it too, I would love to see what you make — please feel free to share photos of your finished pieces.
If you enjoyed this fingerprint bird art project, I think you may also love these other simple, creative ideas from my blog. Each one celebrates handmade moments, thoughtful details, and the joy of creating something meaningful.