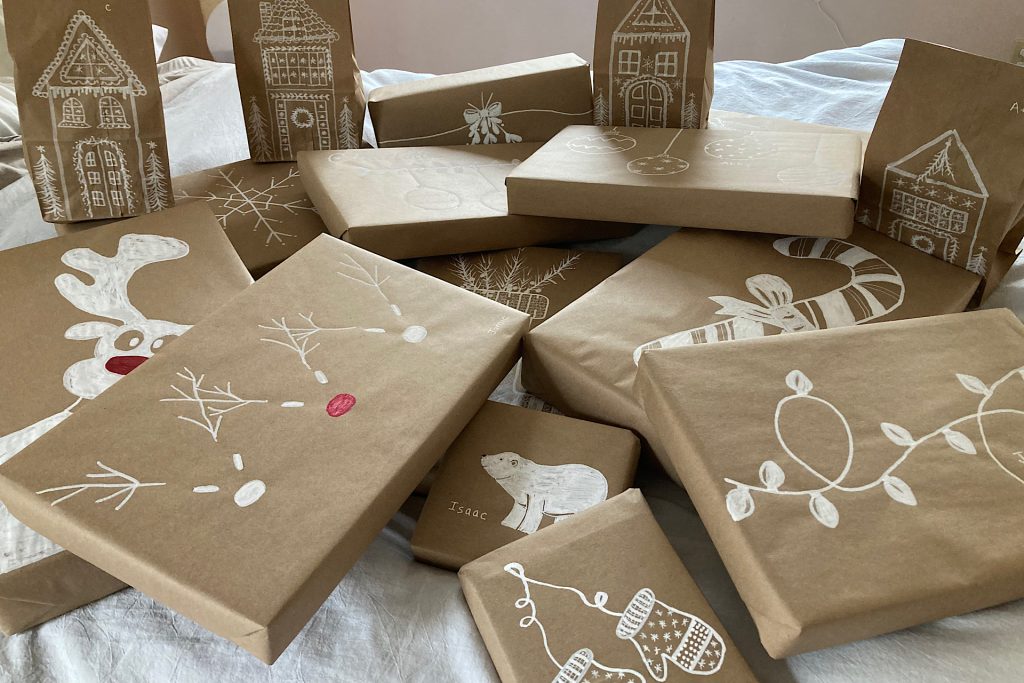
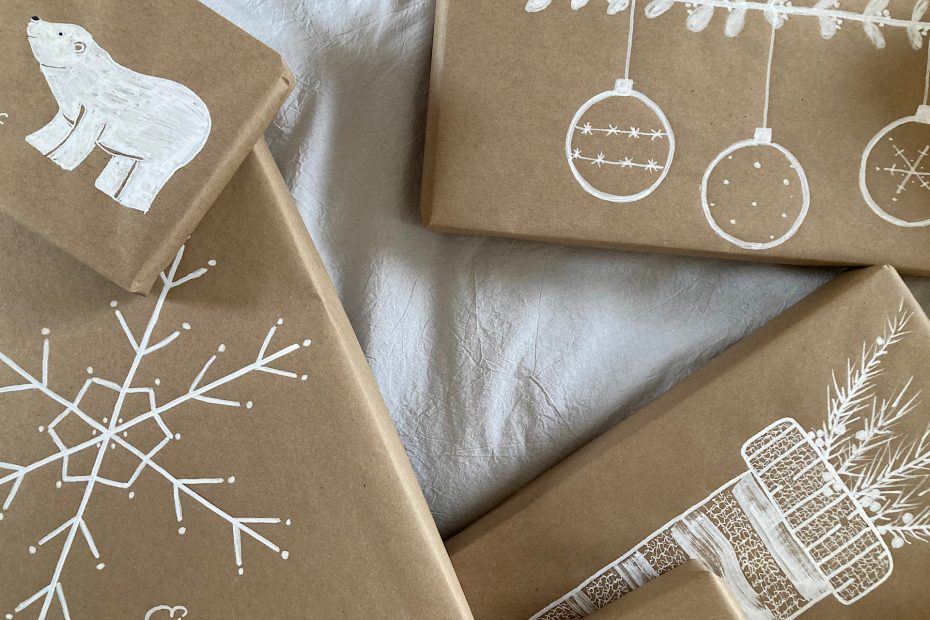
Imagine an evening spent by the fireplace, the scent of pine in the air, a mug of hot cocoa by your side, and a roll of craft paper ready for transformation. That’s exactly how I spent a couple of afternoons, turning simple supplies into charming DIY Christmas kraft paper gift wrap. With a white chalk marker and a bit of imagination, I created personalized designs that were fun, easy, and surprisingly relaxing. This project doesn’t require any specific artistic talent—just a love of the holidays and a desire to add a bit of handmade charm to your gifts. It’s a wonderful way to unwind and infuse your wrapping with a touch of heartfelt simplicity.
Simple Supplies: Kraft Paper Gift Wrap Charm
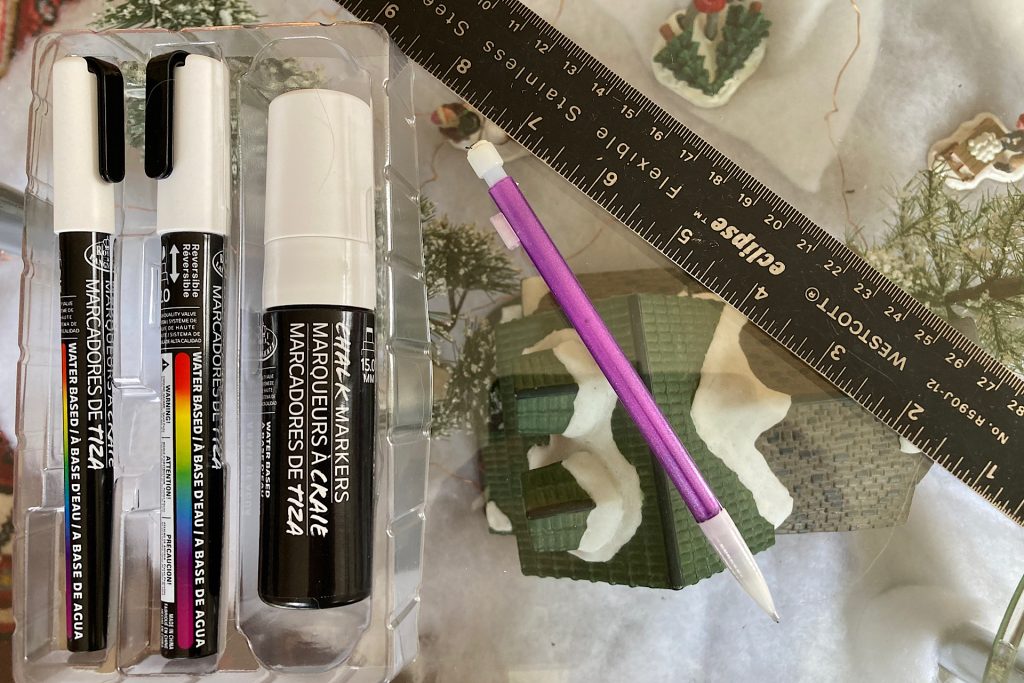
All you need to create your own kraft paper gift wrap are a few basic supplies: a roll of brown kraft paper, scotch tape, scissors, a ruler, a pencil, and chalk markers. It couldn’t be simpler! I picked up the kraft paper and chalk markers at my local Walmart for just $10.00 (they were on sale—holiday crafting win!). You might particularly like the chalk markers as it is a set of three with different sized tips.
I found it easiest to wrap my gifts first and then add the artwork. Trying to center your design on the paper before wrapping is a recipe for frustration! Instead, I cozied up on the sofa by the fireplace with a stack of packages, a steaming mug of chamomile tea, and soft Christmas music playing in the background. The cold winter night faded away as I searched “simple Christmas graphics” online to spark my creativity. Snowflakes, holly leaves, mittens—nothing fancy, just heartfelt and handmade.
Tree-Inspired Graphics
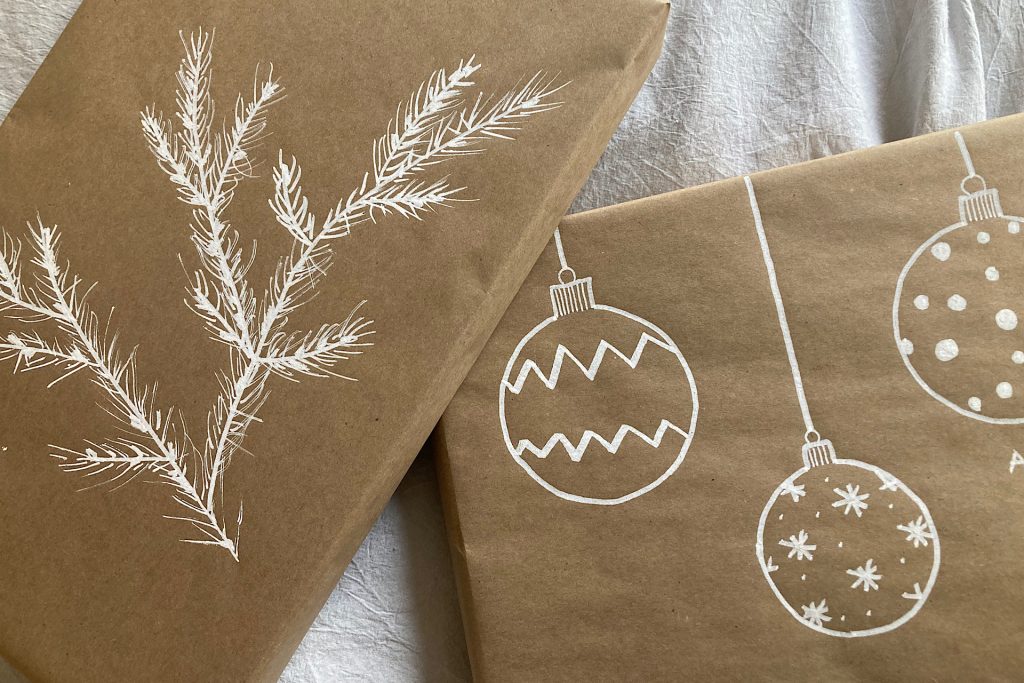
When it comes to kraft paper gift wrap, you can’t go wrong with designs inspired by the heart of the holiday: the Christmas tree! These easy graphics—pine boughs, ornaments, and strings of lights—add a charming touch to your packages, and best of all, you don’t need any special art skills to make them. I always start with sketching light pencil lines that I can erase if needed until I get the look I want. The chalk marker will cover right over the pencil lines.
1. Pine Boughs: This design is easier than it looks! Start by drawing a branch line freehand. From there, sketch small “V” shapes to mimic smaller branches. Then, lightly sweep your pen tip along each “V” to add the needles. The result is a simple pine bough that looks classic and cozy.
2. Hanging Ornaments: For this design, I used a canning jar lid to trace perfect circles. To create the hanging wires, draw straight lines with a ruler connecting each ornament to the top of the package. This gives a clean, classic look. Add as many or as few ornaments as you like for a personalized touch!
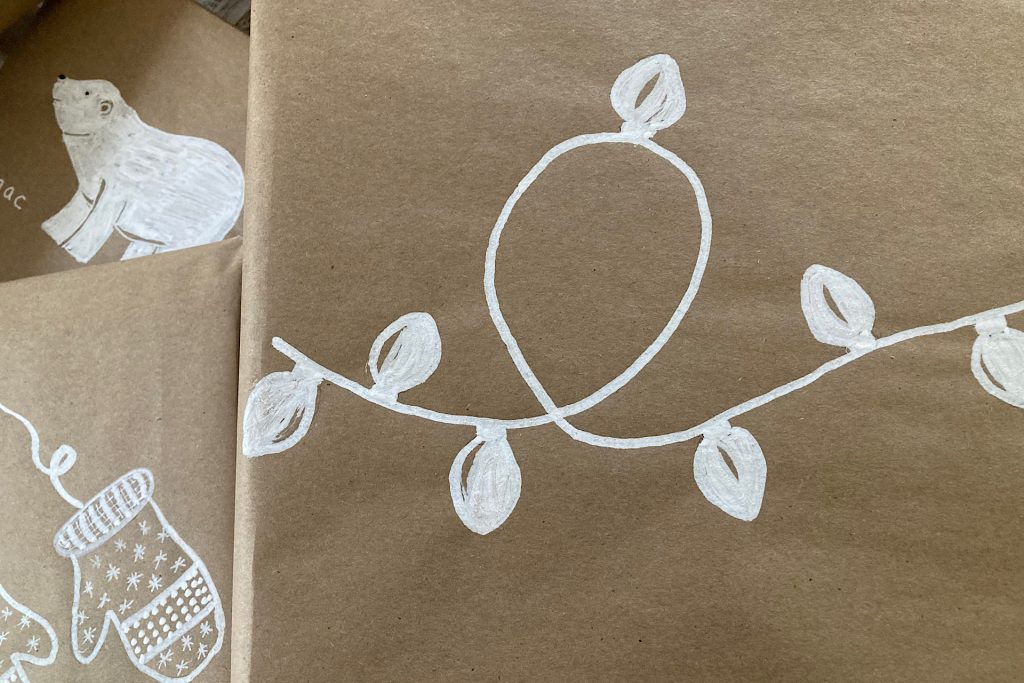
3. String of Lights: Nothing says “holiday magic” quite like twinkling lights. To create this, draw a looping, curvy line across the package. Then, add simple oval shapes to represent the bulbs. For extra dimension, leave a tiny bit of space uncolored on each bulb to make them look full and bright.
These simple, freehand designs are fun, forgiving, and a great way to unwind. They’ll give your gifts a handmade charm that everyone will love!
Garlands and Boughs
If you love adding a touch of nature to your holiday projects, these garland and holiday bough designs will be right up your alley! They’re easy to draw, effortlessly charming, and bring a whimsical, woodsy flair to your gift wrap.
Simple Garland:
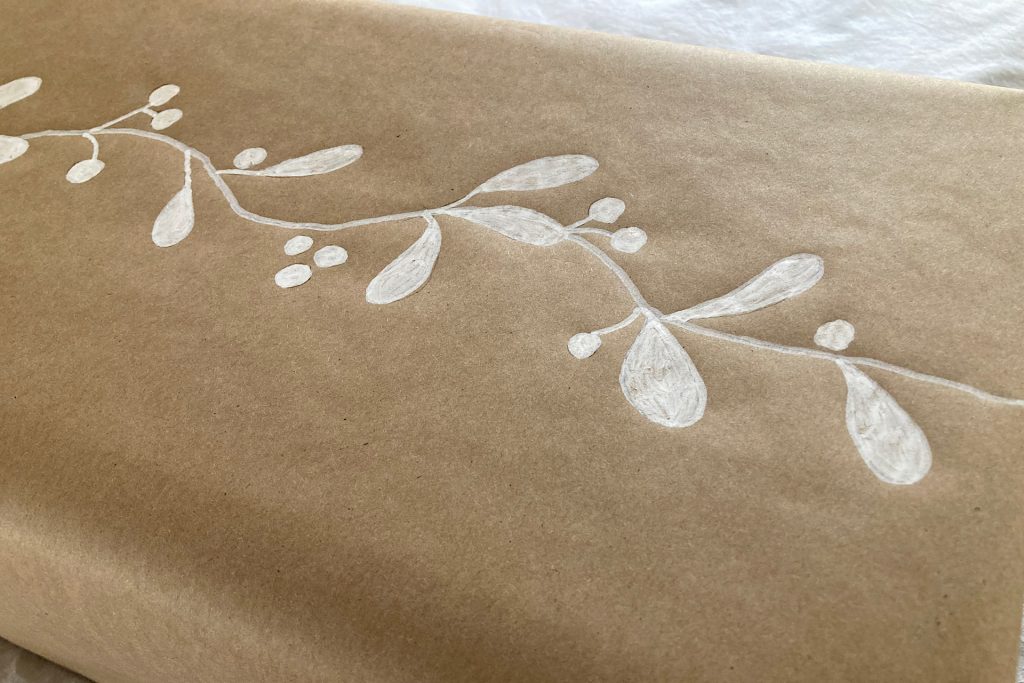
Garlands are just as easy (and fun!) as drawing a string of lights. Start with a freehand looping line to create that relaxed, draped effect. Then, along each curve, add elongated ovals for leaves, creating a flowing, organic look. Sprinkle in clusters of circular berries—some in groups of three, others standing alone. These little variations make each garland unique and add a dash of playful originality to your design.
Holiday Bough with a Bow:
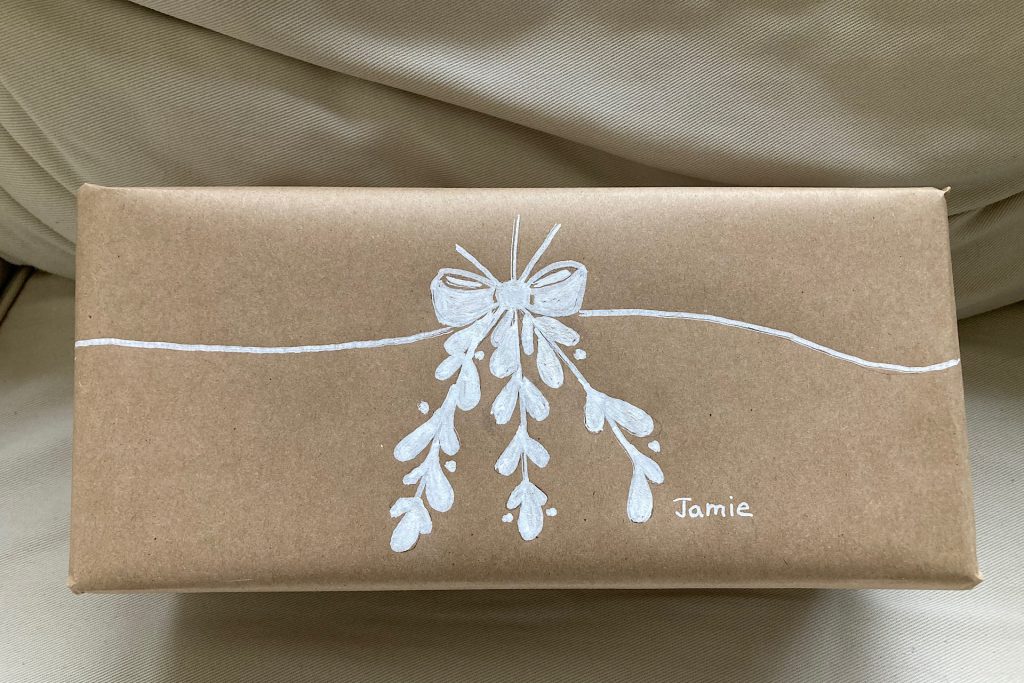
For a slight twist on the garland, create a holiday bough! Start with a relaxed, curved line and add clusters of oval leaves branching out in groups of three. Scatter a few berries around the bough for that classic holiday touch. To top it off, draw a bow at the top, leaving a small gap in the loops for a hint of dimension. This design feels rustic and charming, perfect for anyone who loves a nod to nature during the holidays.
These festive touches give your holiday wrapping a rustic, woodland feel . Plus, no two boughs or garlands will look the same—and that’s part of the fun!
Candy Canes & Cocoa
Nothing says holiday cheer like classic sweet treats! Adding a whimsical candy cane or a steaming mug of cocoa to your kraft paper gift wrap brings a touch of nostalgia and playful fun to your presents. These simple designs are easy to sketch and give your gifts a cozy, festive flair.
Candy Cane Delight:
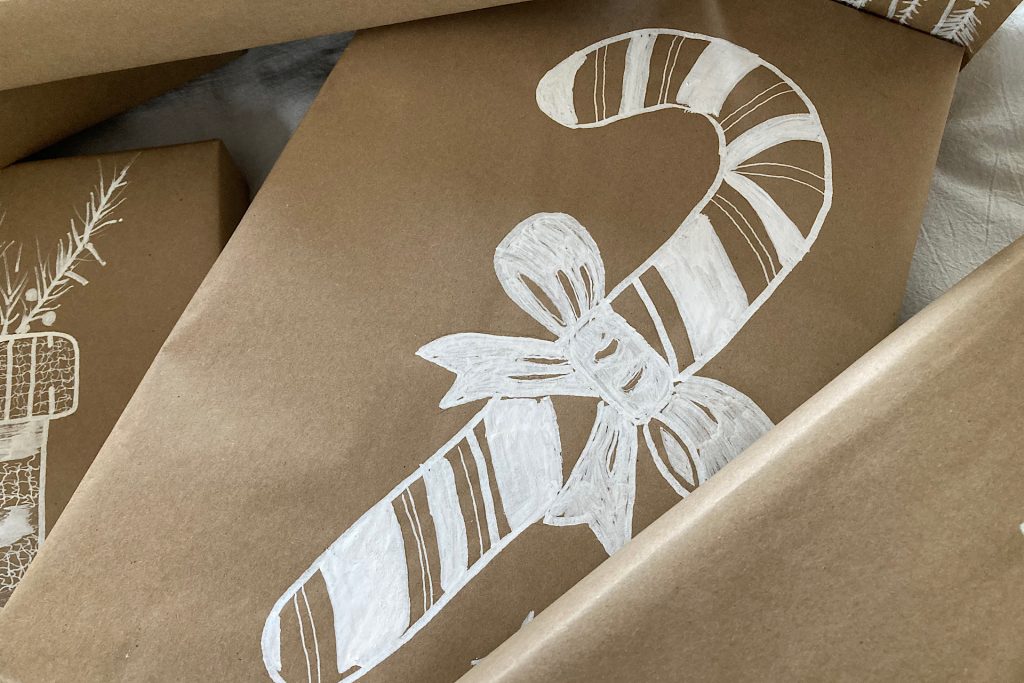
Candy canes are a holiday staple and a breeze to draw. Sketch a curved cane shape freehand or with a pencil first, then trace over it with your chalk marker. For variety, make the stripes different widths, and leave tiny gaps in the bow for dimension. This simple design adds a classic Christmas touch that’s sure to bring a smile.
Mug of Cocoa Magic:
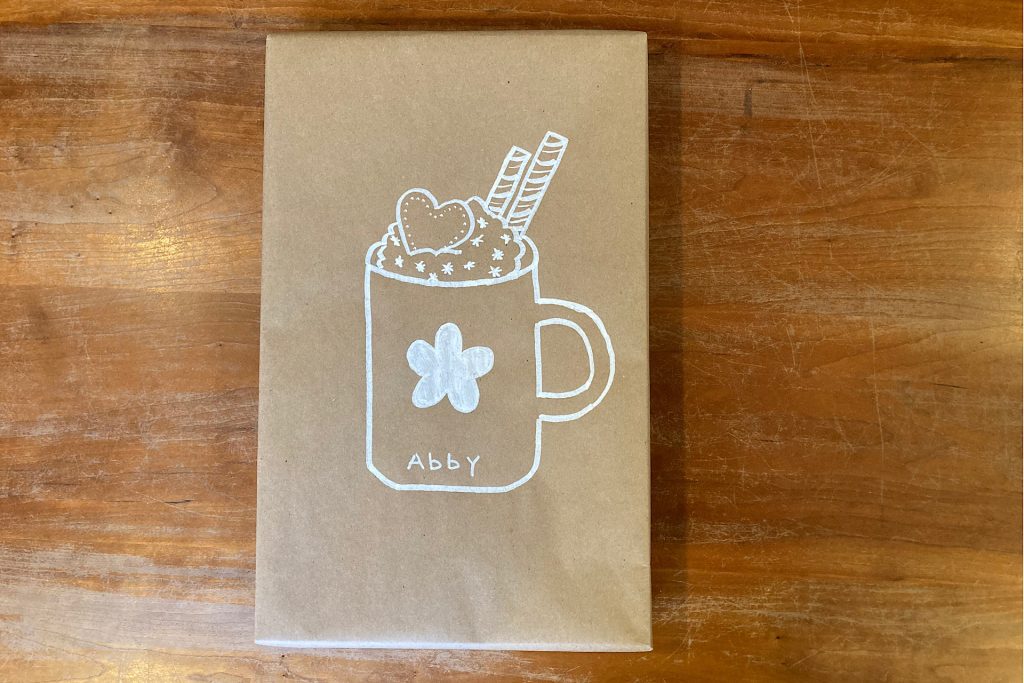
Few things are cozier than a steaming mug of hot chocolate! Start by sketching the outline of a mug with a pencil. Trace the lines with your chalk marker, filling in just the logo on the cup for contrast. The rest remains a clean line drawing, giving your design a modern yet nostalgic feel. You could add a few swirls or dots above the mug to represent steam for an extra cozy vibe.
These sweet designs are quick, charming, and perfect for spreading holiday warmth. Your kraft paper gift wrap will look as delightful as the treats they represent!
Warmth and Whimsy
Infuse your holiday wrapping with the comfort of winter warmth and the joy of seasonal whimsy. Mittens, stockings, and reindeer designs are simple, fun, and perfect for transforming kraft paper gift wrap into something magical.
Cozy Warmth:
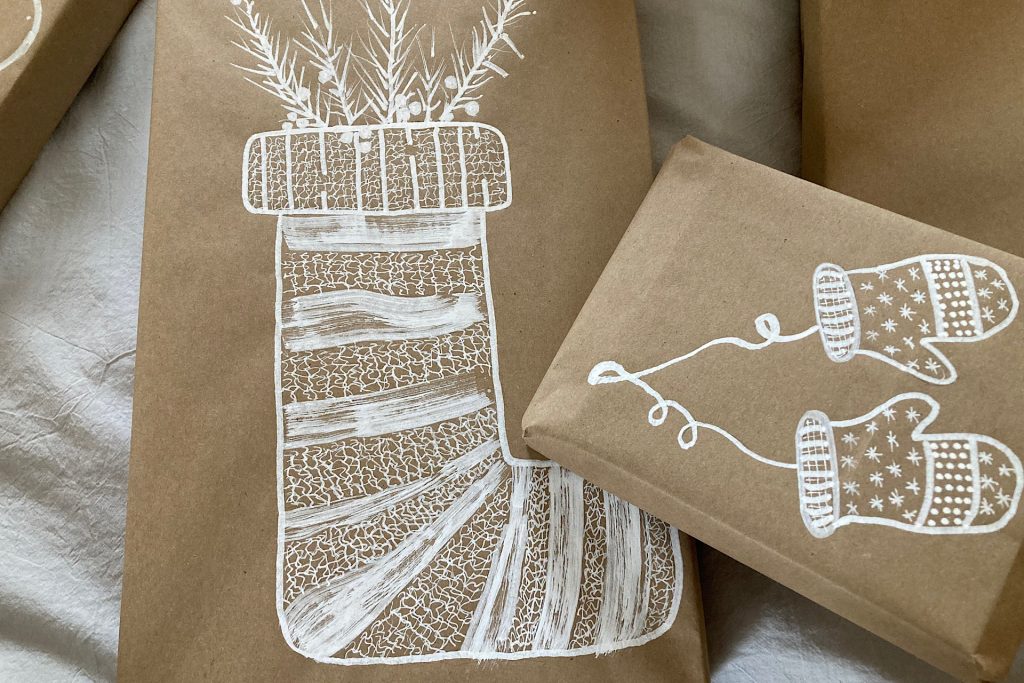
Start with classic winter icons! Draw a pair of mittens connected by a playful, loopy line. Keep the outlines simple and fill the mittens with easy patterns like stars, lines, or dots for festive charm. For a classic Christmas stocking, add bold stripes with the broad tip of your chalk marker and a cross-hatch texture with the fine tip. Top it off with pine clippings and berries for a rustic touch of holiday magic.
Playful Reindeer Whimsy:
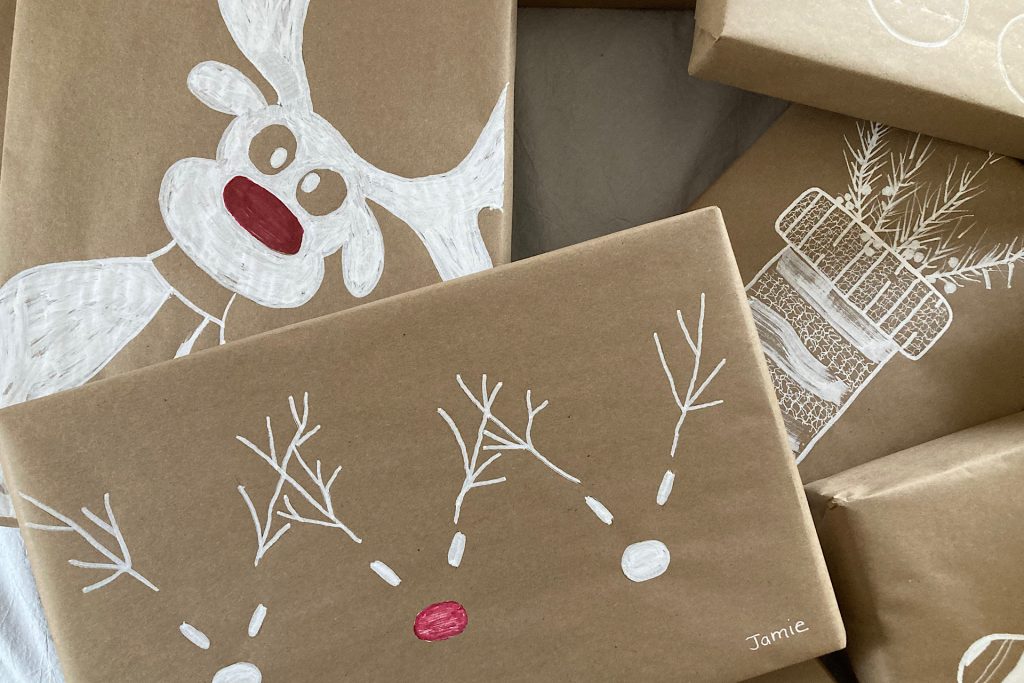
Bring on the fun with delightful reindeer designs! For a minimalist look, sketch three reindeer faces with quick lines for antlers, oval eyes, and a simple nose. Make the middle one extra special with a red nose for a Rudolph-inspired twist. For a bolder option, draw a larger, silly reindeer face using big circular lines and fill it in with a broad chalk marker. A bright red nose adds the perfect finishing touch of holiday cheer!
These warm and whimsical touches make your kraft paper gift wrap a joy to create and a delight to give.
Winter Wonderland
Create your own Winter Wonderland with two magical designs that capture the essence of the season. A simple snowflake and an adorable polar bear bring a chilly touch to your holiday gift wrap, evoking the beauty and serenity of winter.
Snowflake Sparkle:
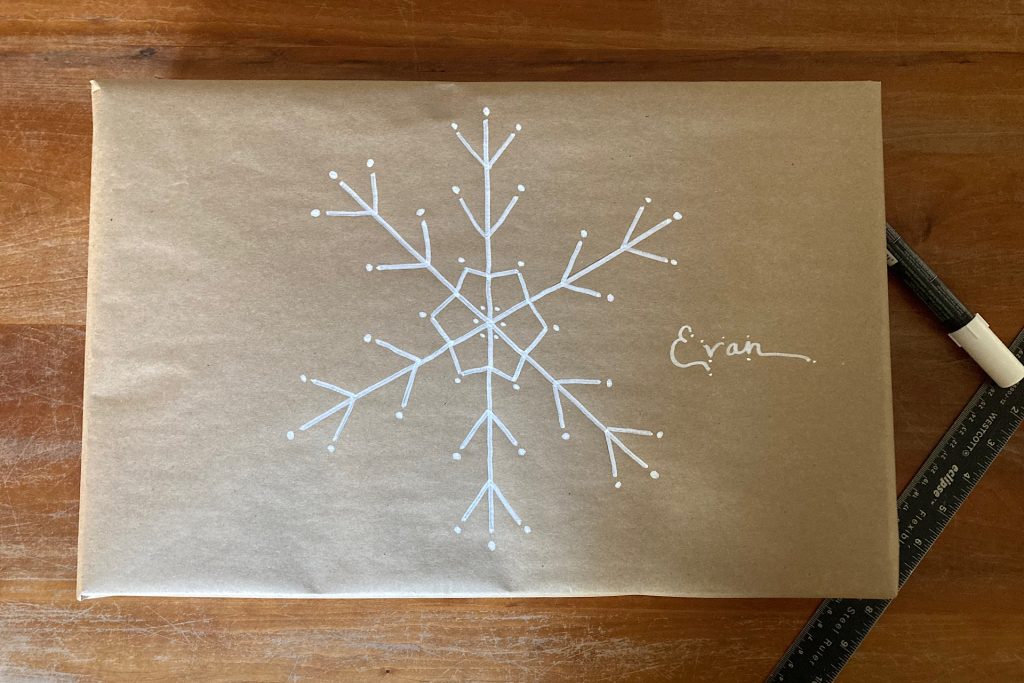
A snowflake is the perfect design for a crisp, wintery feel. Start by using a ruler to draw straight lines radiating from a central point. These clean, sharp edges add a touch of precision to your wrap. Sprinkle some dots around the snowflake for an added wintry effect—these tiny details enhance the simplicity and beauty of the design. It’s an easy, elegant way to bring the frosty charm of winter to your kraft paper gift wrap.
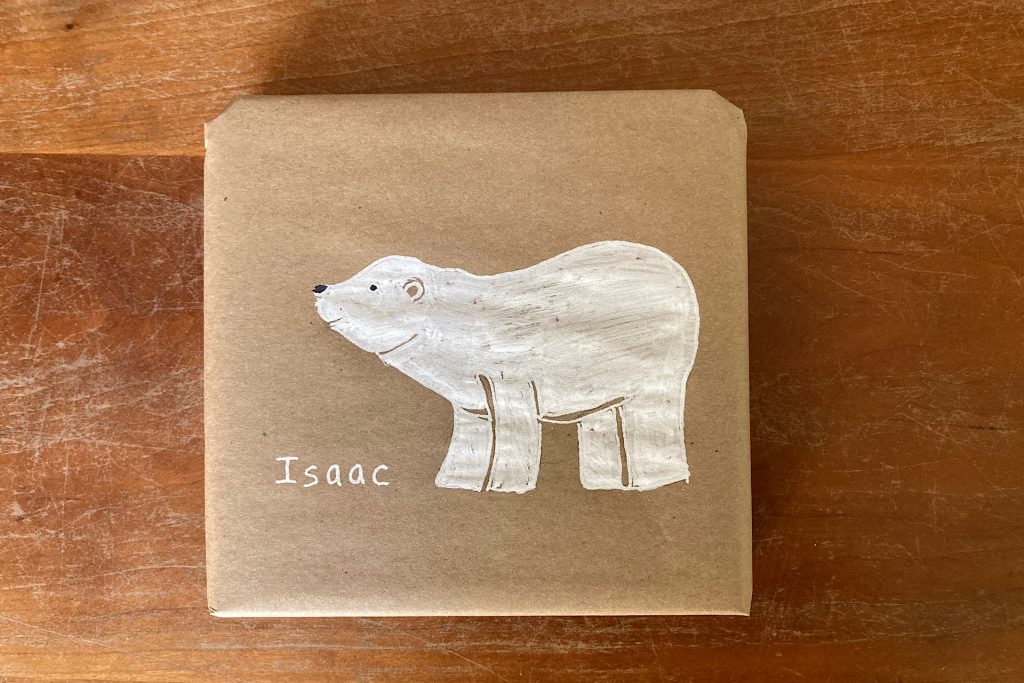
Polar Bear Magic:
For a cute, endearing touch, draw a blocky polar bear outline and fill it in with your broad-tipped chalk marker. Leave sections of the bear uncolored to define its legs, chin, mouth, and ears, creating subtle depth. Use a fine-tip black marker to draw the nose and eye, adding personality to your furry friend. This design brings the chill of winter’s wild beauty to your wrapping, offering a delightful surprise for the recipient.
These simple but effective graphics will transform your kraft paper gift wrap into a Winter Wonderland, adding a touch of seasonal wonder to each gift.
Your Own Perfect Kraft Paper Gift Wrap
I hope this guide has inspired you to create your own kraft paper gift wrap with simple, charming designs that will add a personal touch to your holiday gifting. Whether you’re creating cozy mittens, whimsical reindeer, or a serene winter wonderland, these designs are quick to make, fun to personalize, and sure to delight your recipients.
Remember, the beauty of this project lies in its simplicity—just a roll of kraft paper, a few chalk markers, and your creativity. Enjoy this cozy craft with a mug of cocoa or a warm cup of tea, and soon you’ll have all your presents wrapped with festive cheer.
If you enjoyed this post, here are some other DIY projects that you might love:
- Sweet Simplicity: White Cardstock Holiday Stars: Add a bit of sparkle to your decor with these easy-to-make cardstock stars.
- Charming Cardboard Creations: Gingerbread Village DIY: Create your own whimsical gingerbread village using cardboard boxes.
- Create Winter Magic: Frosted Epsom Salt Candle Jars: Light up your home with these simple and magical frosted candle jars.
Thank you for joining me on this fun and festive project! Wishing you a warm and wonderful holiday season full of creative moments.
