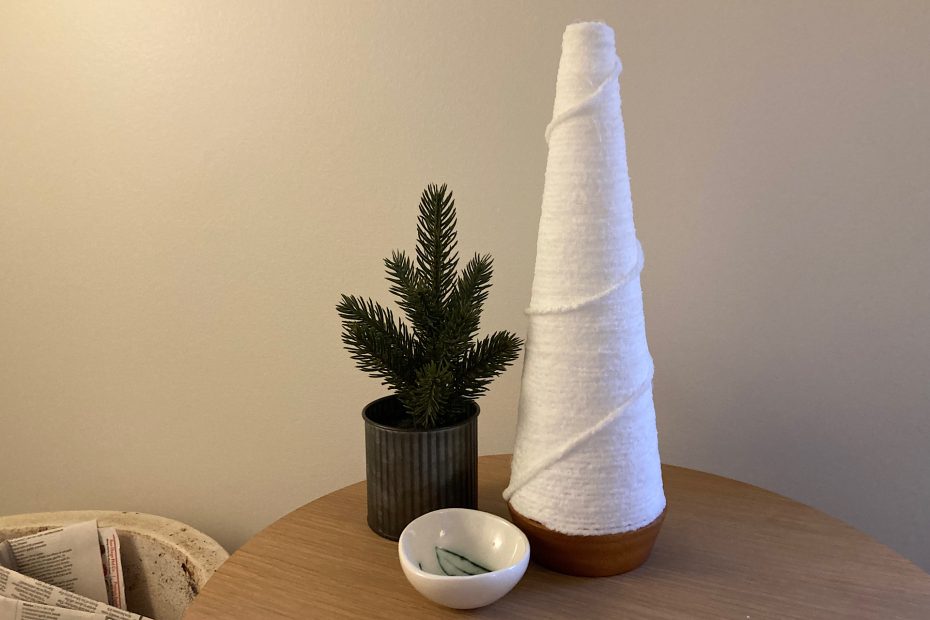
This simple yarn tree wrap is a fun and easy holiday DIY. On its own, it is a charming addition to minimal winter decor. You can, however, certainly embellish it to match the mood you are trying to create. Simple or elaborate, this project can be easily done on a weekend and add a personal touch to your winter wonderland!
Yarn Tree Supplies
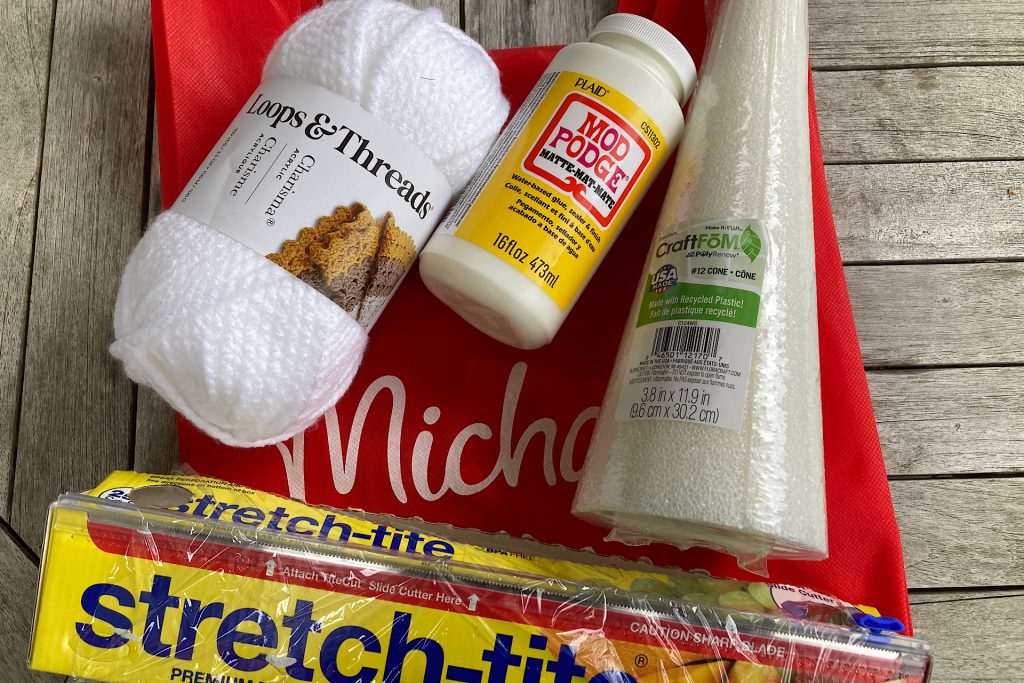
The supply list for this tree wrap is very simple. All you need on hand are:
- Yarn of your choice. (I used a bulky skein by Loops & Threads – Charisma – White; but they have several other colors to choose from.)
- Christmas tree form to wrap the yarn around. (These come in various sizes depending on your preference.)
- Mod Podge (A decoupage medium that acts as a glue, sealer, and finish all in one.)
- Styrofoam brush for applying Mod Podge. (1″ or 2″ brush head will be fine).
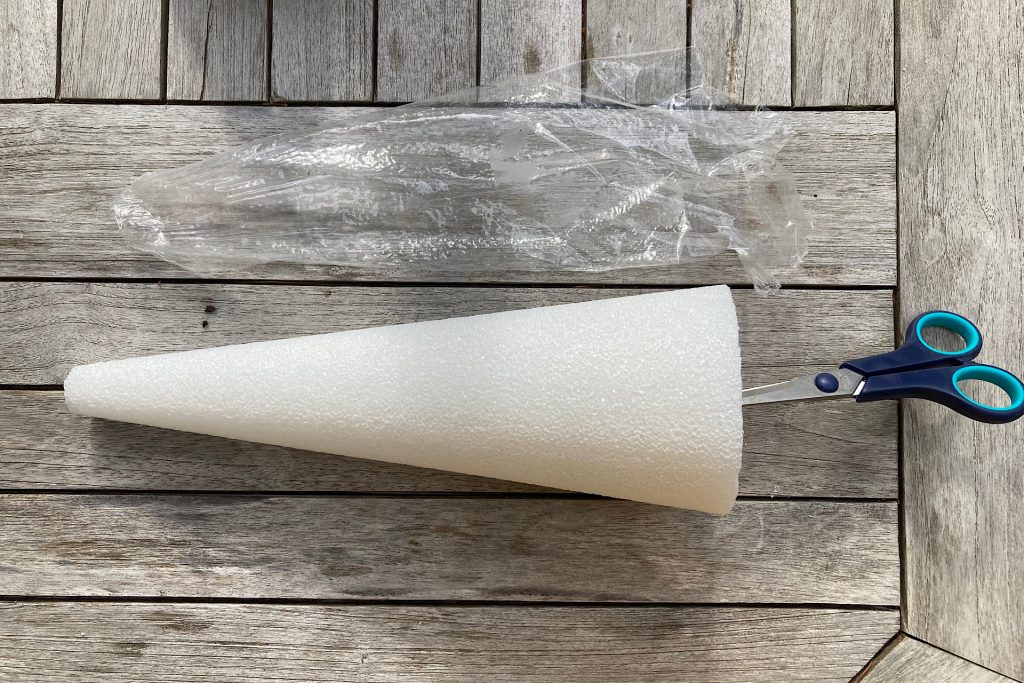
- Plastic wrap. (If the tree form is already wrapped, you can use that the first time. Just ensure you remove the label so it doesn’t stick to the Mod Podge.)
I purchased all my supplies at Michaels (except the plastic wrap). I’ve included links above if you’d like to use the same.
Prep
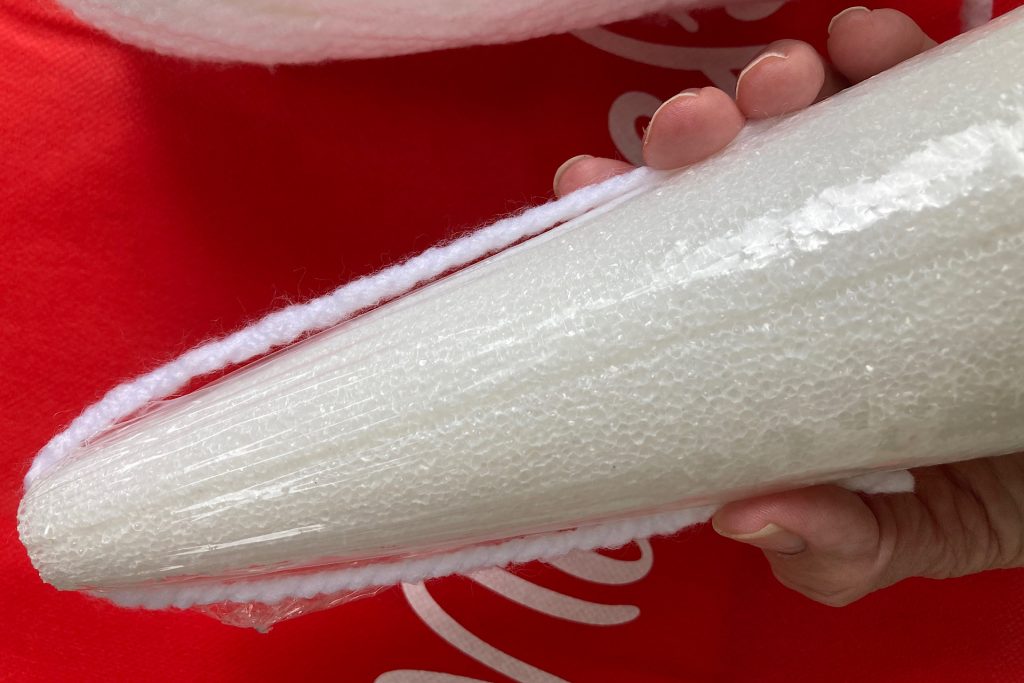
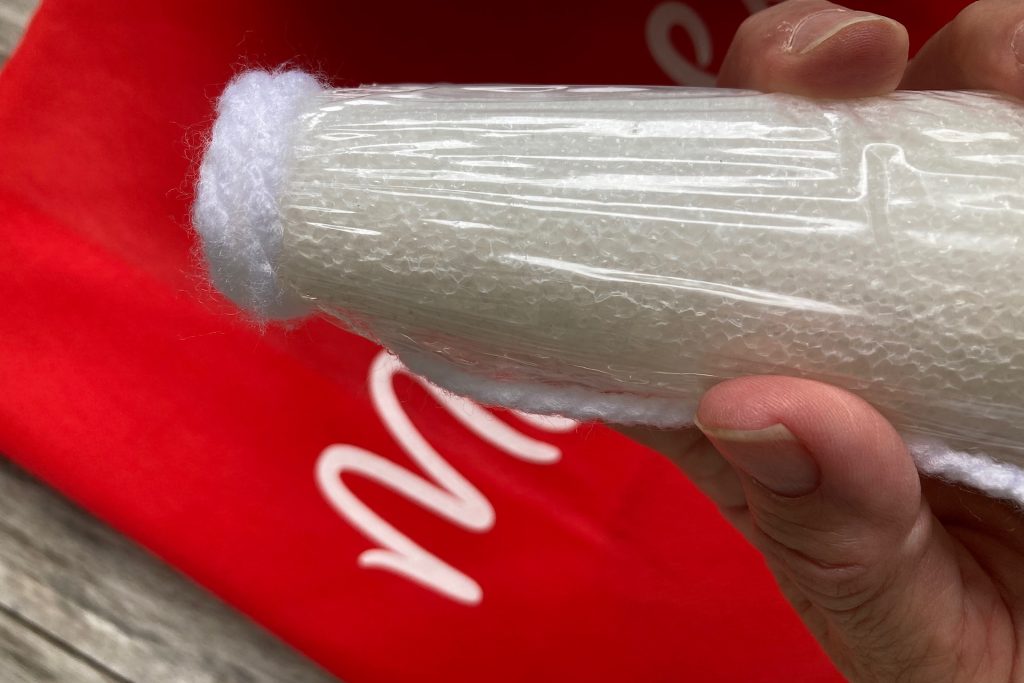
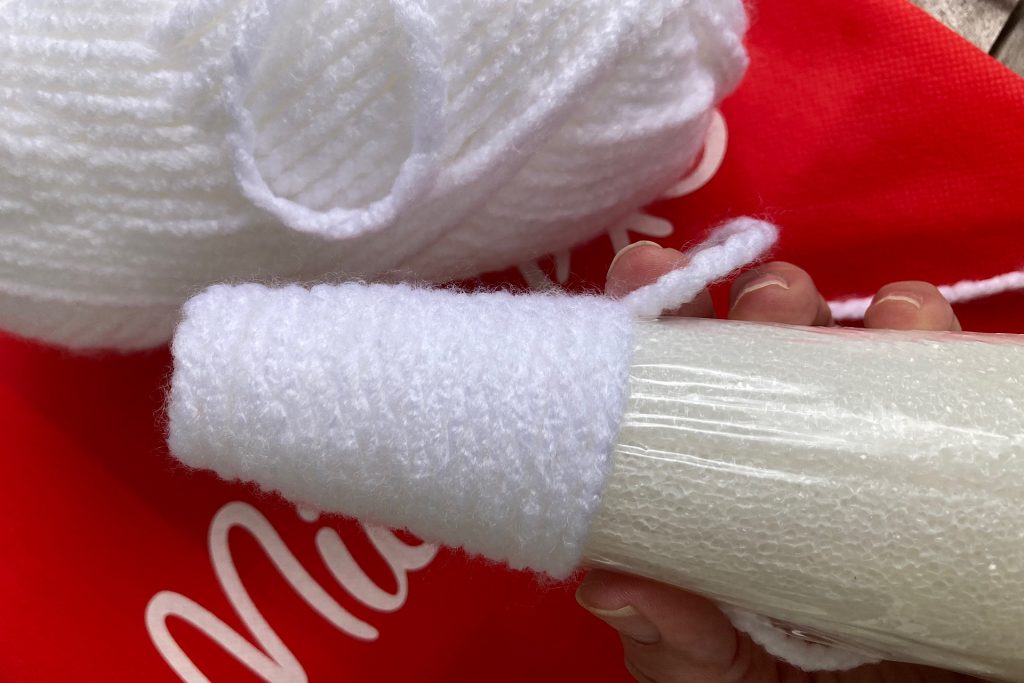
To begin, you will want to ensure that the styrofoam cone is covered in plastic wrap so that it can be separated from the finished tree at the end of the project. Because my cone was already wrapped in plastic when I purchased it, I just removed the label and used the existing covering for my first tree.
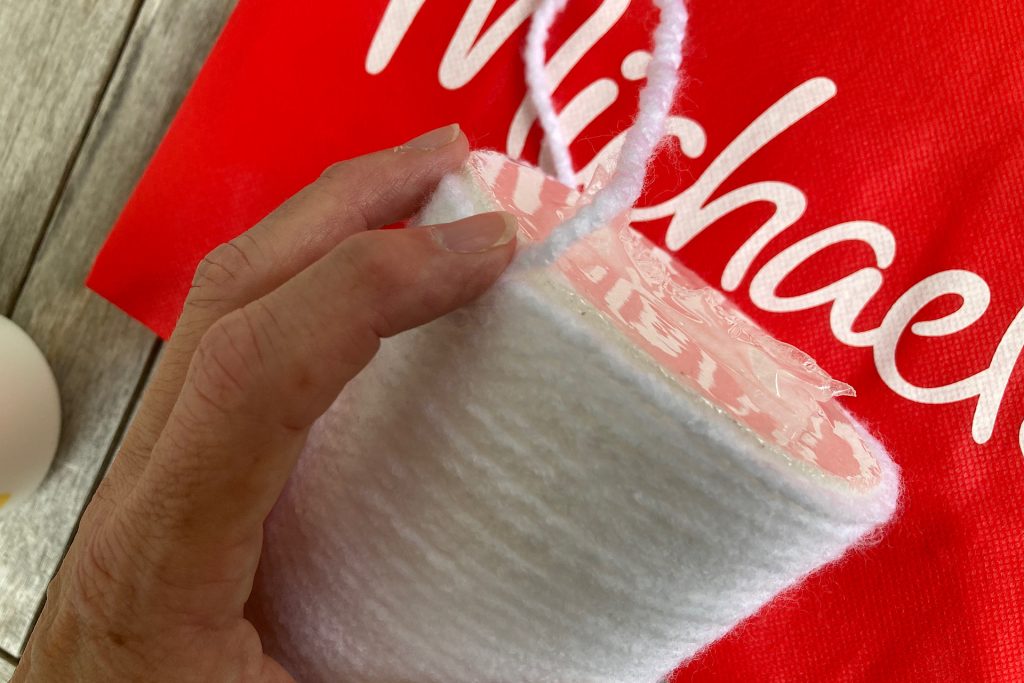
Next, drape a length of yarn over the top of the tree, holding firmly on the cut end. Starting at the top of the tree, begin wrapping the yarn around the cone so it holds the cut end in place.
Yarn-Wrapping the Tree
Applying Mod Podge
Continue wrapping the yarn around the plastic-covered tree form until you reach the bottom.
Each loop around the cone should be snug to the one above it. This will ensure that a solid, intact tree can be removed from the form once it has been coated in Mod Podge and dried.
Once you reach the bottom of the cone form, cut the yarn and tape the end to the bottom of the form to hold it in place.
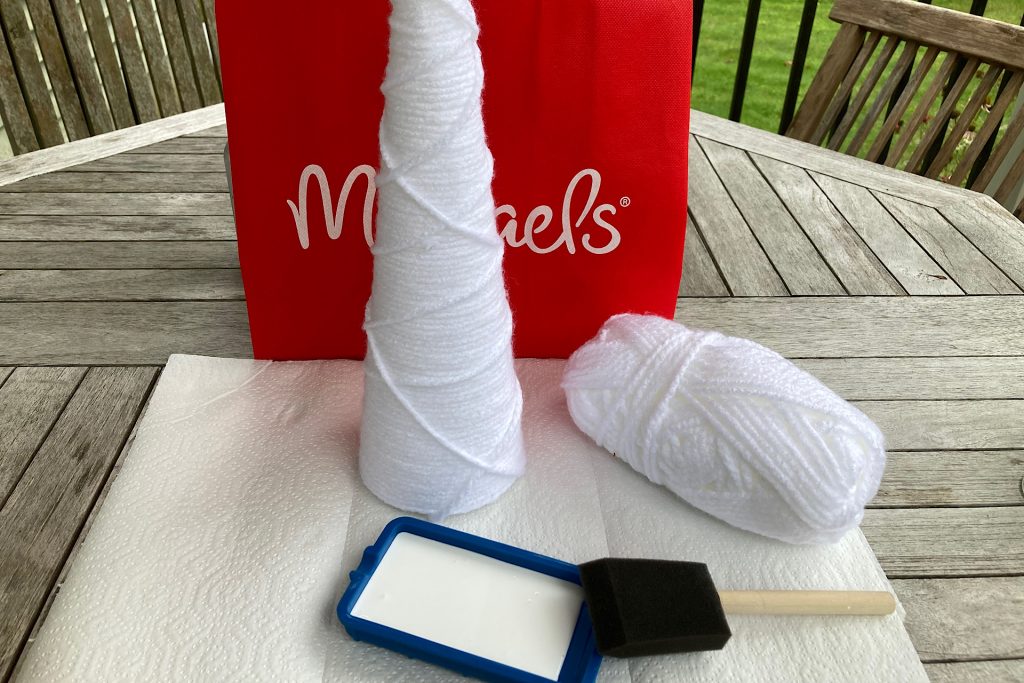
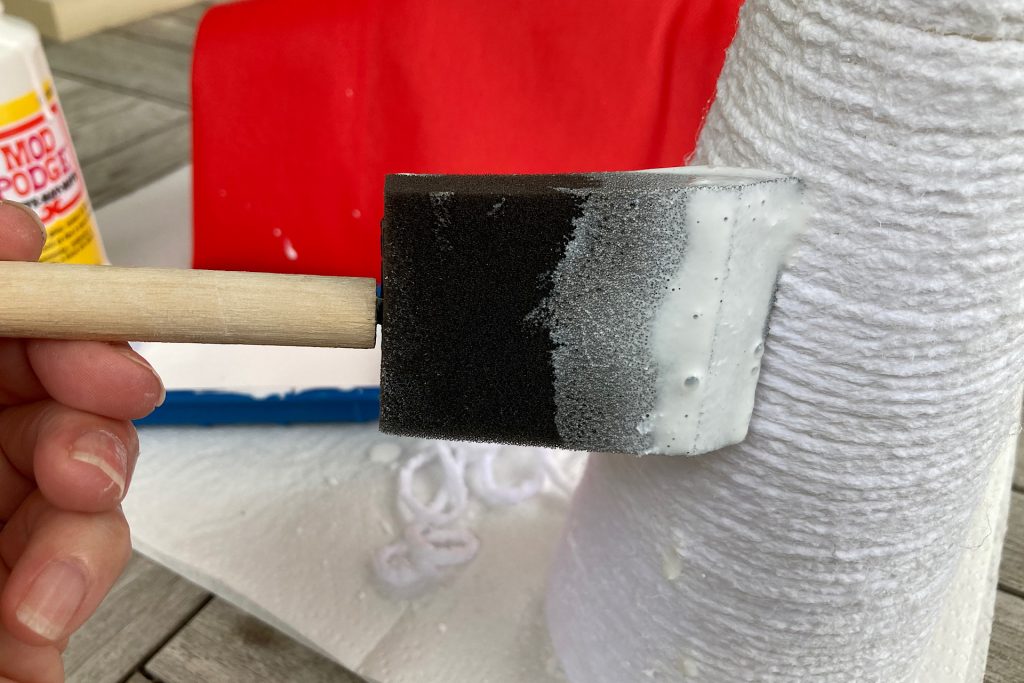
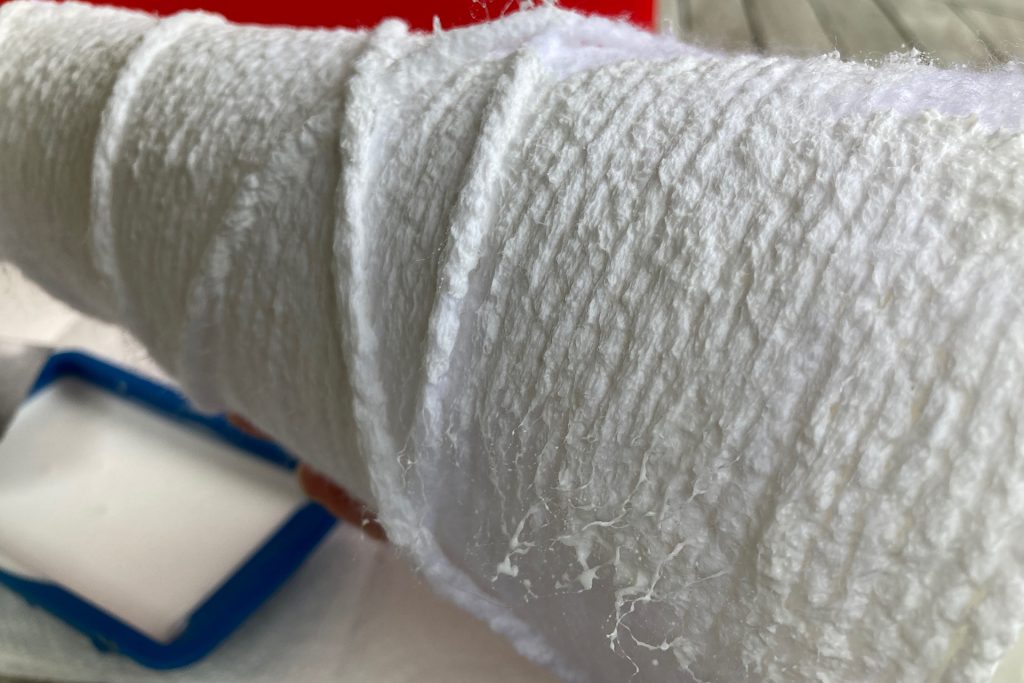
Now its time to cover the yarn in Mod Podge.
I will be honest; at first I wrapped some extra yarn in a zig-zag pattern around my tree form for visual interest- but I ended up removing it. It made it too difficult to ensure I was covering the base tree with a nice, solid layer of tackiness. I added this extra twine embellishment again at the end, after I was sure that the base underneath was evenly covered.
To ensure that the yarn tree will hold its shape after it has dried and is removed from the cone form, make sure that the yarn is evenly coated and well-saturated with Mod Podge product.
Topping the Tree
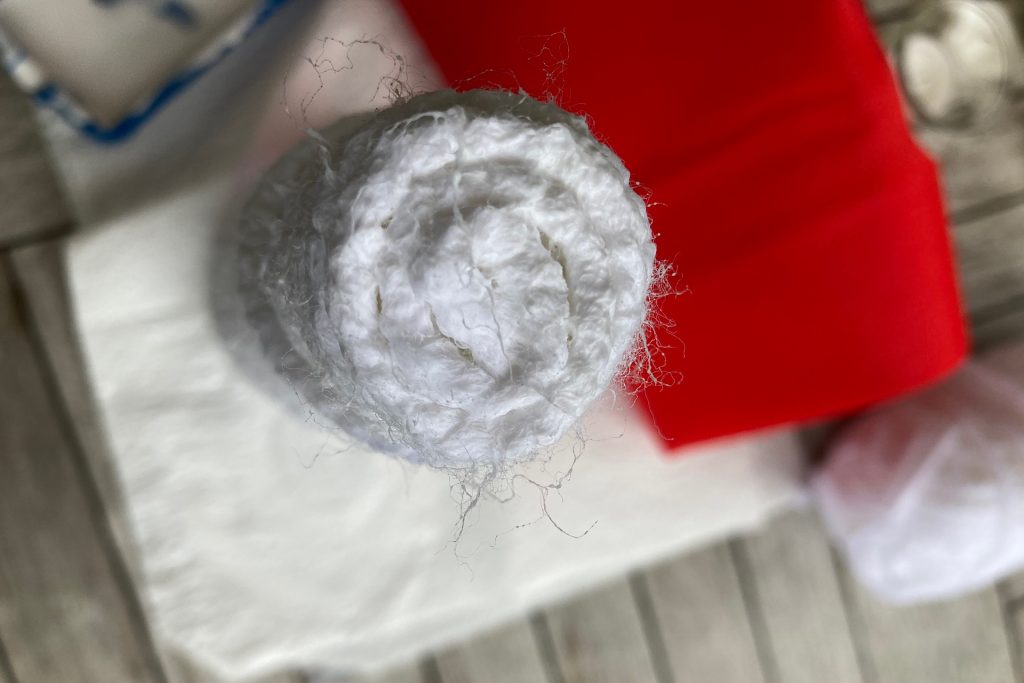
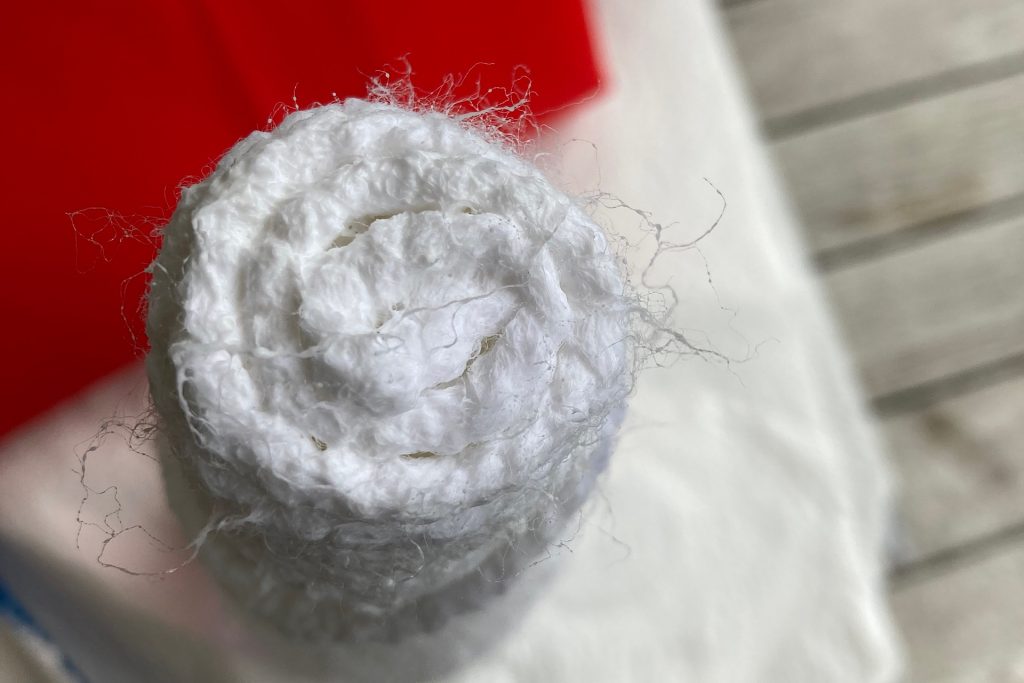
You may choose to glue a decorative topper on your finished tree at the end. I was going for a minimal look, however, and wasn’t certain I would do that. Instead, I cut and coiled an additional piece of yarn on the flat surface at the top of the cone form. The outside of the coil lay on top of the yarn wrapped around the tree; so when saturated with Mod Podge, they would both adhere to one another.
This is also the time you can add more wraps of yarn in decorative patterns around the tree for subtle character. Just ensure that those too, are covered in Mod Podge.
Set Out To Dry
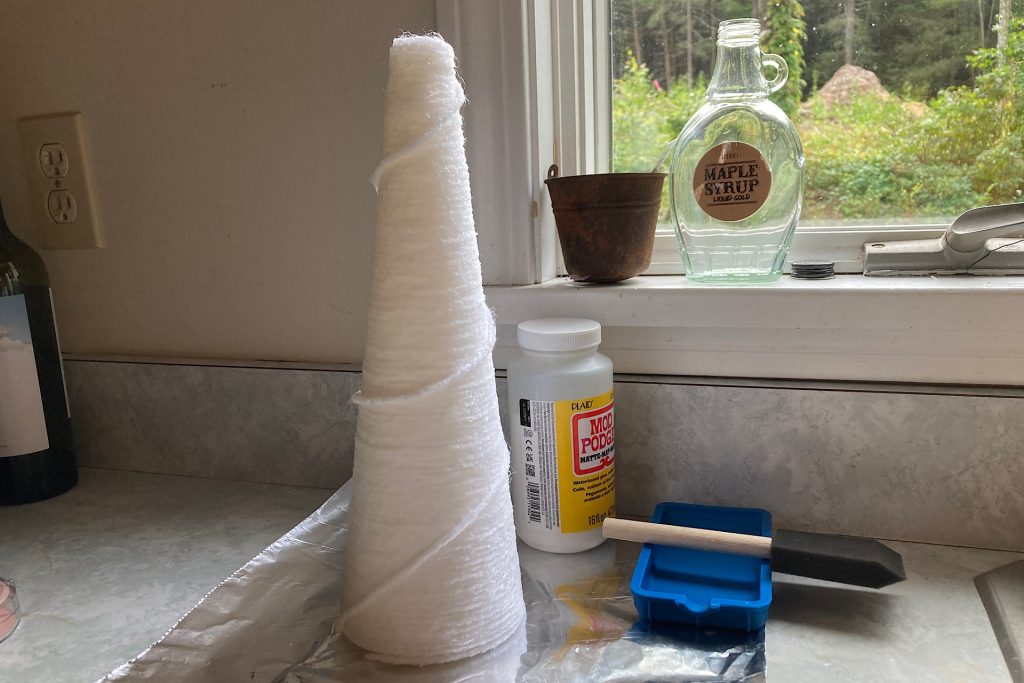
Now is the time for patience.
Because the yarn is laying on a plastic wrapped form, you will want to allow plenty of time for the finished tree to dry and harden. There was some humidity in the air at the time I did mine. I gave it 3 full days to dry before attempting to remove it from the cone form.
Removing Cone Form
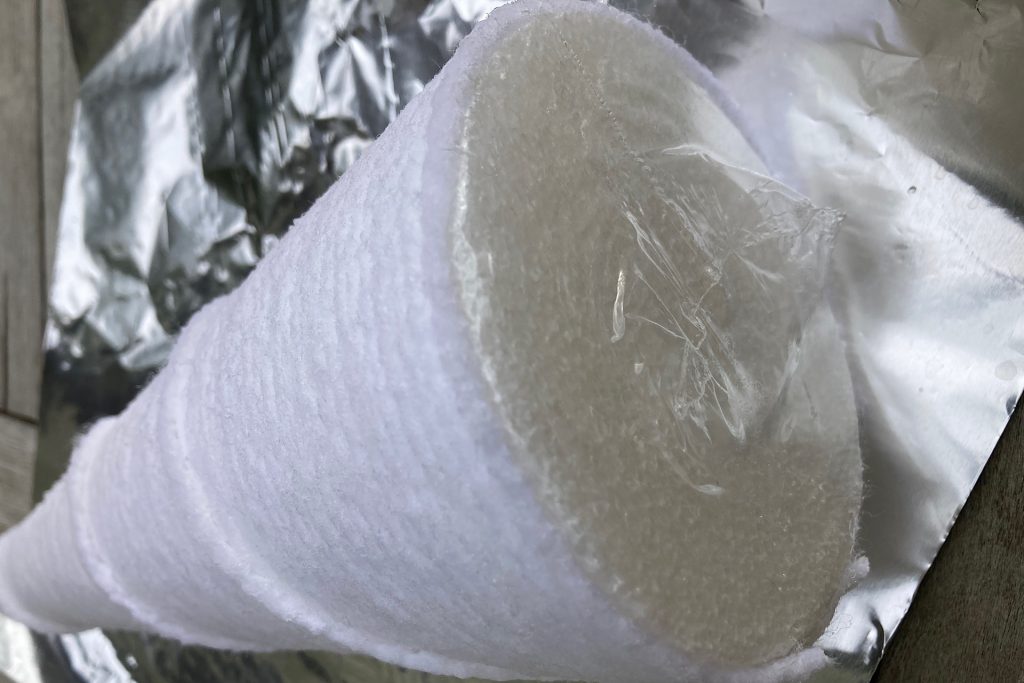
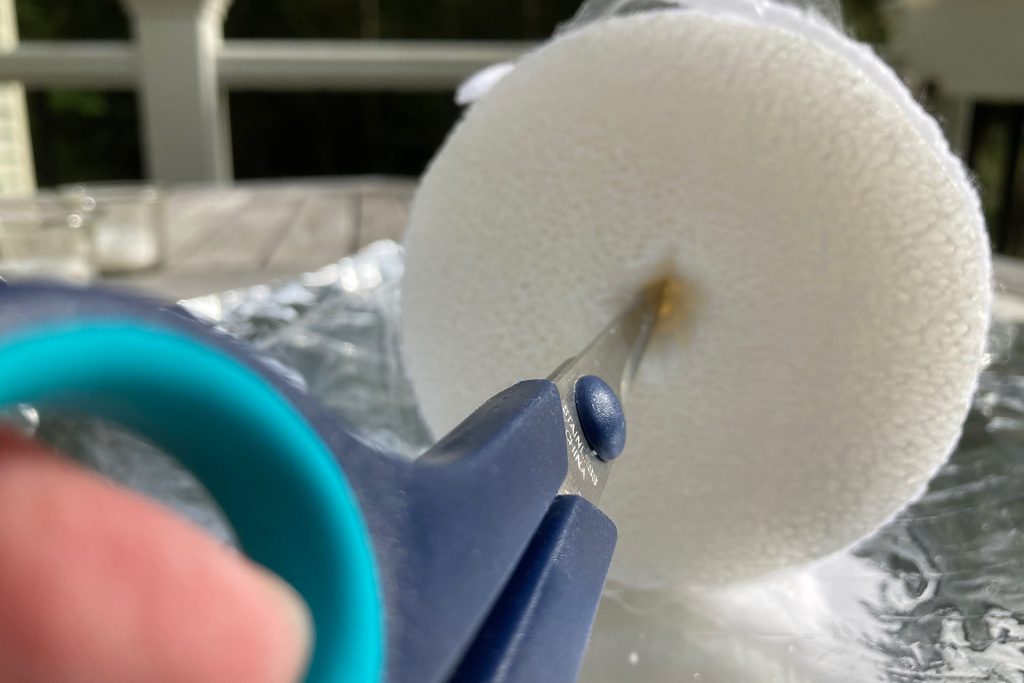
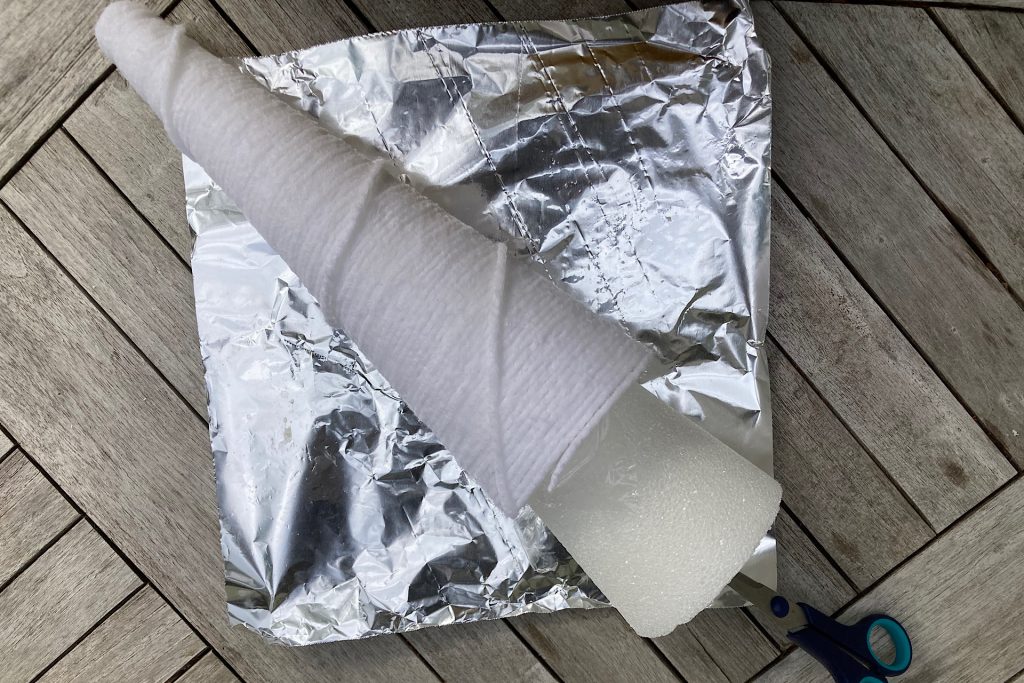
Even though the yarn tree has hardened, take care when removing the cone so that the finished tree remains firm and intact.
Because my cone was already wrapped in cellophane, I sliced a star shape in the wrapper on the bottom and removed it so that the bottom of the tree was just exposed styrofoam. If you wrap yours in plastic wrap, the bottom will already be open; there is no need to cover it.
I did not want to squeeze on the yarn tree as I removed it, so I made a small hole in the bottom of the form with a pair of scissors. This way, I could insert the scissors into the styrofoam cylinder to help me pull on it and release it from the yarn tree. It worked perfectly. Just a little gentle wiggling and twisting and it frees up nicely.
Now all that was left was the plastic inside, which I was able to remove easily with my fingers.
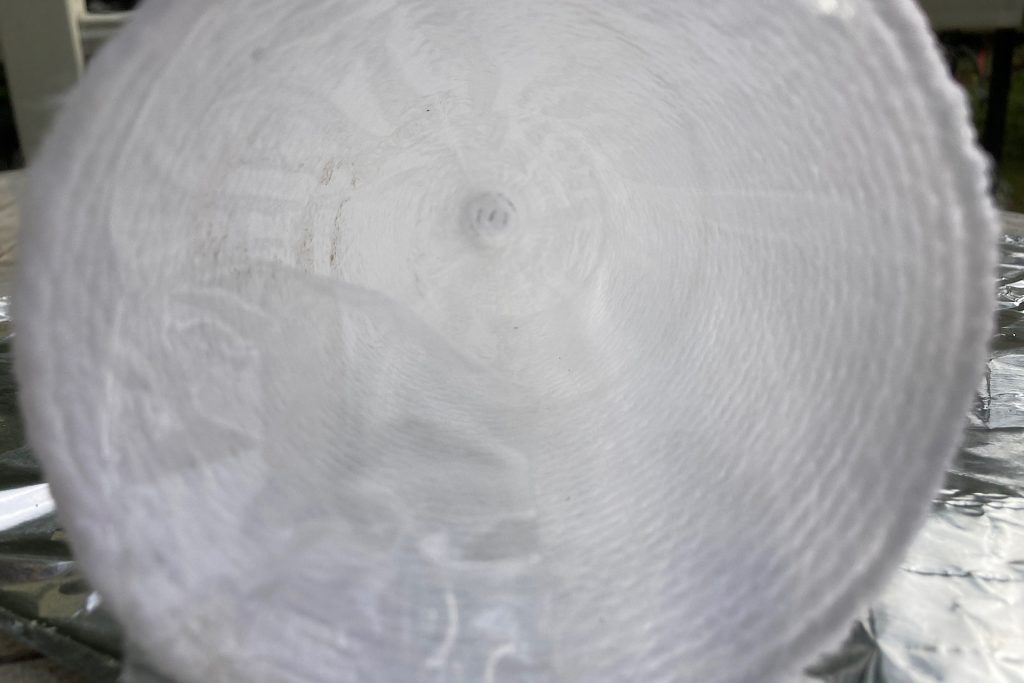
Finished Yarn Tree
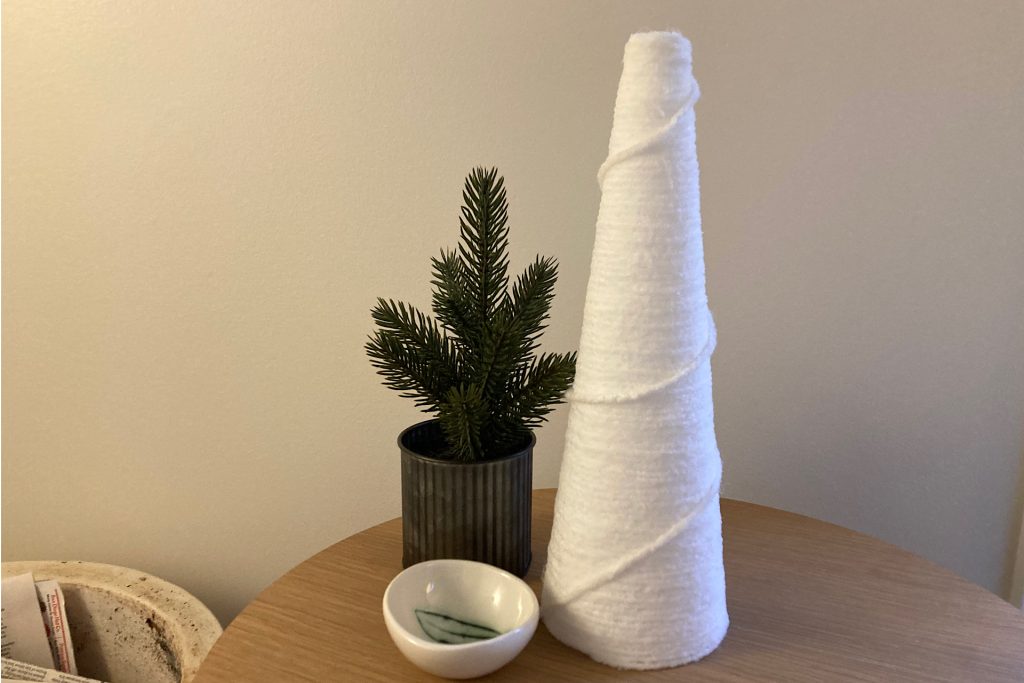
Now you have a lovely, finished yarn Christmas tree. You can decorate it however you like or leave it minimal like mine. Showcasing several yarn trees in different sizes makes for a wonderful, yet simple holiday display.
Take pictures and send them to me so I can see how yours turned out!
