Welcome back – today’s conversation is Part Two of starting tomato seedlings indoors using a double Solo Cup method. I’ve linked Part One right here so you won’t miss a thing. Now, we’re ready to nurture and grow our germinated seedlings.
Come bloom with me!
Quick Overview
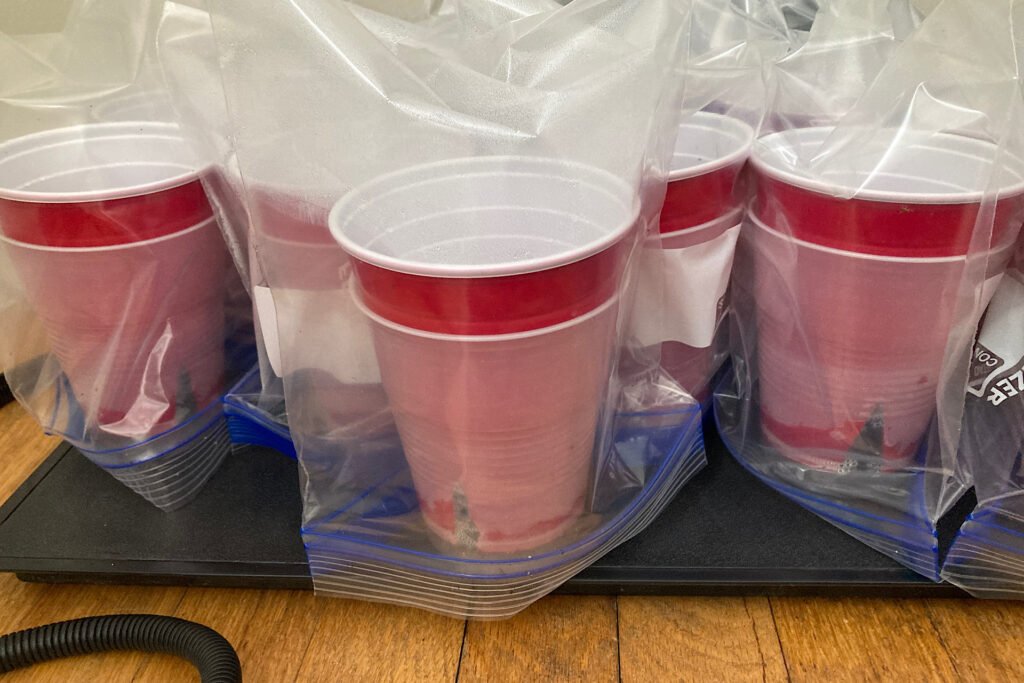
In Part One, we planted two seeds in each Solo Cup set. We prepped double-cups so we are able to water our tomato seedlings from the bottom. Bottom-watering allows the soil to wick moisture upward. It also keeps the top foliage dry and healthy while allowing the plant to send roots deeper into the cup. We also gave the top soil surface a light mist of water to ensure the seeds made good contact with the potting mix. Lastly, each cup was covered with a plastic sandwich bag and placed on a warming mat. Part One ended with us waiting for our seeds to germinate.
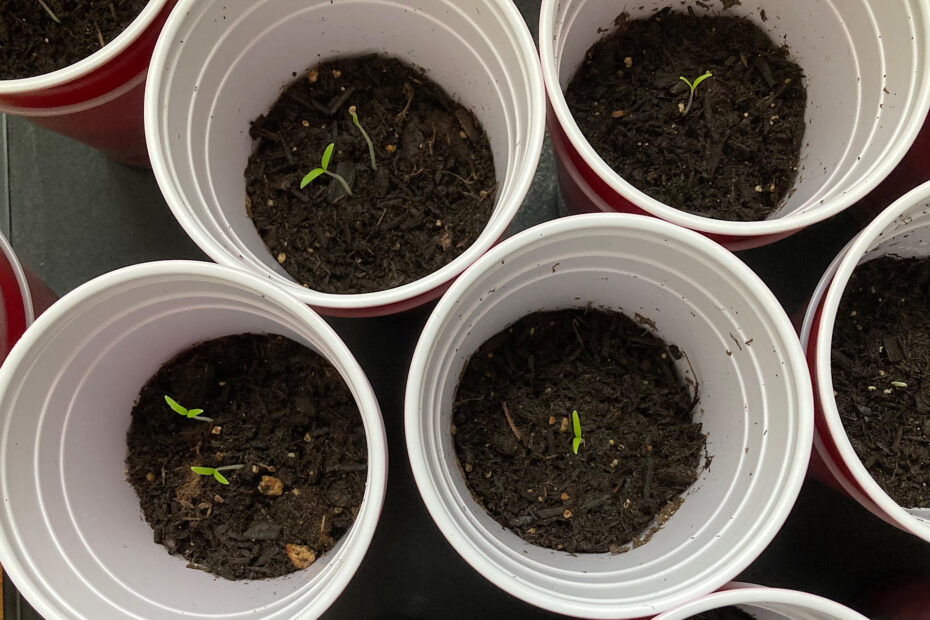
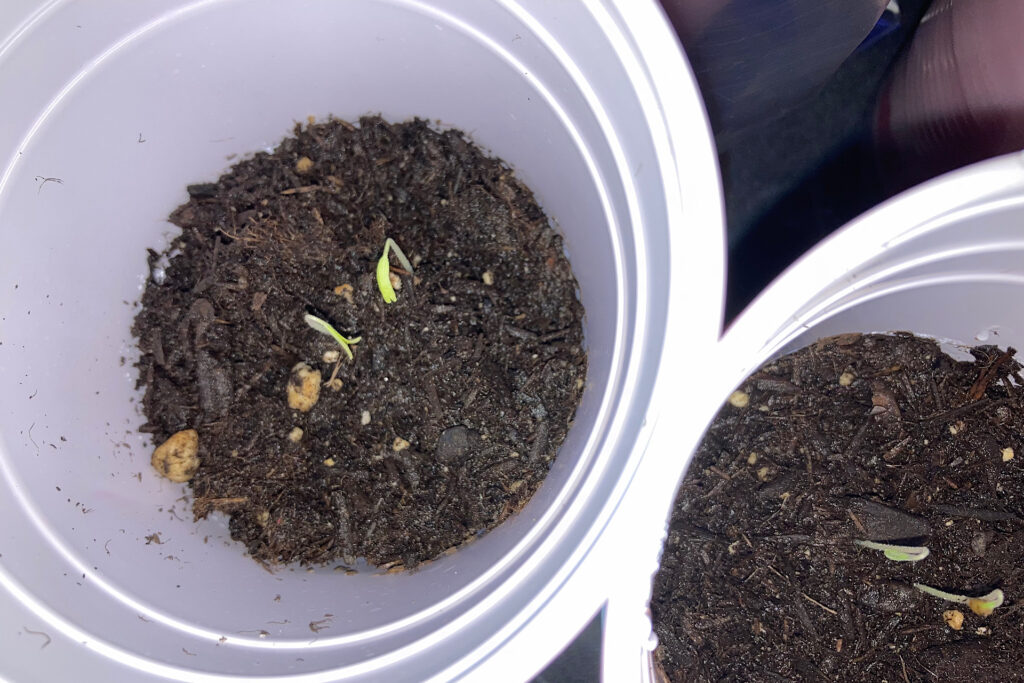
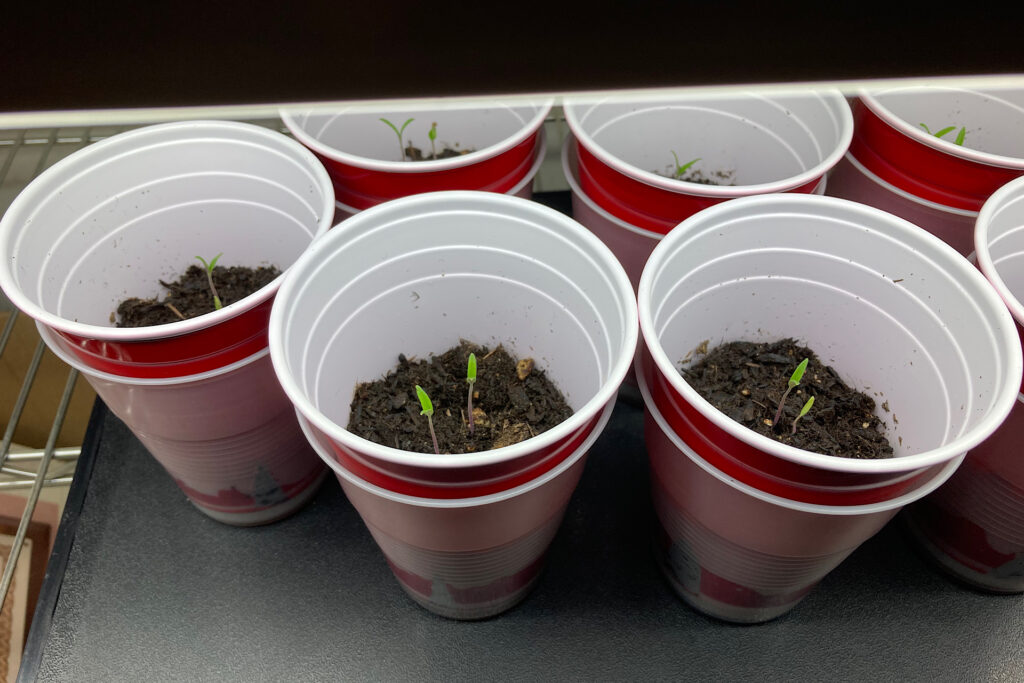
Most articles will tell you that tomato seeds will germinate within 4-7 days. Mine were no exception; they appeared on day 5 after planting. As soon as you see your seedlings break through the soil, you will need to remove the plastic bag and expose them to light and warmth. I’ll provide you with two different methods to support your young tomato seedlings.
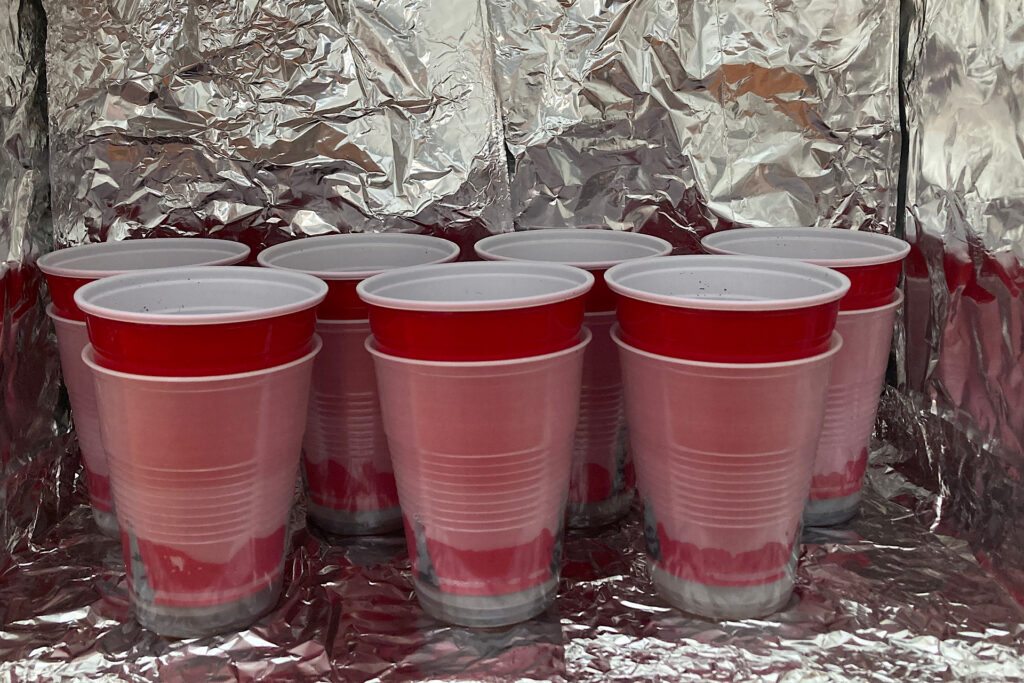
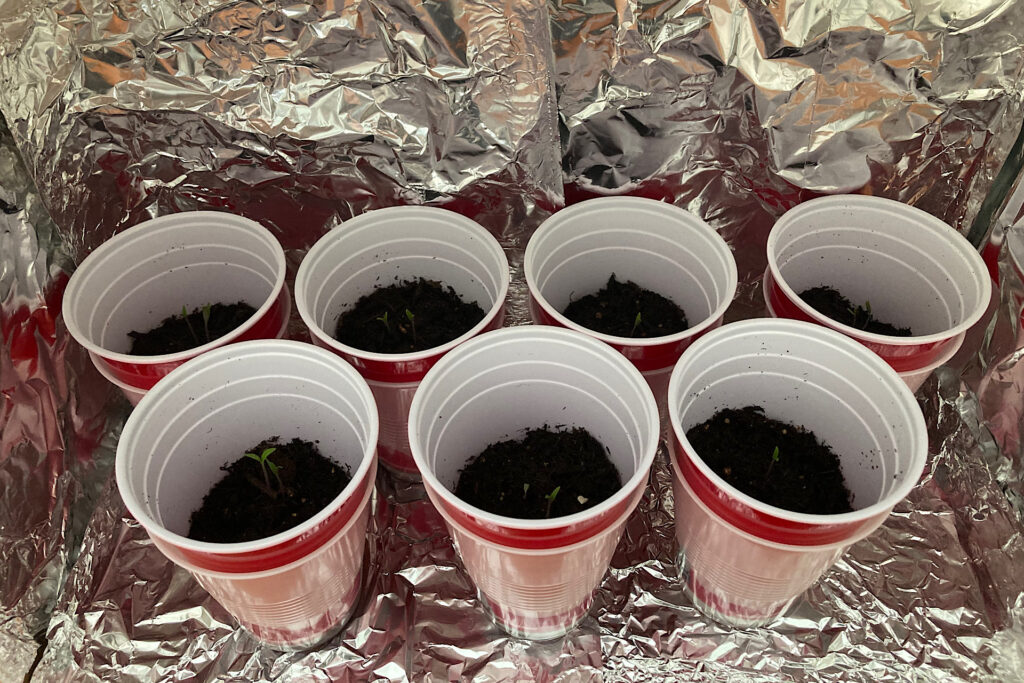
I started with 16 doubled Solo Cups. Fourteen of them germinated (I still have two set aside that I continue to monitor on day 7). I’ve divided my 14 germinated seedling cups into two groups. Seven are on a warming mat, placed under a grow light and fan. The other 7 reside in a DIY reflective light box placed in front of a south-facing window. Most of us are short on indoor space for spring gardening projects; neither of these methods will take up much of your real estate. If you have a couple of square feet available, they’ll work for you.
I am fortunate enough to have a basement area equipped with heavy-duty wire storage shelves that I can utilize until my plants are ready to go out into the garden. Bear in mind, however, that tomato seedlings require warmth and light to thrive. My basement has neither. Even if you are planning to nurture your plants in a living area, it still may not be warm or light enough to support healthy tomato seedling growth.
Warming Mat
Let’s start with warmth. According to Epic Gardening’s, Kevin Espiritu, “Warmer temperatures in the soil promote active microbiology and reduce the likelihood of molds, damping off, and diseases that are common in starting seeds indoors. They also help your seeds sprout faster and help seedlings develop stronger roots as they grow.” The ideal temperature I’m aiming for is 68-72 degrees.
Grow Light
Next, you’ll want to position that warming mat under a grow light. Luke Marion, of MIgardener recommends placing grow lights 2-3 inches above seedlings to avoid leggy growing and to raise the lights as the plants grow higher. Above, in suggestions for Lumen and Kelvin numbers for your grow light, Luke recommends 5,000-6,000 for Kelvin, and 2,000-5,000 for Lumens. The distance between your light source and seedlings will depend on the Lumen number.
2,000 Lumens = 6-7″ distance
3,000 Lumens = 7″ distance
4,000 Lumens = 8″ distance
5,000 Lumens = 9″ distance
If you’d like to learn the basics on Lumen and Kelvin; I’ve included a link for you to visit Luke’s YouTube explanation.
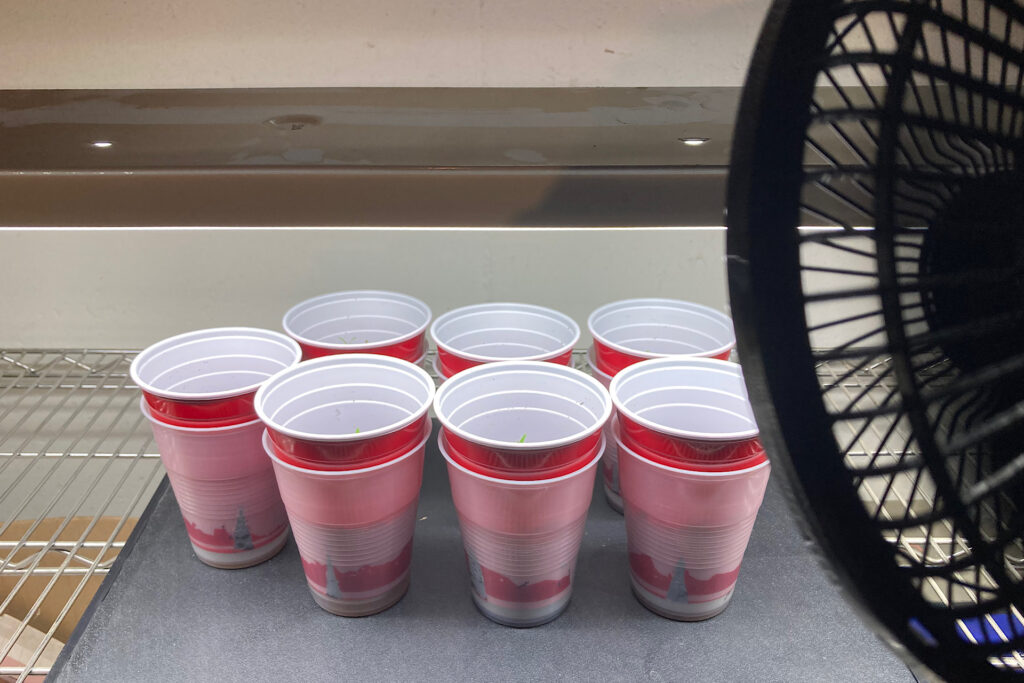
Oscillating Fan
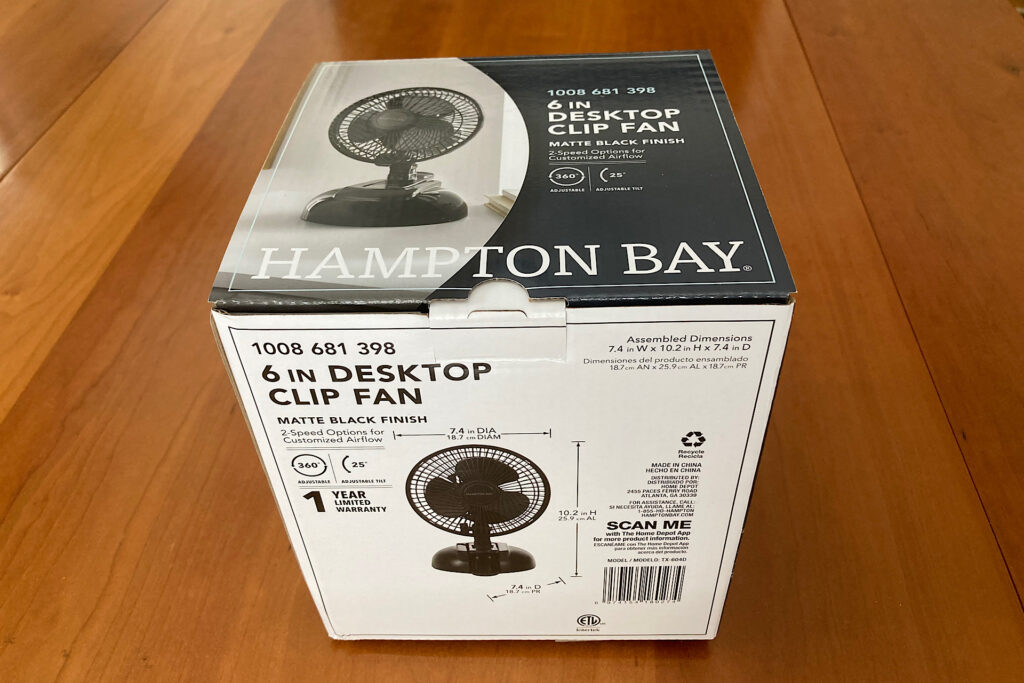
Lastly, add a fan to stimulate and move your young plants. The “breeze” you provide will strengthen stems as well as make hardening off easier when you are ready to introduce your tomato seedlings to the outdoors. An oscillating fan is your best choice as it will sweep across all of your cups. I picked up an inexpensive, stationery 6″ clip-on fan. At time of purchase, it was an affordable $9.98. It does the job for the number of cups I’m focused on for this project – and I can easily shuffle the cups around to even out exposure.
Nurturing Tomato Seedlings – Method Two
This method is more time-consuming and will need to be monitored more closely than Method One. This is a DIY reflective box that is placed in a south-facing window in your home.
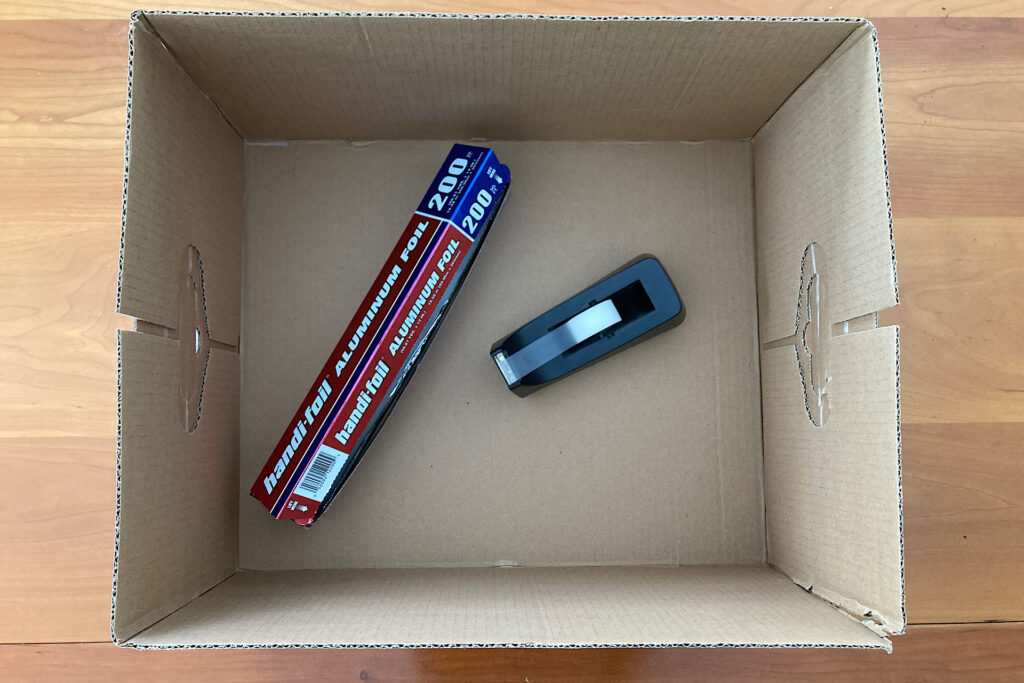
Equipment List:
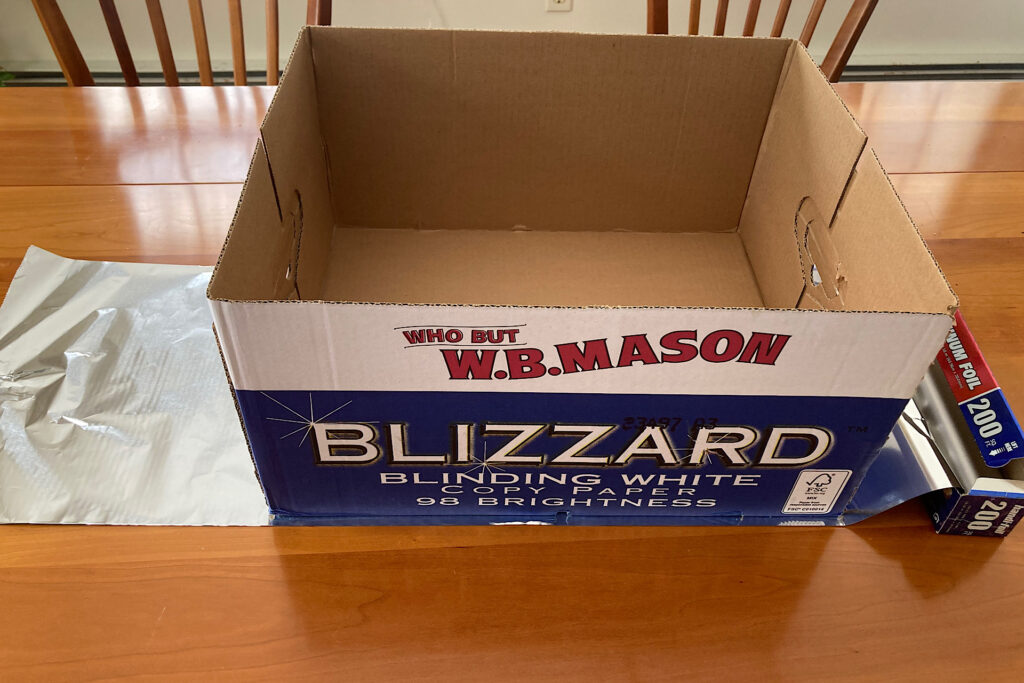
empty cardboard
aluminum foil
tape
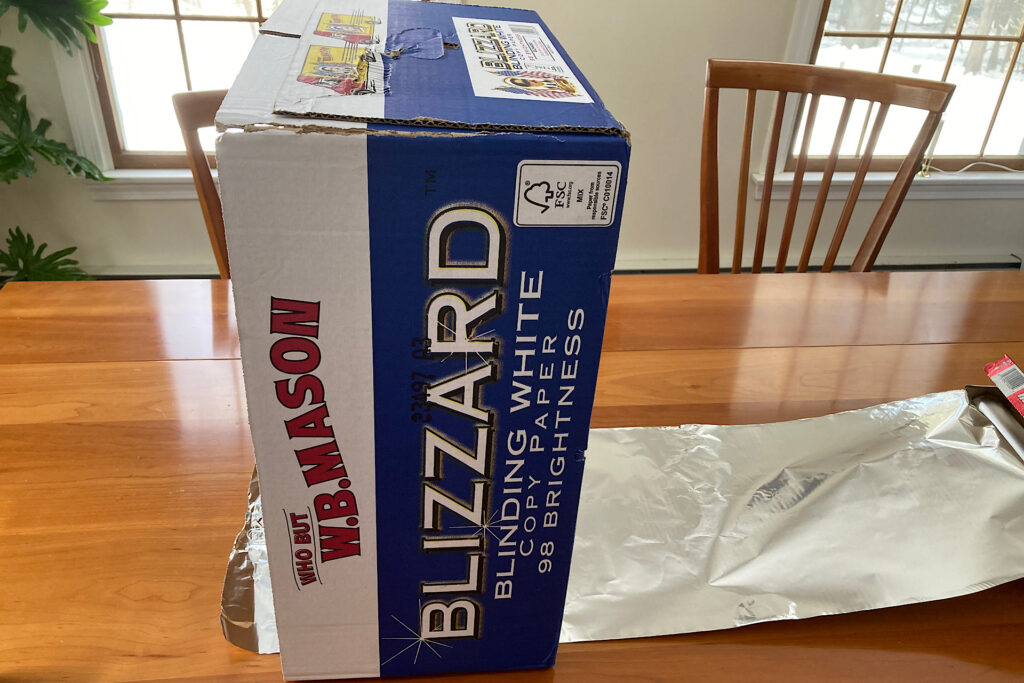
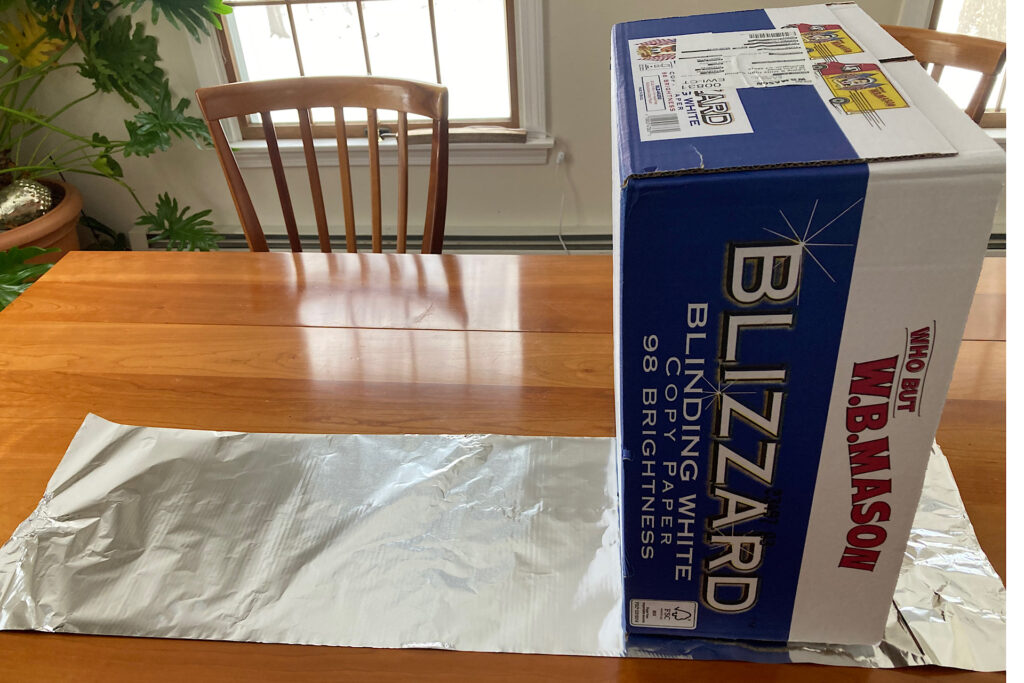
Begin with a cardboard box that is roomy enough to house your tomato seedlings. Measure out enough aluminum foil to line the inside of the box. I did this by standing the box on its end on top of the sheet of aluminum foil. I then tip the box over to lay flat on its bottom, and then stand it back up on the opposite end. This will measure out plenty of foil to line the length of the box on the inside. I repeat this to line the width of the box as well. If your box is on the large side, it might require two or more sheets of aluminum foil overlapped to cover the full length or width of your box.
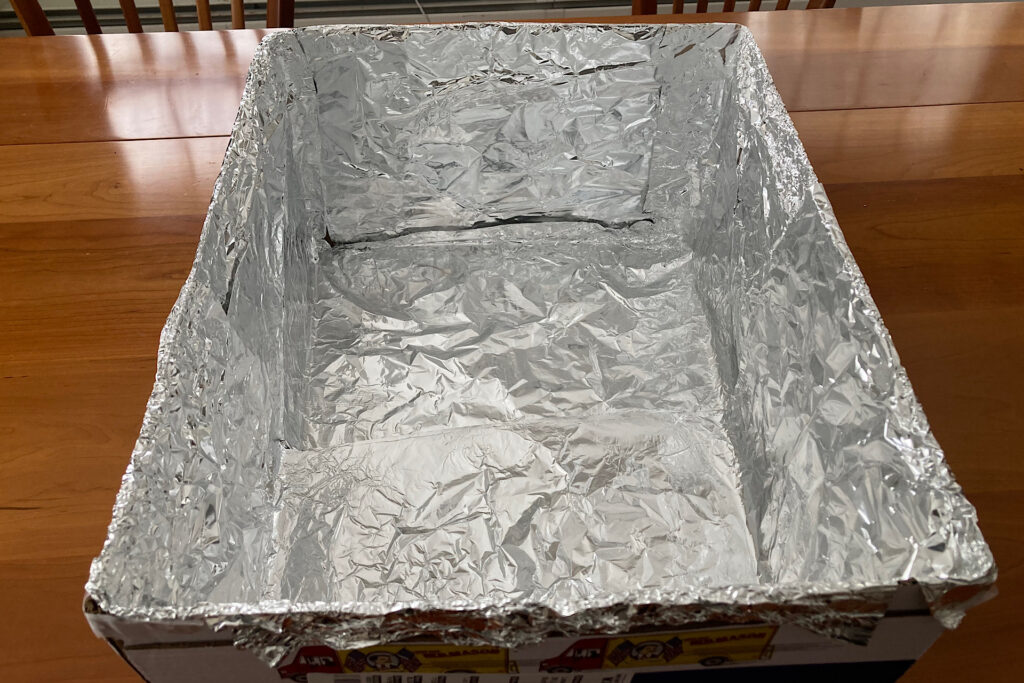
Wrapping The Box With Foil:
You don’t have to worry about being extra-precise here. You just need to cover the inside surface of the box so the shiniest side of the foil is exposed and can reflect light onto your tomato seedling cups. Fold, tuck and tape the foil as needed to cover all of the inner surfaces.
Care & Maintenance Of Seedlings In Reflective Box:
You will want to place your box in front of a south-facing window where it can receive a generous amount of sunlight. As the tomato seedlings grow, they still can grow toward the window light and become leggy. Monitor the cups daily and shuffle or rotate the direction the seedlings are facing.
I am experimenting with mine without using an oscillating fan. Instead, when I check them daily, I’ll brush my fingertips or palm across the seedlings to support them in becoming hardier plants. I’ve done this in the past with other seedling varieties, but have not attempted it with tomatoes. I’ll let you know how it goes! You may want to choose an oscillating fan, however, for the best attempt at good results.
Supporting Germinated Tomato Seedlings
With both Method One and Method Two, you will want to keep an eye on those bottom-watering levels. You won’t mist or water from the top at all. Bottom-water only; half way up the triangles you have cut into the bottom of the red cups. If you go above that half-way point, you can pour off the excess. Rotate the cups and shuffle them around for even exposure and growth.
Remember, there are currently two tomato seedlings in each cup. Once they have developed a second set of leaves, you will want to take a pair of scissors and cut the weakest one back. Do not do this until that second set of leaves has developed though. If you’d like, you may also gently tease the roots to separate the two seedlings and save the second to replant in a cup of its own.
When the foliage of your tomato seedlings have grown above the top of the Solo Cup, we’ll talk about filling the cups almost to the rim with soil. This will encourage more root growth.
I’ll see you then in Part Three!
I hope you are enjoying nurturing a bit of greenery with me prior to spring planting season. If you’d like more inspiration, you might be interested in these articles:
Thanks for your question! I will be posting Part III within the next couple of weeks. But, to help you out ahead of time: If you have two seedlings sprouted in each cup, you will want cut one of them off at soil level (or you can try to gently remove one from the soil, leaving only one seedling per cup). Once the foliage of your single seedling has grown beyond the top of the cup, you should add more soil to the cup (filling it to approximately 1/2″ below the cup rim). This will encourage more root growth and stronger seedlings. When climate conditions in your area are safe for planting outside, you’ll want to “harden off” the seedlings by giving them some outside time in the cups for a few hours each day for several days until they adjust to being outdoors. (Avoid direct, bright sun and harsh conditions). Then at this point, you can remove the seedling (with their soil clump intact) from the cup and plant it in the ground outdoors. Save the cups and re-use them again.
I hope this helps!
Do you bottom water the plants all the way until transplant to the garden time. Or at some point do you start watering them from the top. Thank you God bless.
Hi Jan,
Thank you for your question! I fill the bottom cup so the water is about half way up the triangle I cut into the insert cup. I keep an eye on them and don’t refill again until the water is below the bottom of the insert cup and is no longer absorbing water. I do, however, check the soil before I refill them with water. If the bottom of the soil cup is still heavy with water it has already absorbed, I don’t refill until it is damp like a sponge – not heavy with water. I’ll then refill half way up the triangle again. Hope this helps. Let me know if you have other questions!
Planted on 3/9 – My seedlings started out great and about 1.5 weeks ago, the leaves started curling up and some of the bottom leaves were turning yellow. I looked up reason and there seems to be so many. I quit watering each time the bottom of cup was empty, and felt weight of cup first due to possibly overwatering. The roots that are coming out of the cup are white, not gray or black so I don’t think it’s root rot. I kept them on heated pad that whole time, and some say don’t so I turned it off, but it stays about 70 in my home. LED lighting I kept at about 8″, so I changed that to 12″. I can’t seem to get them to stop curling or yellowing. I can’t plant them until Mother’s Day weekend.
I’m not sure about the curling – but the yellow leaves indicate overwatering to me. I wouldn’t want the roots to dry out – I’d keep them damp – but I’d check the soil – it should be damp – but not saturated. I hope this helps!


I cannot find part 3 of the tomatoe planting article. Wondering how to transplant into the ground. Do you pull the plant out of the cup?
Hi Jason,
Thanks for your question! I will be posting Part III within the next couple of weeks. But, to help you out ahead of time: If you have two seedlings sprouted in each cup, you will want cut one of them off at soil level (or you can try to gently remove one from the soil, leaving only one seedling per cup). Once the foliage of your single seedling has grown beyond the top of the cup, you should add more soil to the cup (filling it to approximately 1/2″ below the cup rim). This will encourage more root growth and stronger seedlings. When climate conditions in your area are safe for planting outside, you’ll want to “harden off” the seedlings by giving them some outside time in the cups for a few hours each day for several days until they adjust to being outdoors. (Avoid direct, bright sun and harsh conditions). Then at this point, you can remove the seedling (with their soil clump intact) from the cup and plant it in the ground outdoors. Save the cups and re-use them again.
I hope this helps!
Best,
Laura
Do you bottom water the plants all the way until transplant to the garden time. Or at some point do you start watering them from the top. Thank you God bless.
Hi Shaun,
Thanks for your question! I am bottom-watering up until transplant.
Just planted my tomato seeds in double solo cups. Do I keep the water level just above the bottom of the cup or do I drain off the water.
Hi Jan,
Thank you for your question! I fill the bottom cup so the water is about half way up the triangle I cut into the insert cup. I keep an eye on them and don’t refill again until the water is below the bottom of the insert cup and is no longer absorbing water. I do, however, check the soil before I refill them with water. If the bottom of the soil cup is still heavy with water it has already absorbed, I don’t refill until it is damp like a sponge – not heavy with water. I’ll then refill half way up the triangle again. Hope this helps. Let me know if you have other questions!
Hi, helping a friend out. It’s time to add more soil. Is there a special soil for tomatoes or is basic potting soil ok?
I typically use an organic soil labeled for vegetables. Hope they are doing well!
Planted on 3/9 – My seedlings started out great and about 1.5 weeks ago, the leaves started curling up and some of the bottom leaves were turning yellow. I looked up reason and there seems to be so many. I quit watering each time the bottom of cup was empty, and felt weight of cup first due to possibly overwatering. The roots that are coming out of the cup are white, not gray or black so I don’t think it’s root rot. I kept them on heated pad that whole time, and some say don’t so I turned it off, but it stays about 70 in my home. LED lighting I kept at about 8″, so I changed that to 12″. I can’t seem to get them to stop curling or yellowing. I can’t plant them until Mother’s Day weekend.
I’m not sure about the curling – but the yellow leaves indicate overwatering to me. I wouldn’t want the roots to dry out – I’d keep them damp – but I’d check the soil – it should be damp – but not saturated. I hope this helps!