Skip to content
Home » Subtle Autumn Color: Enamel-Dipped Pumpkins

Subtle Autumn Color: Enamel-Dipped Pumpkins

Minimal enamel dipped pumpkins in a carved wooden bowl.

Welcome to my blog post on “Subtle Autumn Color:  Enamel-Dipped Pumpkins.” If you’re looking for creative ways to add a touch of elegance to your fall home decor, you’ve come to the right place. In this article, I’ll show you a simple method to transform bare, white pumpkins into mini works of art using nail polish. This DIY pumpkin decorating idea is perfect for achieving a minimalist look that will quietly elevate your seasonal decor. 

Minimal Essentials List:  Gather Your Toolkit

If you’re like me, the vibrant orange color explosion in big-box stores neither resonates with you nor matches your home’s décor.  In the pursuit of creating subtle autumn accent pieces, simplicity is key. To complete this project, you’ll need just a handful of essential supplies. Here’s your minimalist toolkit to transform ordinary pumpkins into understated art:

Small, White Pumpkins: You’ll need to source a collection of small, white pumpkins. They are the canvas that will serve as the perfect backdrop for the marbling effect that unfolds in the enamel-dip process.  Selecting pumpkins is also the perfect excuse to visit your local farmer’s market at the perfect time of year.

Plastic (or Disposable Container): Find a container that’s just the right size to accommodate your chosen small, white pumpkins. The container will serve as your workspace, and is where the magic happens!  You’ll want to use something disposable as some of the nail enamel will stick to your container.  You can certainly wipe it out and save it for future projects as I did.

Nail Enamel: The heart of this process lies in your selection of nail enamel color. Best choices are subtle autumnal shades.  Lattes, chocolates, greys and other muted tones are reminiscent of the season’s earthy palette. Choose hues that resonate with your vision of quiet fall elegance.

Water: A bowl of clean water is all you need to create a gentle dance with the nail enamel.  Together, they create a marbled texture that radiates natural, understated beauty.

White pumpkins, nail enamel and alcohol wipe supplies for crafting.
Waterbath, pumpkins and measuring cup for crafting.

Preparing Your Canvas: Cleaning White Pumpkins

It’s essential to start with a clean slate. Begin by gently dusting off your pumpkins.  Remove any lingering particles that might stand in the way of a smooth finish. A soft, dry brush or cloth will ensure your pumpkin canvas is pristine and ready for transformation.

To guarantee the best possible adherence of the nail enamel to the pumpkin skins, I took the extra step of wiping each pumpkin with an alcohol wipe. This not only removes any potential oils or greasiness, but also cleans the surface to receive color.

It’s worth noting here that I try using clean, safe project materials whenever possible. While the nail polish I selected was labeled “vegan,”  it is still a nail enamel, and we’ll be mindful of it in the cleanup section of this article. Additionally, if you read up on alcohol wipes and paper towel brands, you can take another step toward creating eco-conscious art.

Clean white pumpkins on a stool.

Creating Subtle Elegance:  Pumpkin-Dip Process

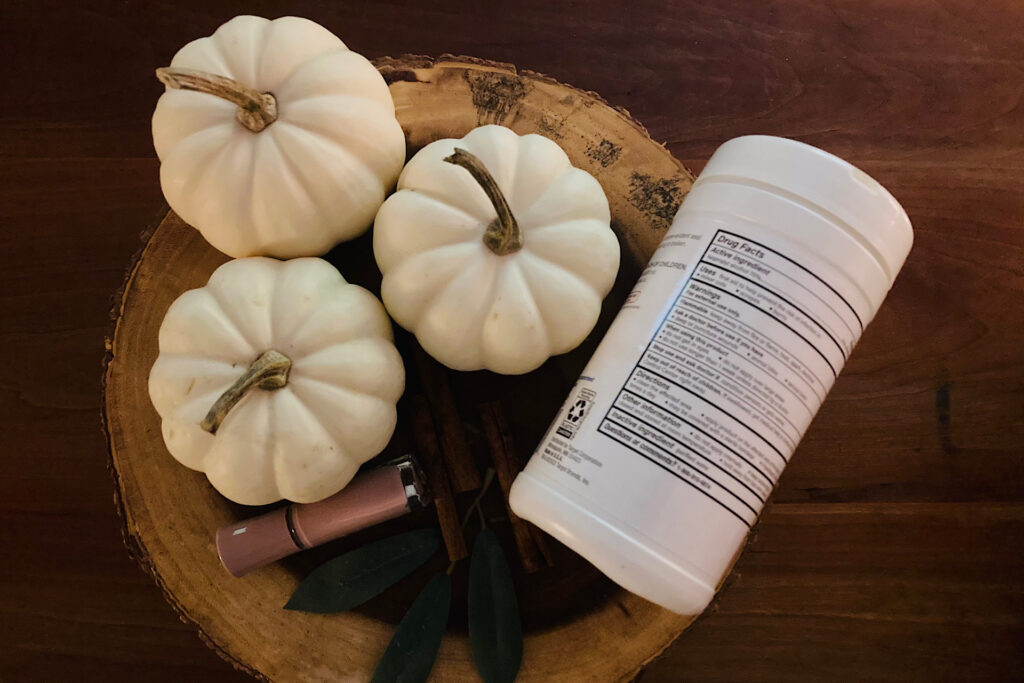
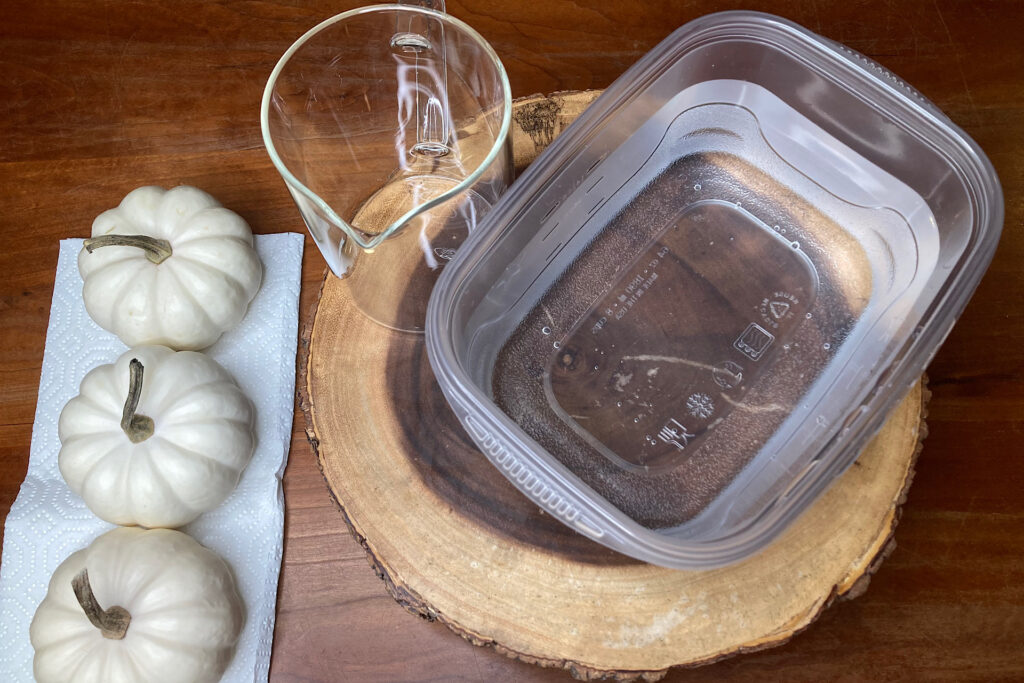
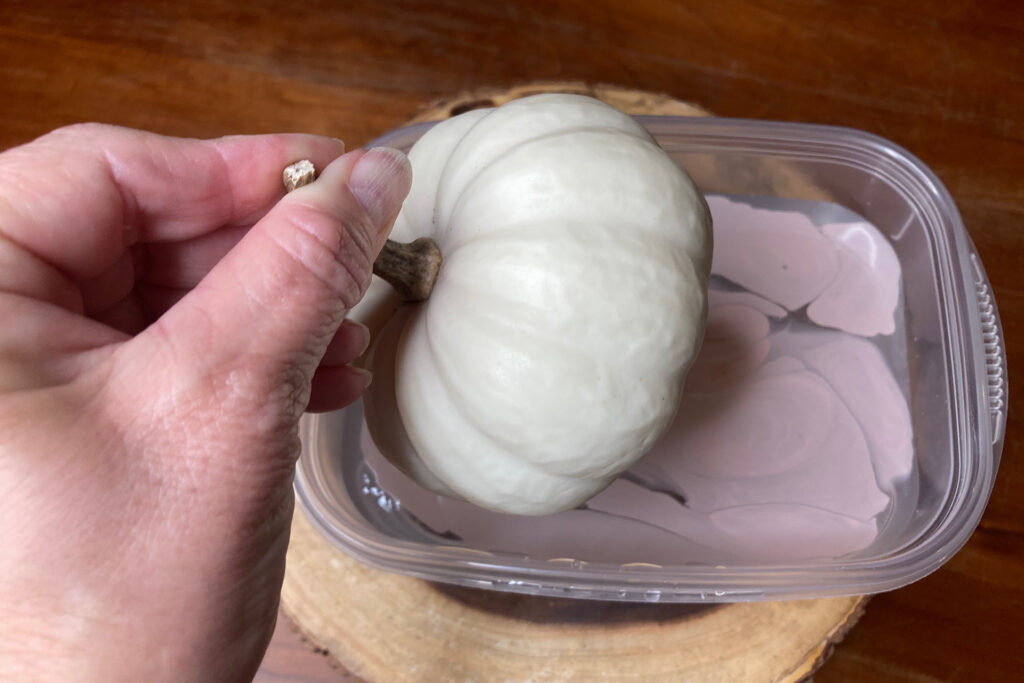
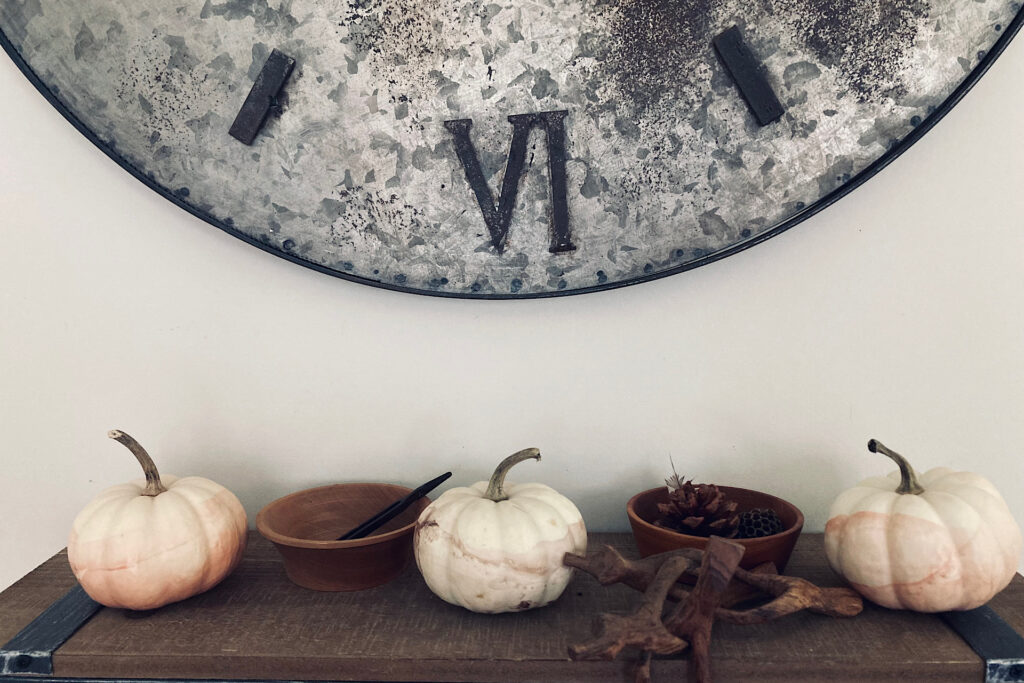
The beauty of enamel-dipped pumpkins lies in a delightfully simple process.  To begin, all you need to do is gently drop your nail enamel onto the surface of the water. As you watch the enamel disperse, you’ll notice some droplets may sink to the bottom of the container, while others float and spread over the surface.

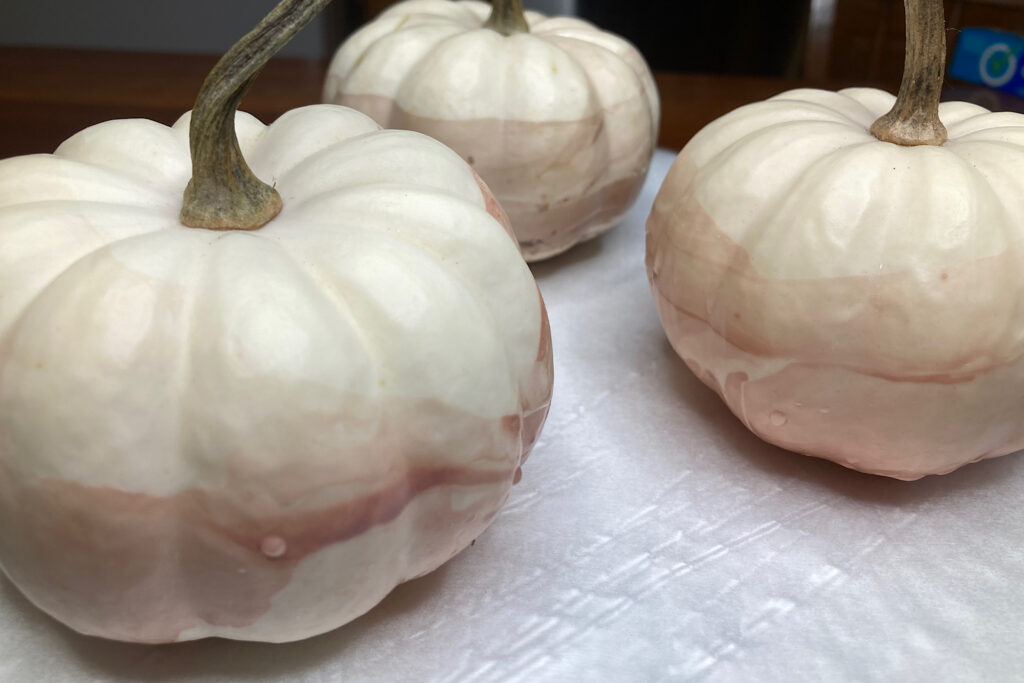
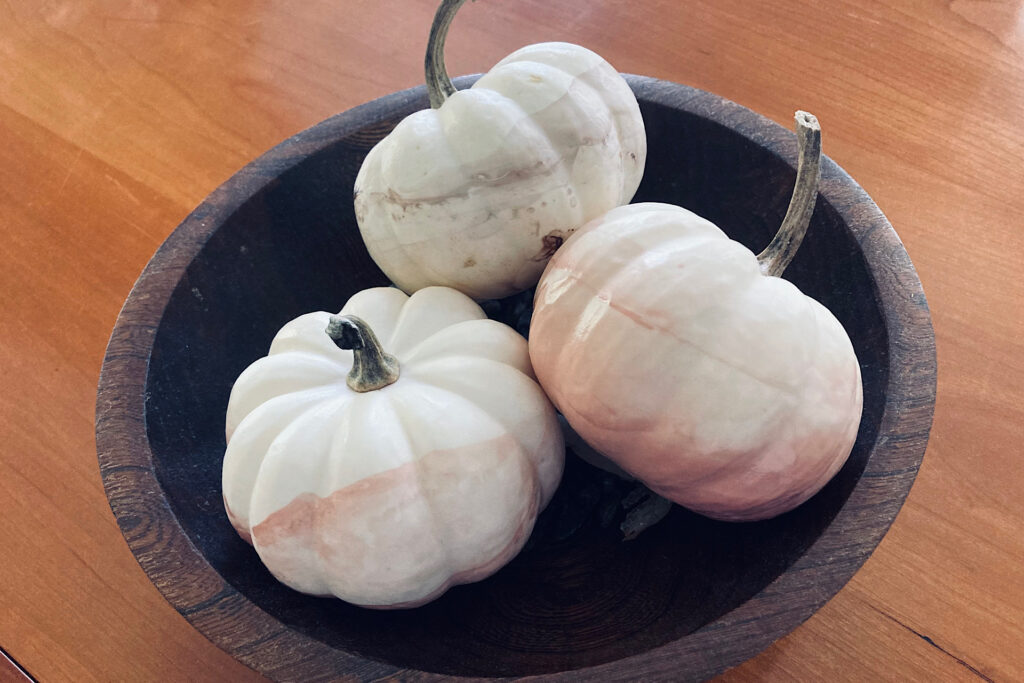
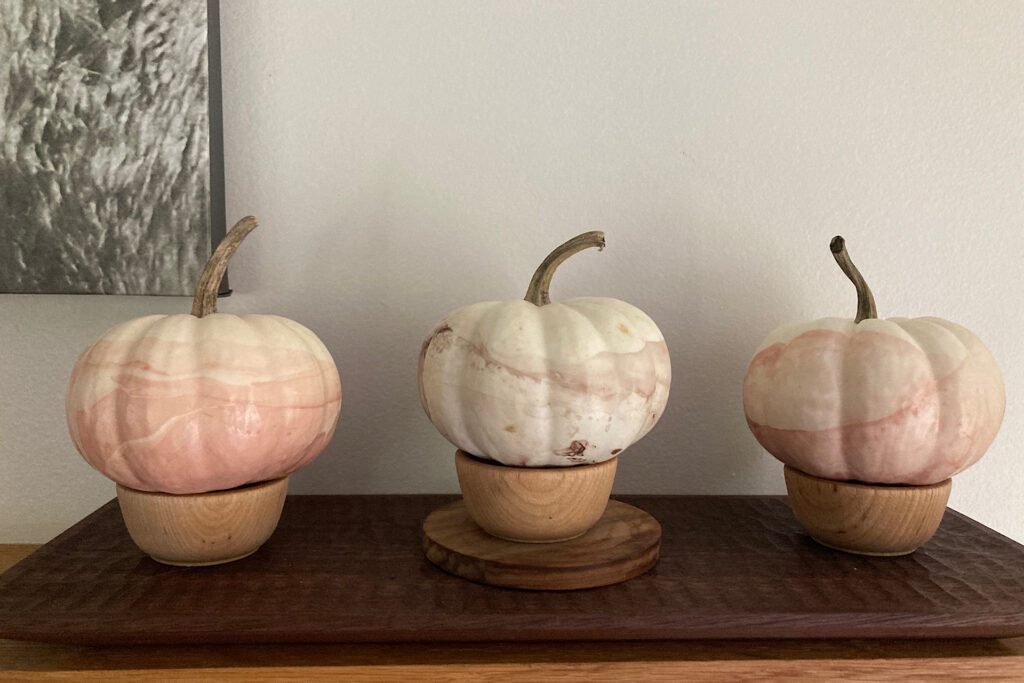
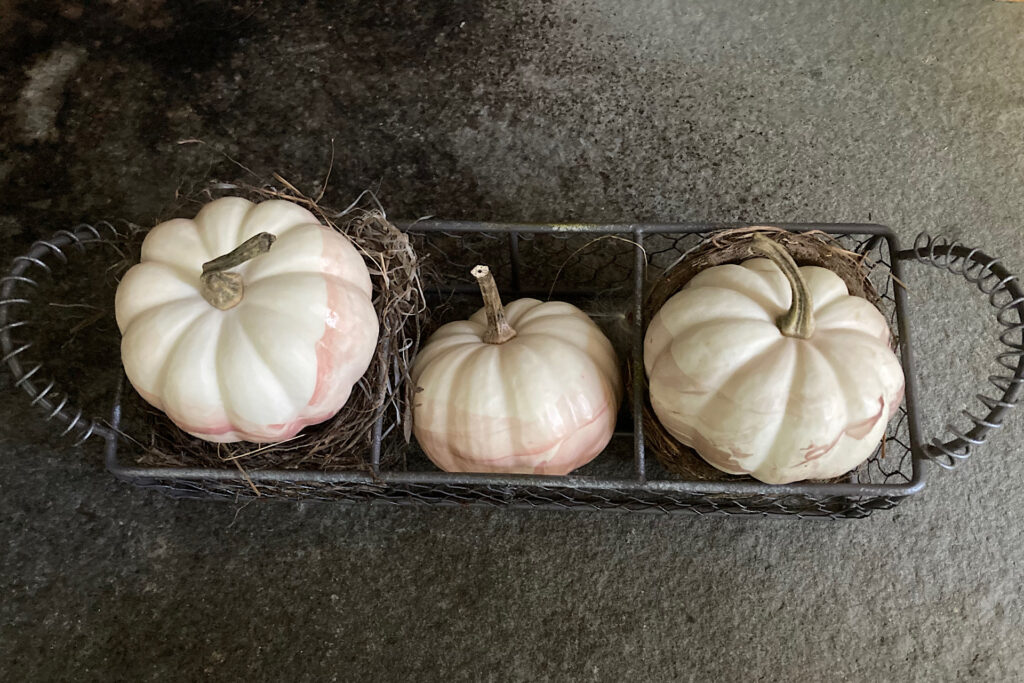
Results will vary with the amount of enamel you use. A few drops will achieve softer, more delicate marbled effects.   Adding more enamel provides a striking differentiation between the pumpkin skin and the applied color. 

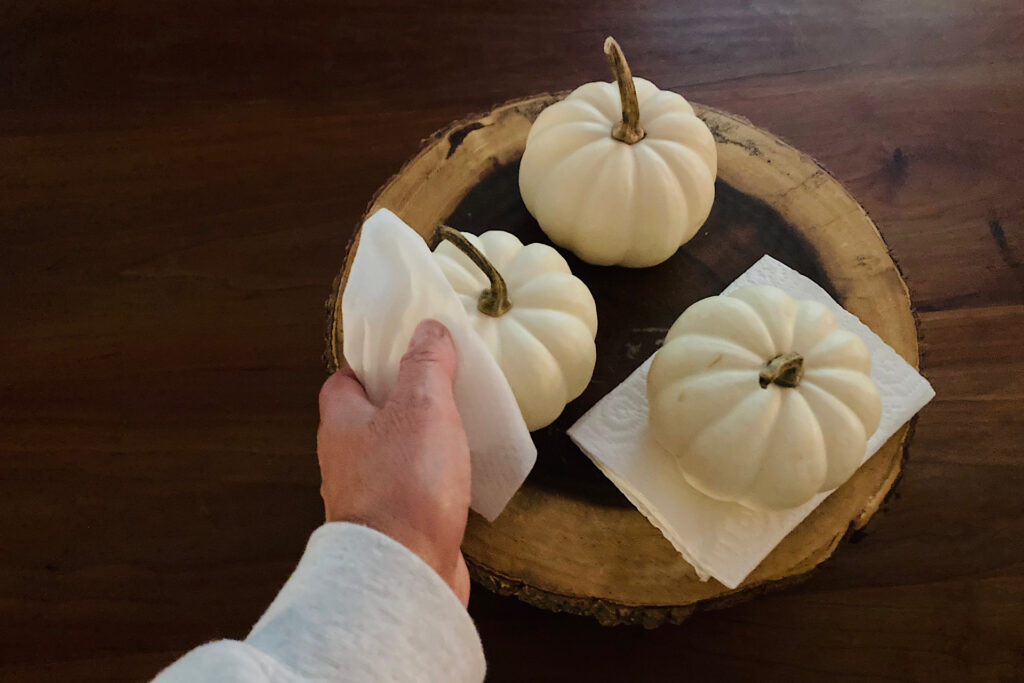
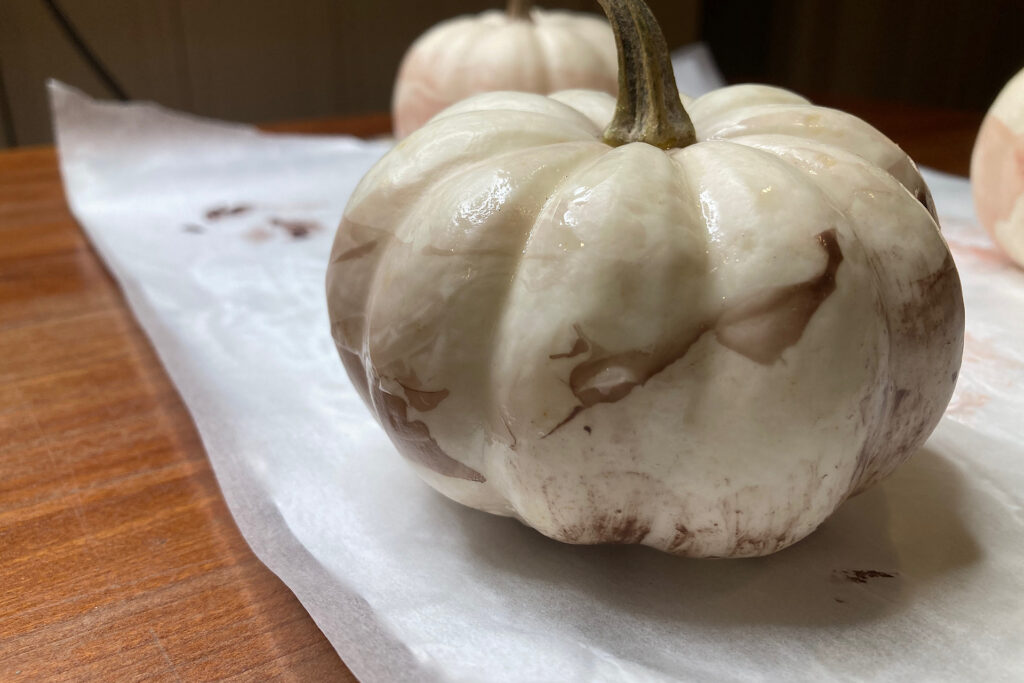
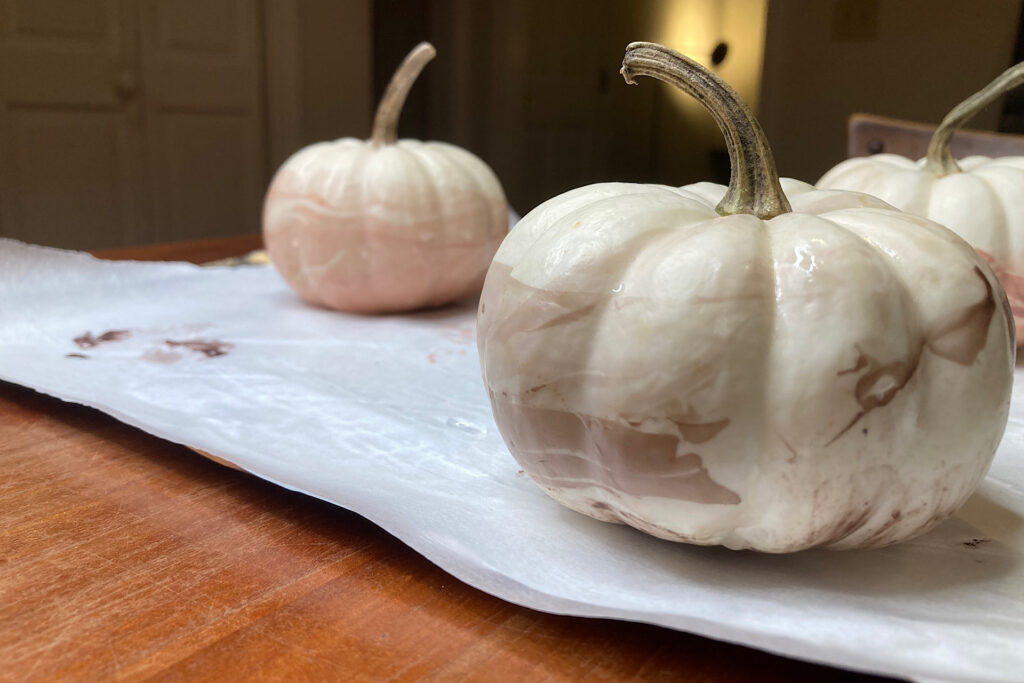
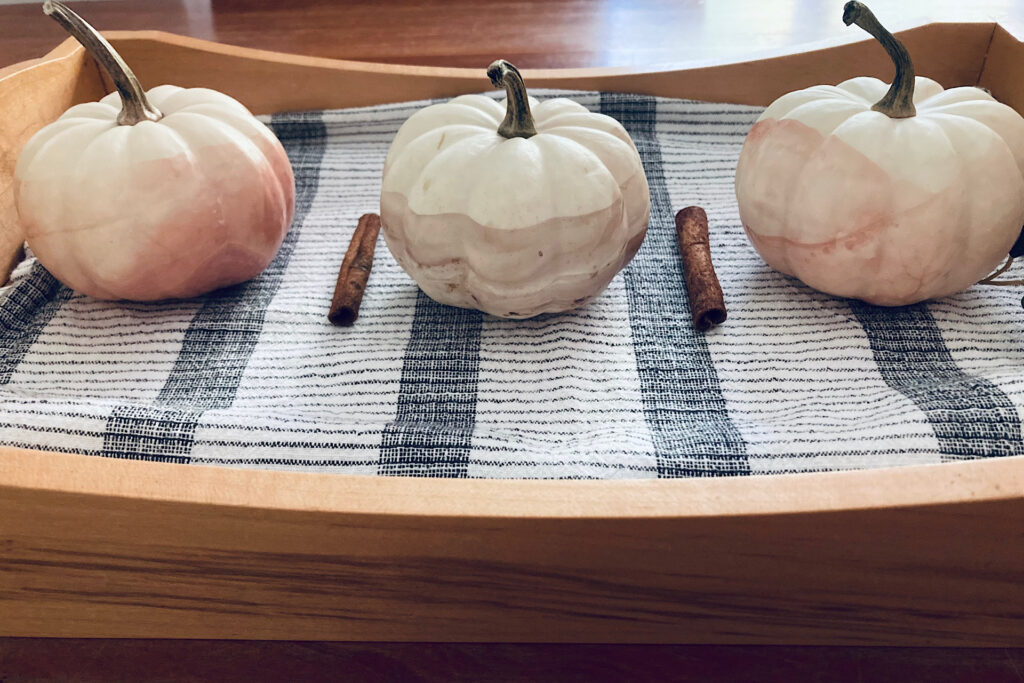
To dip the pumpkin, simply hold it by its stem and immerse it to the desired depth; I personally opted for about halfway. Slowly twirl as you lift the pumpkin out of the water.   The water will bead off while the enamel adheres to the pumpkin’s skin.  If you are dipping multiple pumpkins and want color consistency, skim a paper towel over the water surface after dipping each pumpkin to catch leftover congealed enamel.  Then, start fresh with a new enamel pour and a new pumpkin.  If you’d like to explore varying degrees of boldness, leave the leftover enamel  from the first dip on the water’s surface and add more enamel to it.  This will result in darker and more congealed coloring.

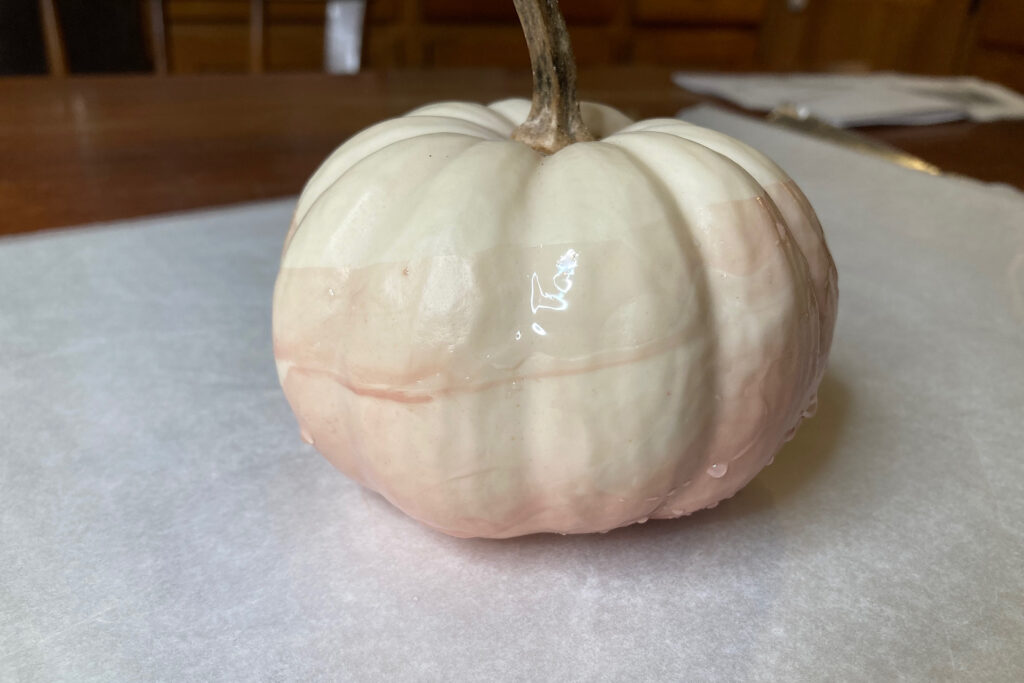
After dipping, set each enamel-dipped pumpkin on a piece of parchment paper laid atop a sheet of foil.  This will ensure there’s no color or water leaking onto your workspace. Here’s the best part: there’s no wrong way to do this. Part of the fun and whimsy of this project is the natural flow of the enamel and water and the individual surface of the pumpkin. The artistic results are partially dictated by natural elements! 

Nail enamel floating on water surface.

Finishing Touches: Cleaning Up Your Workspace

As we complete our enamel-dipped pumpkin project, it’s important to pay attention to the cleanup process. This is where the significance of using that disposable or reusable container comes in. It’s important not to pour the nail polish water bath down the sink or discard it in the compost.

One simple way to clean up involves dabbing the surface of the water with a paper towel. The remaining congealed paint will adhere to the paper towel, leaving the water’s surface clean. Alternatively, you can pour the contents of the container through a coffee filter into a clean gallon-sized ziplock bag. The coffee filter will efficiently collect any congealed enamel, allowing you to dispose of the clean water and wipe out the inside of the container with a paper towel for re-use.

Let the enamel you cleaned off  any surfaces dry on the paper towel/coffee filter you used for wiping it up.  Dispose of the dried paper and dried enamel in your garbage pail or explore your local recycling agency’s guidelines for best practices in your area.  This way, you ensure that your project remains not only minimalist and elegant but also environmentally responsible from start to finish.

Buff colored nail enamel-dipped pumpkin.
Enamel-dipped pumpkin in chocolate tone.
Nail enamel-dipped pumpkins on parchment.

Display:  Showcasing Your Touch of Autumn 

With your  pumpkins now transformed into enamel-dipped subtle autumn accent pieces, it’s time to give them the spotlight they deserve.  Style your pumpkins in various ways to reflect your unique aesthetic. From minimalistic and sparse arrangements to placing them in interesting bowls or amidst a tapestry of fall textures, let your creativity shine. Capture the essence of the season by experimenting with different placements and color palettes to create an understated display that welcomes the warmth and beauty of fall into your space.

Enamel-Dipped pumpkins in bowl.
White enamel-dipped pumpkins in serving tray.
Minimal enamel dipped pumpkins in a carved wooden bowl.
Nail-Enamel Pumpkins on fireplace mantel.
Dipped pumpkins on shelf below clock.

Further Fall Adventures: Related Blog Posts

Simplicity and elegance go hand in hand in celebrating the subtle beauty of autumn. 

Below are some links you may also enjoy!

Enamel-Dipped Pumpkins in wire basket on slate.

Leave a Reply

Your email address will not be published. Required fields are marked *