As the holidays unfold, I’m sharing a new crafting adventure; one that offers simplicity and quiet seasonal charm! My previous Cinnamon Spice Baked Holiday Ornaments recipe has become quite popular this time of year. And, your enthusiasm has fueled my creative spirit to explore a little further! Today, I’ll be taking a departure from the rustic feel of warm cinnamon and earthy texture. This time, I’ll be revealing the minimalist, snow-white elegance of holiday cut-outs crafted with baking soda, cornstarch, and water. After shaping the ornaments, you can either air-dry or oven-dry them and they are ready to enjoy!
Sharing this crafting adventure with friends or little ones can turn a quiet afternoon into a special memory. It can serve as a reminder that the true magic of the season might lie within the simple treasures that make holiday celebrations uniquely ours.
Have fun embracing the beauty of this project’s understated style. Feel free to personalize your ornaments with a touch of nature, a bit of whimsy or leave them snowy-white. Come bloom with me!
Ingredients for a Snowy Canvas
Ingredients:
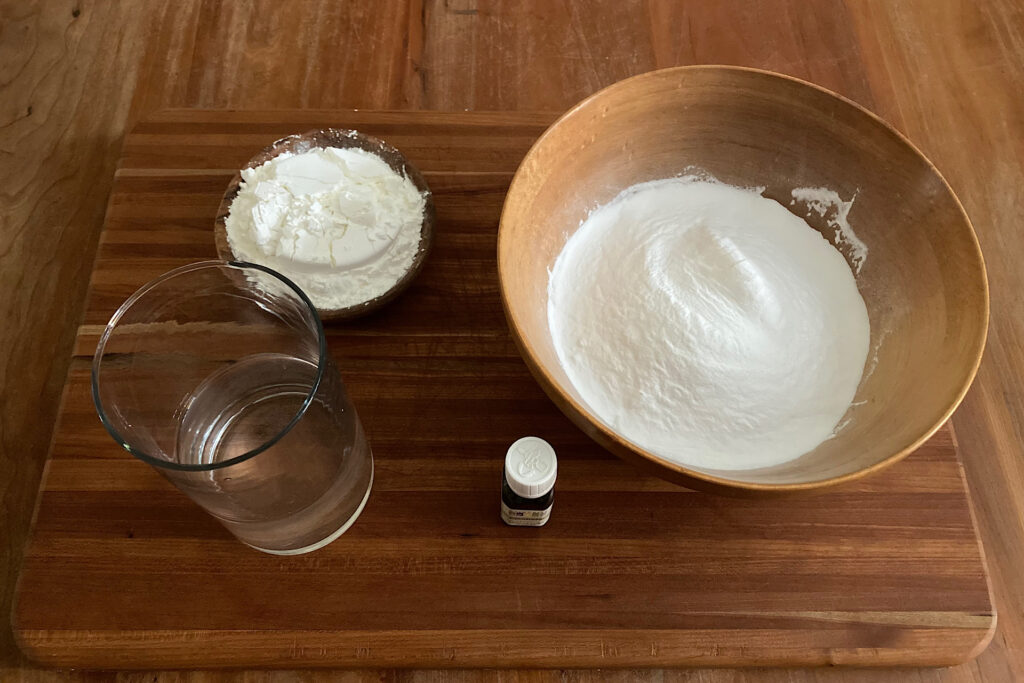
- 2 cups of Baking Soda
- 1 cup of Cornstarch
- 1 1/4 cups of Water
- Optional for Fragrance: Essential Oils (e.g., Eucalyptus and Rose) – I used 20 drops of each for a delightful holiday blend.
Equipment:
- Medium Saucepan
- Baking Sheet
- Silicone Spoon
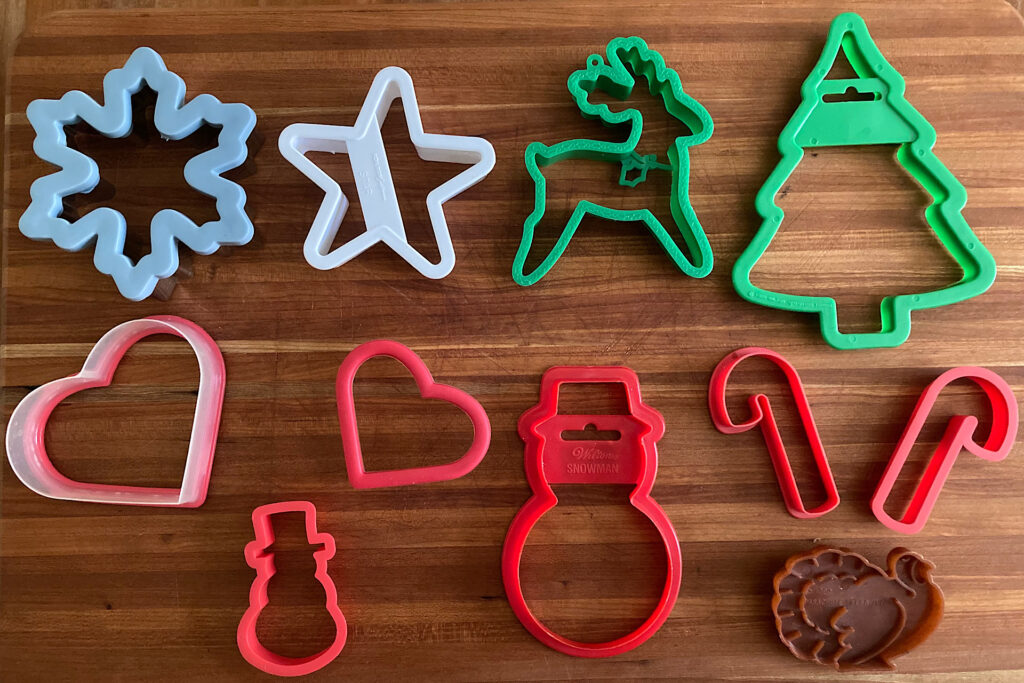
- Cookie Cutters: A variety for shaping the ornaments.
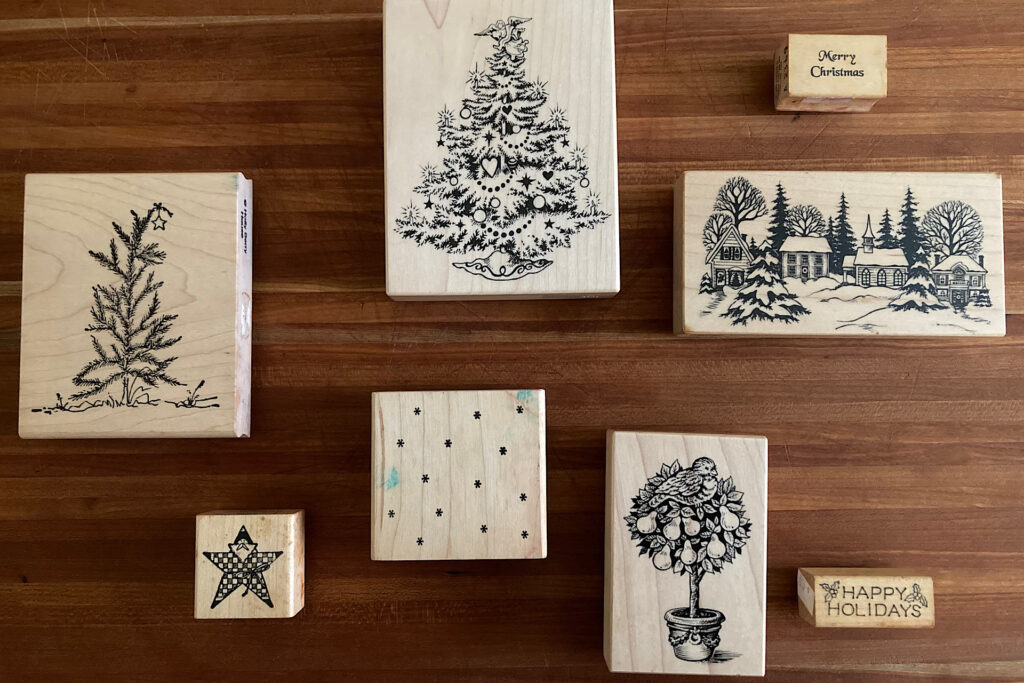
- Optional for Texture: Ink Stamps – Perfect for adding unique patterns or images to your creations.
- Metal Straw (For making holes)
- Sharp knife and emory board (for ragged edges)
- Drying Rack
Crafting Tips:
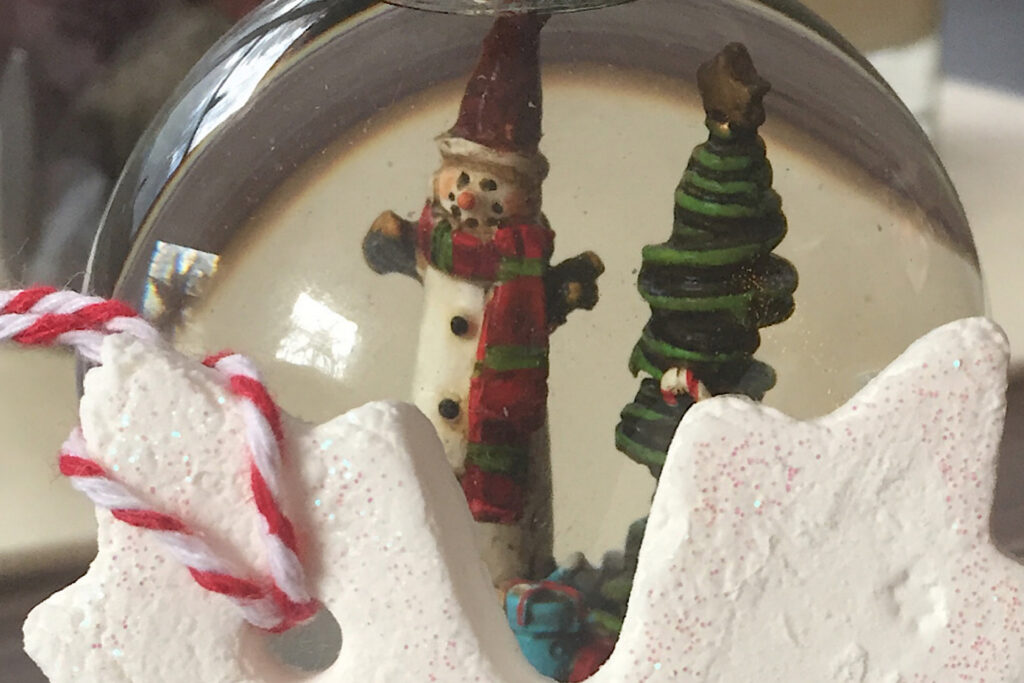
Creativity Unleashed: Enhance your holiday ornaments with a variety of items. Whether you add small bits of nature, store-bought beading, twine, velvet ribbon, glitter; the choice is yours! Also, experiment with different shapes, designs and textures. Or you could try adding in a fragrance combo that you enjoy during the holiday season. You might also choose to leave your creasions plain and minimally gorgeous. Whatever you do, make them your own!
Preparing Holiday Ornament Dough
Mixing Process:
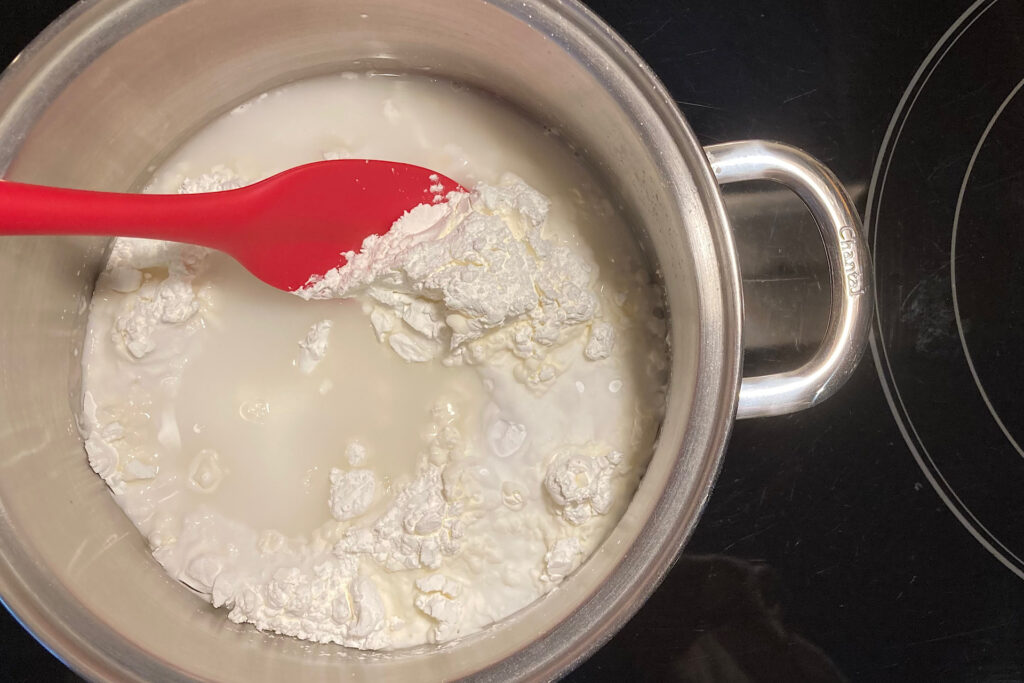
- Combine Ingredients: In a medium saucepan, add the baking soda, cornstarch, and water.
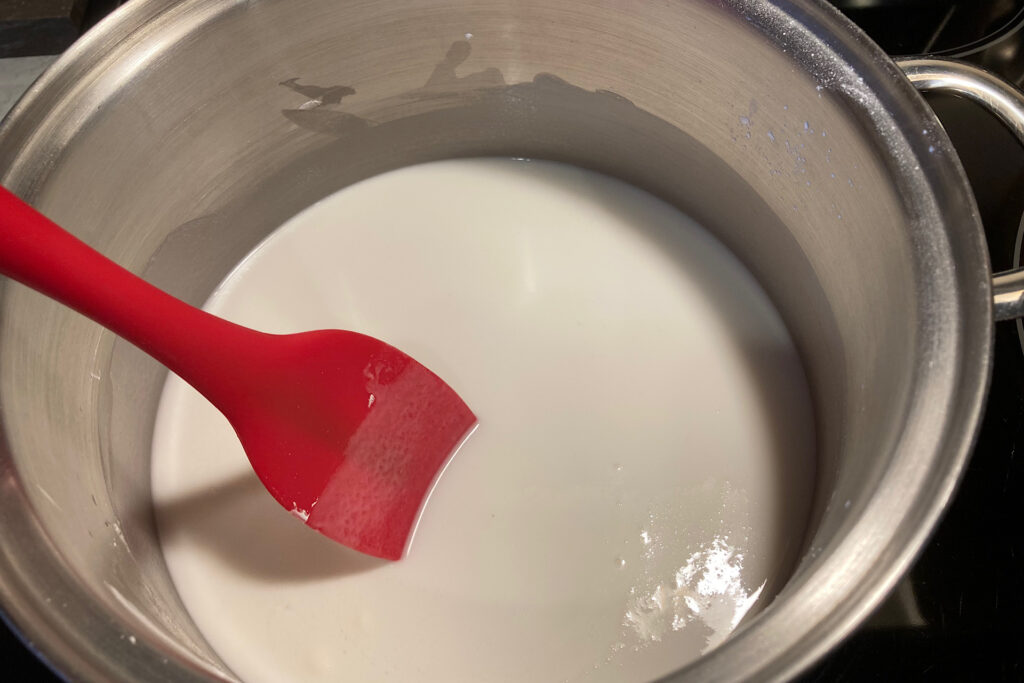
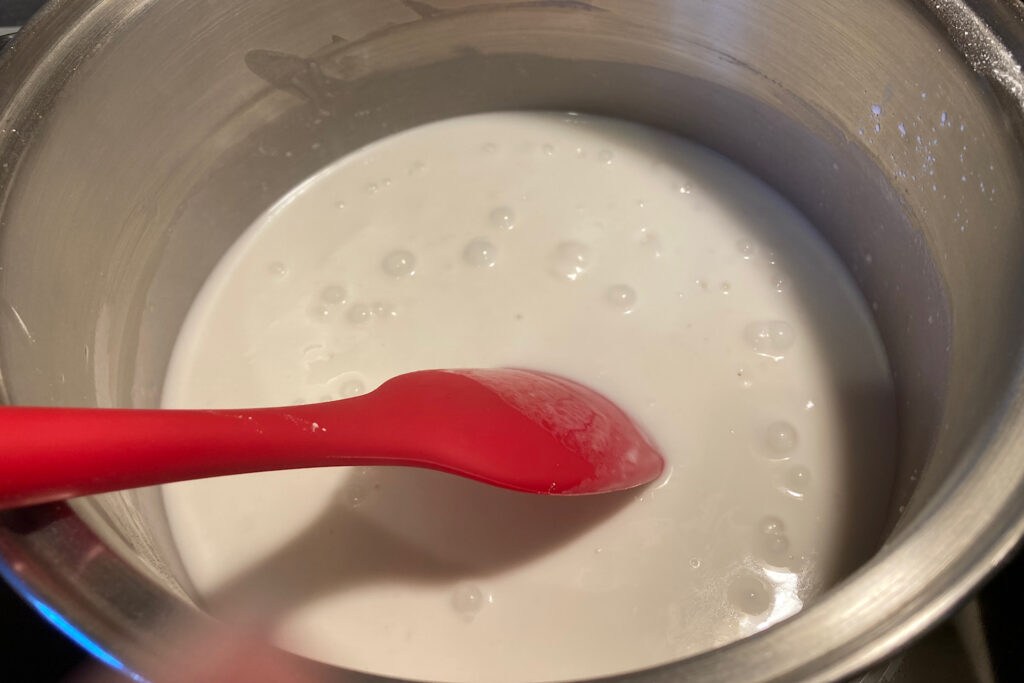
- Heat on Medium: Set the burner to medium heat and stir the contents until they achieve a milk-like appearance.
- Optional Fragrance: Add essential oils at this stage if you choose to use them.
- Watch for Bubbling: As the mixture heats, it will start to bubble. Be attentive as the process accelerates rapidly (approximately 5 minutes).
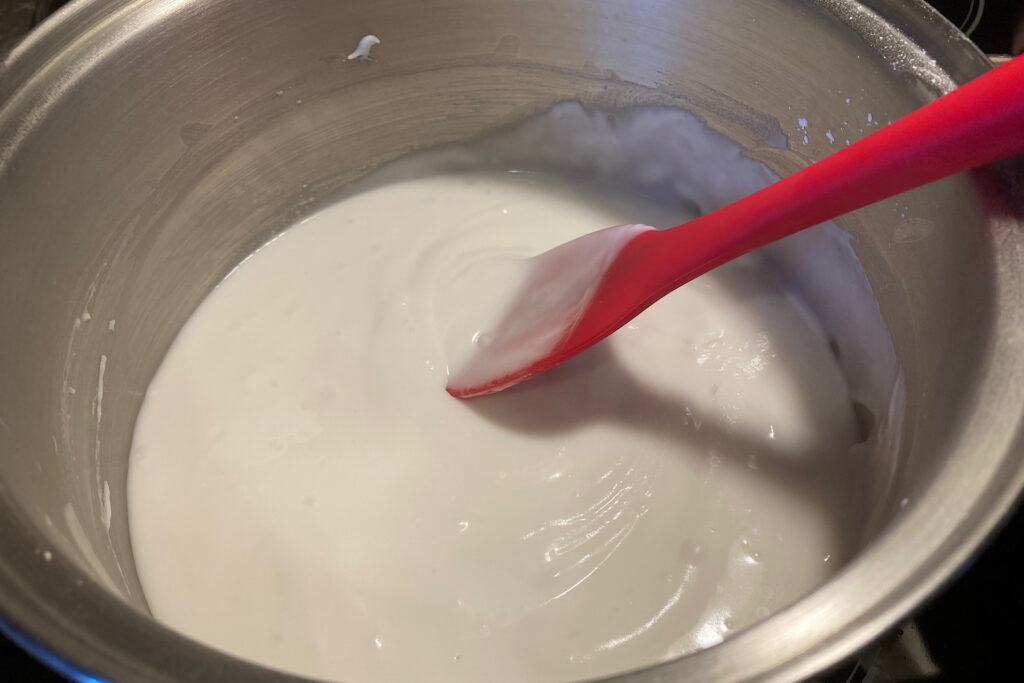
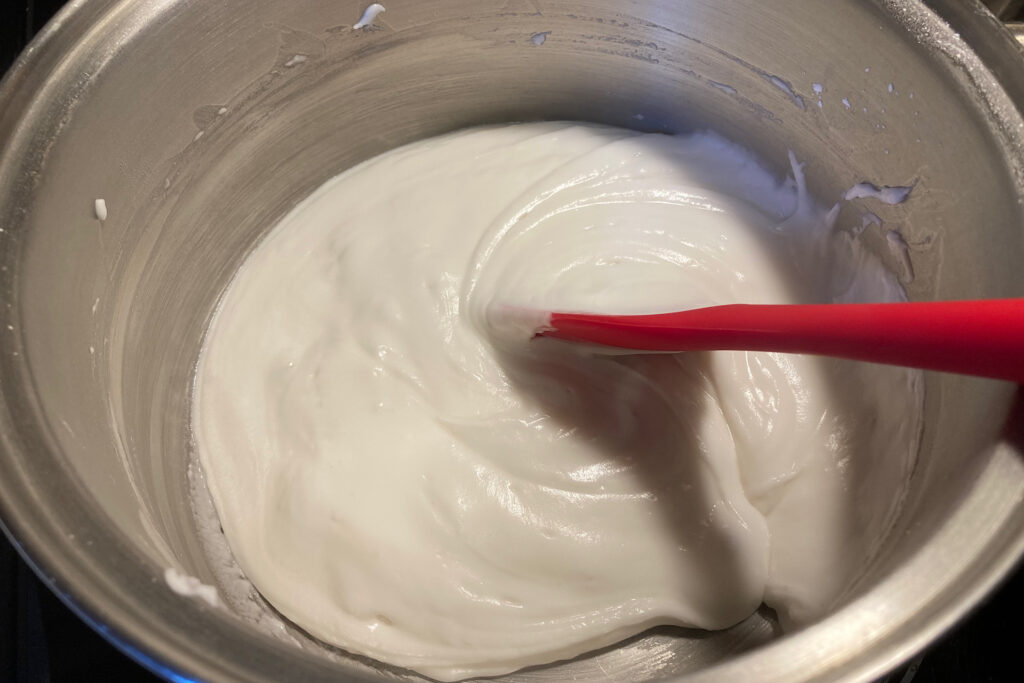
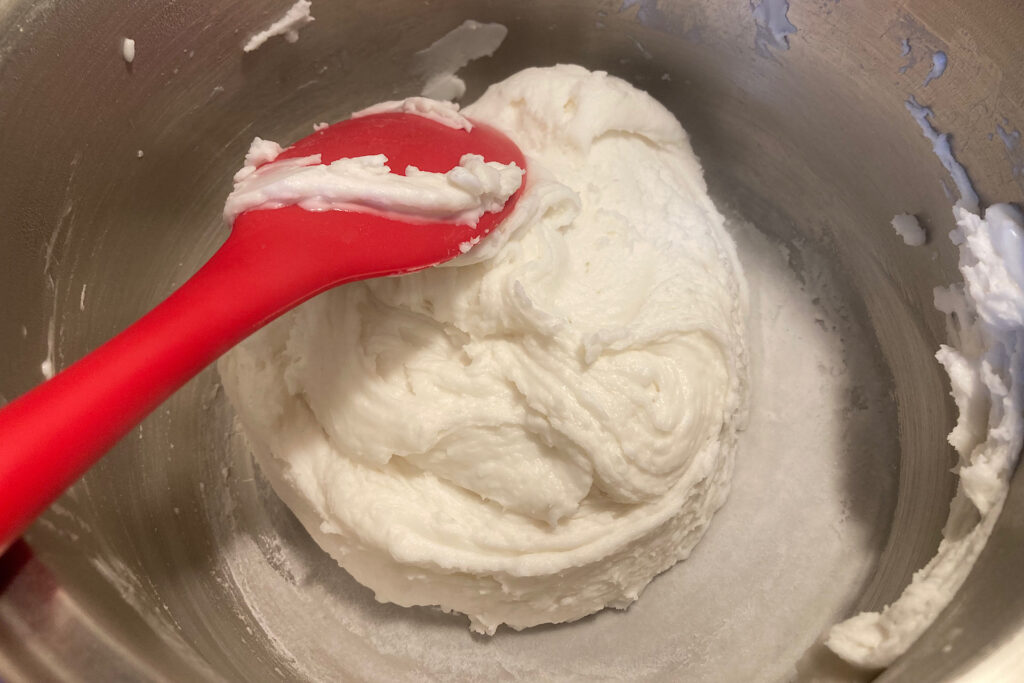
- Stir Continuously: Throughout the process, keep stirring. The mixture will progress from the consistency of heavy cream to that of cake frosting.
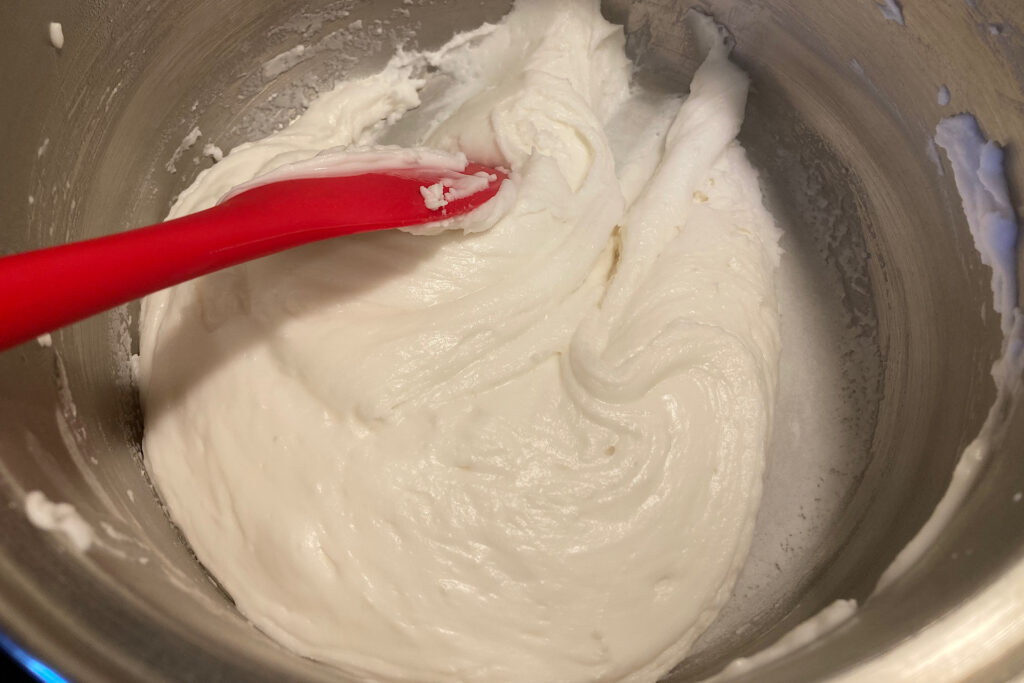
- Formation of Dough: Eventually, the mixture will thicken and come together, leaving the sides of the pan. At this point, it will form a dough ball in the middle.
- Remove from Heat: Once the dough has fully come together, remove the pan from heat promptly.
- Transfer to Mixing Bowl: Place the dough in a mixing bowl to thoroughly cool.
Visual Guide: I’ve included photos of each phase below so you can visualize the process before you begin. Once the dough mixture comes together, you’re ready to cool, shape and create your delightful minimalist holiday ornaments!
Ingredients in saucepan:
Milky Stage. Thin liquid.
Bubbling liquid:
Heavy Cream Stage:
Frosting Stage:
Coming Together:
Cooling the Dough
After the rapid and creative process of mixing, it’s time to let your dough cool, ensuring it’s more manageable and retains its desired shape.
- Transfer to Mixing Bowl: As stated above, once your dough has reached the perfect consistency and formed a ball in the saucepan, promptly transfer it to a mixing bowl.
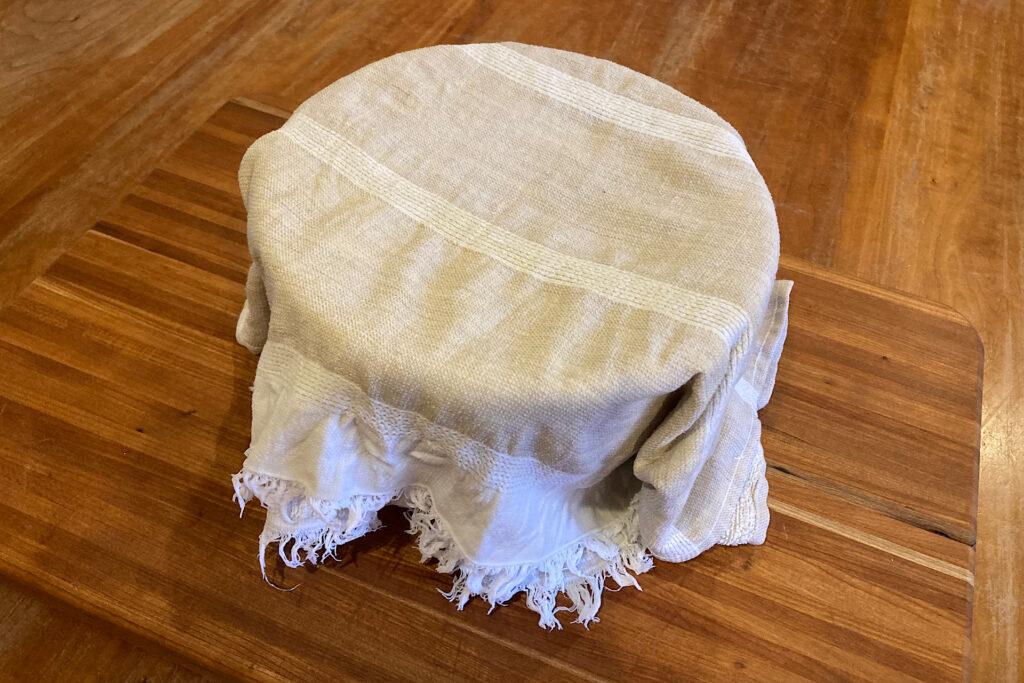
- Cover with a Damp Towel: To prevent the dough from drying out, cover the mixing bowl with a damp towel. This step is crucial for maintaining the dough’s pliability and ease of use.
- Allow to Cool: Let the covered dough sit and cool in the bowl. This not only facilitates the handling process but also ensures the ornaments maintain their intended shape.
- Working with Portions: When you’re ready to dive back into your crafting adventure, uncover the mixing bowl. Take out a portion of the dough you’d like to work with, leaving the rest covered to preserve its freshness.
Crafting Tips:
Remember, a cooled and well-protected dough is the key to effortless crafting. So, cover, cool, and enjoy the delightful process of molding your snow-white holiday ornaments into works of art!
Shaping A Snowy Canvas
With your cooled and pliable dough ready, let’s have some fun shaping your snow-white ornaments.
Process:
- Prepare the Workspace: Lay out a rolling mat or use the kitchen counter as your crafting canvas.
- Rolling Thickness: Roll the dough to approximately 1/4″ thickness. This provides a sturdy yet delicate foundation for your ornaments.
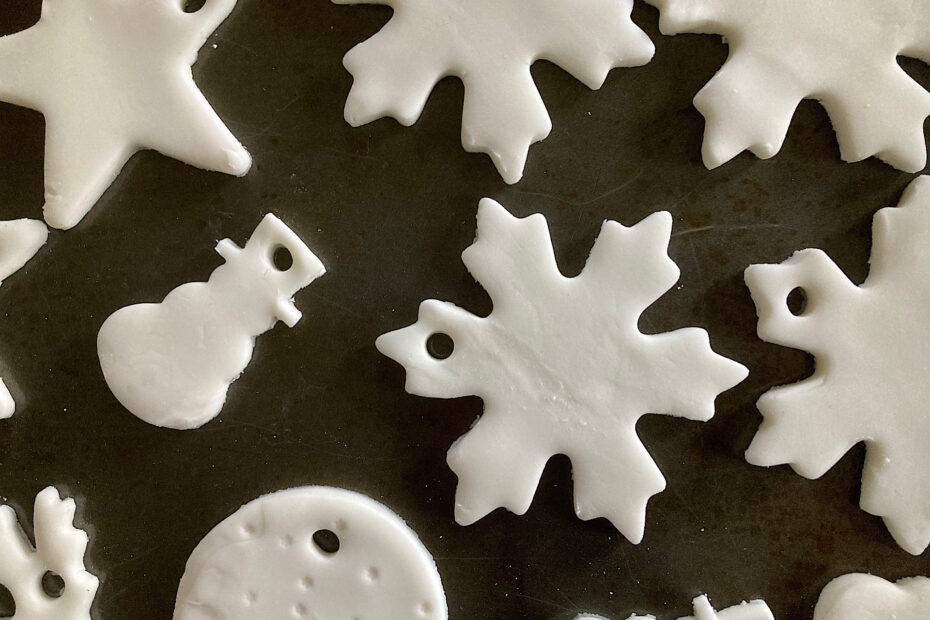
- Choose Your Shapes: Utilize cookie cutters for festive shapes, the rim of a drinking glass for circles, or cut out your unique designs free-style.
- Hole Punching: If planning to hang the ornaments, use a metal straw to punch holes for later threading in some ribbon, cord, or twine.
- Reuse Excess Dough: After cutting your desired shapes, pull away the excess dough. It can be reused for more creations.
- Transfer with Care: Use a spatula with a thin edge to delicately lift the ornaments from the cutting surface. The dough can be tacky, so a gentle touch is crucial.
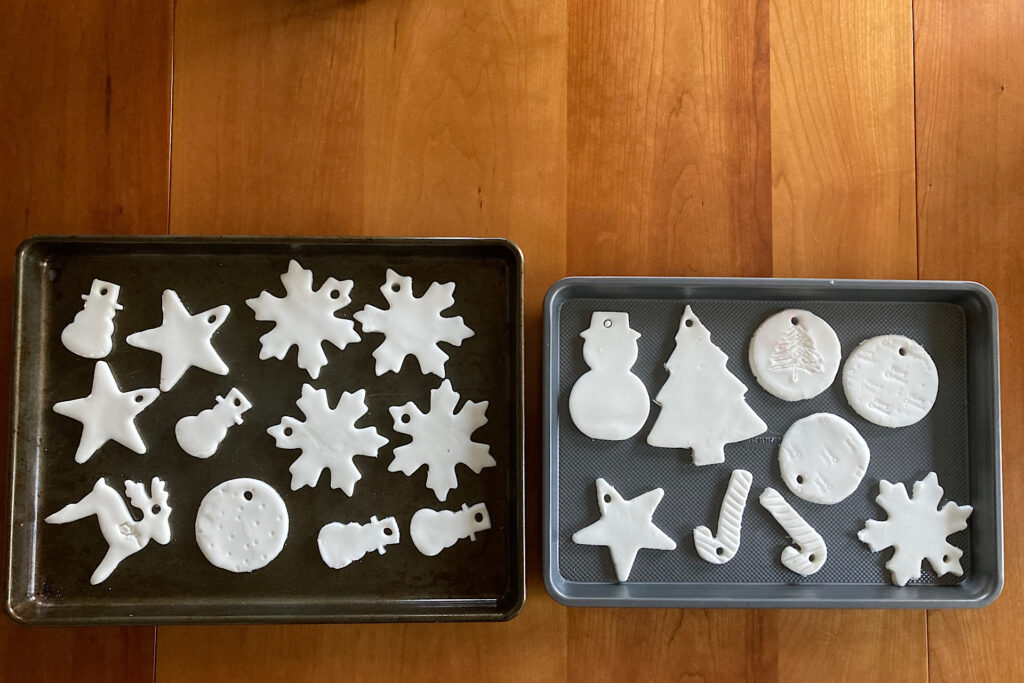
- Place on a Flat, Unlined Baking Sheet: Transfer the ornaments to a flat, unlined baking sheet. Avoid parchment paper, as it may absorb moisture, leaving a crinkly pattern on the backs of the ornaments.
- Refine Edges: Take a moment to trim any ragged edges with the tip of a sharp knife.
- Repeat the Process: Continue rolling, cutting, and shaping until all your ornaments fill two baking sheets.
Crafting Tips:
Mindful Transfer: The thin-edge spatula is your ally in preserving the delicate shapes during transfer.
Flat Baking Surface: A flat, unlined baking sheet ensures uniform drying and a smooth finish on the ornaments’ backs.
Now, with your beautifully shaped holiday ornaments ready for their transformation, it’s time to let them dry and unfold their minimalist style!
Drying: Choosing the Right Method
Now that your charming snow-white ornaments have been meticulously crafted, it’s time to bring them to life through the drying process. There are two methods to choose from: air-drying or oven-drying.
Air-Drying:
- Patience is Key: If you opt for air-drying, be prepared for a longer process. It can take several days for the ornaments to thoroughly dry.
- Midway Flip: Around halfway through the drying time, flip the ornaments to ensure even drying. If using a sheet pan, once one side has dried, you can remove them to a cooling rack. Place that dry side of the ornament face-down on the cooling rack to complete the drying process.
- Ventilation Matters: If you choose a cooling rack from the beginning (rather than a sheet pan), be aware that damp ornaments may take on the rack’s imprint. To avoid this, wait until one side is dry before using a cooling rack.
Oven-Drying:
- Preheat the Oven: Set your oven to the lowest possible temperature, ideally around 175 degrees Fahrenheit.
- Air-Dry First: If time permits, I air-dry the ornaments overnight before using the oven-drying method. I then flip them before putting them in the oven.
- Positioning in the Oven: Place the ornaments on the highest rack in the oven for uniform drying.
- Flip for Even Drying: After one hour, flip the ornaments again, to ensure that initial air-dried side no longer holds any dampness. Continue drying for an additional half hour.
- Watch for Consistency: Be mindful of potential tan spots, especially if using a lower oven rack. Ornaments on the top rack tend to keep a snowy-white appearance.
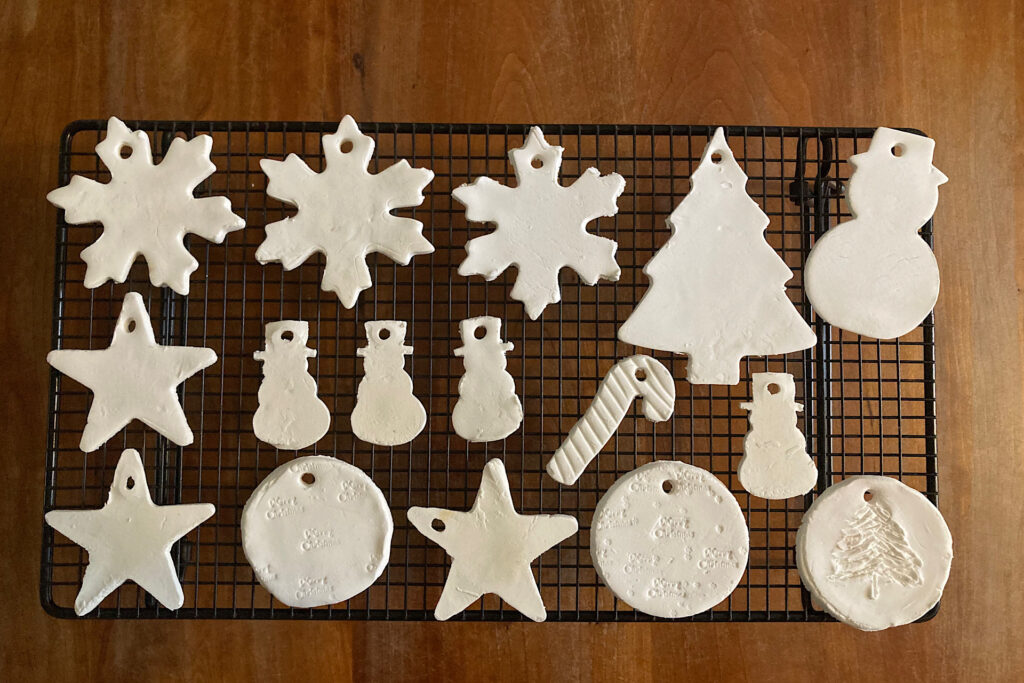
- Transfer to Cooling Rack: Once thoroughly dried, transfer the ornaments to a cooling rack to reach room temperature.
Crafting Tips:
Air-Drying Variation: For a more energy-efficient approach, you can solely rely on air-drying by giving the ornaments more time to naturally reach the desired consistency.
Oven-Drying Precision: Keep a close eye on the ornaments in the oven to prevent any unwanted tan spots, especially if using a lower rack.
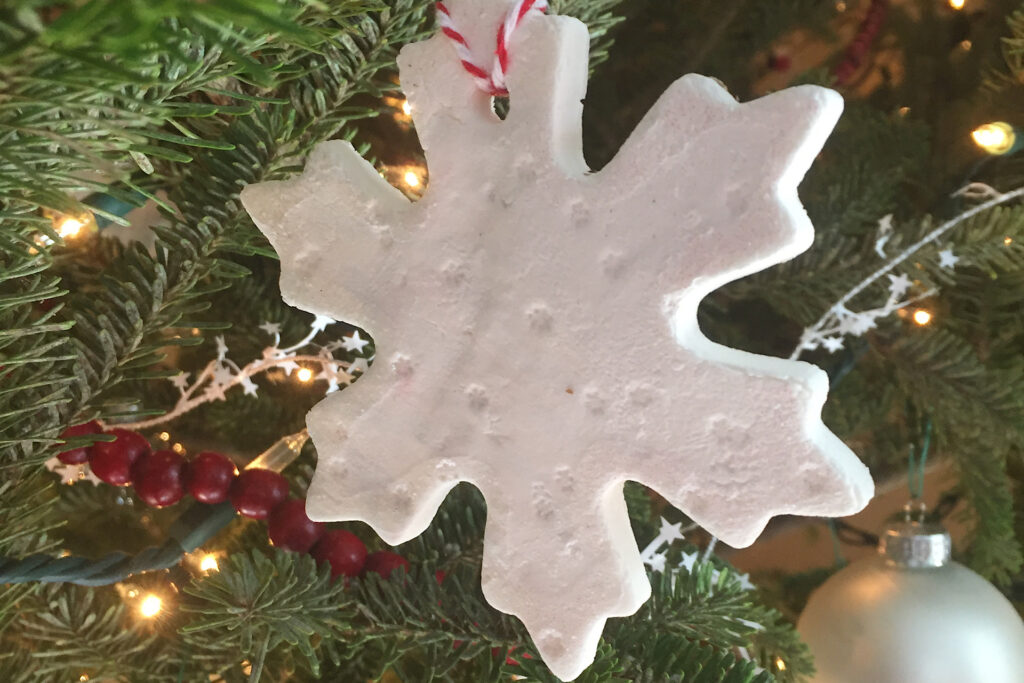
Now, with your perfectly dried and delicately shaped holiday ornaments, you’re ready to explore the endless possibilities of personalization and embellishment! These ornaments also sand down nicely with an emory board or a piece of very fine sand paper. You can easily touch up edges or any surface blemishes by sanding them off. Also, if you like my cooling rack, I’ve included a link to it. They come in a set of two, and are stackable as well as beautiful to look at!
I hope you have fun with the minimalist style of these snow-white holiday cut-outs. I love that they are so easily made with a simple trio of baking soda, cornstarch, and water. Whether leisurely air-dried, or oven-dried for those seeking a quicker solution, these ornaments invite creativity and personalization. From selecting shapes and designs to the optional fragrance infusion, the crafting journey is as unique as the final creations!
For more crafting inspiration, you might enjoy these links: