Skip to content
Home » Seasonal Delight: Plum Tart Recipe for Family and Friends

Seasonal Delight: Plum Tart Recipe for Family and Friends

Plums sliced on wooden cutting board

Seasonal Plum Tart Recipe for Family and Friends:  Have you ever wanted to impress your loved ones with a dessert that appears and tastes like it was crafted by a master baker, but you’re short on time and have limited ingredients at hand?  Here at ‘Late Bloomer in Bakerville,’ I enjoy celebrating simple, clean, yet delicious creations.  From basic pantry staples and fresh, seasonal fruit, this recipe is the perfect blend of elegance and ease.  Whether you’re planning a special family dinner or an impromptu get-together with friends, this tart is quick, easy, and simple — yet  decadently delicious. Let’s delve into the art of creating memorable moments through the magic of baking!

Simple Ingredients & Preparing the Fruit

Ingredients: 

For this seasonal plum tart, we’ll reach into the pantry for baking essentials you likely have on hand: flour, sugar, butter, cinnamon, vanilla extract, salt, baking powder, cornstarch, and water.  These are the building blocks of countless baked goods, and they’re the secret to this plum tart’s delightful simplicity. 

What sets this recipe apart are Italian plums. I picked up a basket recently at my local farm store.  (If Italian plums are out of season, regular plums can easily be substituted – just ensure they’re firm and not overripe).

Now, for the unexpected twist: a touch of Chardonnay wine. Just 2 tablespoons are needed, and here’s the bonus – you’ll have the rest of the bottle to share with your guests. It’s a delightful way to infuse a bit of sophistication into your baking.

Ripe plums for seasonal tart
Preparing plums for tart filling
Prepping the fruit:

Start by quartering the plums using a sharp knife on a cutting board.  You’ll need to remove the pits, but there’s no need to remove the skins; they’ll contribute a lovely burst of color to the final creation.  Transfer the sliced, pitted plums into a bowl.  Here, we’ll introduce the thickening agents: cornstarch, the slight hint of Chardonnay wine, and 3/4 cup of sugar. Gently toss to create a beautiful glaze that will coat the plum quarters. Set the bowl aside to rest and allow the fruit to macerate (release its juices). 

Crafting the Crumble

At the heart of an exceptional dessert lies a great crumble, and this seasonal plum tart is no exception.  I’ve already introduced the basic pantry staples that form the foundation of this recipe, but here’s a secret to elevate your plum tart to the next level: consider using your favorite butter.  Personally, I’m an advocate for grass-fed, cultured butter.  Why is this choice a stellar one for baked goods?  First, grass-fed butter boasts a richer, creamier texture and imparts a subtle, nutty flavor that harmonizes beautifully with the natural sweetness of the plums.  Second, it’s often richer in vital nutrients such as omega-3 fatty acids and vitamins, enhancing your dessert with added health benefits. Lastly, the quality of the butter significantly impacts the overall taste and texture of your crumble. Cultured butter’s slightly tangy notes and exceptional creaminess contribute to a crumble that’s irresistibly delightful.  

Remember that the butter should be at room temperature, firm but not overly-soft, ensuring it can be mashed with a fork. When assembling the crumble, I place the butter at the bottom of my mixing bowl, followed by layering the dry ingredients on top.  I prefer adding sugar as the first dry ingredient so it’s in direct contact with the butter.  I feel the granules aid in breaking down the butter and incorporating it with the other dry ingredients.

Kerrygold Irish Butter
Baking prep dry ingredients
 Visual Guide:  The Crumble Comes Together 

Using the tines of a kitchen fork, it’s time to blend the dry ingredients with the butter.  In just a few moments, you’ll begin to see a transformation. Small crumbles will emerge, mingling in a base that takes on a pleasingly grainy, sandy texture.  You can now add a teaspoon of water and two teaspoons of vanilla extract.  This will elevate the tart by infusing delightful flavors and delicate texture.  I’ve provided a few pictures below so you can see the crumble mixture and the addition of the wet ingredients.

Add vanilla to dry ingredients

The mixture will naturally start to evolve, forming larger, more defined crumbles. (See images below).   A telltale sign that you have a finished crumble is that you can gently squeeze it between your fingertips, and it adheres together without breaking apart.  It is now ready to form into a tart crust.  But, first, reserve one cup of the crumble and set it aside.  You’ll use this later for topping.

Perfect crumble for tart
Crumble topping ready

Assembling & Baking – Delicious Plum Tart

With the crumble mixture divided and one cup reserved for the crowning touch, the rest is ready to be transformed into a crust for our plum tart. Begin by gently tipping the remaining crumble into an 8 or 9-inch Pyrex pie plate.  I recommend opting for a deep-dish pie plate. This allows you to work the dough not only on the bottom of the plate but also up the sides, creating a crust that will envelop the plum filling.  Take a moment to tamp down the top rim with your fingers or thumb, ensuring it’s flat and even.

Crust for plum tart
Adding the Plum Filling

Carefully place the prepared plum quarters into the crust, ensuring they are evenly and tightly packed. The goal here is to create a mosaic of plums that will provide a burst of flavor with every bite.  After filling the tart shell, you may notice there is thickening glaze left behind in the mixing bowl. You can pour it over the plums in the tart. While the glaze may appear thinner than when initially applied, it still harbors the thickening agents. 

Filling the tart with plums
Plum filling closeup
Finishing Touch

It’s time to add the signature finishing touch to this tart.  Remember that cup of crumble topping we set aside? Gently break that apart and sprinkle over the plum filling.  There’s no need to press it down or spread it; just let it fall evenly and generously.  It will create a crisp, crumbly crown that is a delightful textural contrast to the tender fruit below.

Plum tart ready for oven

Seasonal Delight for Family & Friends

Preheat your oven to 350 degrees, and allow your plum tart to bake for approximately one hour.  As all ovens are different, I recommend keeping a watchful eye when it approaches the final minutes of baking. You’ll know your tart is ready when the top is crisp and crumbly, and the interior fruit is bubbling up here and there.  As an added benefit, your kitchen is going to smell fabulous!

Let the finished plum tart rest on a baking rack to cool.  It is best served slightly warm, but not too hot. A dollop of fresh whipped cream or a scoop of vanilla bean ice cream will bring it up a level.

I hope this plum tart recipe brings you an appreciation for seasonal baking and a superb way to delight your loved ones!

Plum tart fresh from the oven
Homemade plum tart perfection
Plum tart fresh from the oven

Plum Tart Recipe for Family & Friends

Simple and decadently delicious plum tart recipe sure to delight your guests!
Servings 6

Equipment

  • 1 Mixing bowl and spoon
  • 1 Set of measuring spoons
  • 1 Table fork (for mashing crumble)
  • 1 Cutting Board
  • 1 Knife (for quartering plums)
  • 1 9" pie plate

Ingredients
  

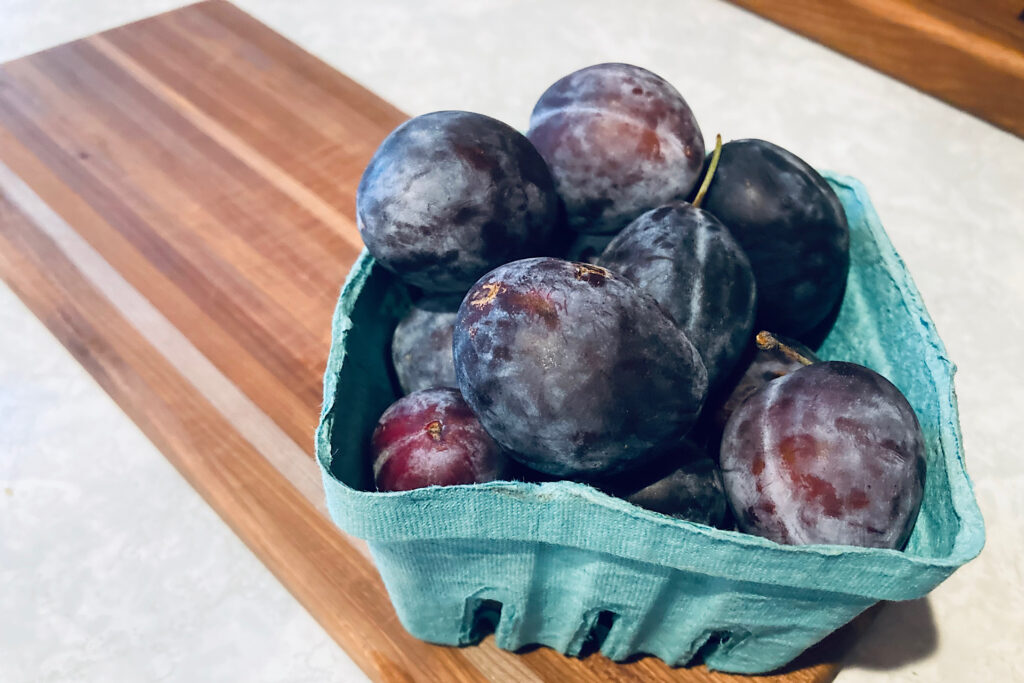
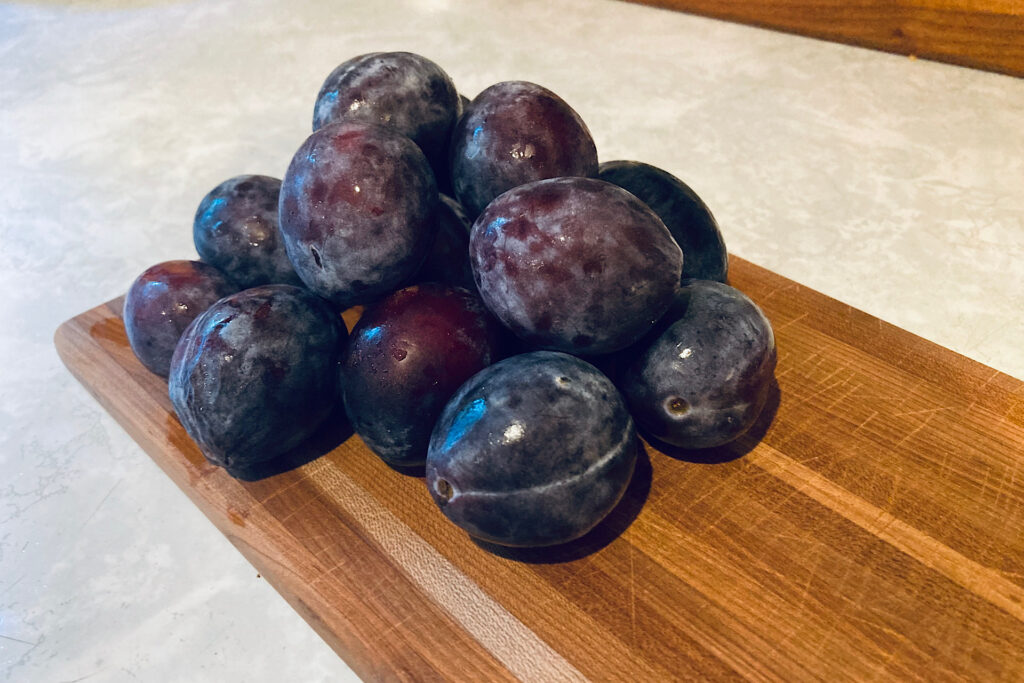
  • 1 pint basket Italian plums little less than a pound if weighing
  • 2 tablespoons corn starch I have also used Minute Tapioca (same amount)
  • 2 tablespoons chardonnay wine
  • 1 3/4 cup sugar
  • 1 stick butter 4 oz.
  • 1 1/4 cups flour
  • 3/4 teaspoon cinnamon
  • 1/2 teaspoon salt
  • 1/4 teaspoon baking powder
  • 1 teaspoon cold water
  • 2 teaspoons vanilla extract

Instructions
 

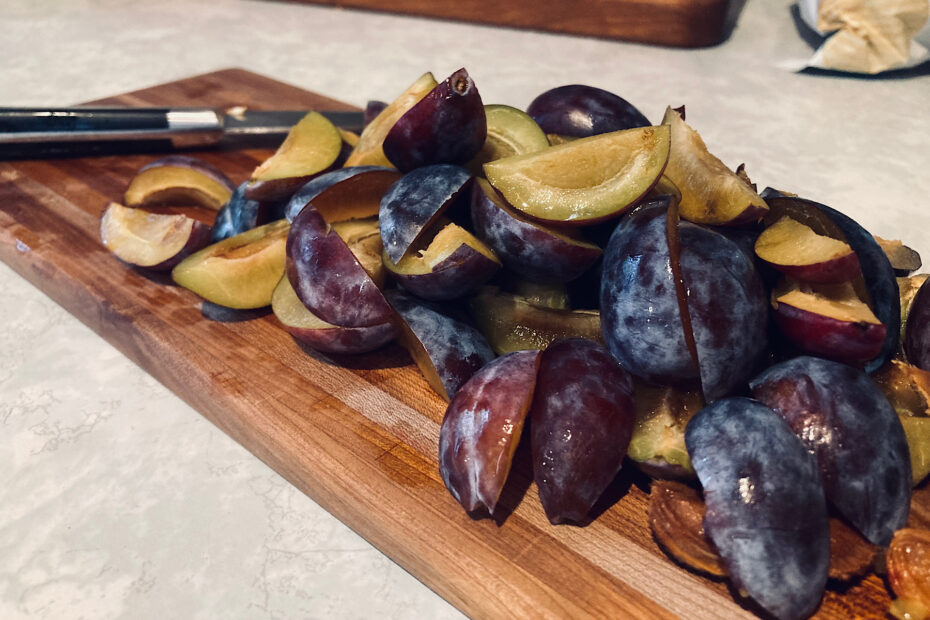
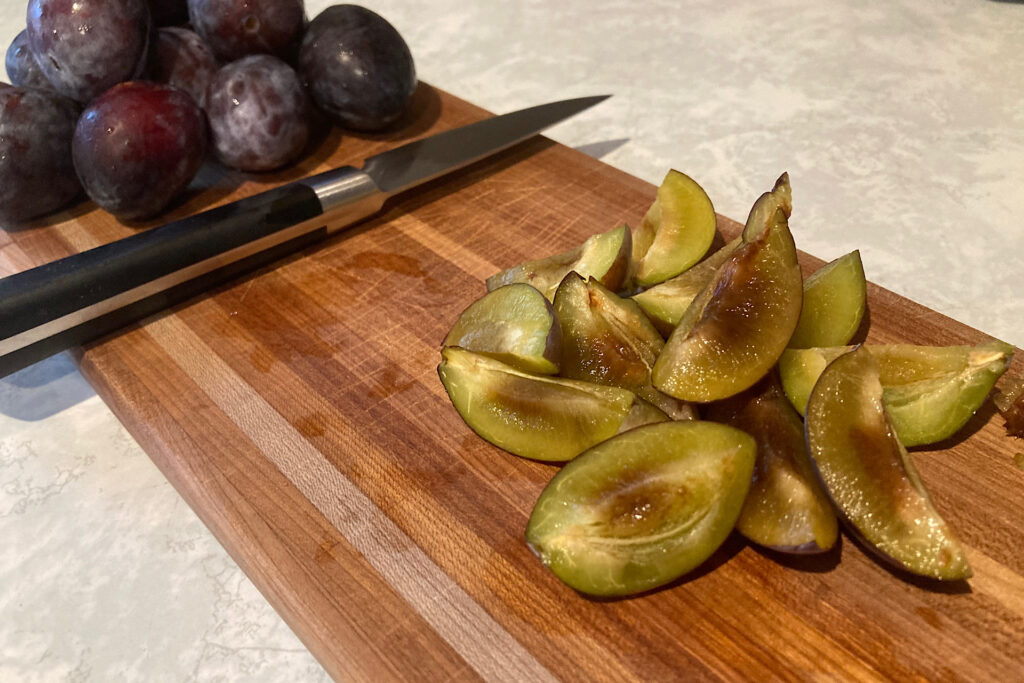
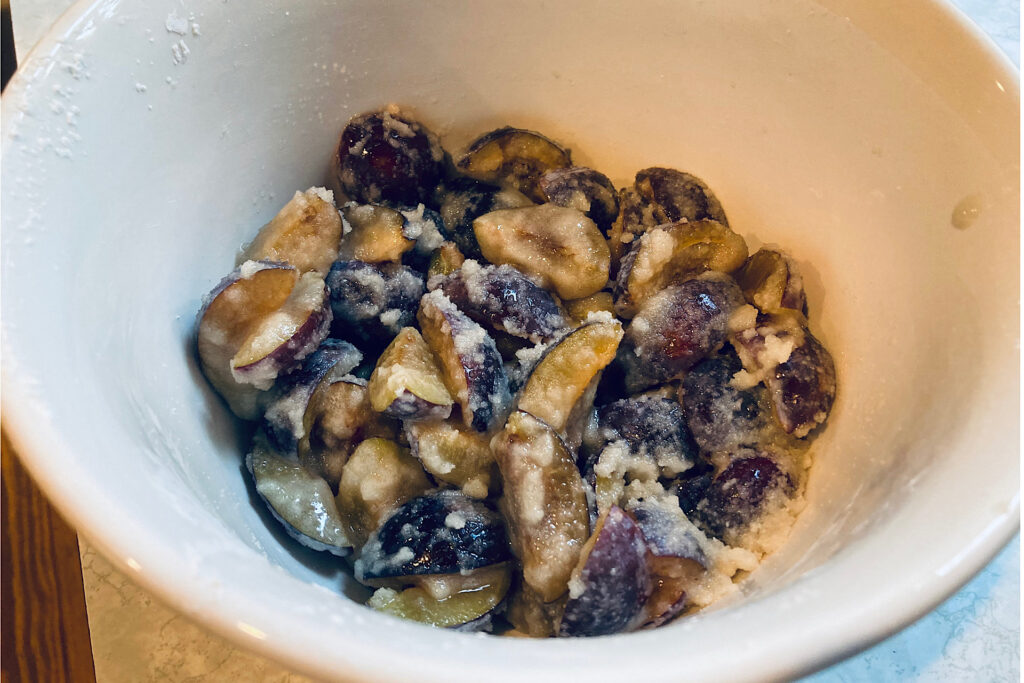
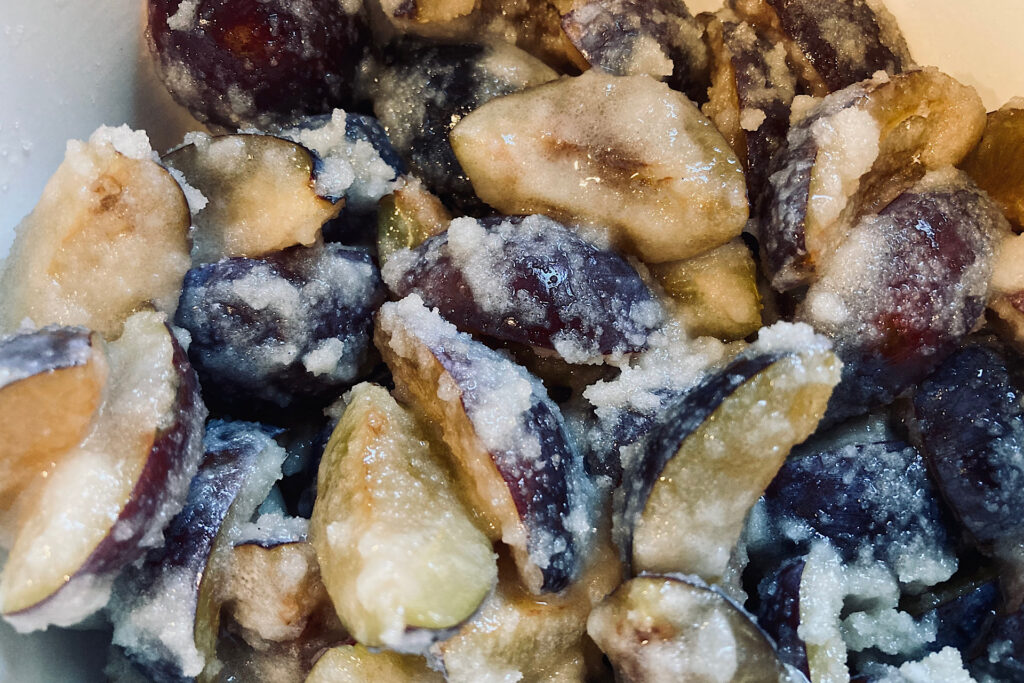
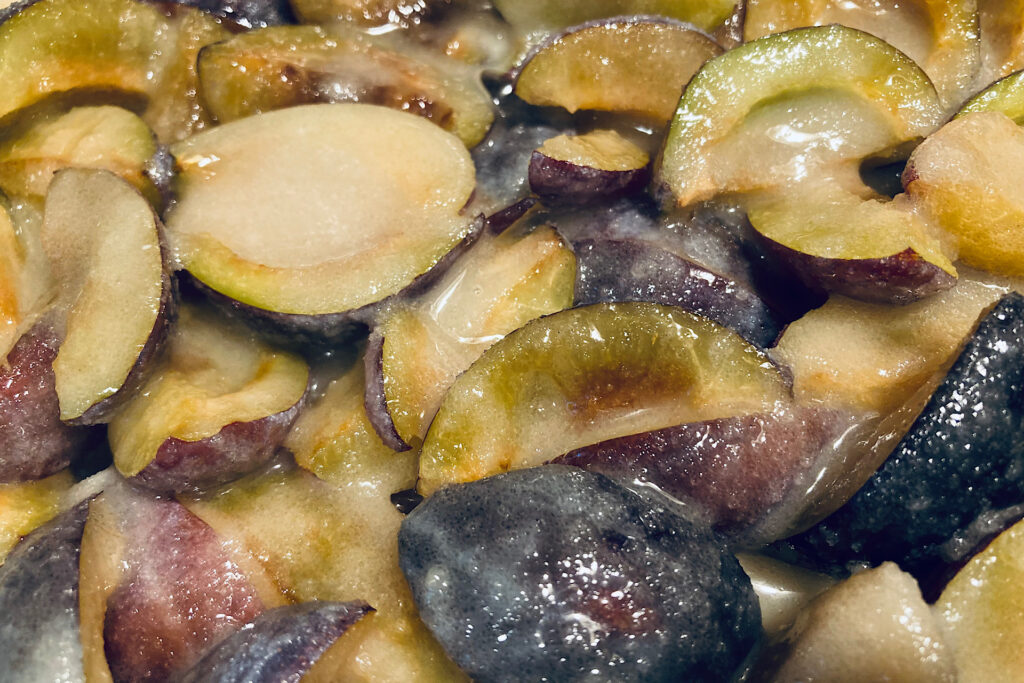
  • Using a knife, quarter the plums and remove pits. There is no need to remove the plum skin.
  • Place quartered plums in a bowl and add the cornstarch, wine and 3/4 cup of the sugar. Stir to combine and set aside.
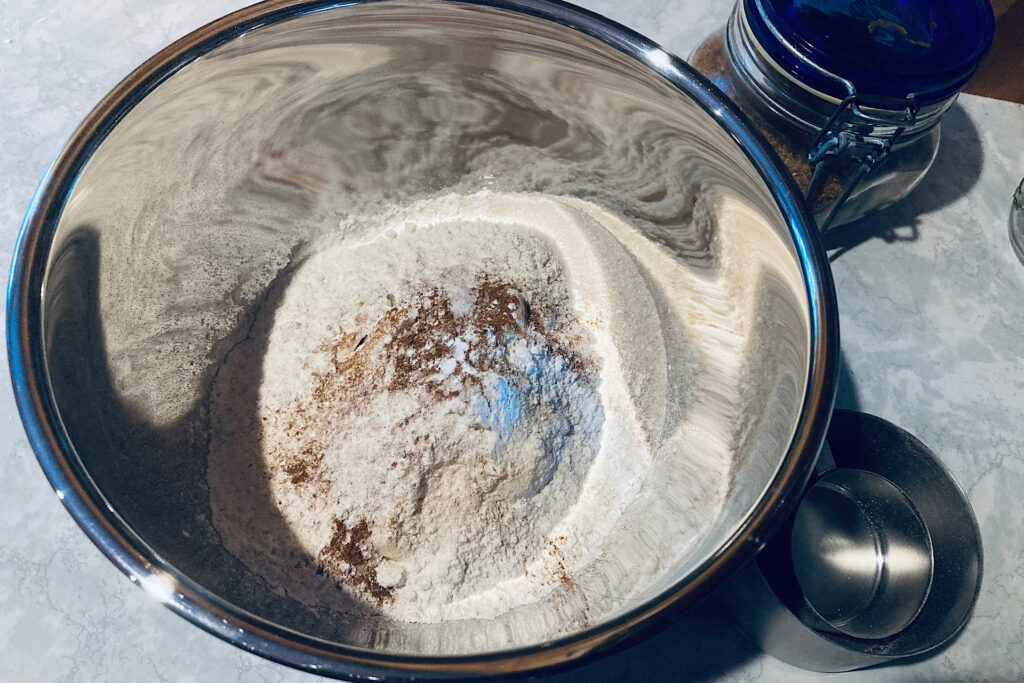
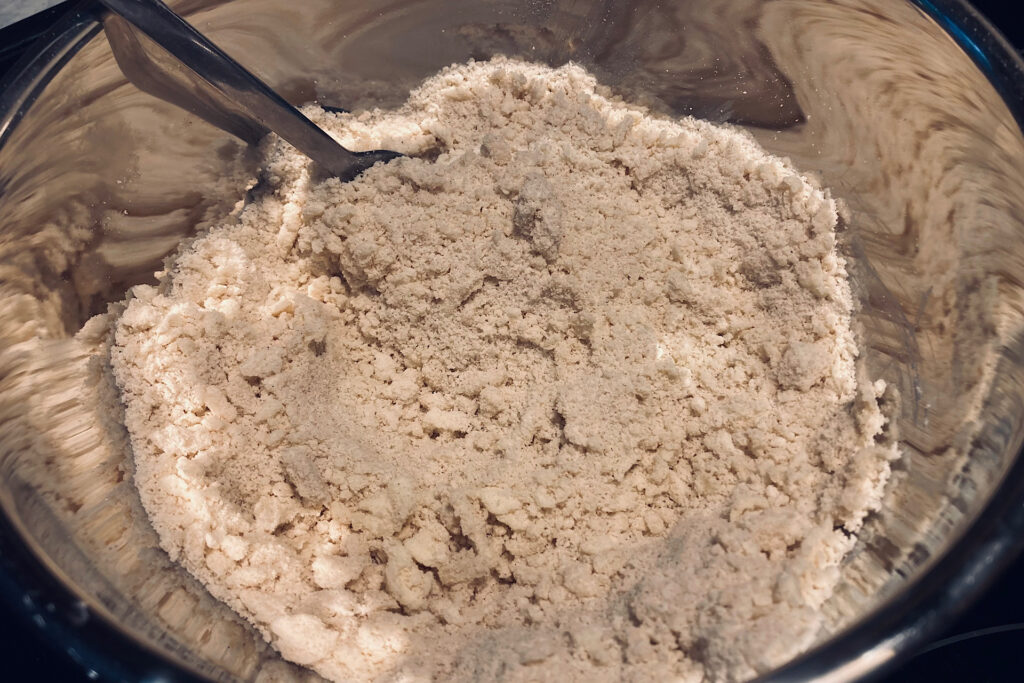
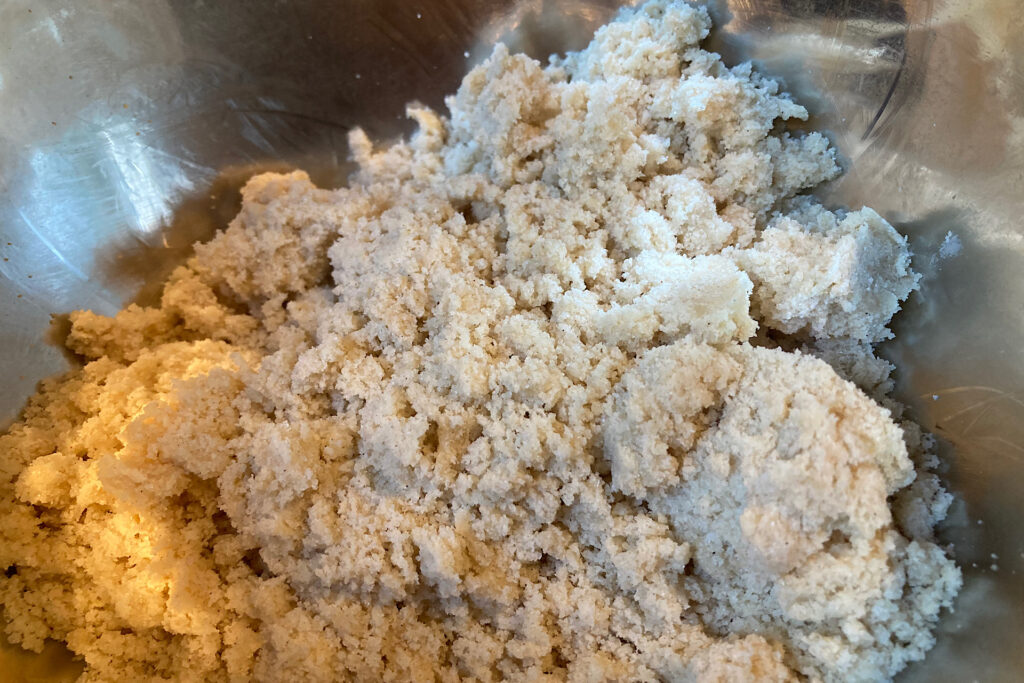
  • Place the butter in a mixing bowl. The butter should be room temp or microwaved just slightly. (It should not be melted and still holding it's form. You will be mashing it with a fork so you need the butter stick to still have a firm texture). Simply pour the remaining 1 cup of sugar, flour, cinnamon, salt and baking powder over the stick of butter.
  • Using the tines of a fork, begin mashing the dry ingredients into the butter.
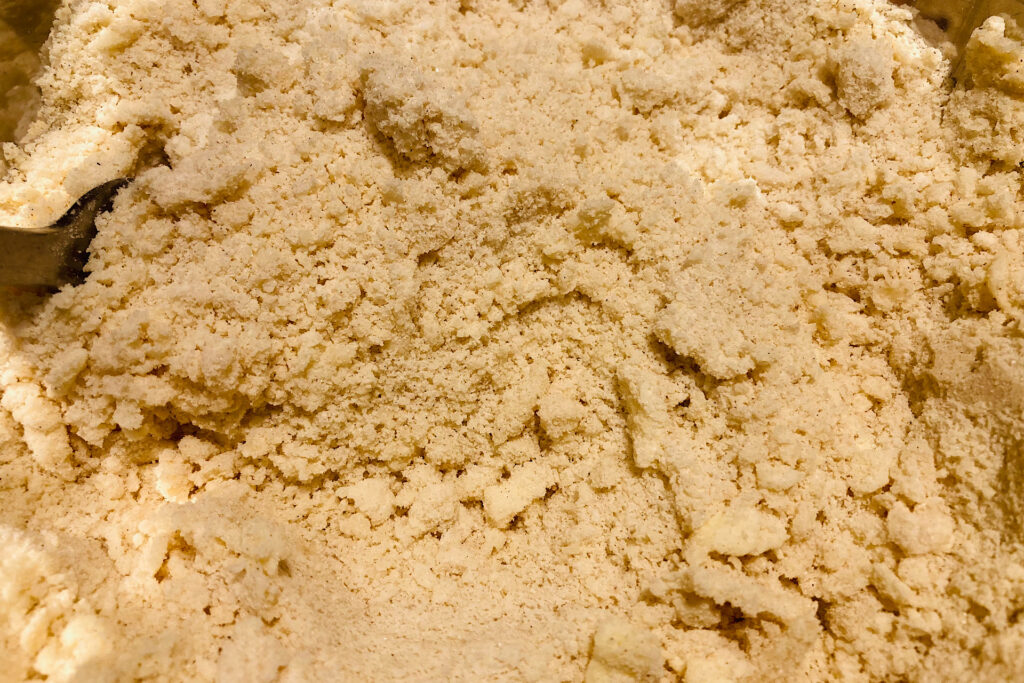
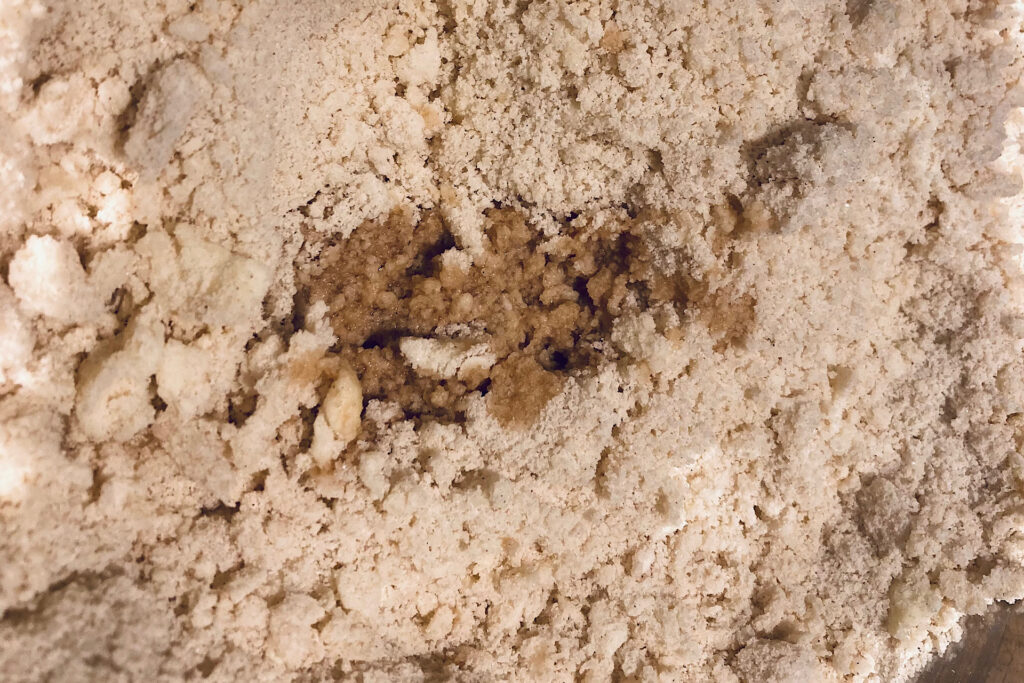
  • When the mixture begins to come together, you will see small crumbles forming in the sandy texture of the base. At this point, add the one teaspoon of water and 2 teaspoons of vanilla extract.
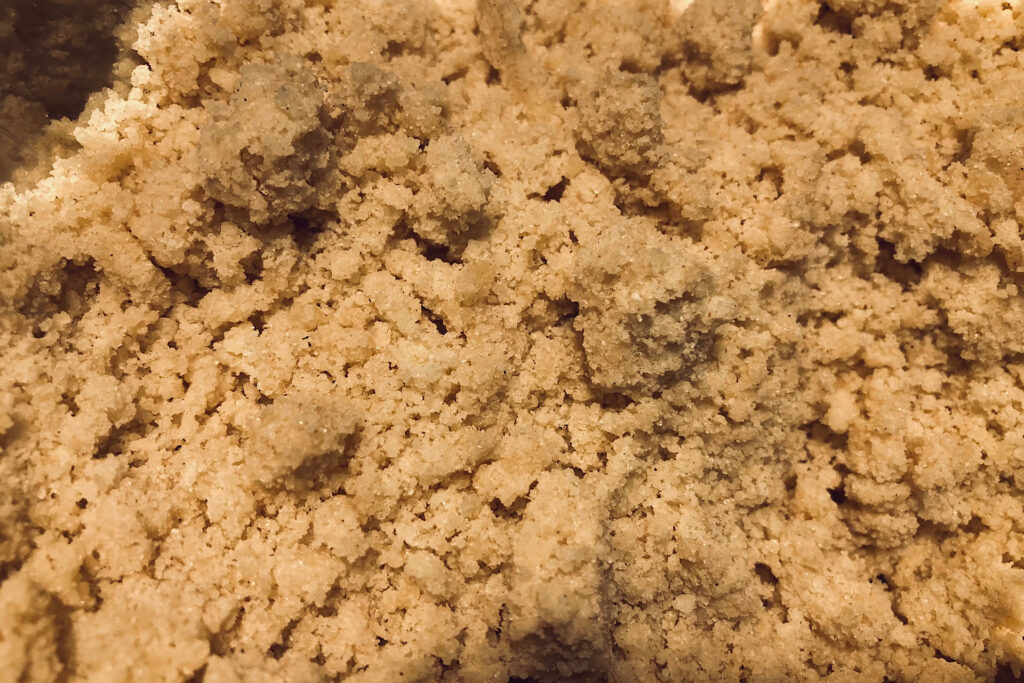
  • Continue working the crumble mixture with the tines of your fork until larger crumbles begin to form and the mixture will squeeze and stay together between your fingertips.
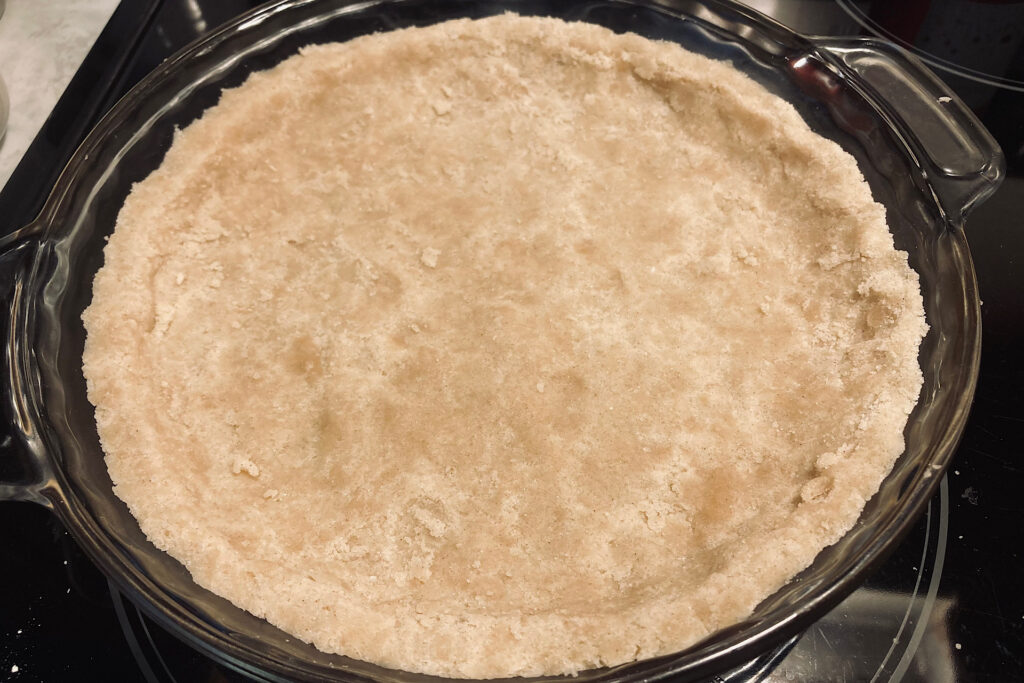
  • Remove the crumble from the bowl, leaving approximately 1 cup behind. Press the crumble you have removed from the bowl into a 9" pie plate. I used a clear Pyrex dish with very good results. Press an even amount to cover the bottom and move it up the sides forming a lip to contain the fruit. I flattened down the top edge at the perimeter with my thumb so it maintained a uniform thickness all the way around.
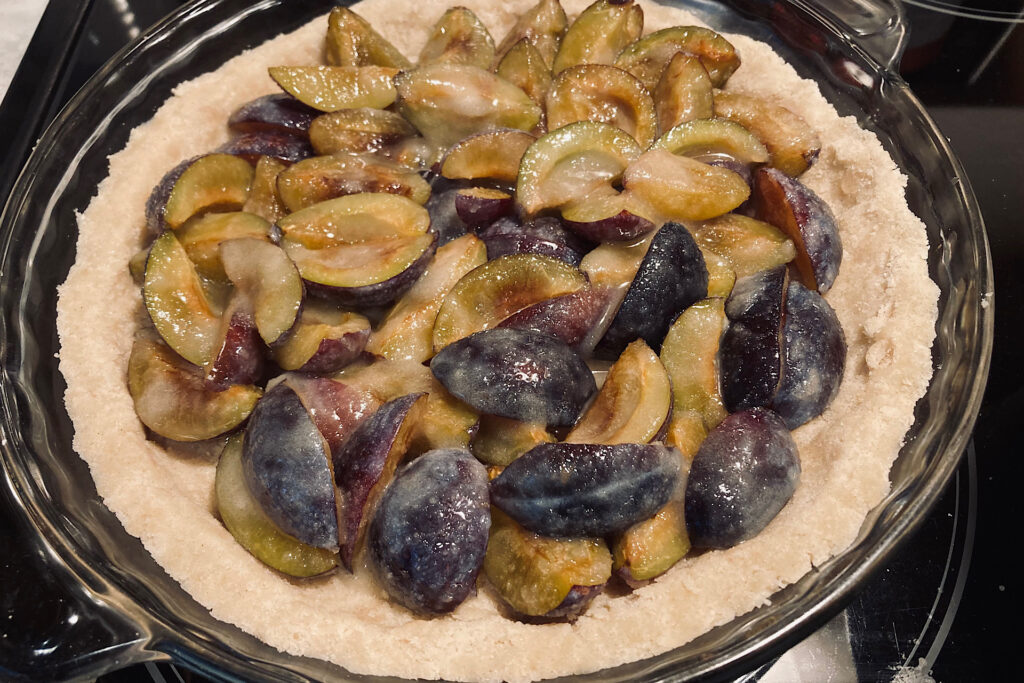
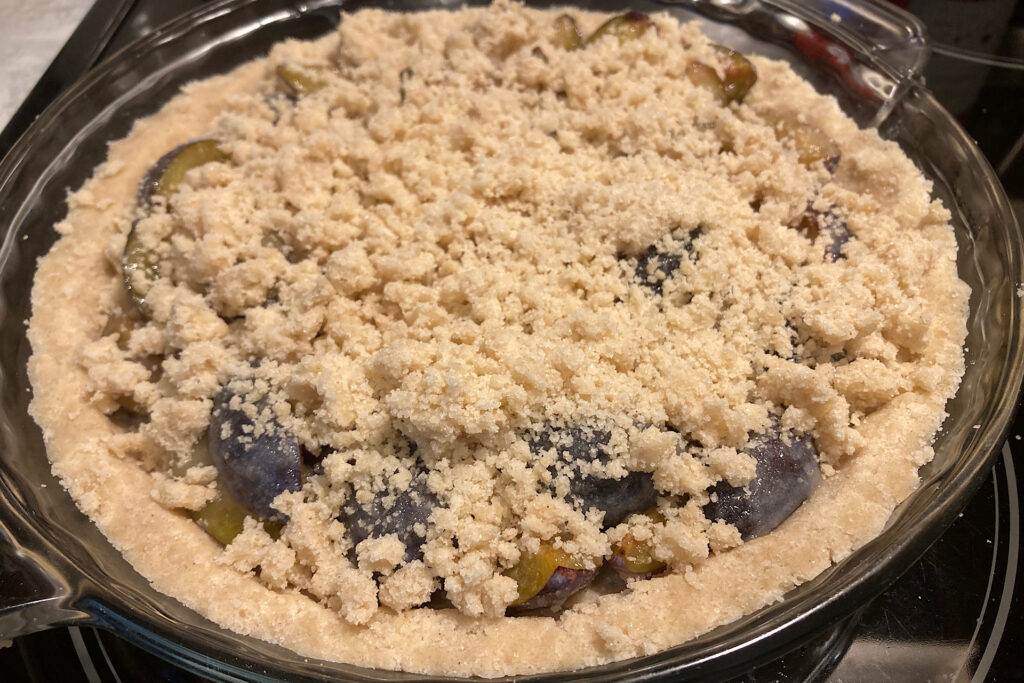
  • Now you can fill the tart shell with the thickened plum quarters. Arrange them in an even layer, pleasing to the eye. It is ok to cover the fruit with the liquid left in the bowl as it has the thickening agent in it.
  • After the tart shell is filled, break up the remaining crumble you left behind in the mixing bowl and disperse it on top of the fruit. Don't press it in, just sprinkle and distribute evenly.
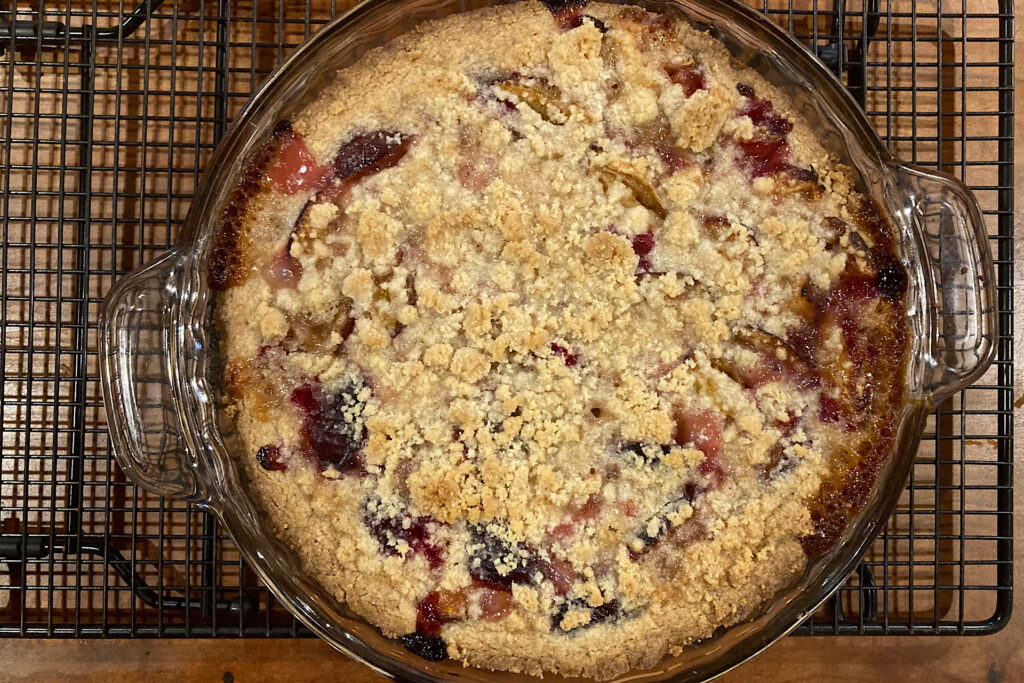
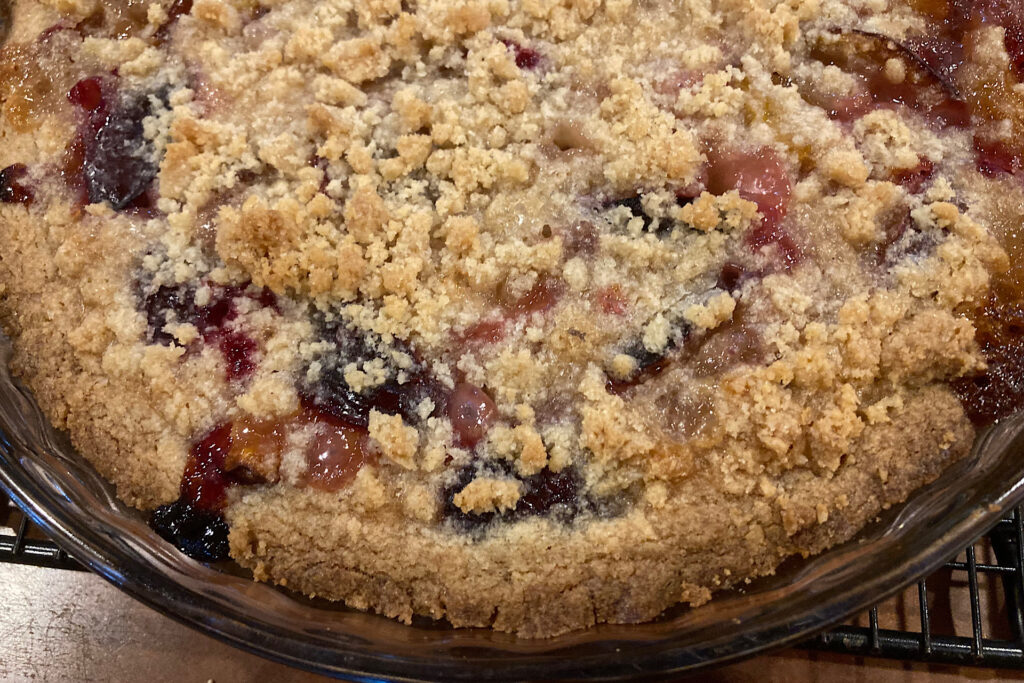
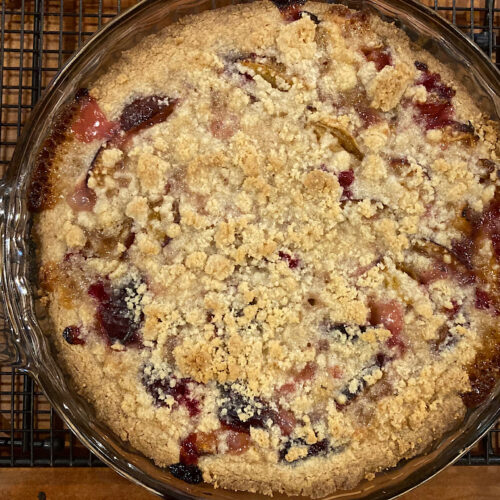
  • Place the finished tart in a 350 oven for about an hour. Check yours when it is close to finish time as all ovens vary. You will not be disappointed in this decadently delicious tart! Serve plain or with whipped cream or a scoop of vanilla bean ice-cream.

Leave a Reply

Your email address will not be published. Required fields are marked *

Recipe Rating