By now, your indoor tomato seeds have emerged successfully from the soil and will spend the next several weeks growing into robust seedlings to plant in this year’s garden. Now our focus shifts to growth and nurturing . Come Bloom with me!
Recap of Solo Cup Tomato Seedlings Part 1 & 2:
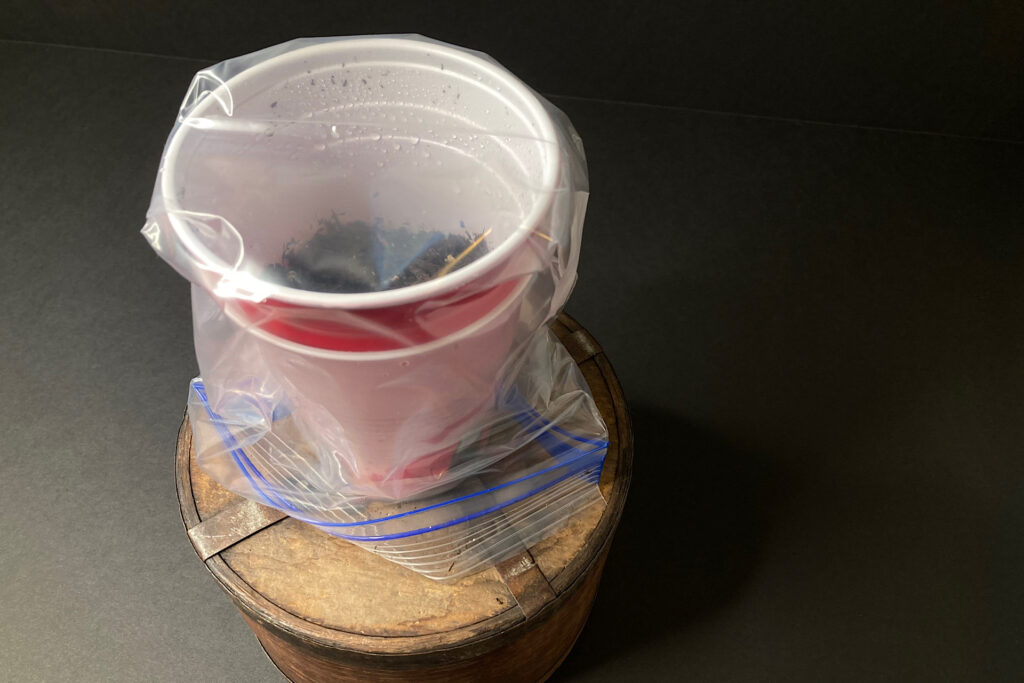
If you’d like to go back and review, in Part One – Solo Cup Tomato Seedlings, we planted seeds utilizing a double-cup, bottom-watering method. Each set of Solo Cups were covered with a plastic sandwich bag and placed on a heat mat. In Part Two – Germination, the bags were removed as soon as the seedlings began to emerge from the soil. From there, we set up our seedlings so they could put energy into growth. I planted 16 cups total and each produced two seedlings except for two of them. One produced a single seedling and the other produced nothing. I suggested two set-ups for encouraging growth and will provide updates on each one in the section below.

UPDATES:
Set-Up 1: Heat Mat, Grow Light & Fan
I used two growing methods and promised I would let you know how they compared.
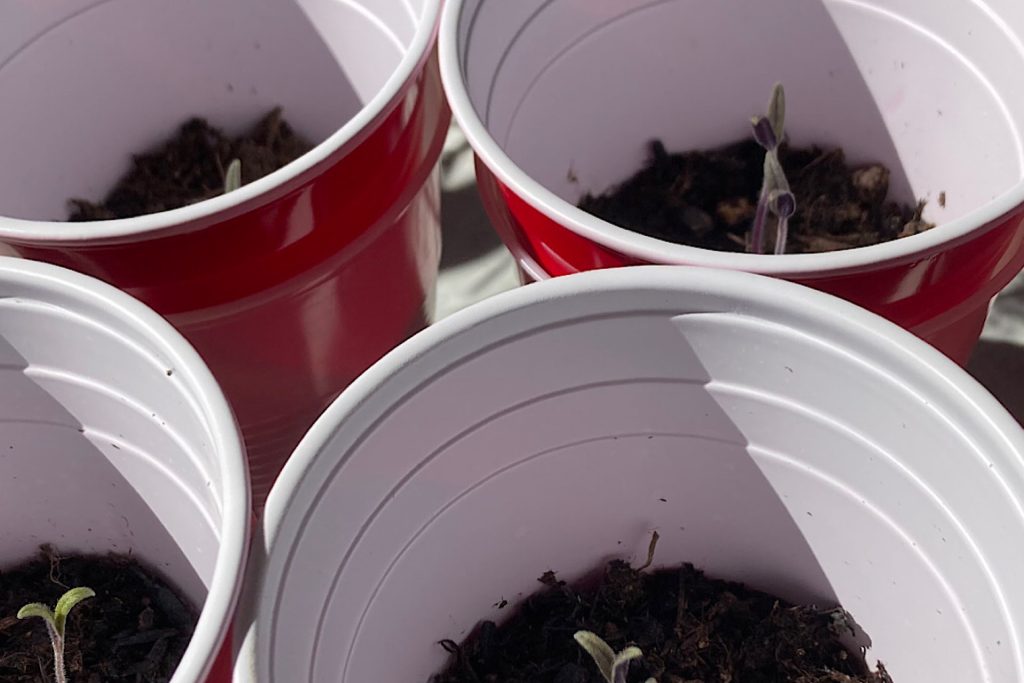
In my first recommended set-up, the emerging seedlings were kept on a heat mat and placed below a grow light. A fan was also positioned to provide stimulation and promote strength in the stems.
I have some interesting results I didn’t expect. The seedlings I placed on the heat mat under the grow light are developing much slower than the cups in my second set-up. After 4 weeks under the grow light, I have the first pair of leaves (cotyledons), but not any actual tomato foliage yet. The stems are a deep purple, however, and the leaves a dark, mossy shade of green. The roots are vigorous and coming out the bottom of the inner solo cup. The seedlings are growing straight and do not appear leggy. I find that the circulating fan dries out the soil rapidly, so they need to be bottom-watered more often than my other group. One thing that may atribute to slower growth is that this set of seedlings are housed in my my basement. Despite the heat mat, they do not have the warmest growing temperatures yet. That being said, they look healthy, and are just developing at a slower rate than those in my second method.
Set-Up 2: Foil-Lined Box
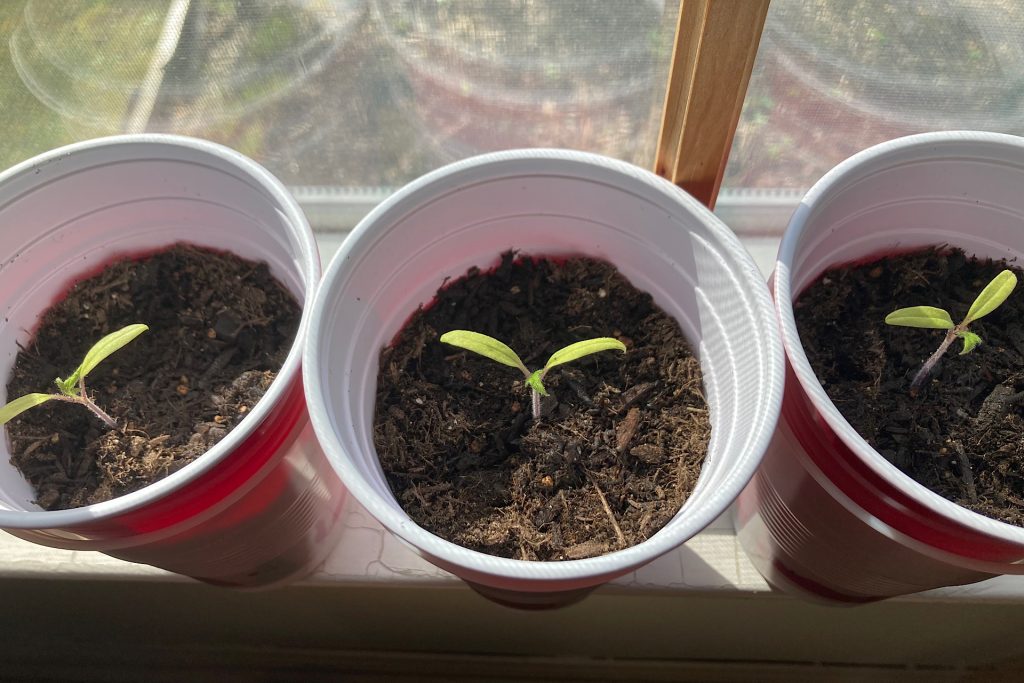
My second set-up placed the solo cup tomato seedlings in a foil lined box. The box rests on a table in front of a south-facing window. The foil interior of the box aids in reflecting light from all sides. Rather than using a fan for stimulation, I gently brush the seedlings with my fingertips each day to promote stem strength. I also rotate the cups within the box each day.
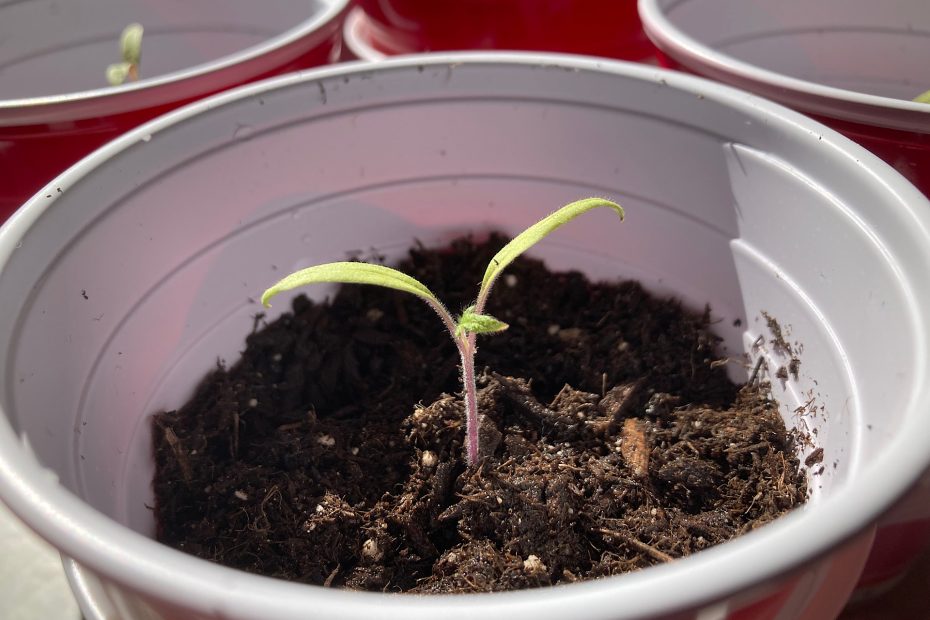
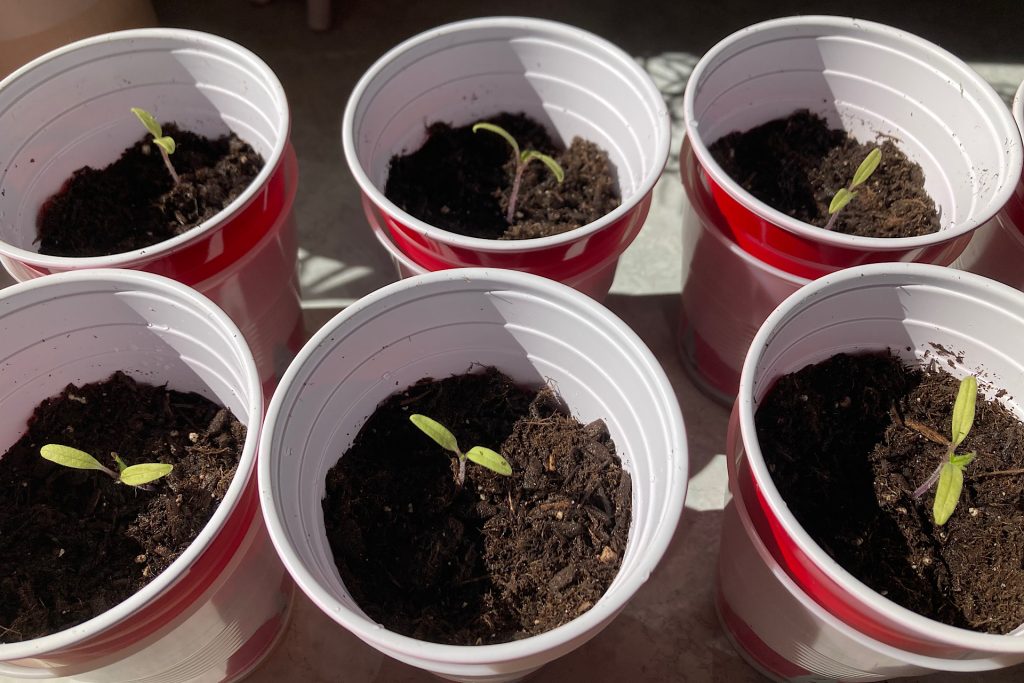
I have used this method successfully before and it is working well again this time. These seedlings have almost reached the top of the cup rim and are developing their first true tomato leaves. Their stems are straight and they are well ahead of the seeds under the grow light in the basement.
In fairness, these seedlings are in the living area of our home, in a sunny, south-facing window. Our house temp, however, is generally kept low (approx. 64 degrees), but I’m sure the sunlight through the window provides additional warmth.
The foil box seedlings are a paler shade of green than the seedlings under the grow lights. I imagine this could be contributed two things – they may be soaking in more water than the seedlings under the fan. We have also had several weeks of overcast, rainy weather, with limited sunshine; leaving the seedlings to rely only on what light the box is able to capture from the room and reflect. I am now taking them out of the box for an hour or so in the afternoons and placing them in direct sunlight on my kitchen counter; to not only begin to introduce them to more intense sunlight but also to increase chlorophyll production.
Next Steps: Growth & Nurturing
Step One:
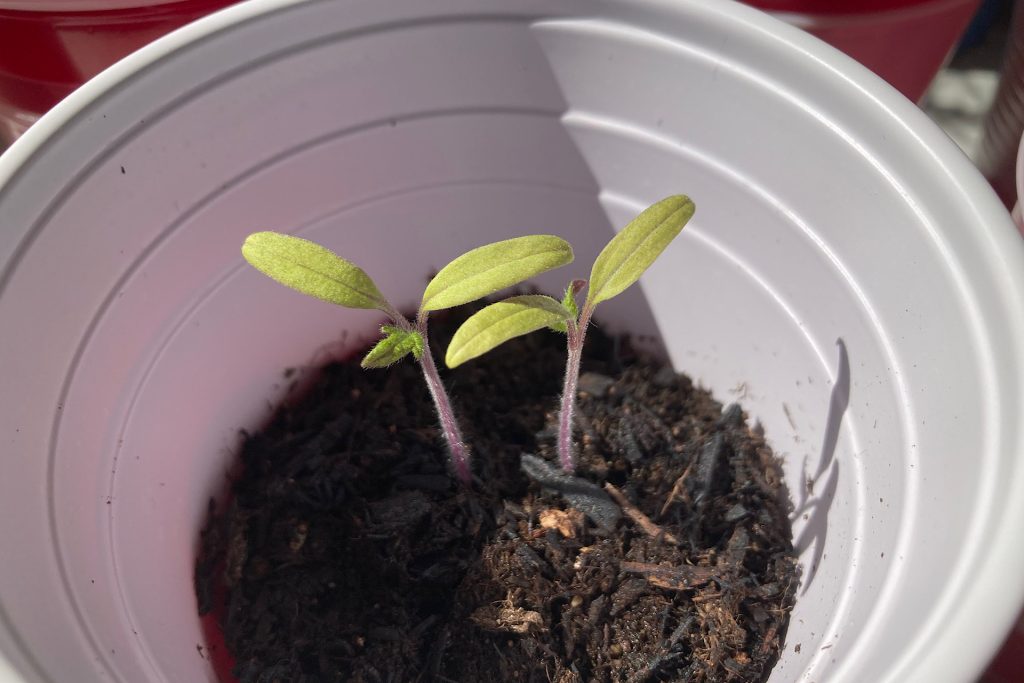
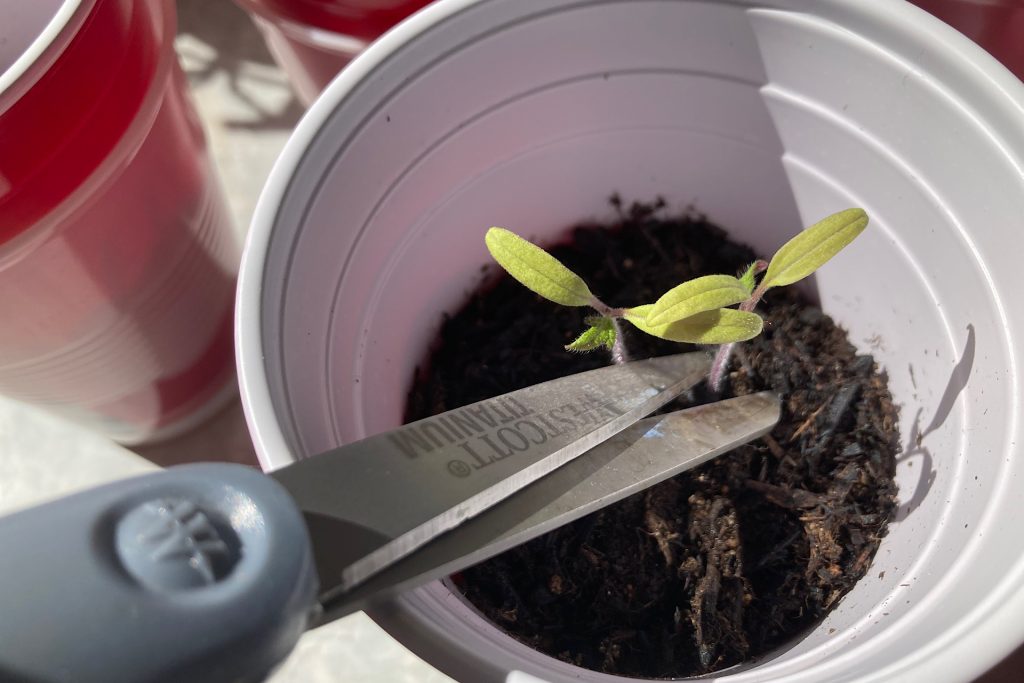
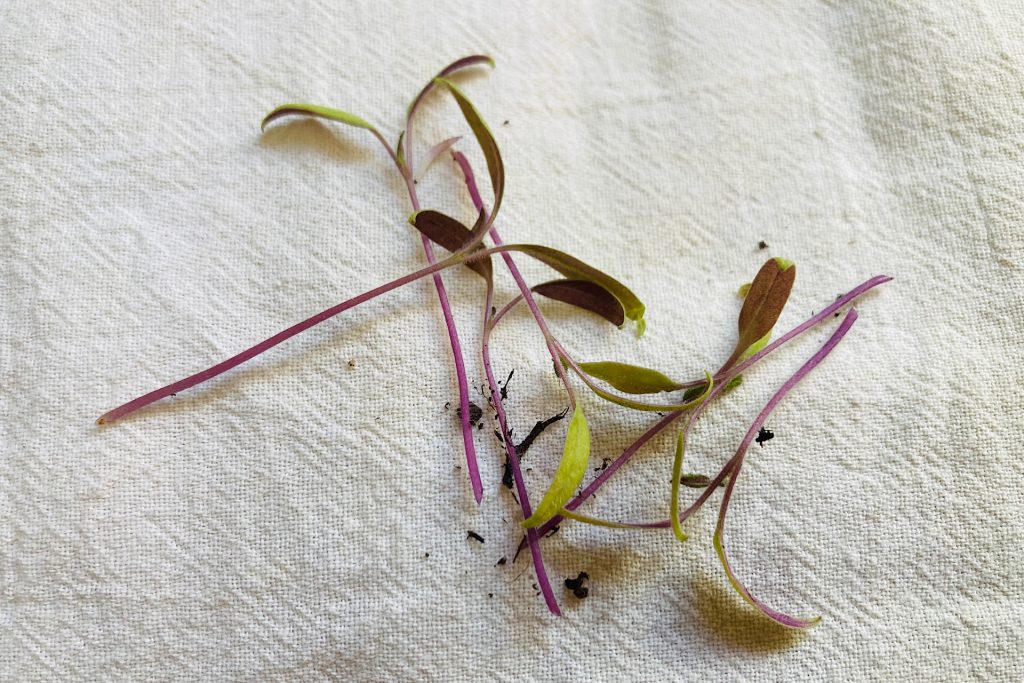
Now that we have done a re-cap, let’s move on to Part Three: Growth & Nurturing. At this point, there are still two seedlings in each cup. When the true tomato leaves appear, it is time to remove the weaker seedling, leaving the strongest in the cup to strengthen and grow. My foil box seedlings are now ready to move on to this step. To remove the second tomato seedling, you can trim it with scissors at soil level. If you want to save it, you can try gently teasing the roots of the two plants apart and re-planting both separately. I opted to trim mine and leave the healthiest plant intact, without disturbing its roots or the soil around them.
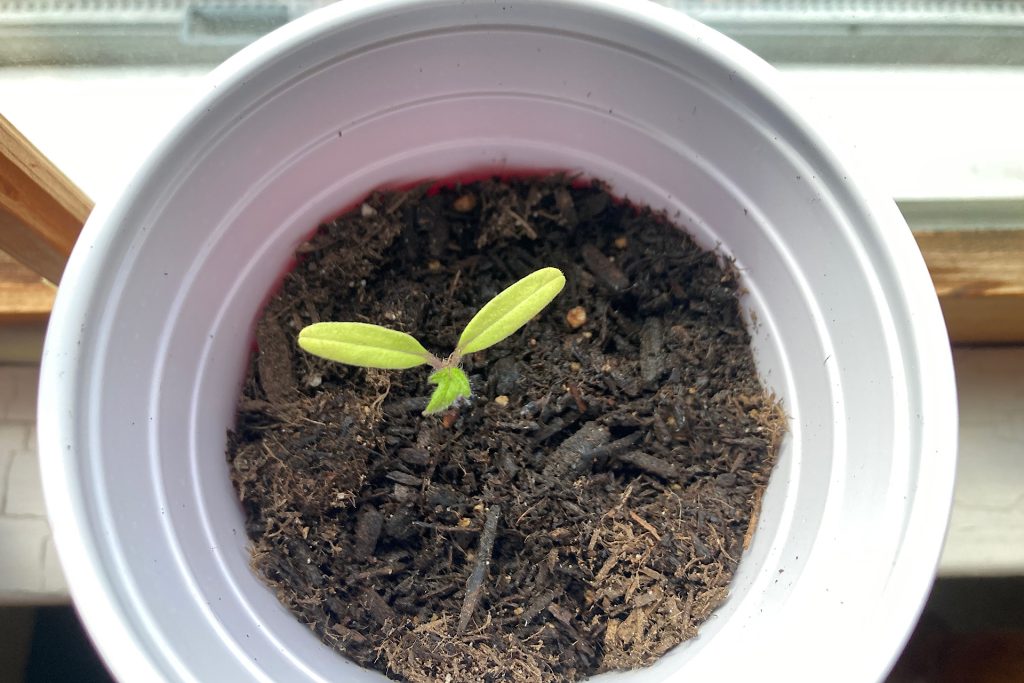
Step Two:
Using a kitchen tablespoon, I carefully add more soil to each cup, covering all but a small amount of the exposed stem. If you take a close look at the stem, you will see it is covered with tiny cilia-like hairs. When covered with dirt, these will become roots. By adding more soil as the stem increases in height, we are strengthening the root system.
Step Three:
Don’t press into the soil too firmly after adding it to the cup; just gently smooth and tamp it down with your fingers. Use a kitchen spoon again to pour approximately 2-3 tablespoons of water into the soil around the plant to help it settle in and provide a little moisture for the growing roots. Be careful however, not to add too much water that can contribute to damping off the newly buried stem. Spooning in the water is better at this point than using a spray mister as it keeps the foliage dry as well.
Moving Forward:
As I mentioned above, I’m giving the foil box seedlings some time on the countertop for more direct sun exposure. I’m also rotating the cups I have under the grow light to see if I can speed up their process a bit and maybe give them a little counter-top time as well.
In the next article on this subject, we’ll look forward to planting schedules, last frost dates, and hardening off the tomato plants in preparation for planting outdoors in the garden. We’ll cover those steps in Part IV.
In the meantime, enjoy nurturing your plants and encouraging the growth of robust seedlings.
Other Links You Might Be Interested In:
- Beginner Gardener: Heirloom Seeds
- Seed Starting Template for Small Spaces
- Cultivating Joy: Gardening’s Impact on Serotonin Levels